Bogodar Havrylyuk: Plants in Substance Designer
Bogodar Havrylyuk explained in 80.lv how he made a dandelion in Substance Designer. Thanks to Kirill Tokarev, we are able to share this tutorial with you.
Bogodar Havrylyuk: let’s take a look at the way I created dandelions in Substance Designer.
Here are some references:
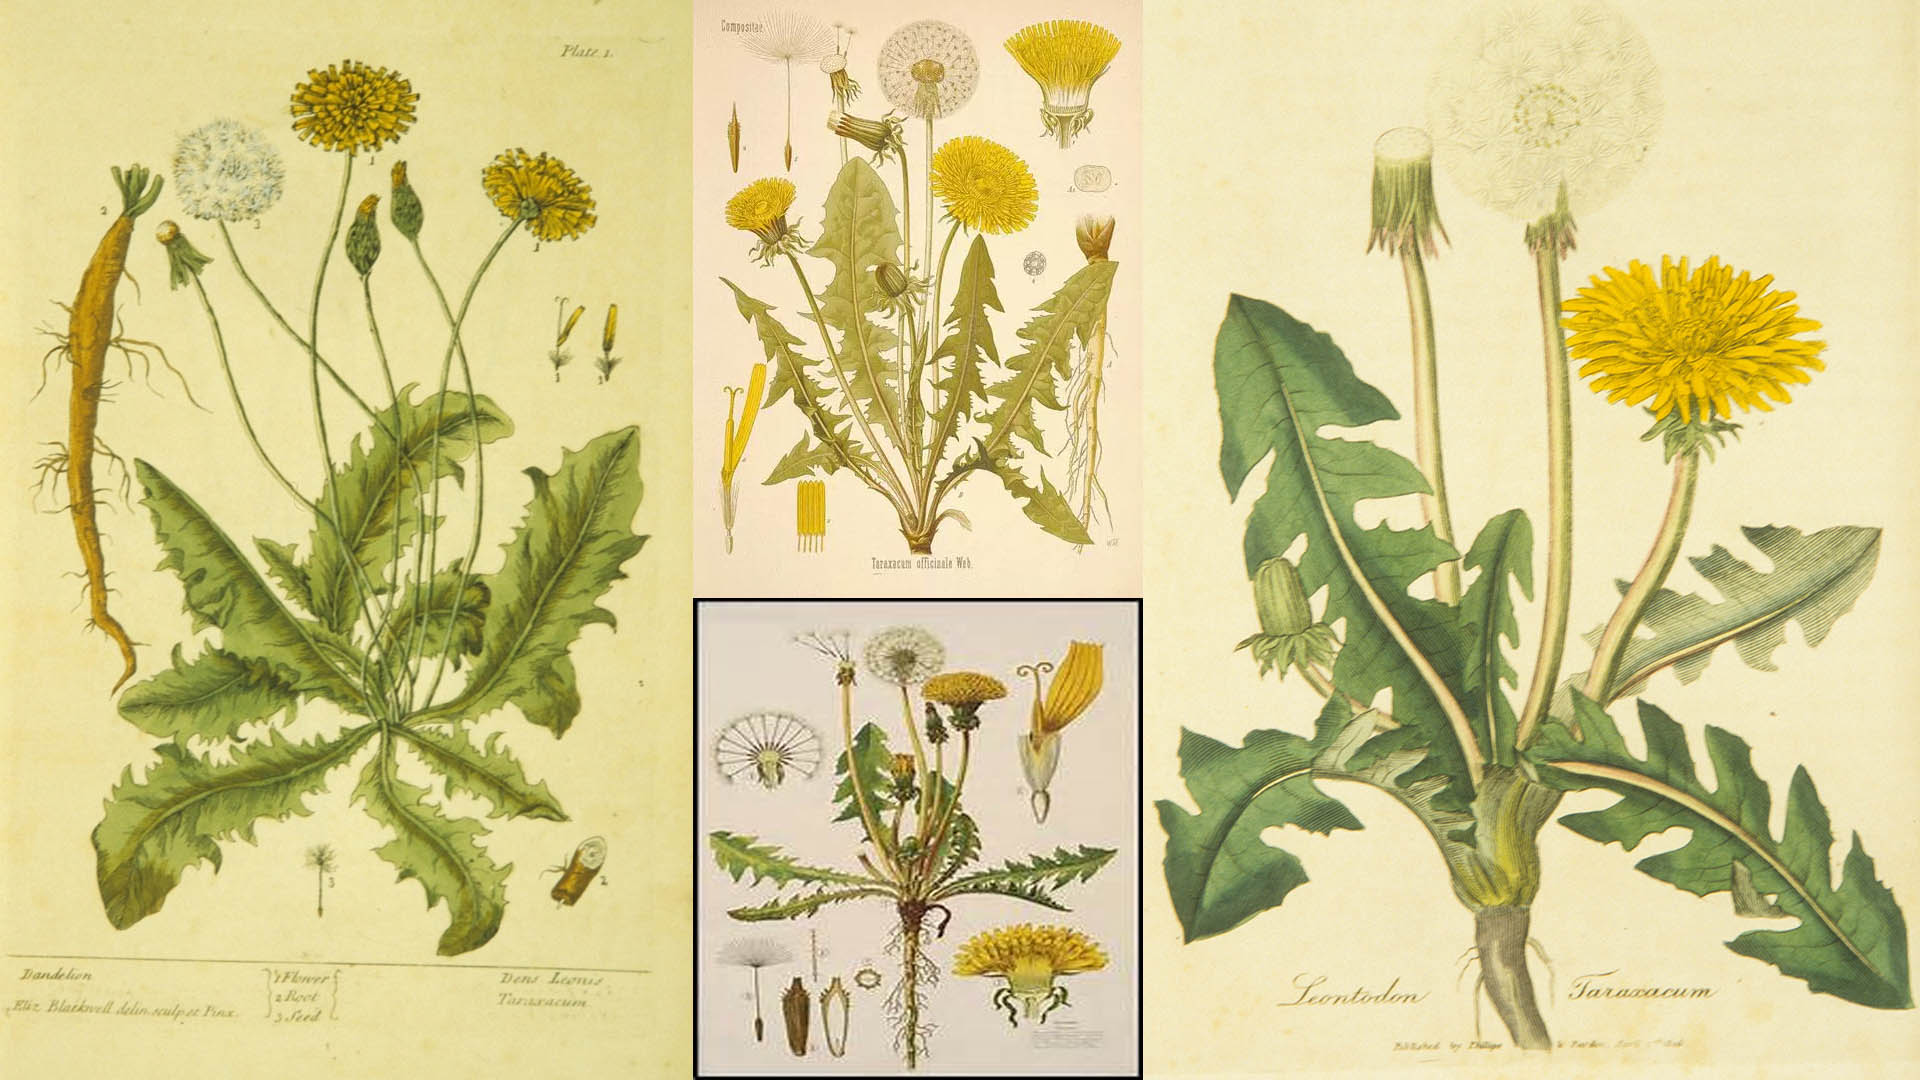
Before I start working on creating basic shapes I always divide my model into singular objects that can be tiled many times.
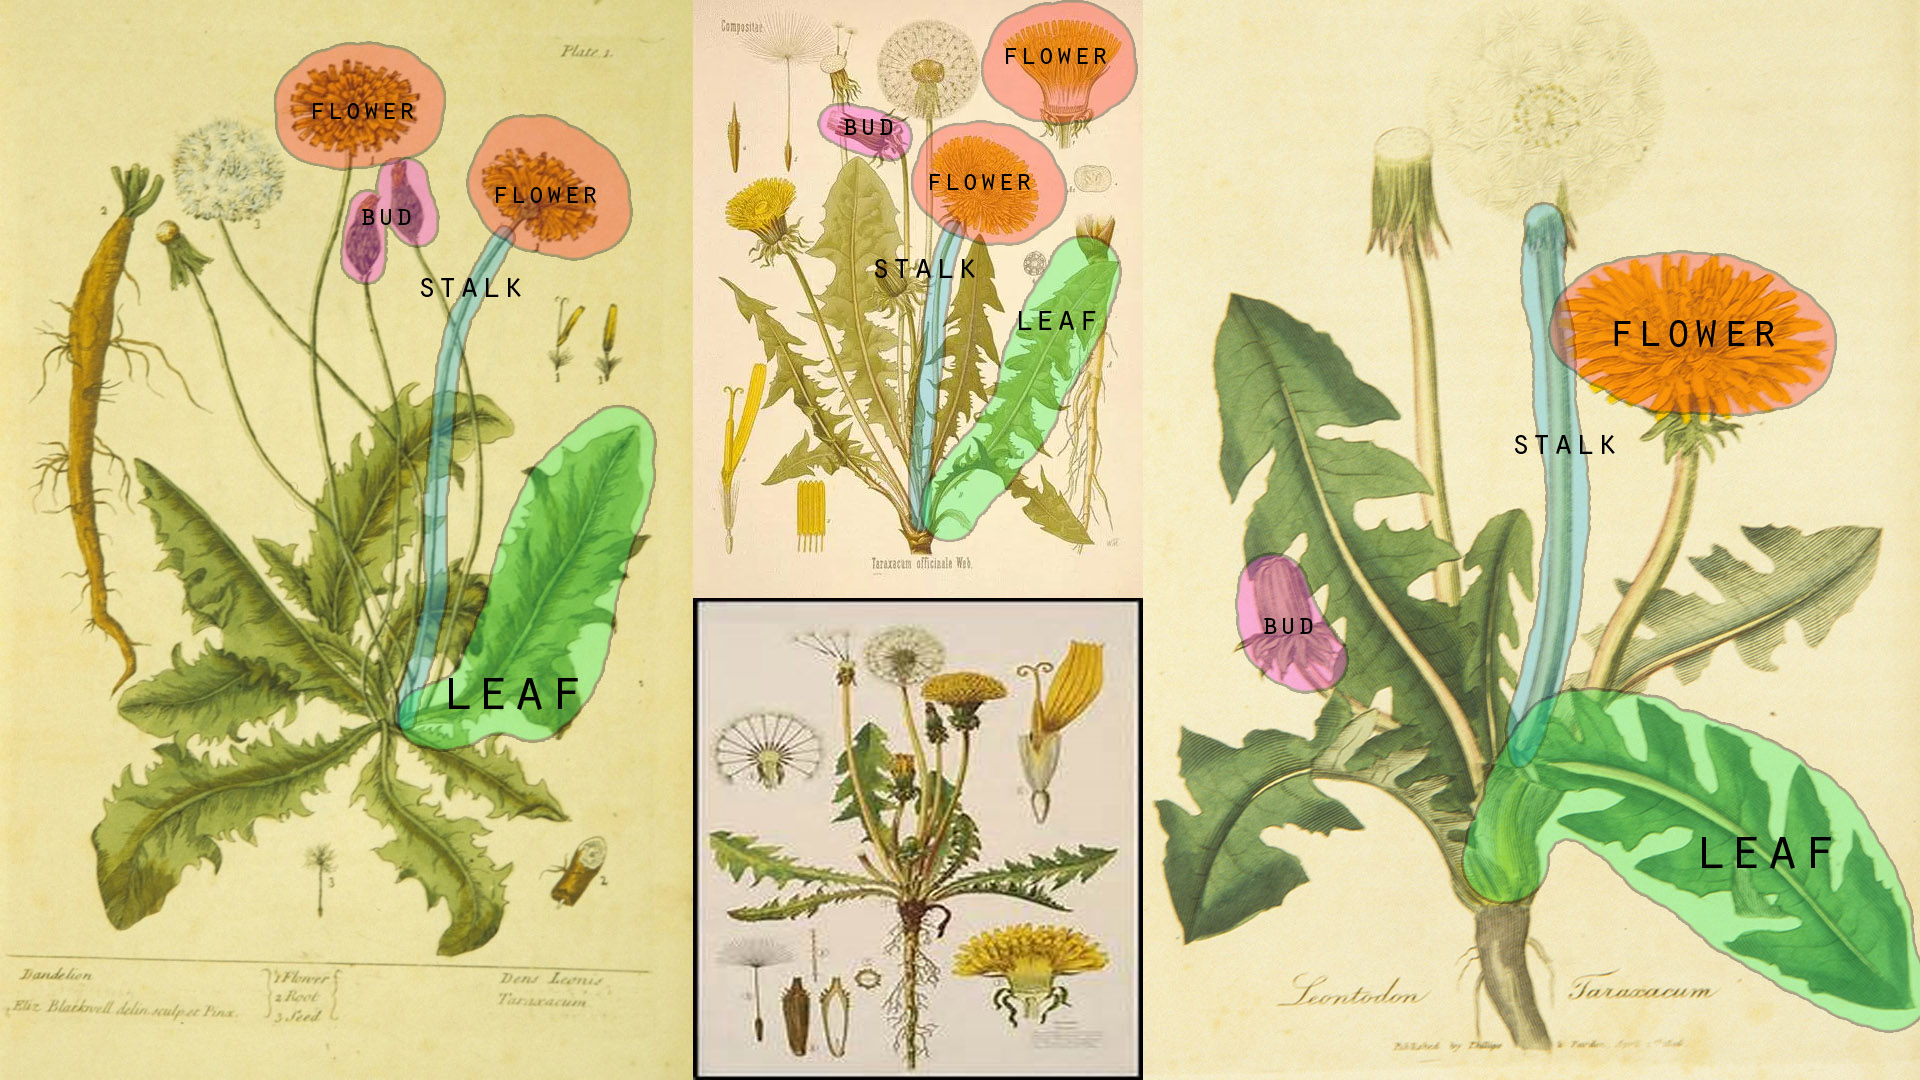
Finally we have a few objects that we have to create:
Leaf
Stalk
Flower
Bud
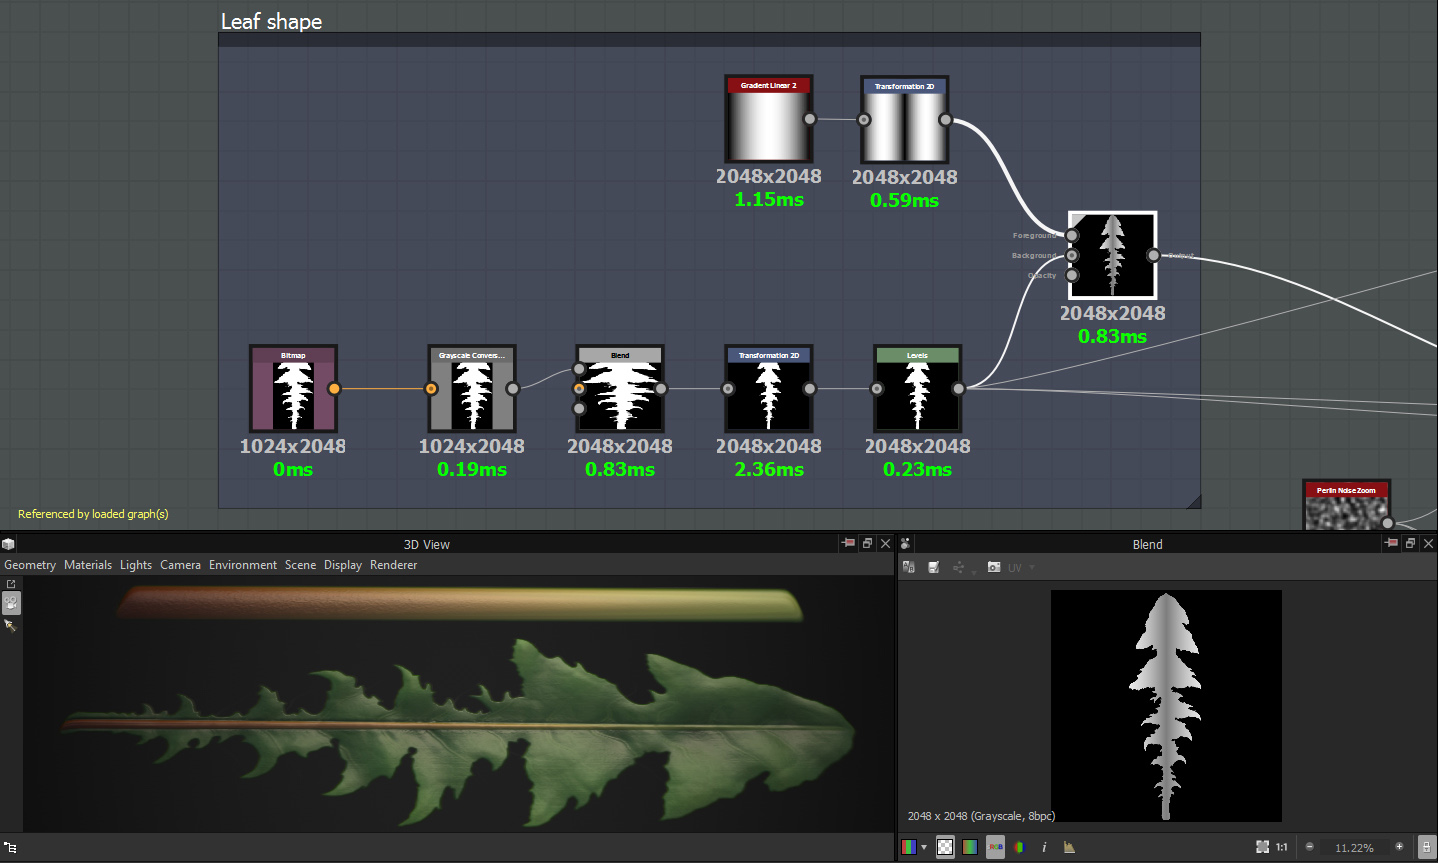
Creating leaf and stalk
Sometimes shapes have difficult forms and it’s easier and faster to create alphas or use SVG. In this case I created alpha in Photoshop.
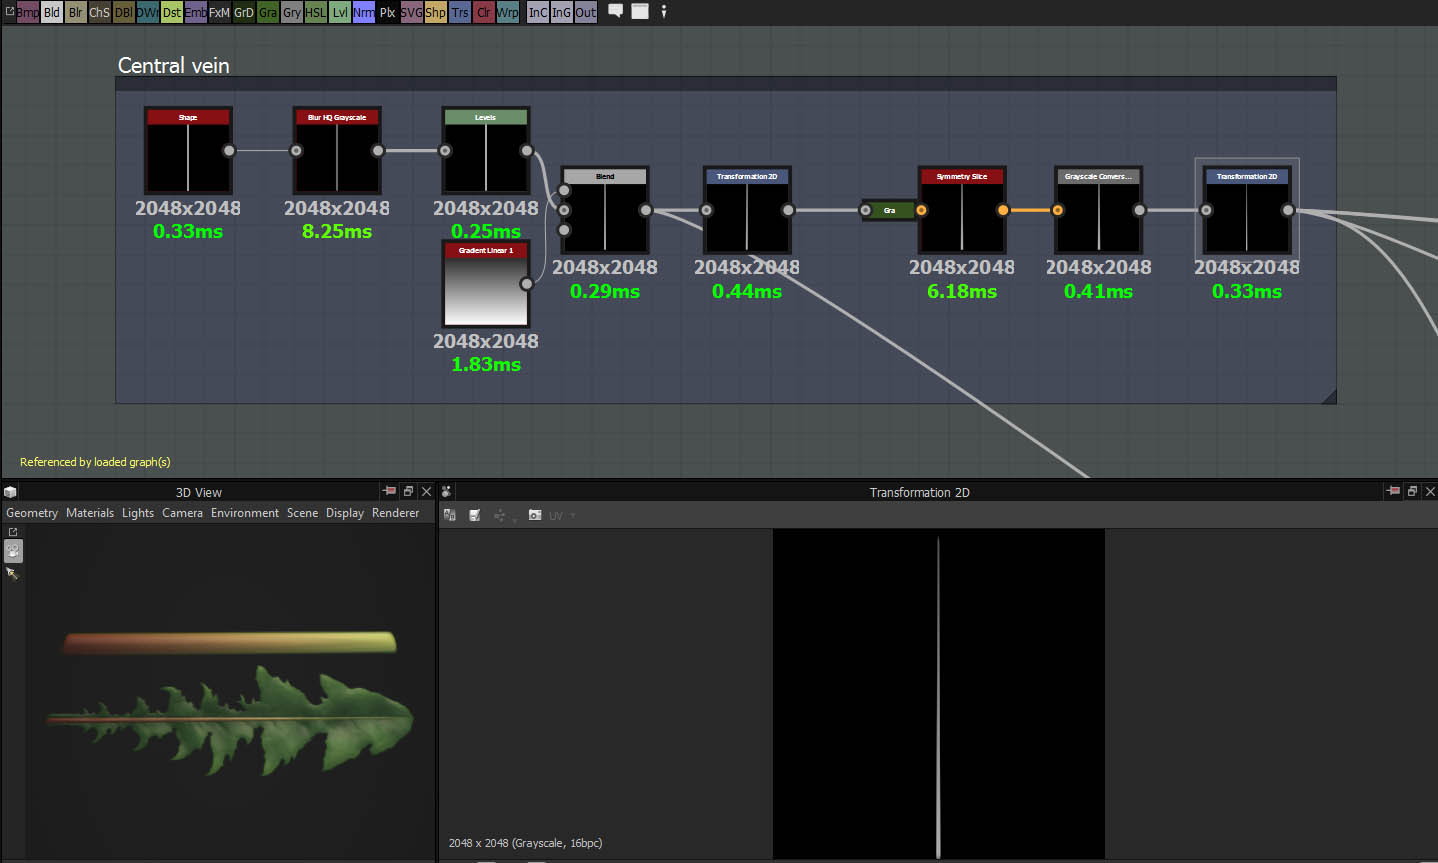
Creating central vein
I always use simple shapes and modify them using blend, transform, levels and symmetry nodes.
Adding surface bumps and veins with surface details.
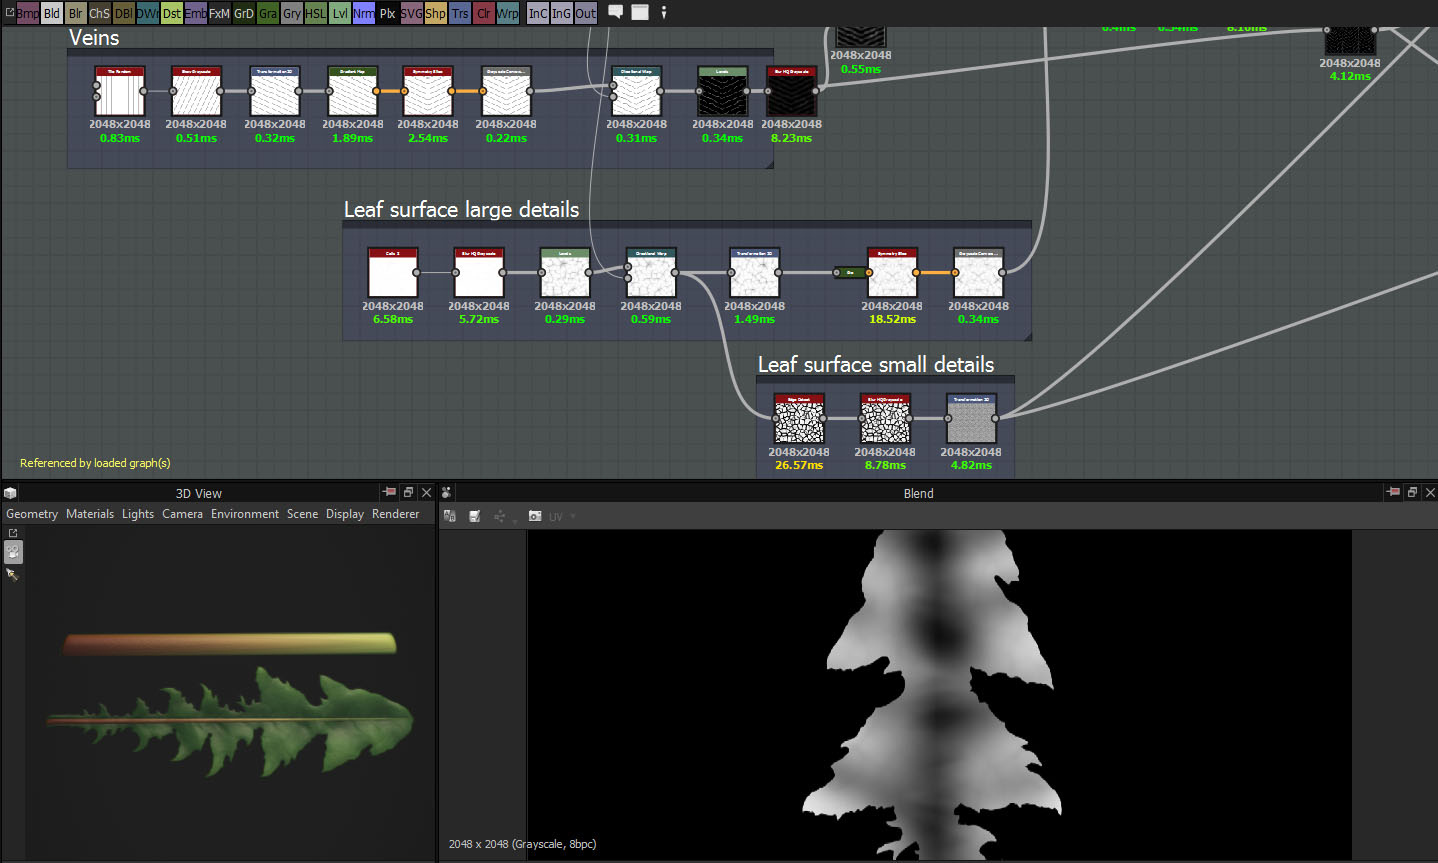
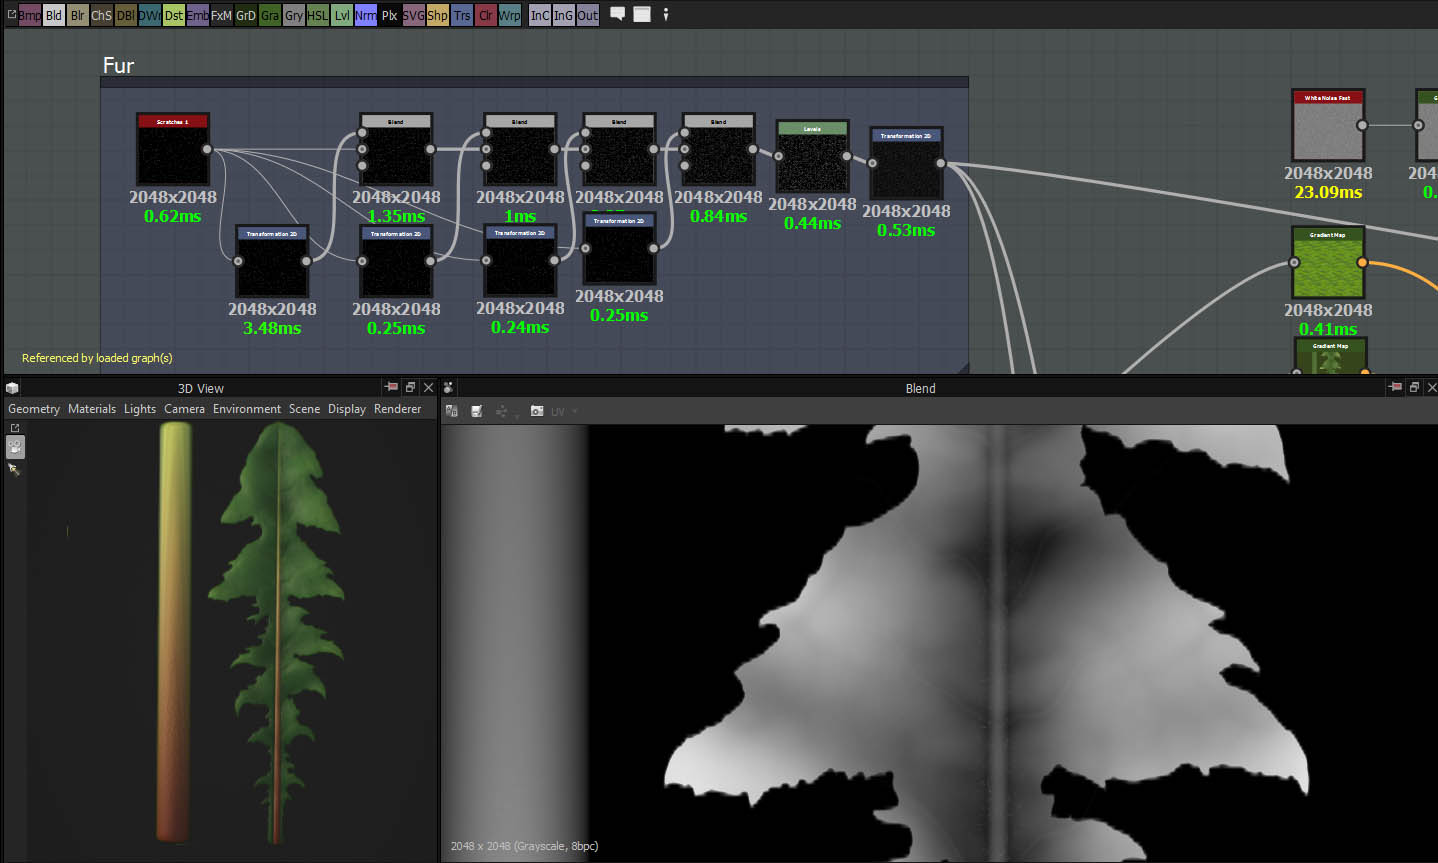
Here I added some hair on stalk.
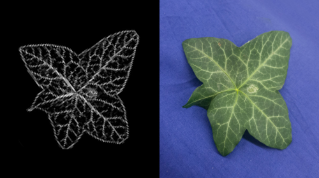
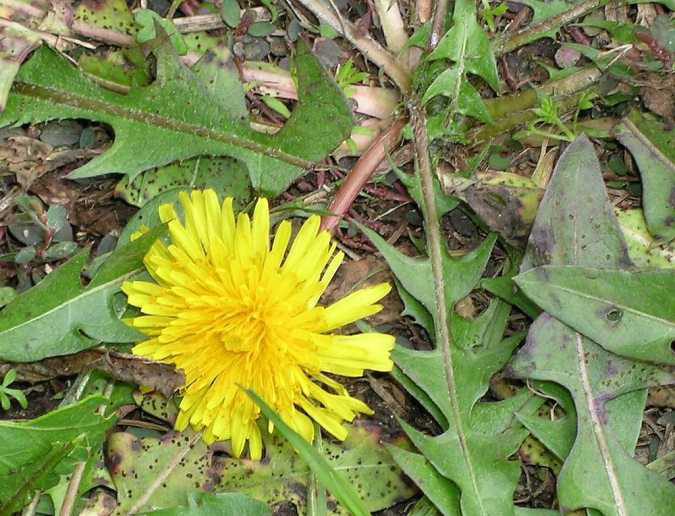
Reference image with hair on the stalk.
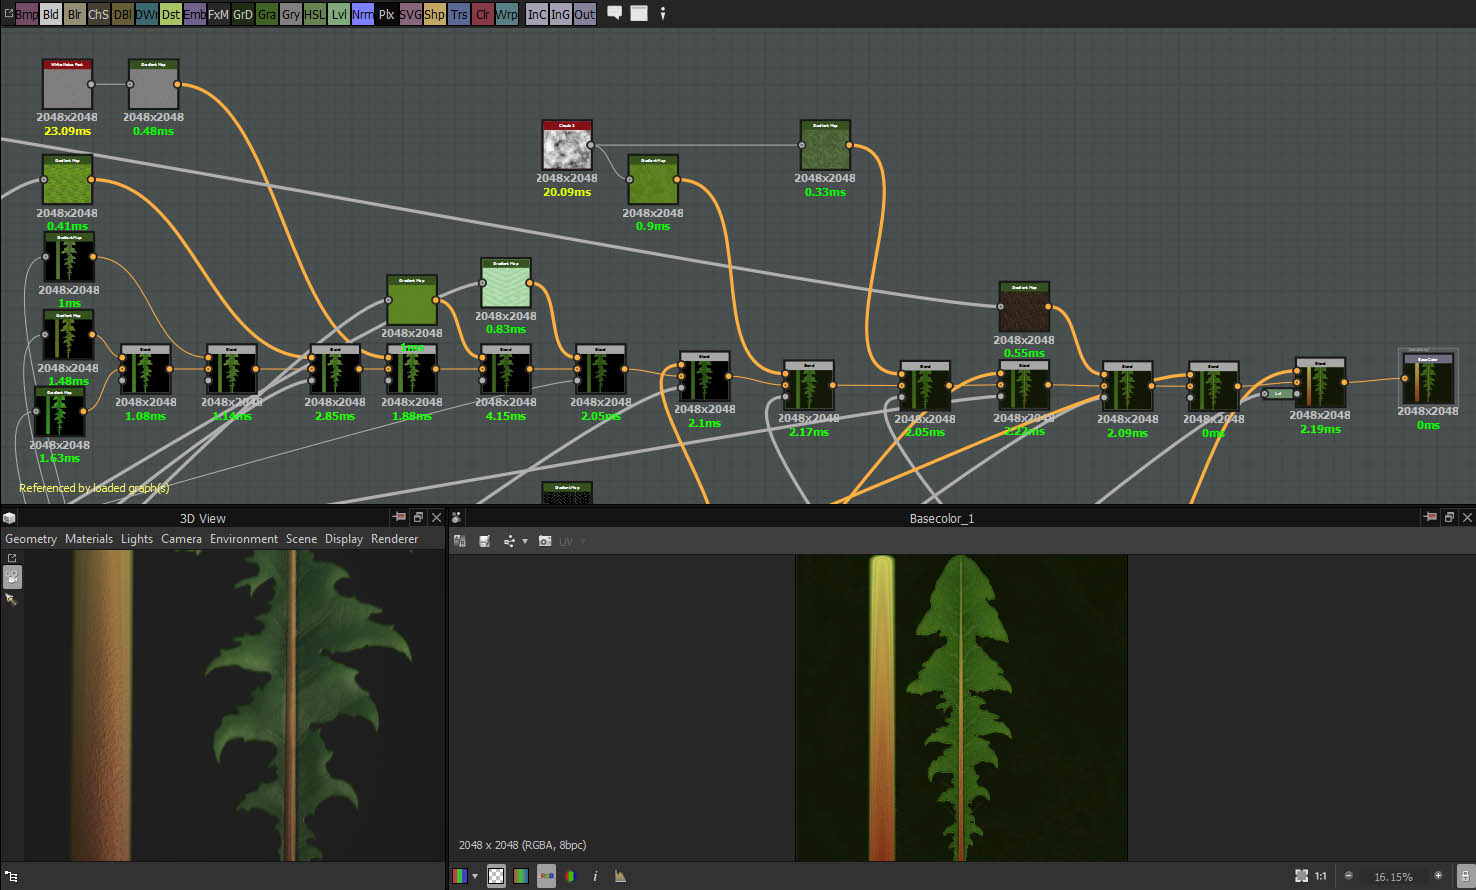
Colorizing. Just a couple of gradient and blend nodes.
Creating flowers
First of all, I always create only one shape with little deformations, and only in final (ile/splatter circular) node I apply deform noises to destruct tiling.
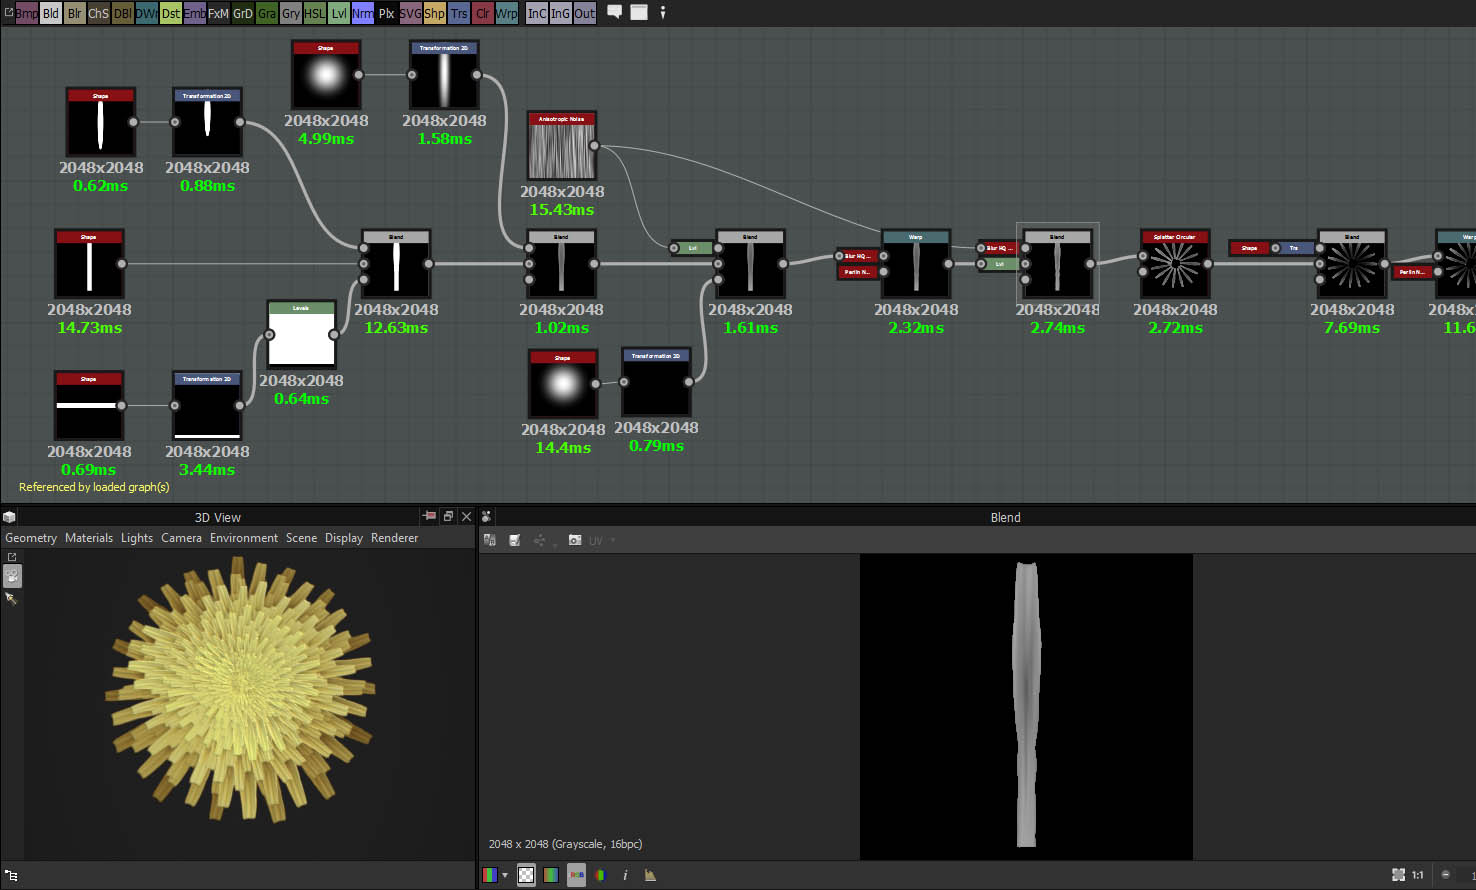
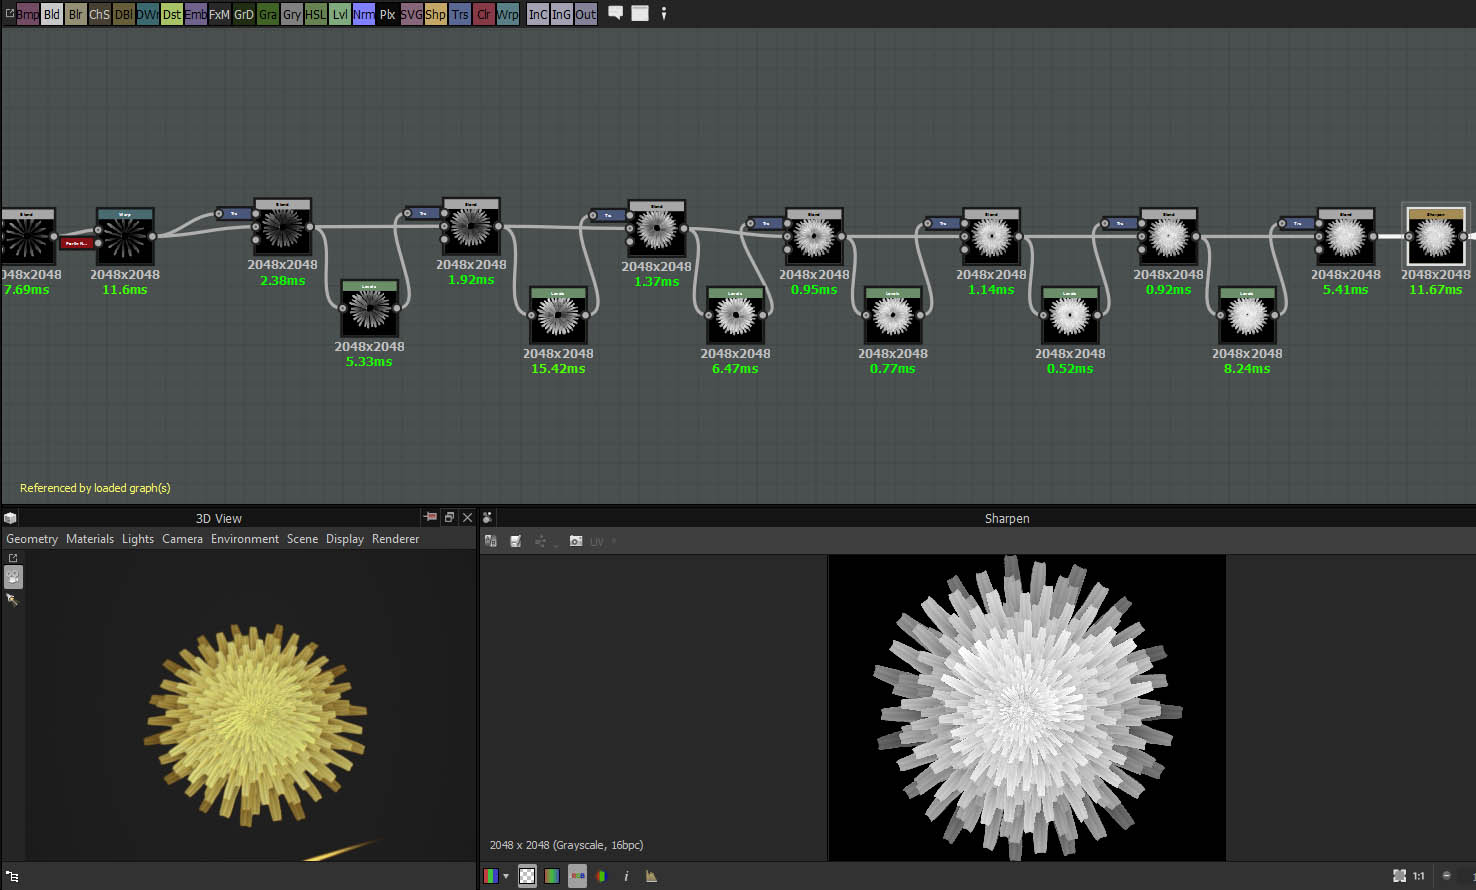
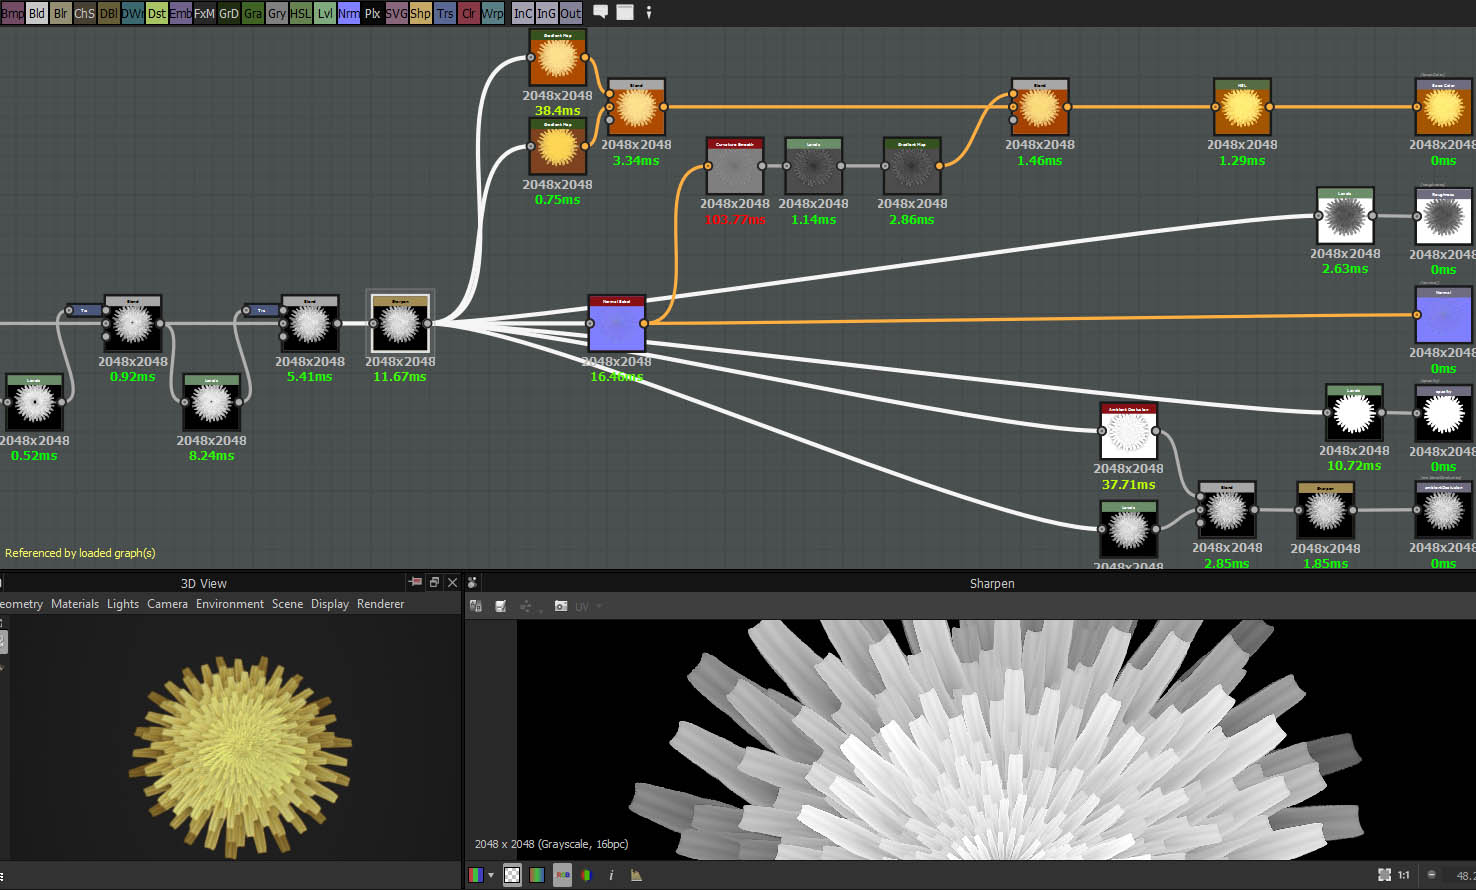
For creating flower shapes I used Splatter circular node. Then I added some black/white gradation for better blending, after it I used blend nodes with max lighten blend parameter, and every upper layer of blend I made lighter than the previous one for volume and shadows. Before generating normal map, I always use Sharpen node, because it adds details. Even if you use a small texture size, you get a better result.
Creating bud
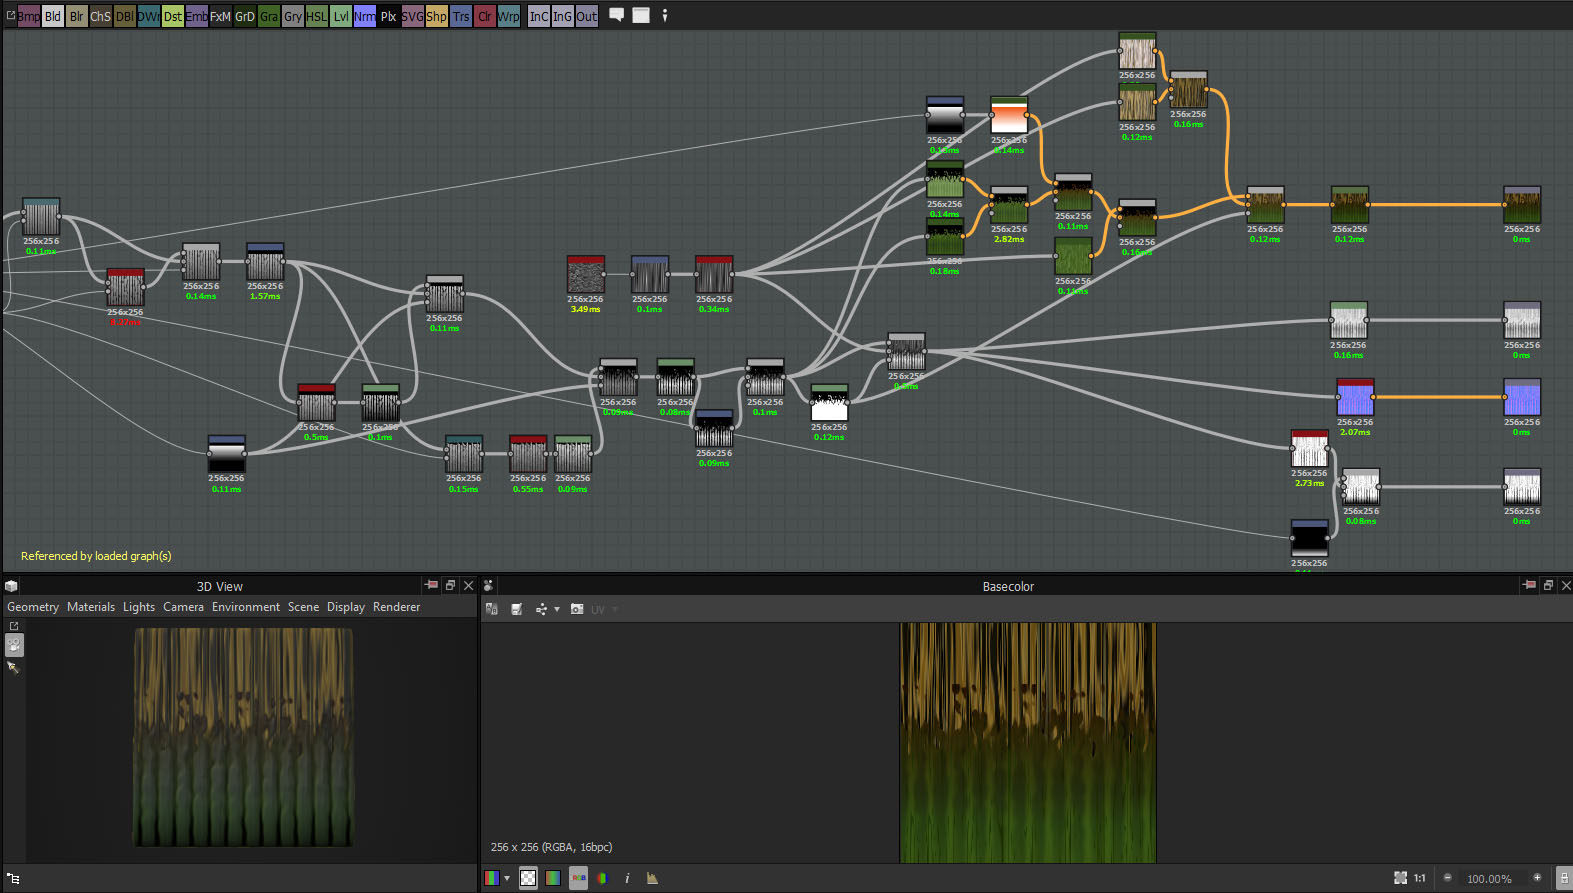
Just a couple of vertical noises and blends.
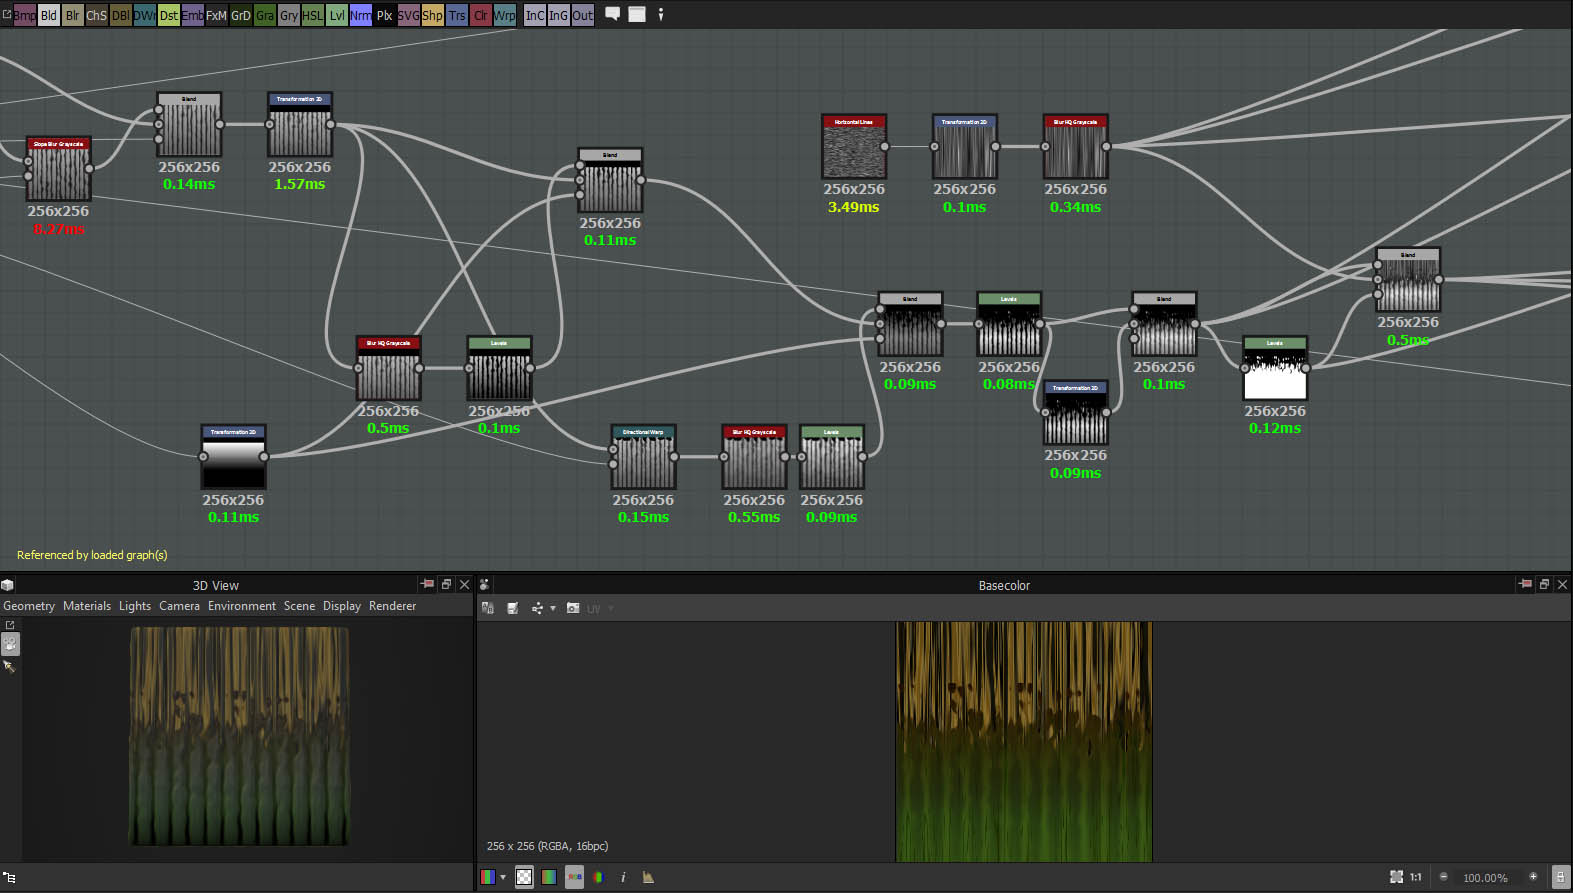
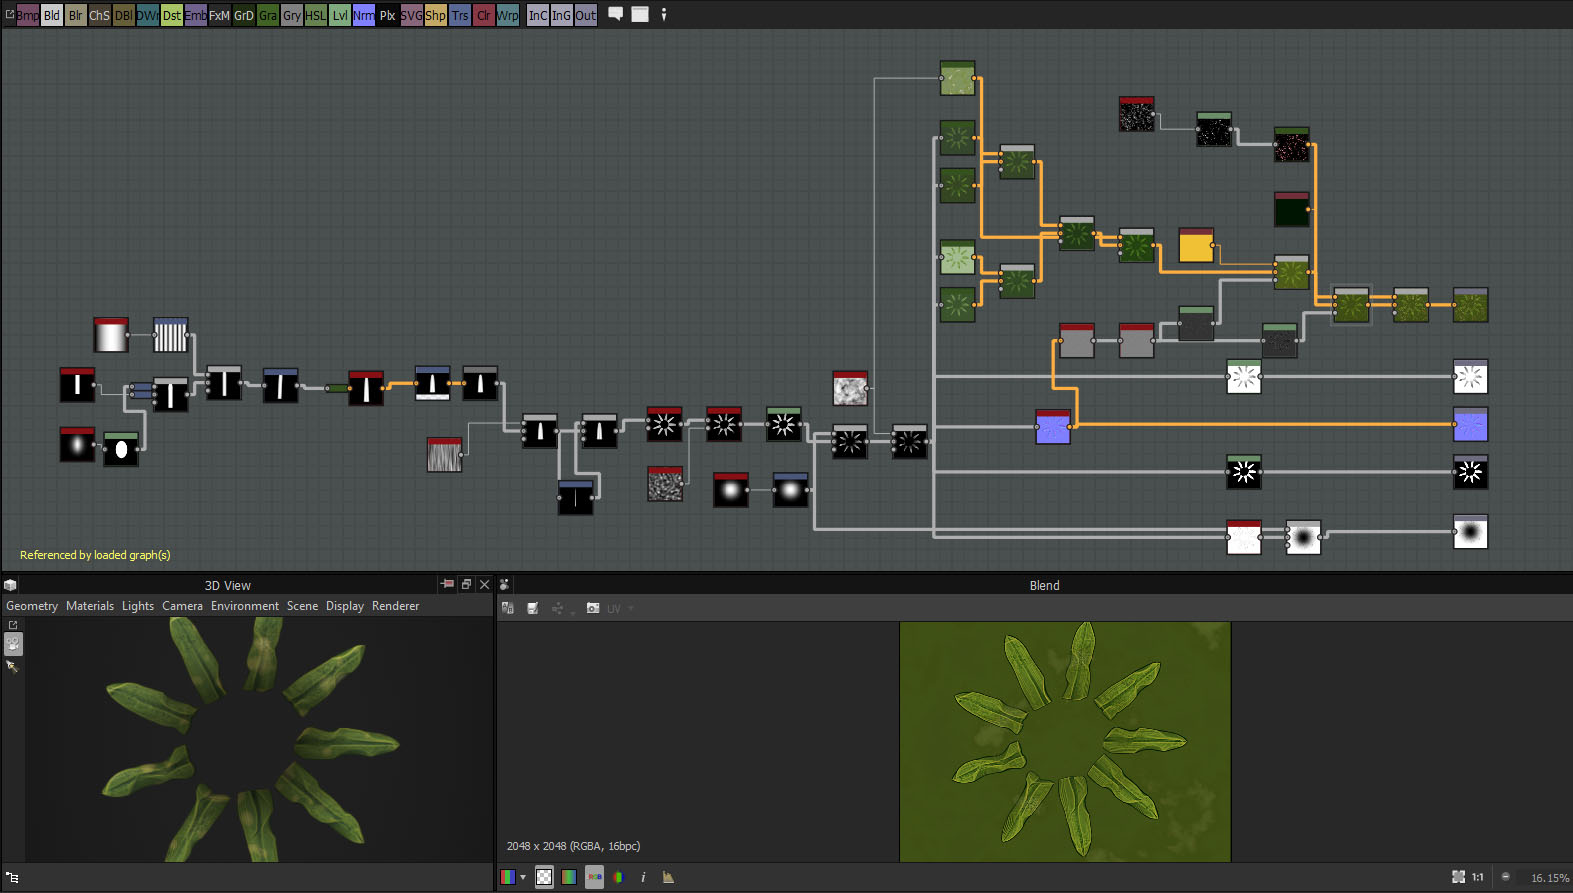
Creating the final atlas texture
Now we have all the atlas elements for creating complete UWV map. So here is a screen of blending materials into one large texture. This way is easier than creating all elements in one graph.
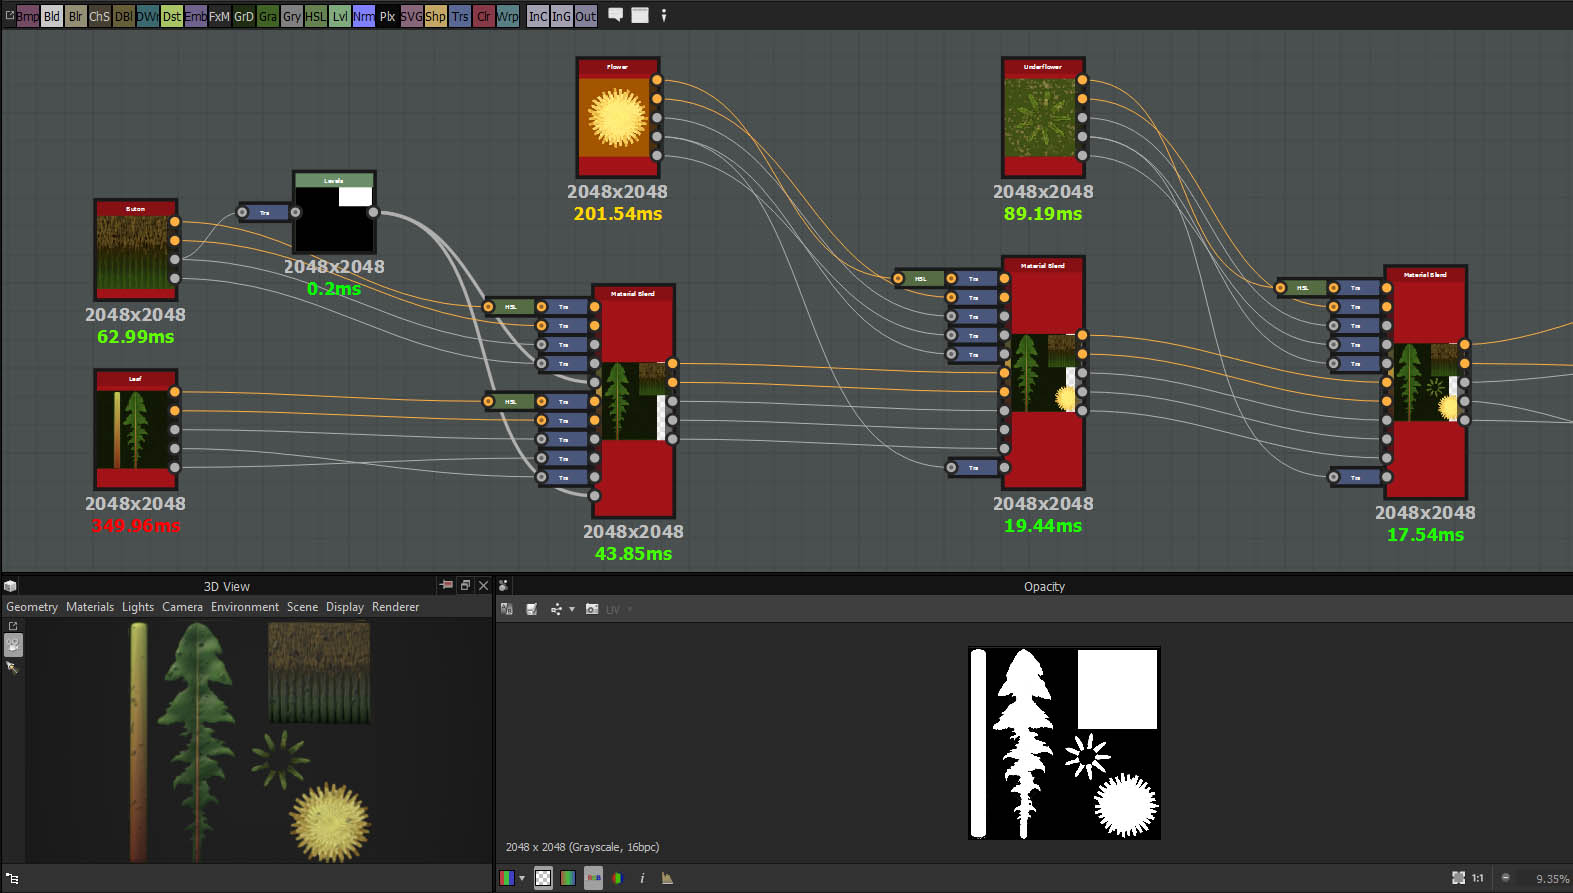
Adding some details into final graph such as water drops, dirt, damages e.t.c.
Water drops
Mixed Plasma node with uniform color (grey 128.128), blend mode – Divide. I always use Histogram Scan for adding details to final texture and exposure them all. You can always change the amount of dirt, roughness or any other parameter.
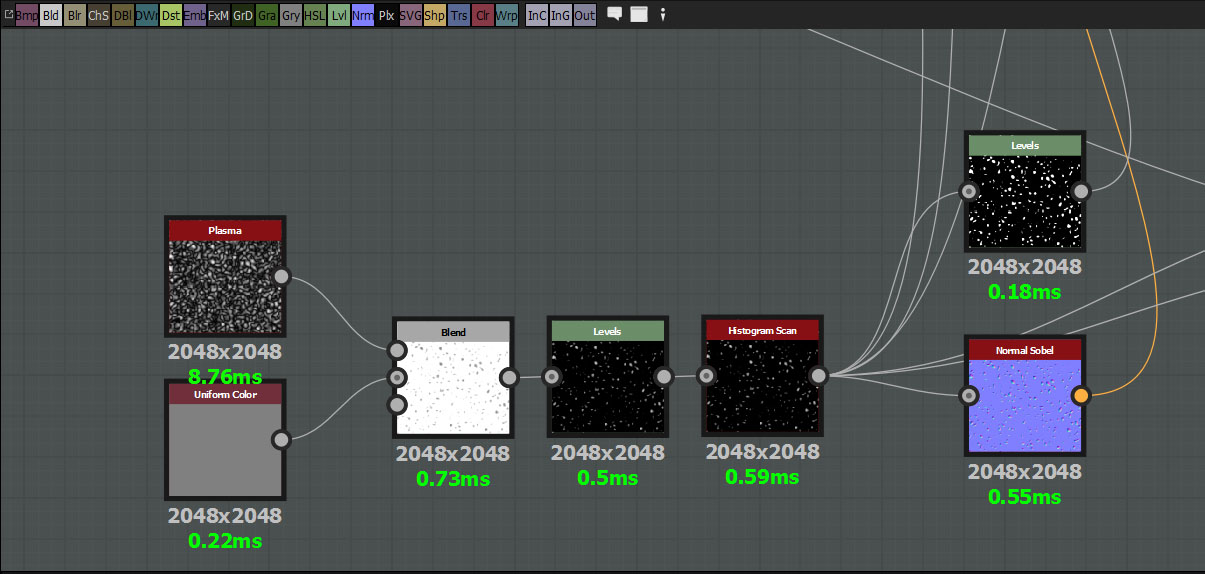
And adding some damages with exposure nodes.
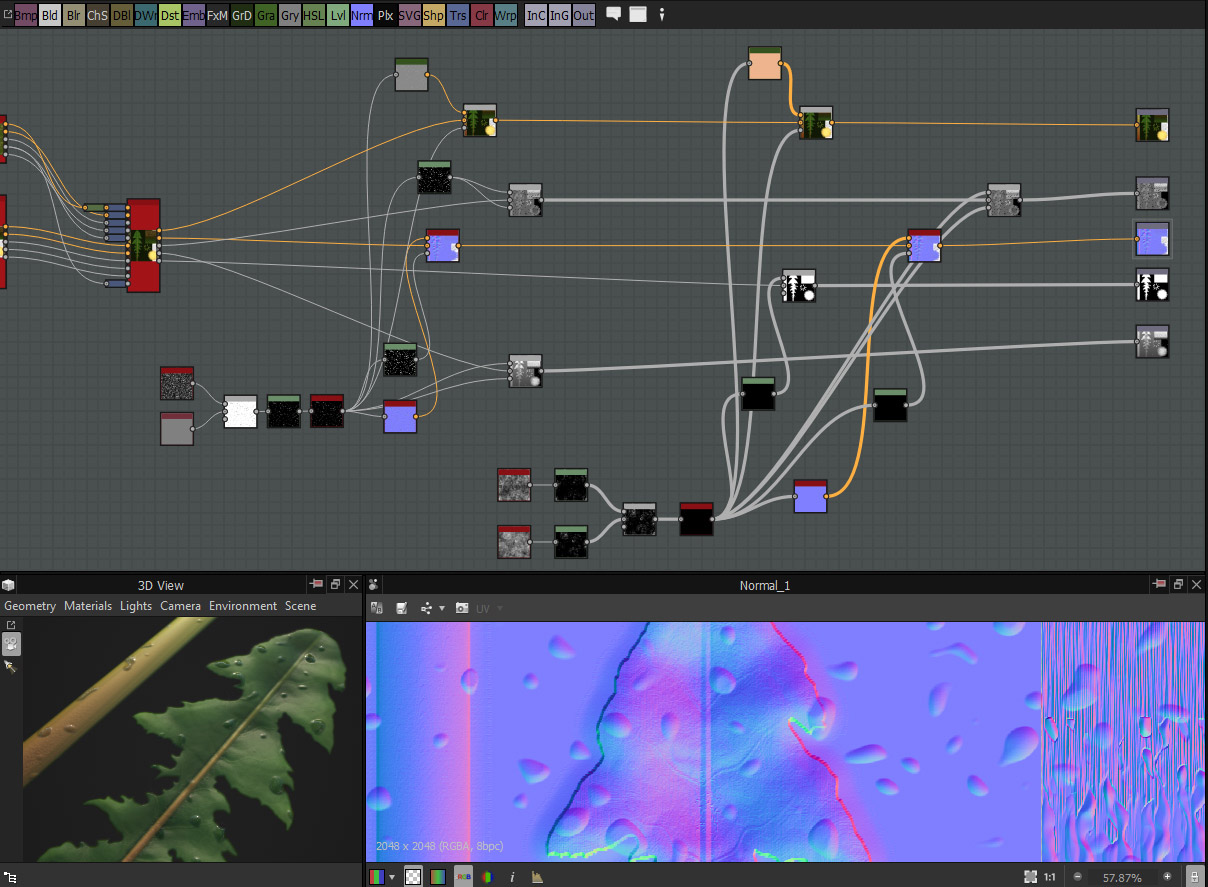
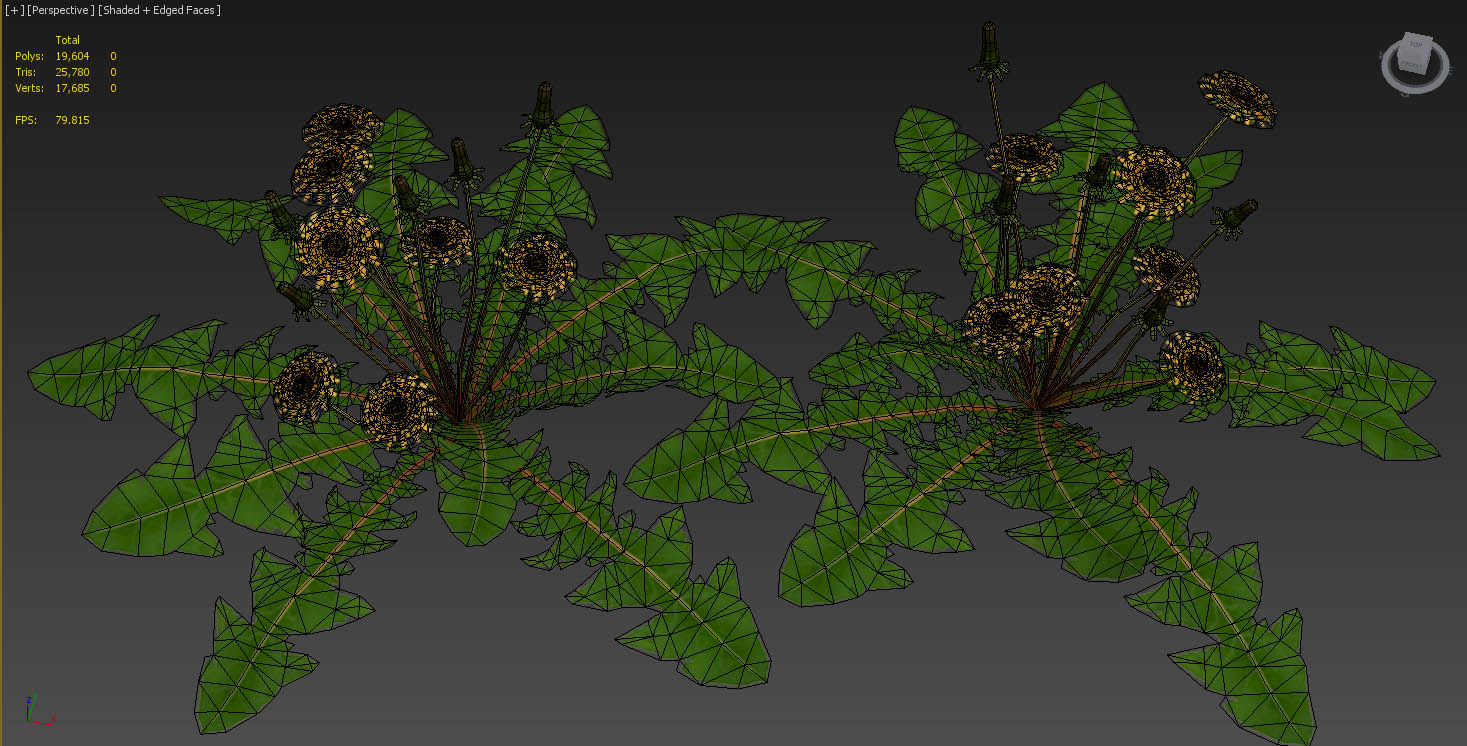
So eventually we have a UWV texture with individual elements. The next step is to create basic mesh elements that we will reuse when we will be creating the final Dandelion game asset.
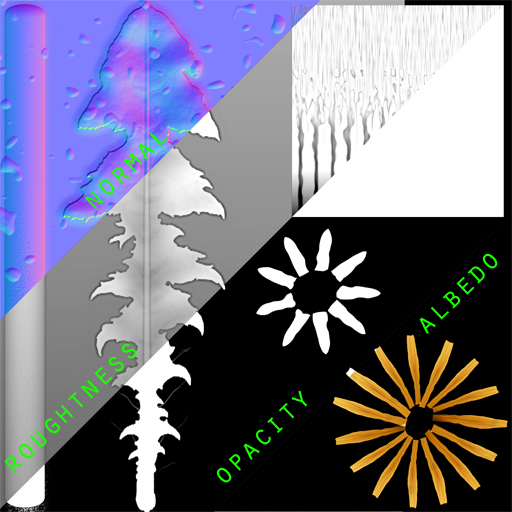
I applied final texture with opacity map, and then used Cut for creating individual elements.
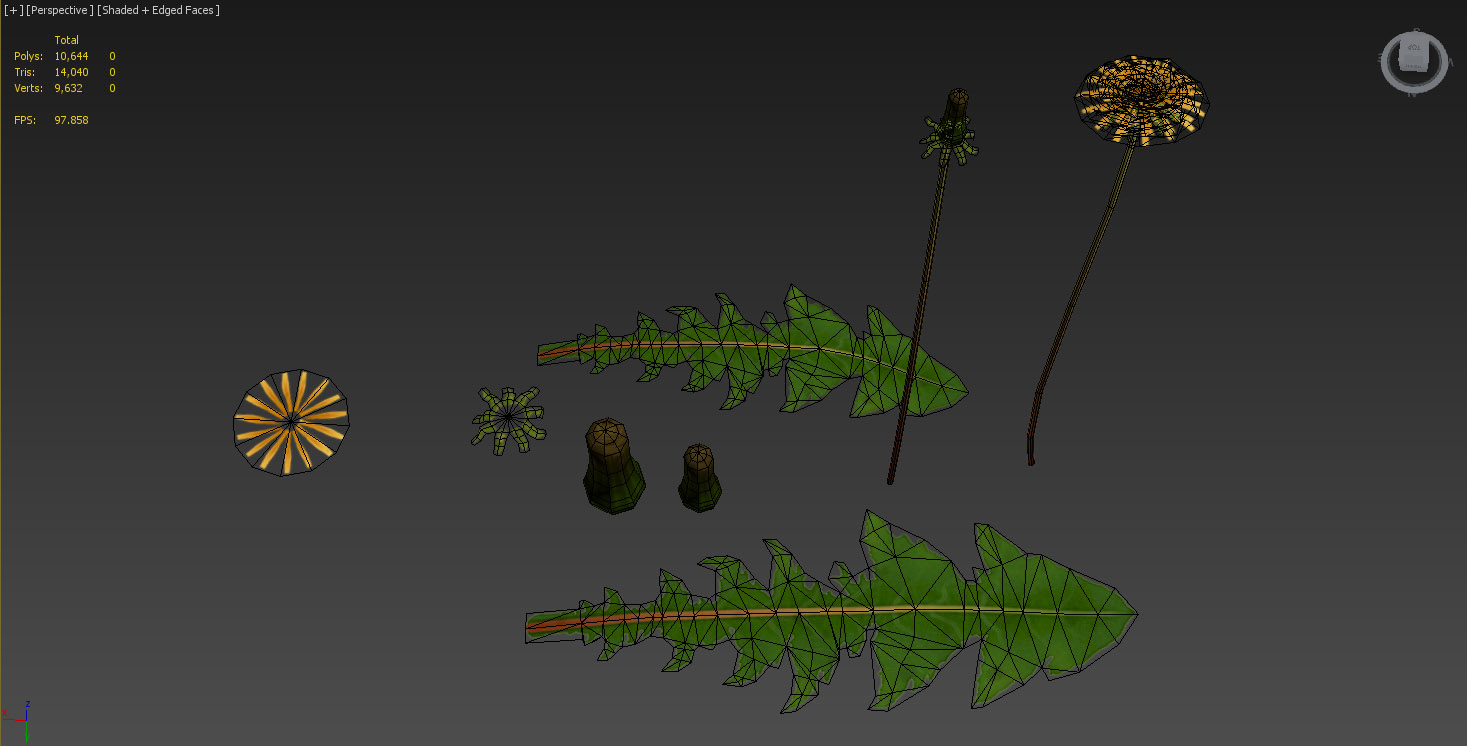
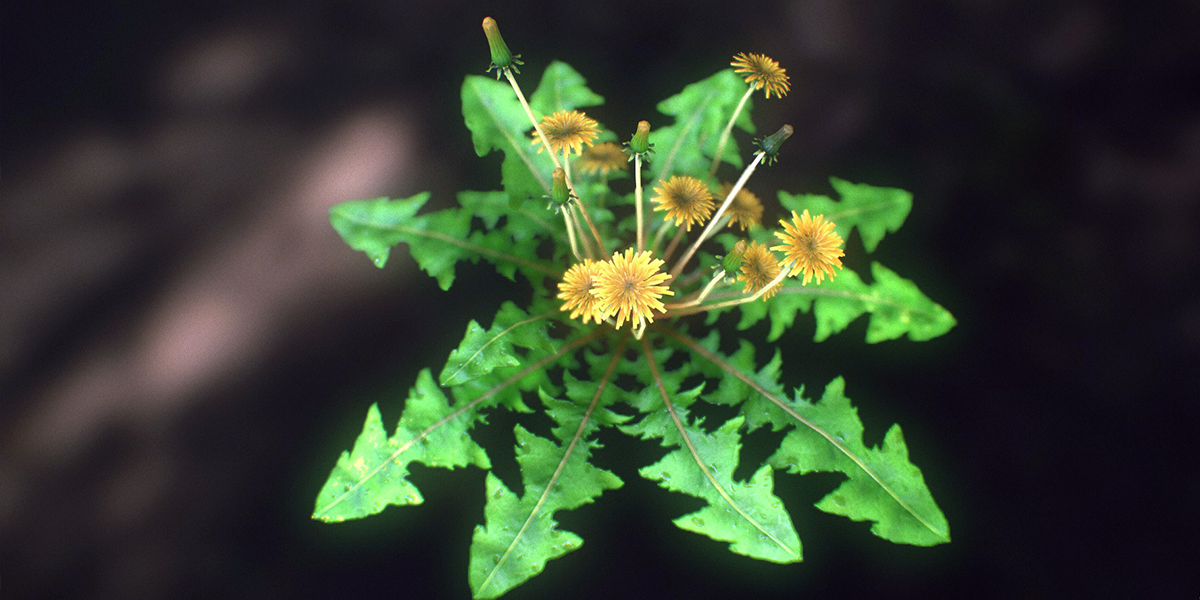
Completed mid-poly assets.
