Creating ivy from scanned data with Substance Designer
In this tutorial, Henry Kelly, Environment Artist at Rebellion Developments, explains in great details how to create realistic foliage using Substance Designer and scanned data.
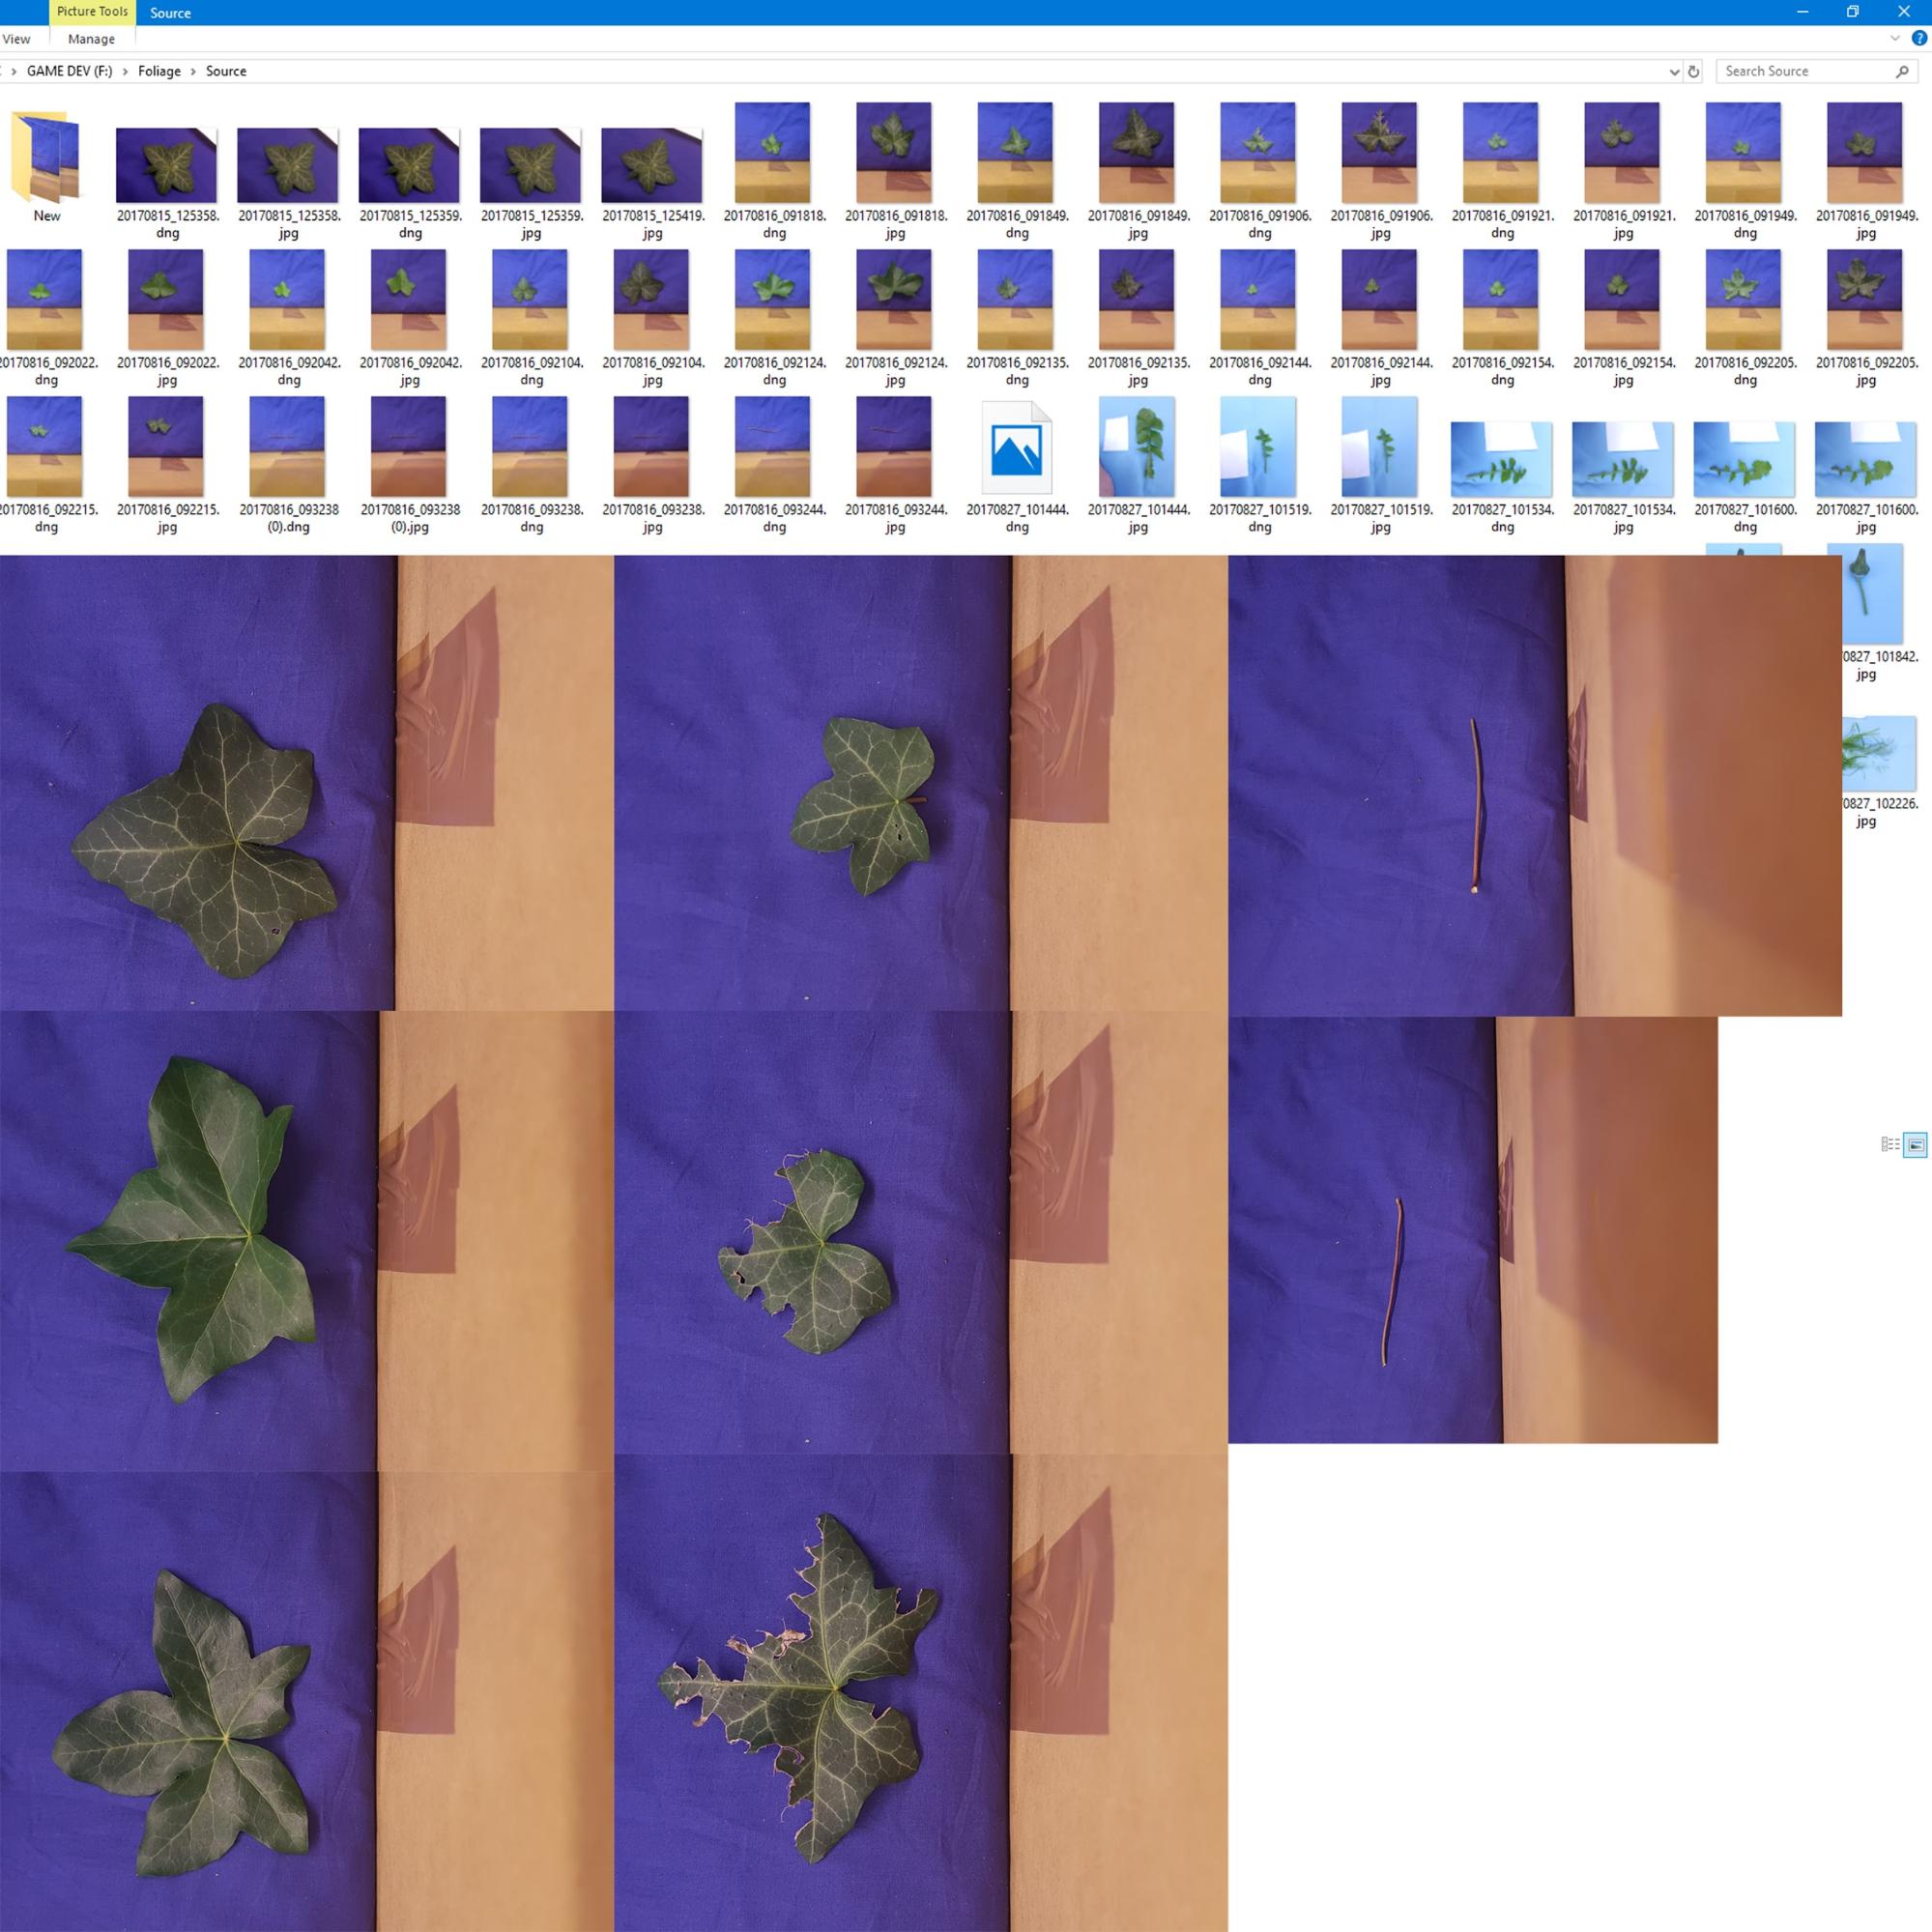
To create similar-looking ivy the first thing you’ll need is a decent camera - in my case, the camera of a Samsung Galaxy S7 Edge.
It’s also handy to have a blue sheet to hand. You can use this to hide any unwanted background, and then it’s easy to delete in Photoshop.
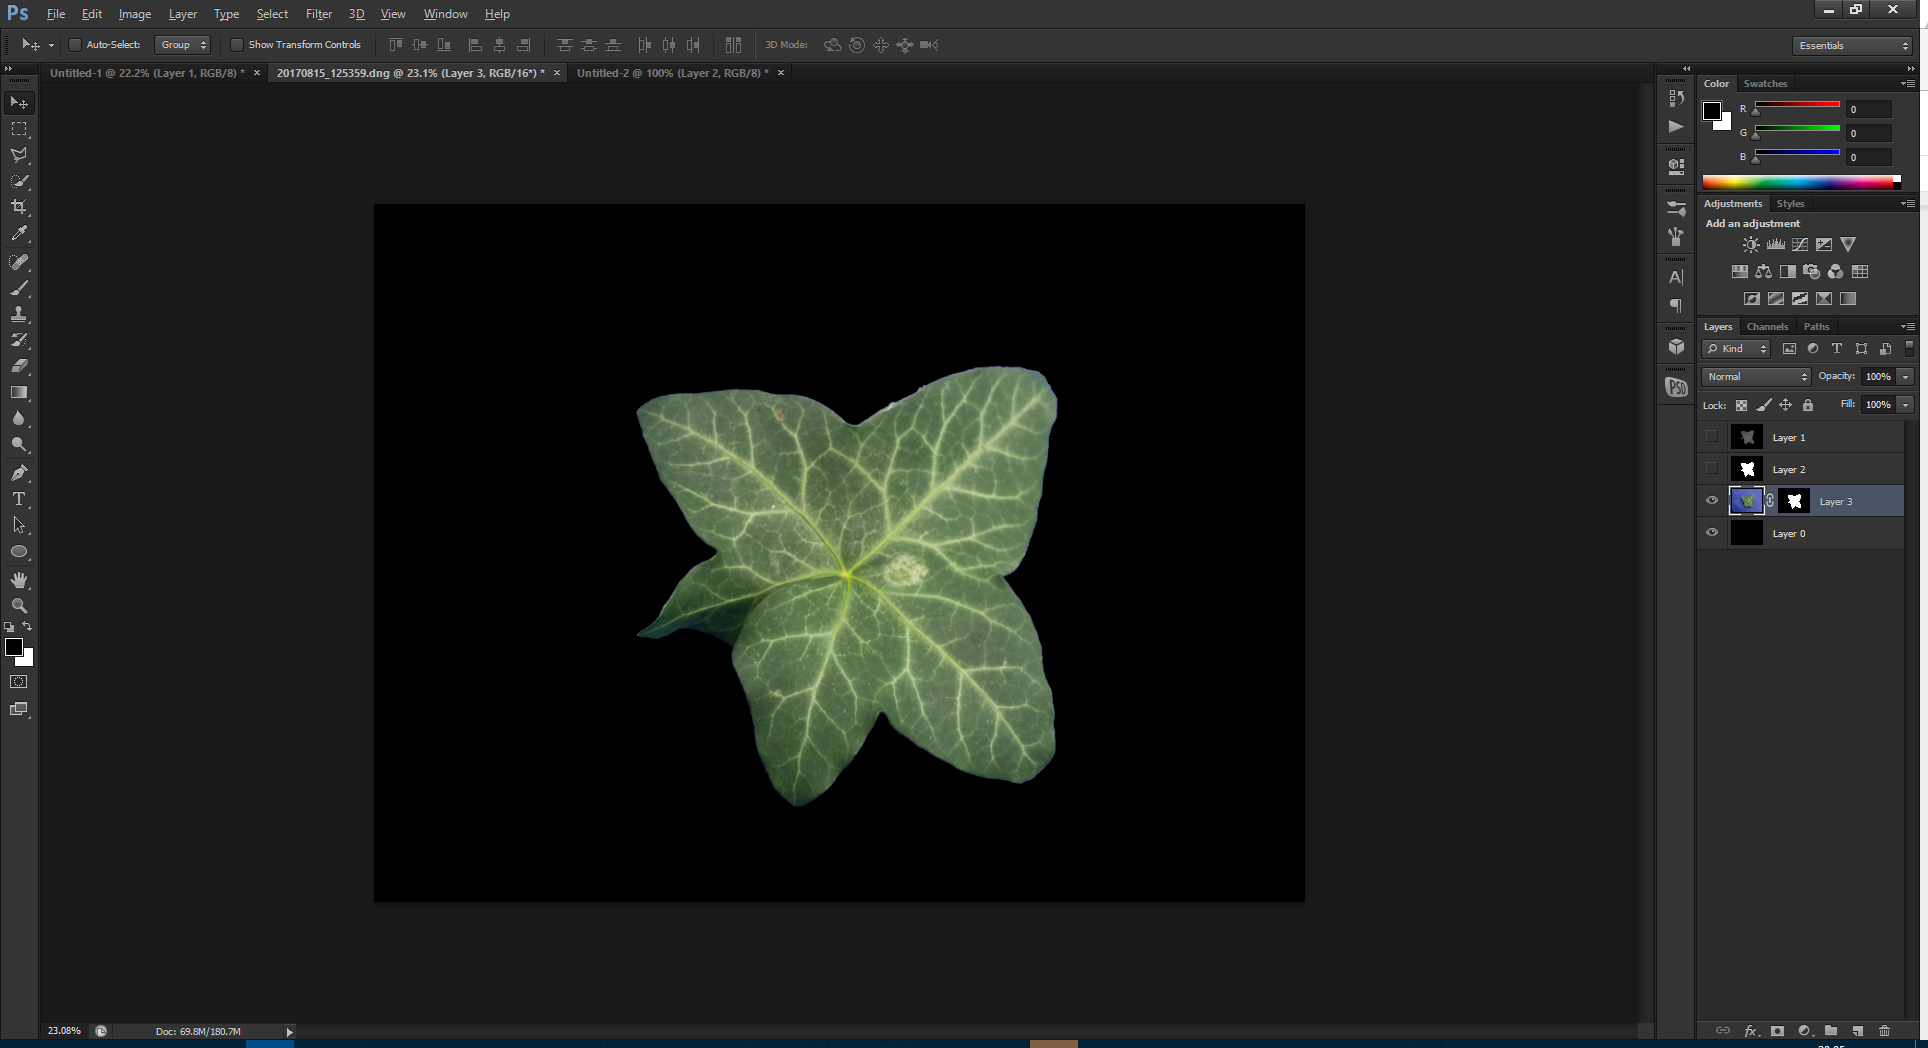
Once you have all the photos you need, create masks in Photoshop.
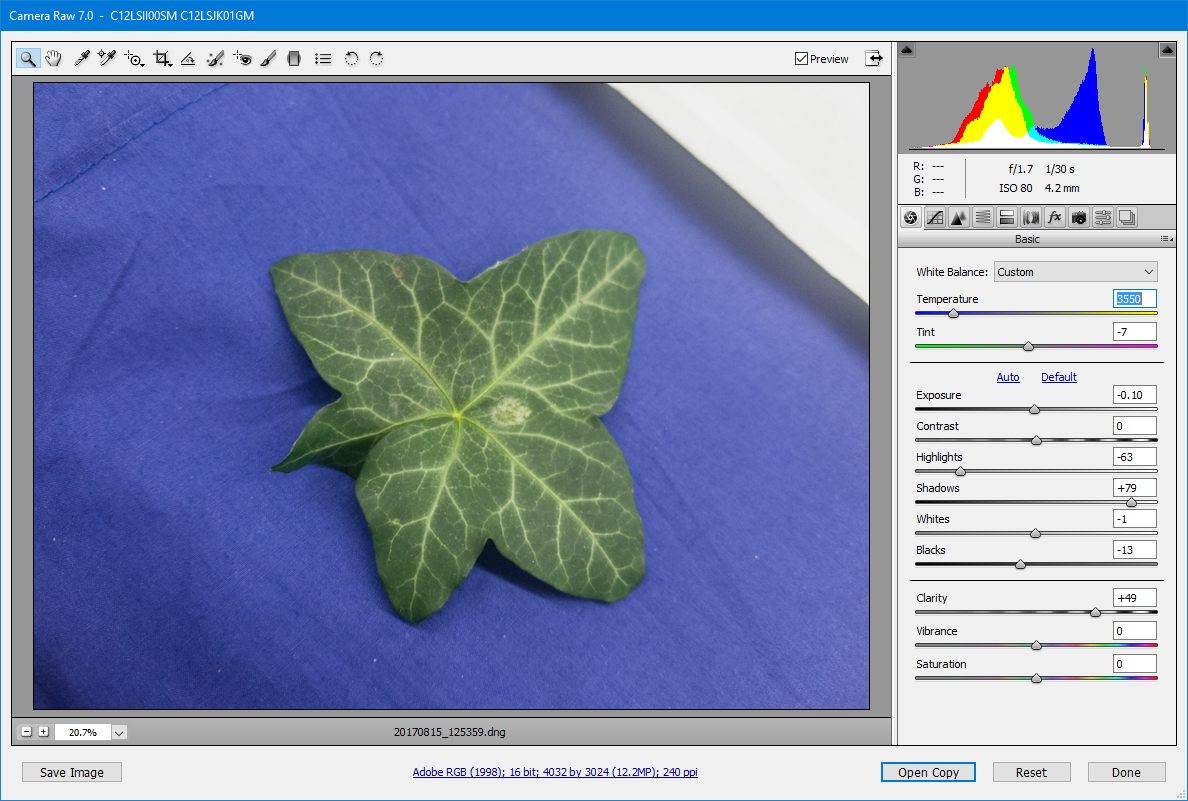
Using the DNG files is the easiest as they open the camera raw in Photoshop on import, which allows you to make small minor adjustments to color correction. Another cool thing with camera raw is that you can remove the highlights and shadows, which works really well on photo-scanned trunks as it gives you a 99% albedo without a lot of hard work. You can always keep both versions and generate your photoscan with the normal files, then switch the DNG files ack in afterwards for a texture bake.
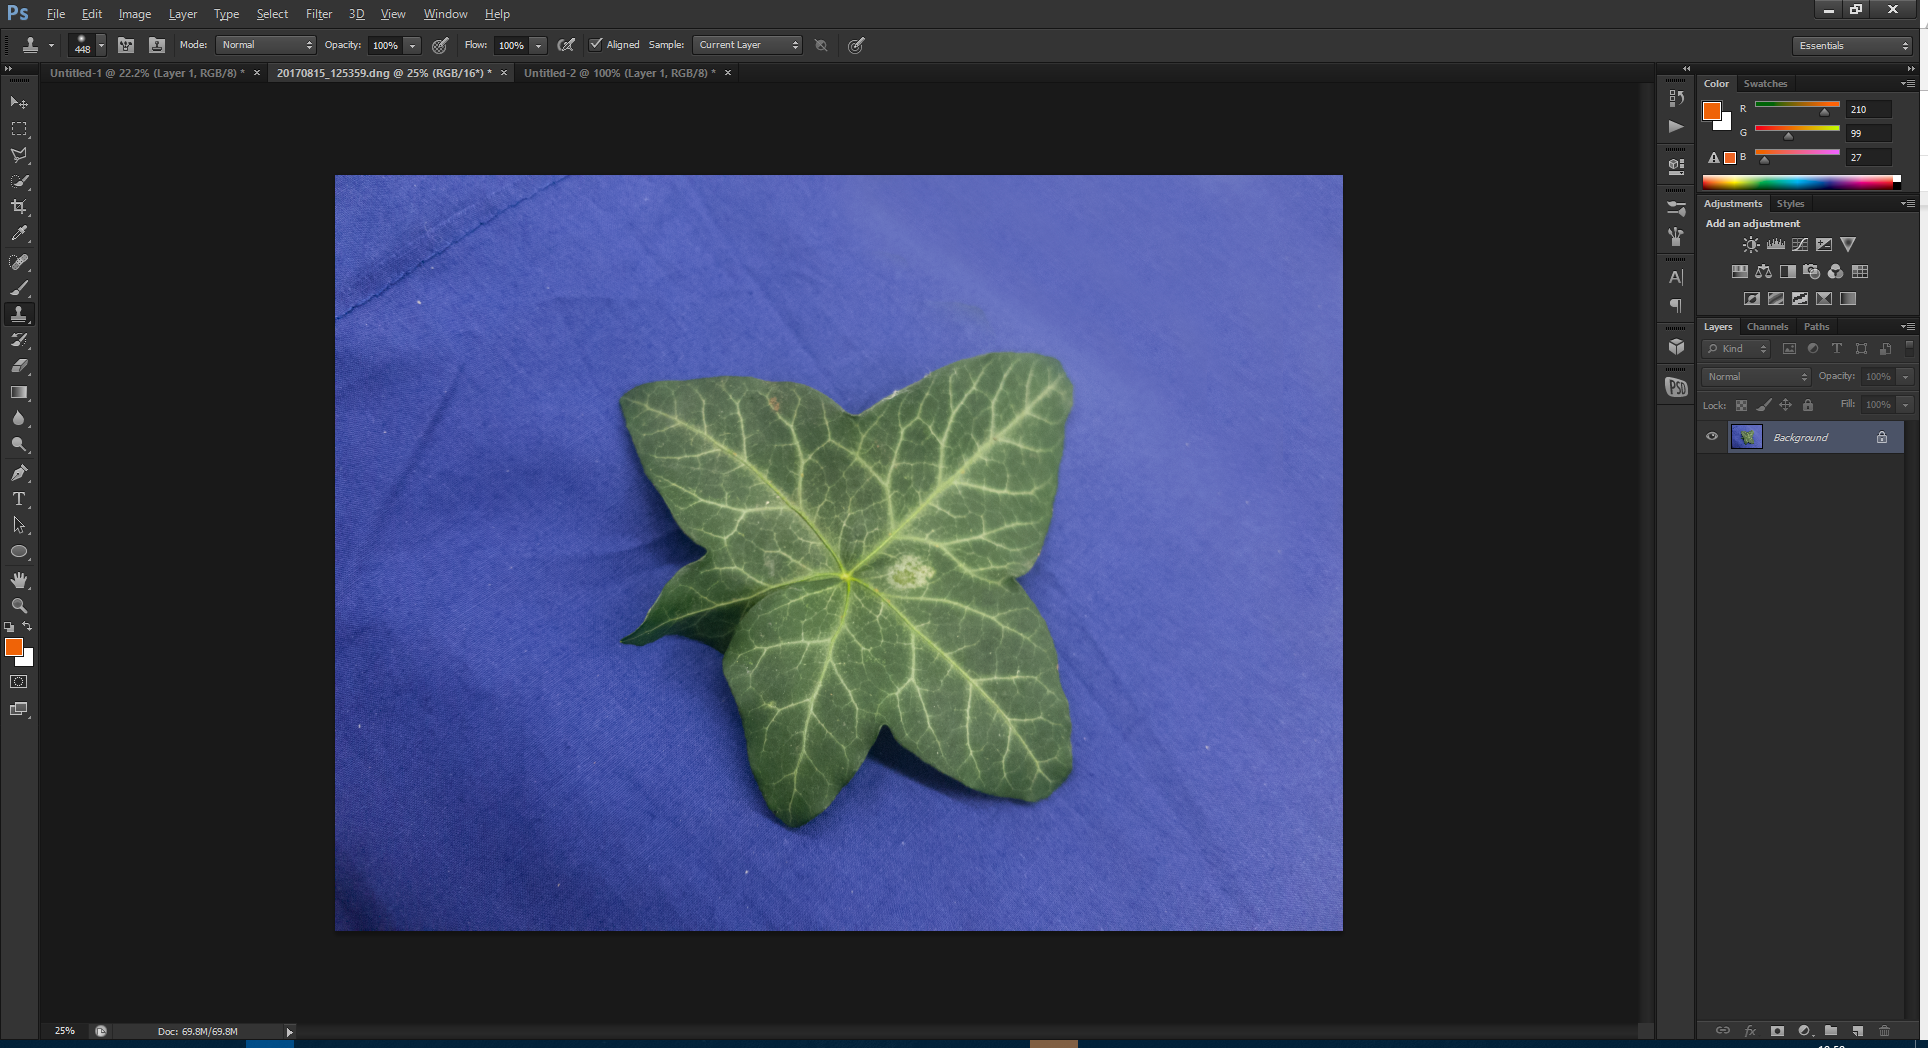
First, fill in the extra areas that aren’t blue so that you can mask quickly.
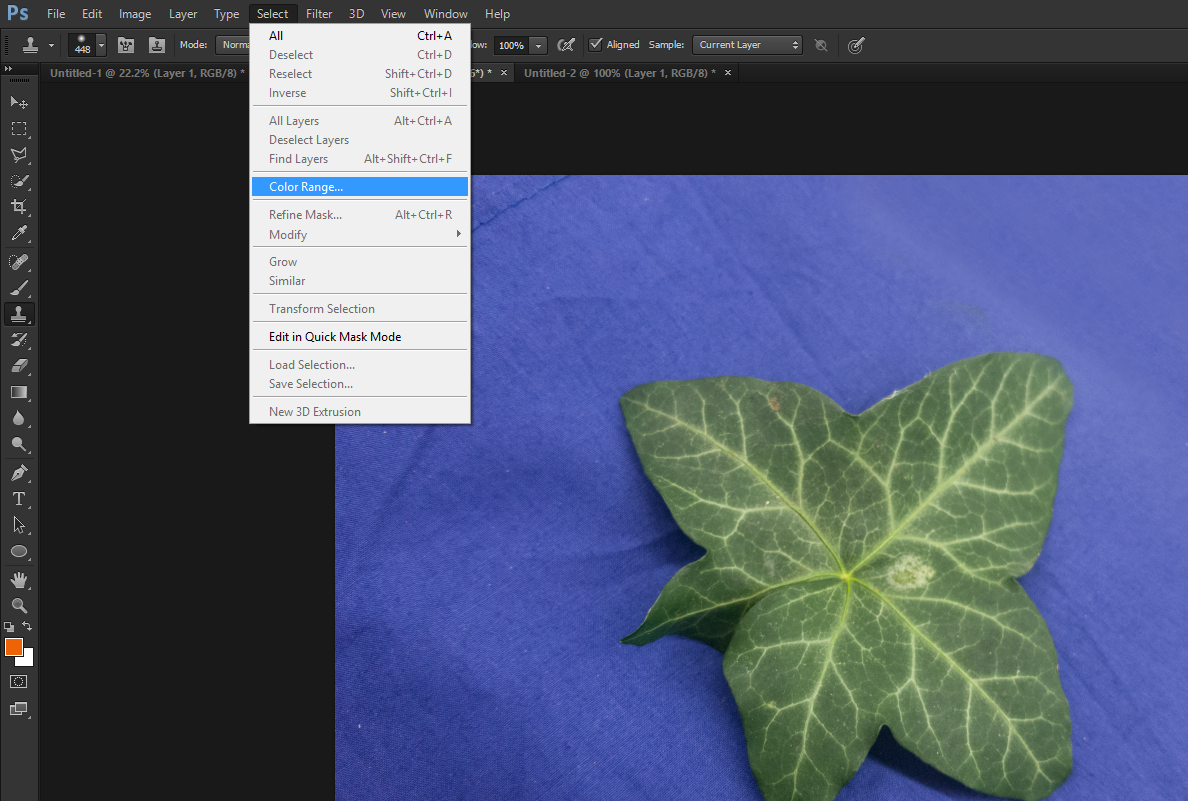
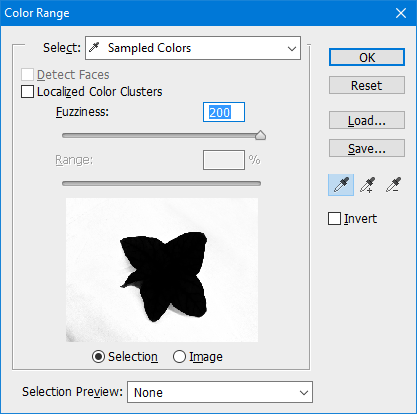
Then select the color range of the blue.
Play with your settings until the mask looks okay.
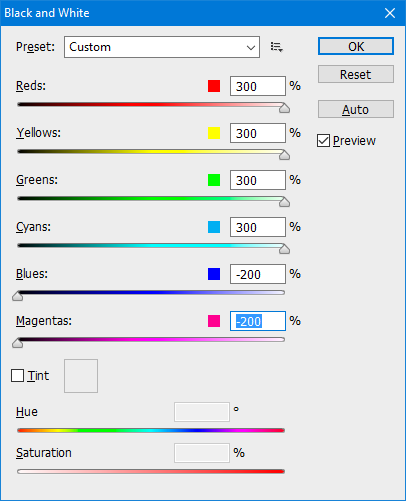
And then convert the image to black and white, and invert it for a mask.
Another way of doing this is by making a duplicate black-and-white image straight away:
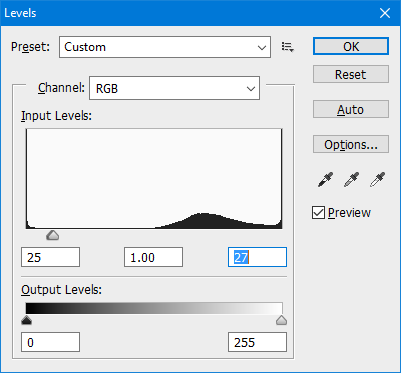
Then push the levels to fill the rest of the leaf with white.
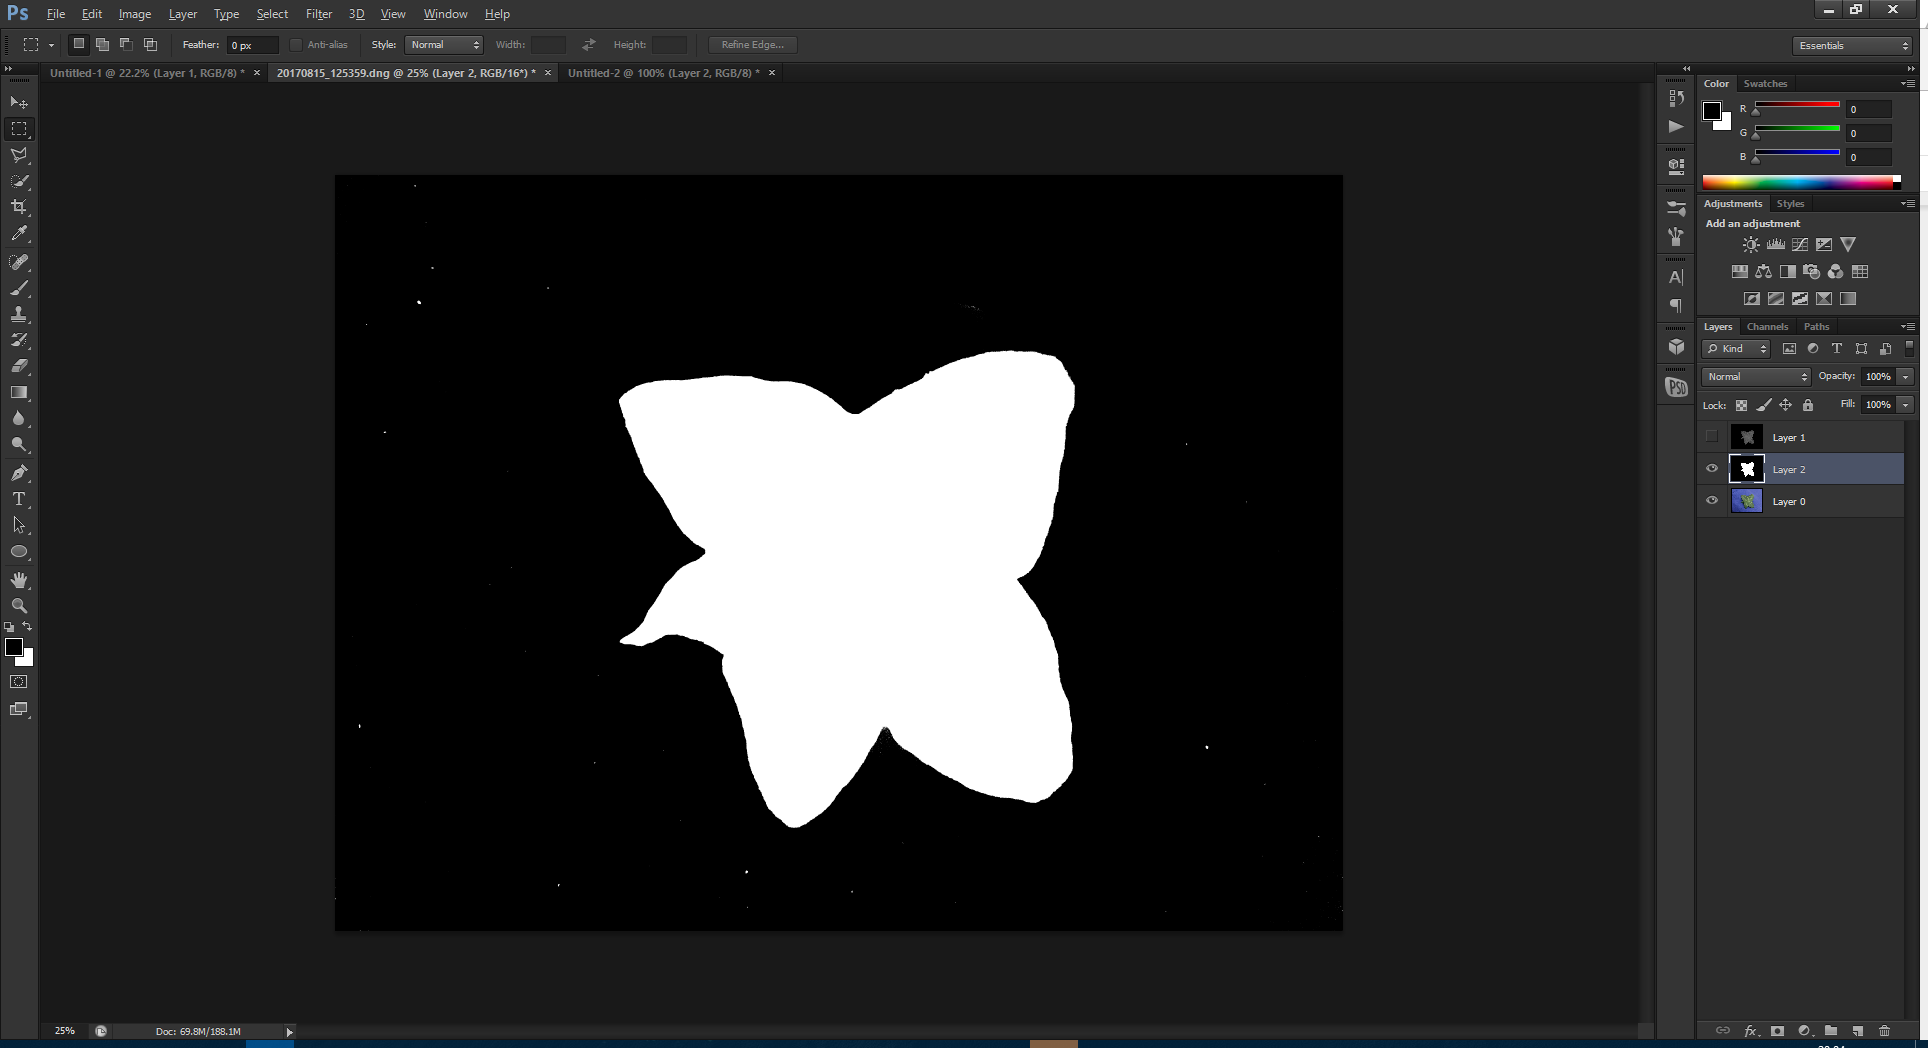
Paint out any remaining extra white blobs, and you have a mask!
Here the mask needs some tweaking, so use the refine tool until you have the shape you want, then adjust any color values further.
Also, using the selective color allows you to get great saturation into your foliage (if, like me, you’re dumb enough not to have a color palette with you on the day.)
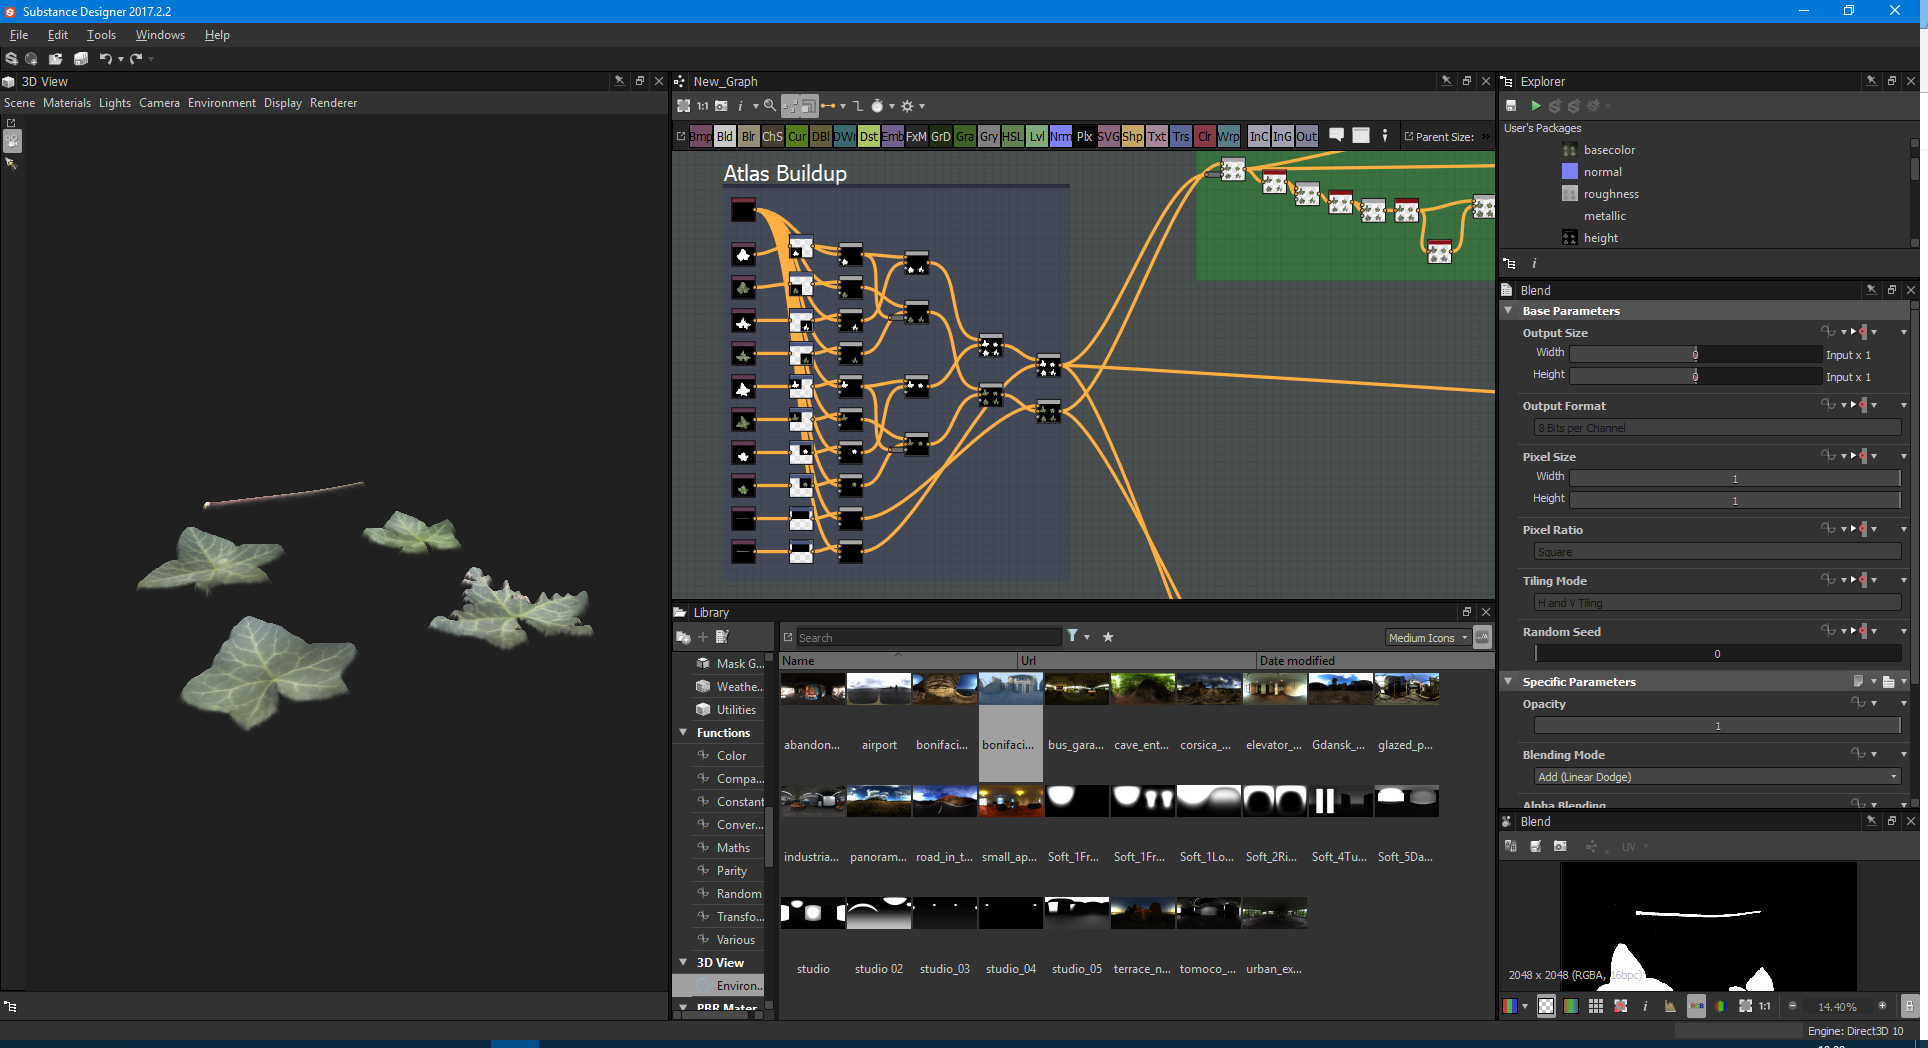
Finish this off by doing several leaves and you have yourself an atlas!
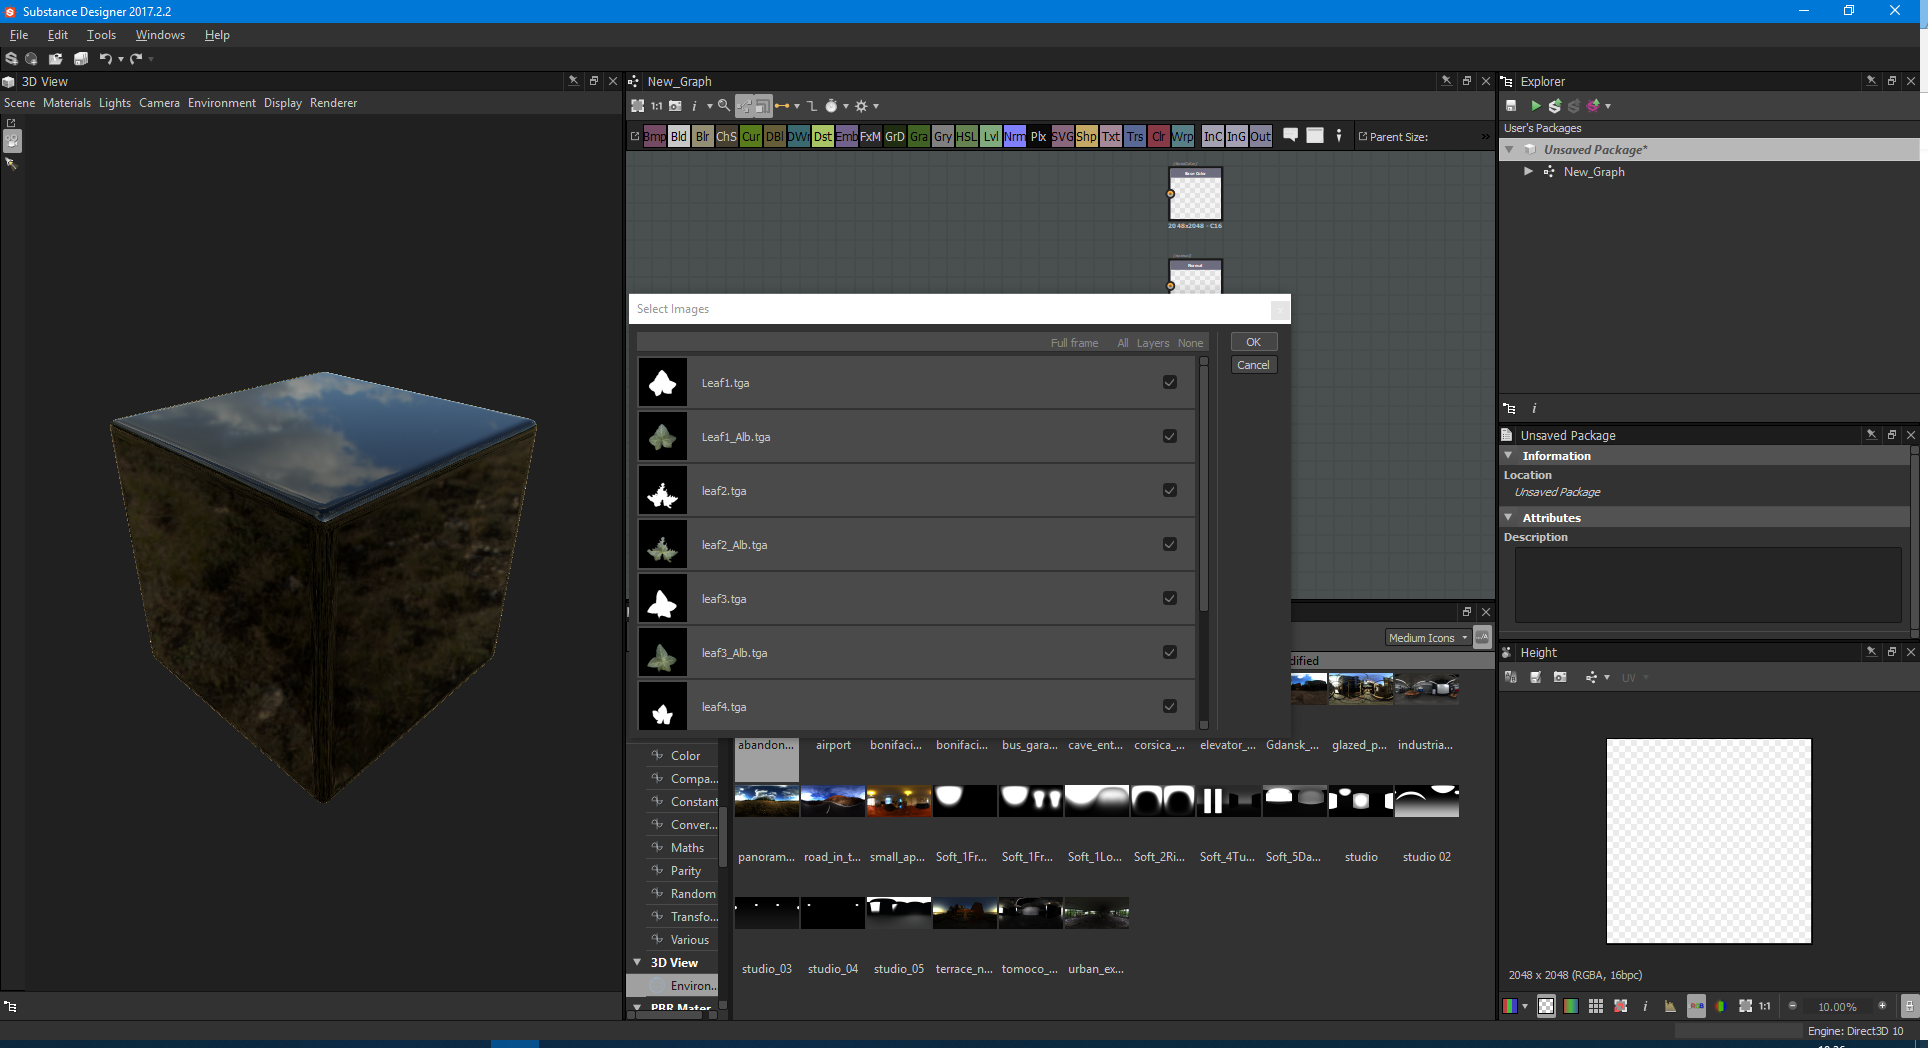
The next step is Substance Designer! We’re going to want to bring our albedo and our mask into our source files for Substance Designer:
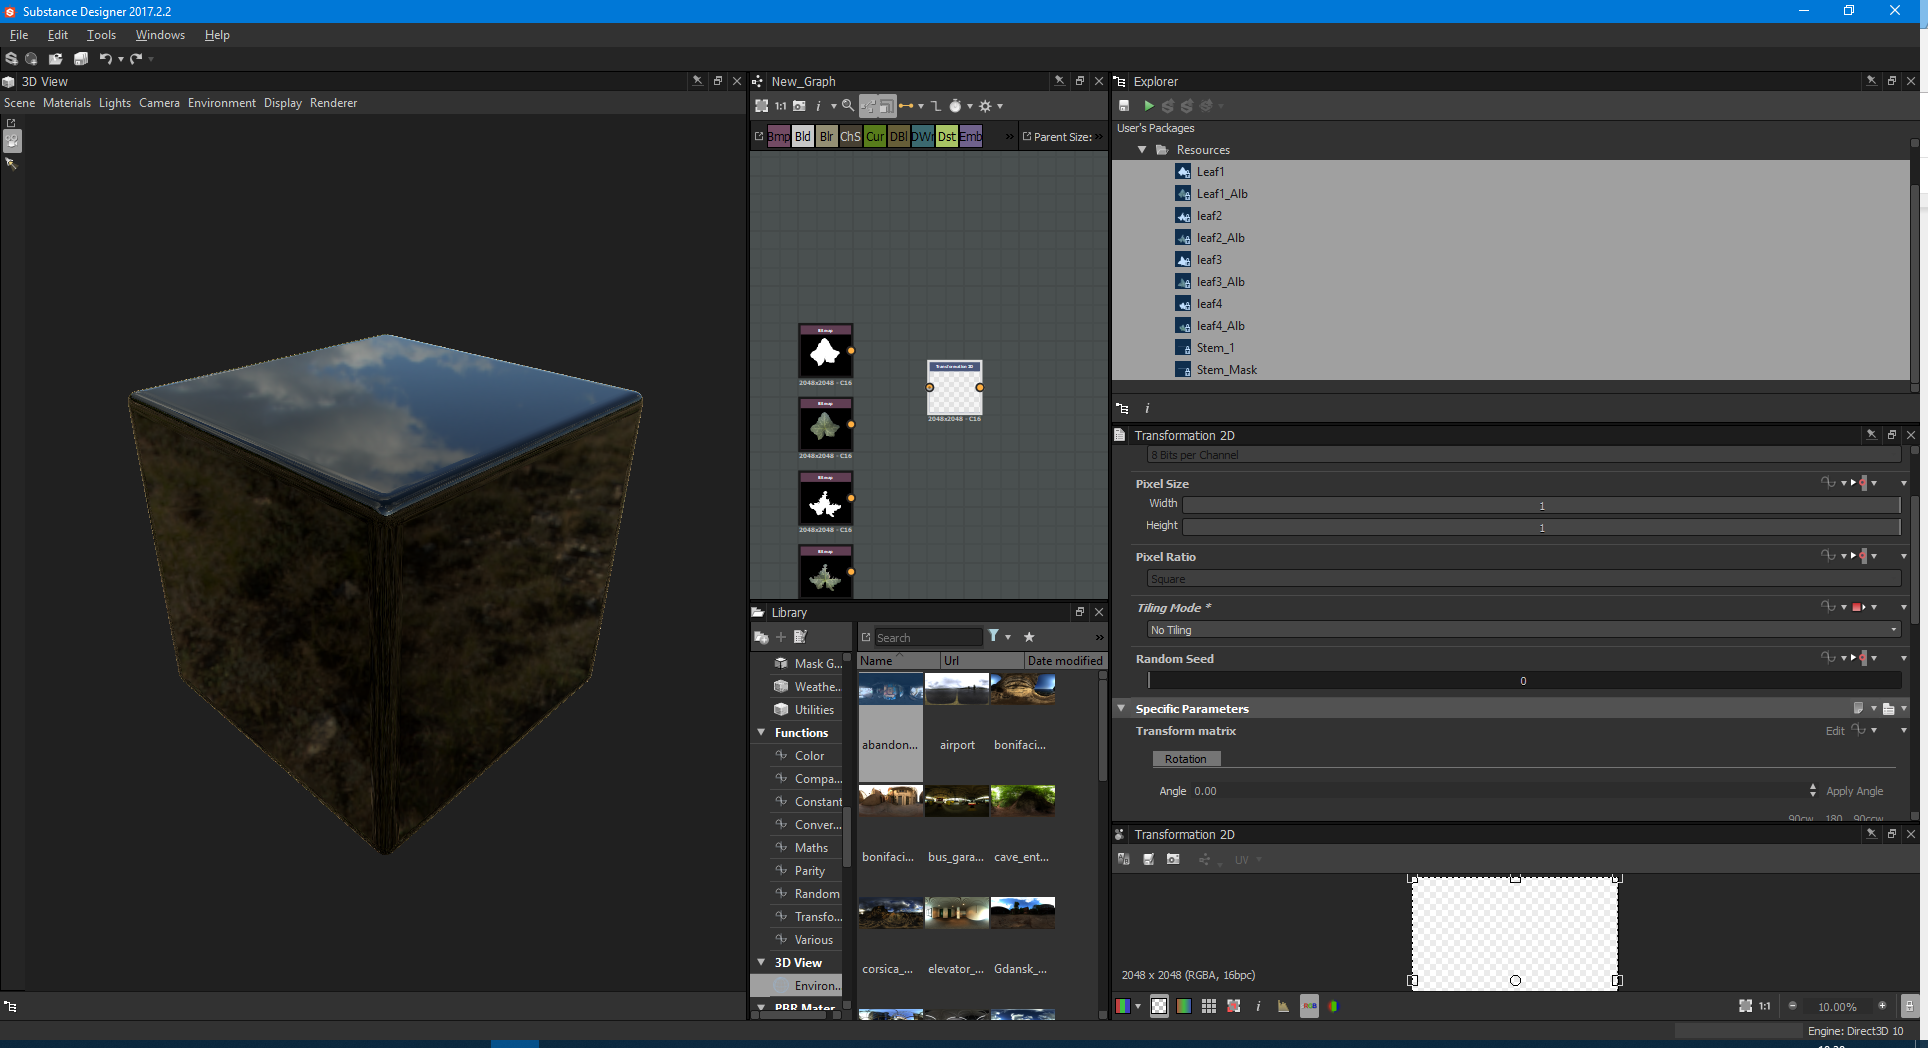
Now we want to build our atlas. Using 2D Transform, we can go ahead and turn off Tiling Mode, like this:
Go to Tiling Mode, and change its setting to ‘absolute’ so that we can edit, then change the drop-down to no tiling:
Now we can position our mask. Once we’ve positioned all our transformations from our albedo we can duplicate the transformations, and link up to the mask to have a perfect comparison. After that, we can blend them together to achieve this atlas:
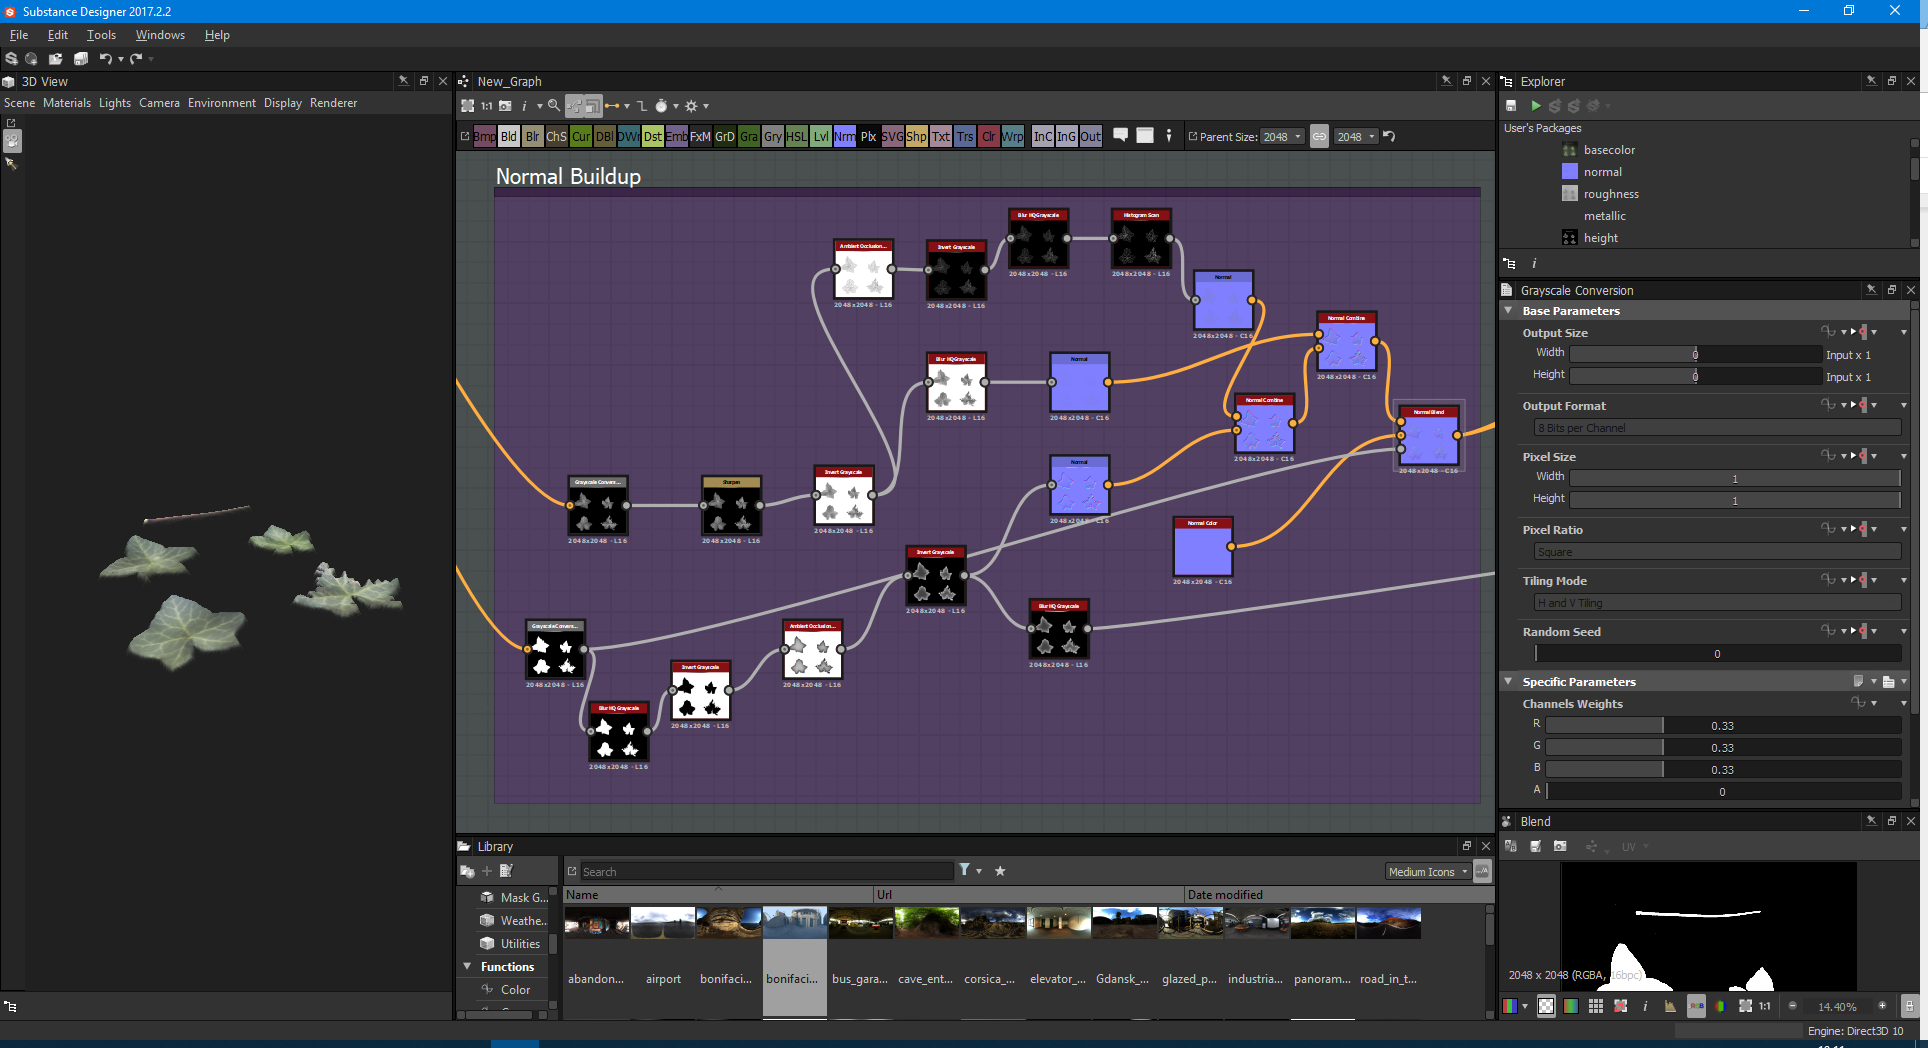
After we’ve done that, we can greyscale our albedo, and sharpen it, Invert the sharpen and run it through a Blur HQ Grayscale node, on a low value.
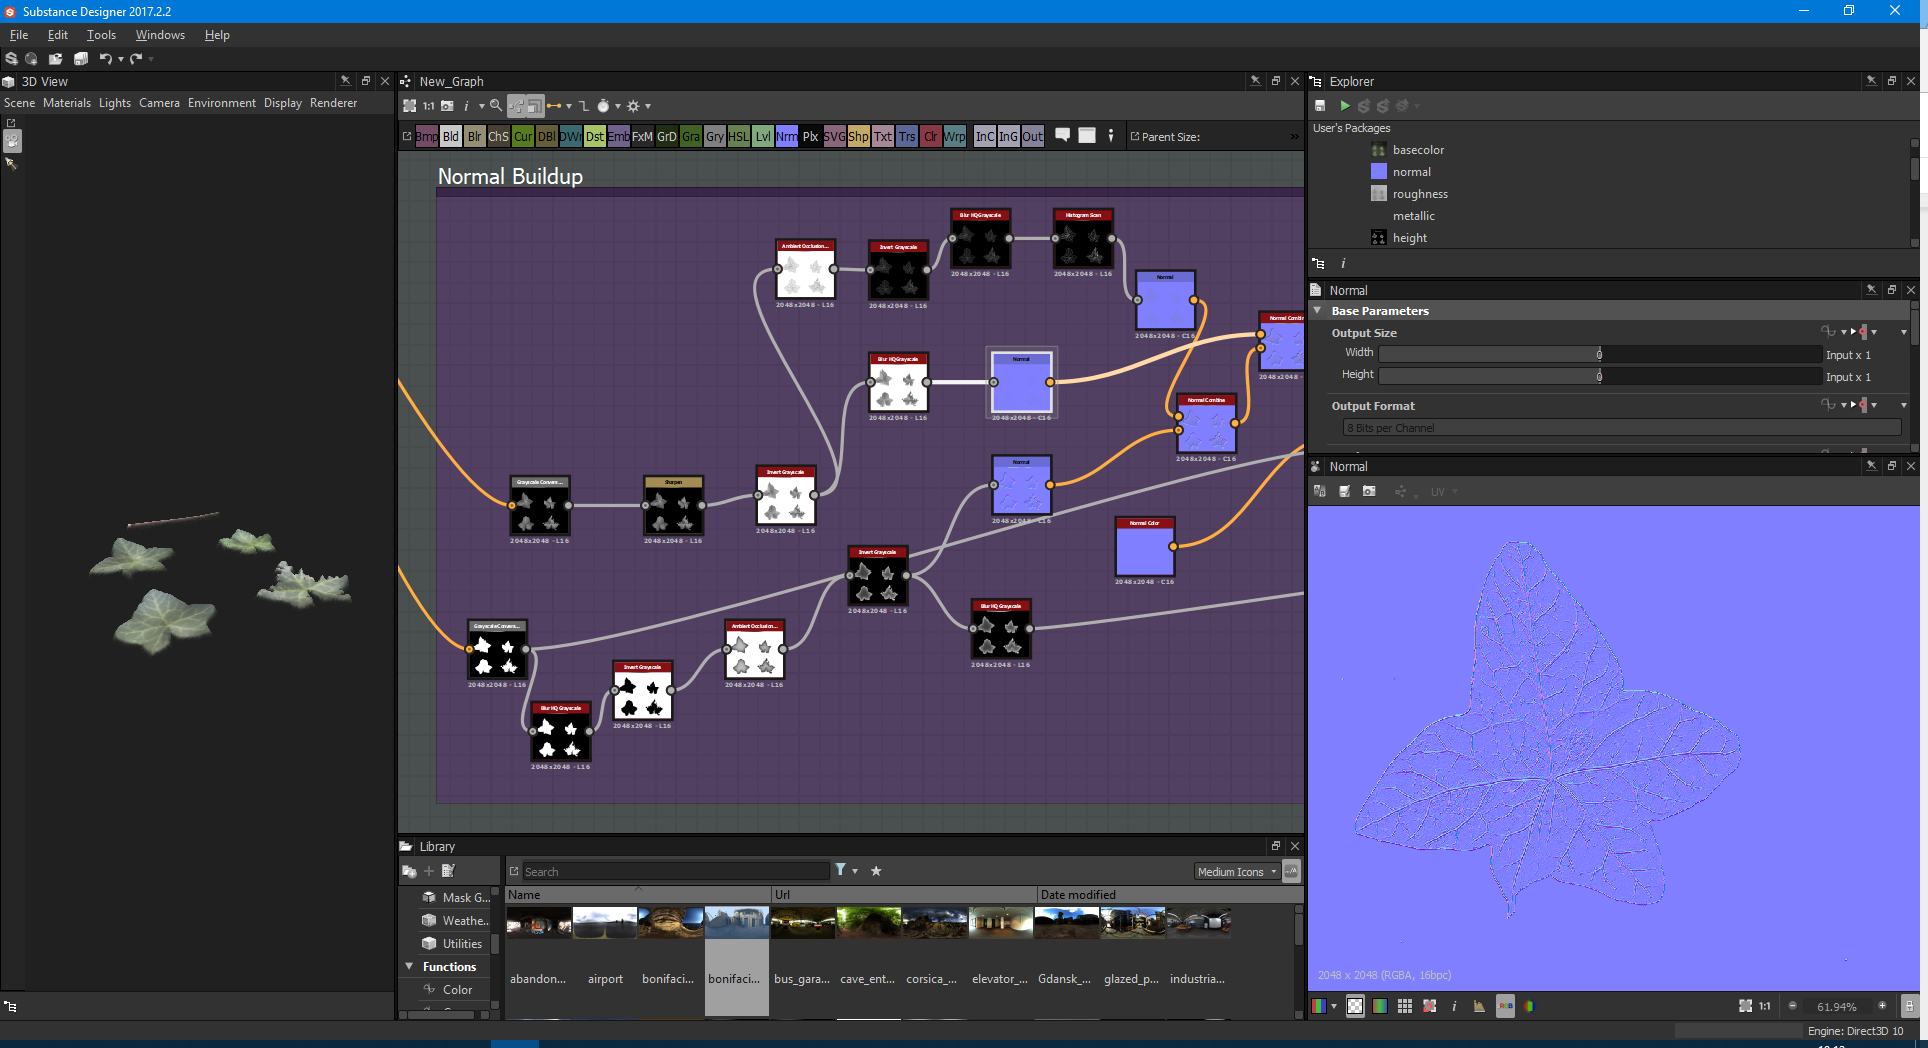
Once we’ve carried out the Blur we can add a normal to it and play with the normal intensity:
We only want small details for this, as this will be our top layer.
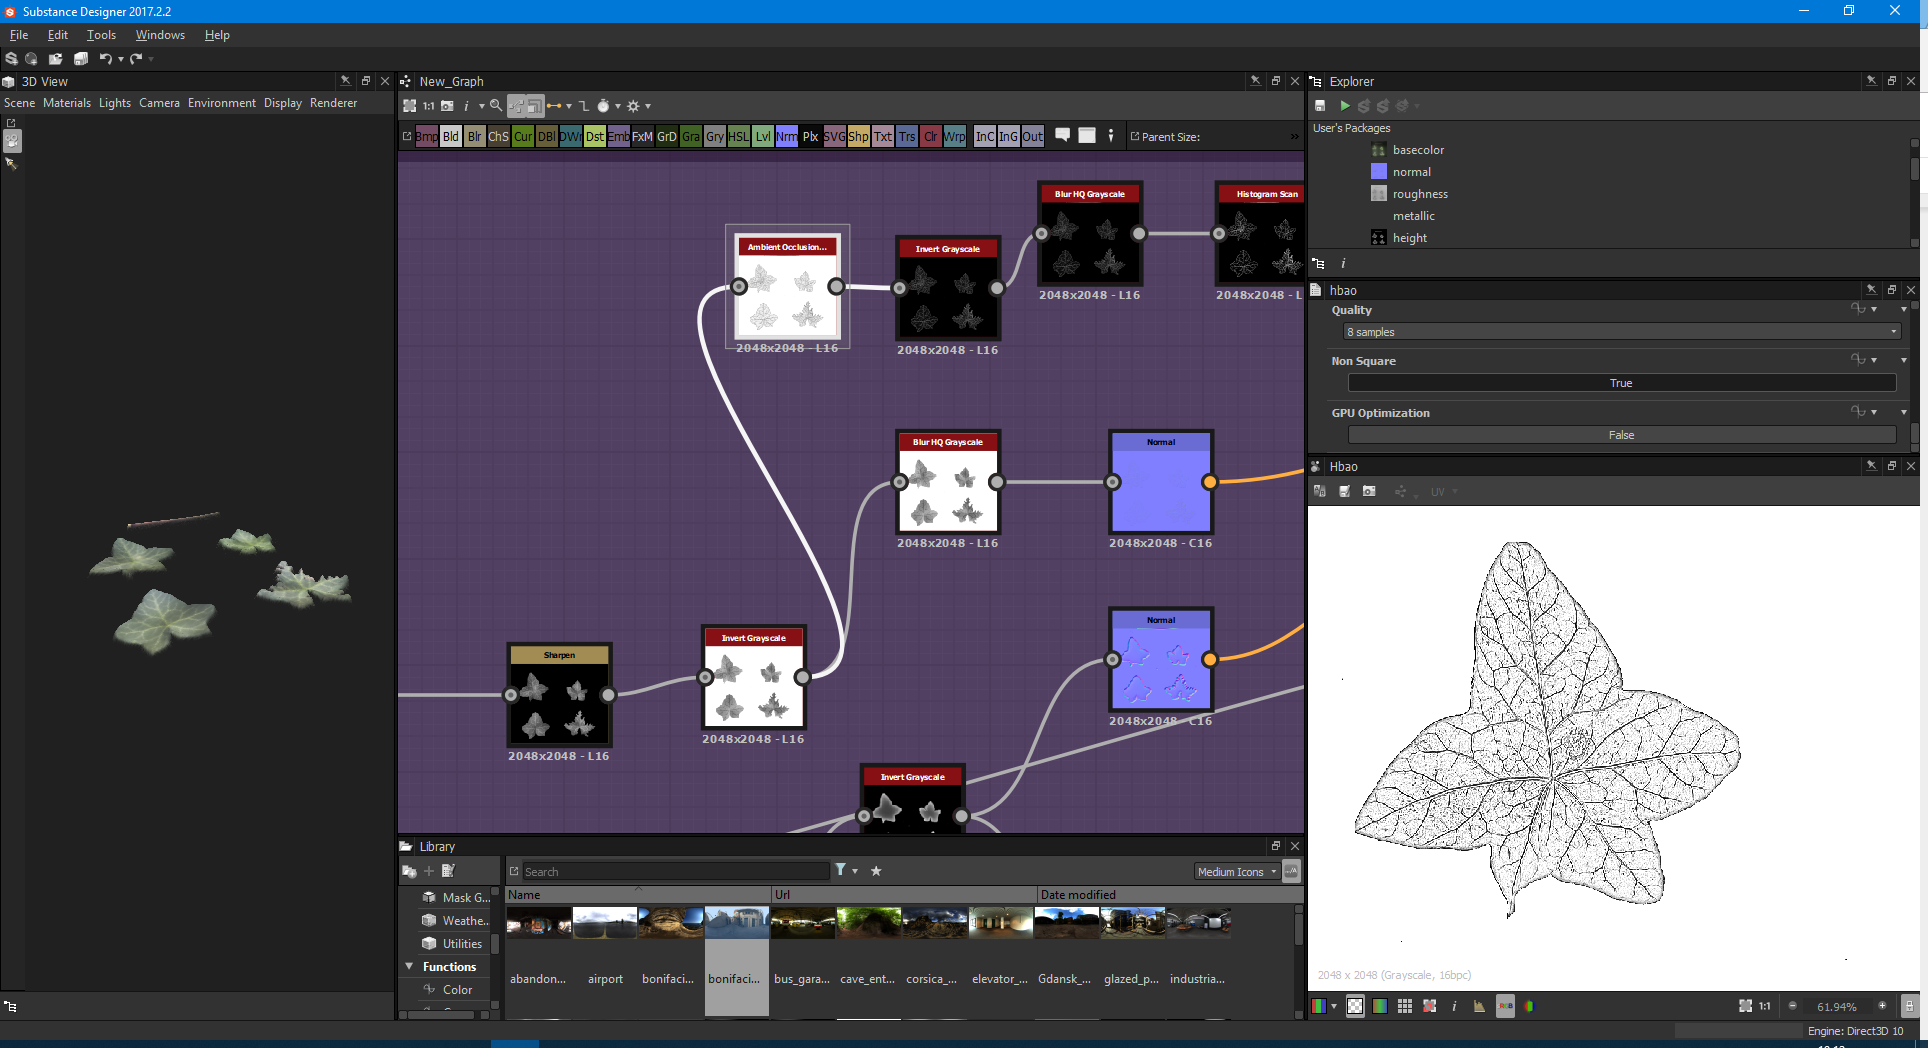
Once we’ve got that, take the inverted grayscale and put an Ambient Occlusion node on it. Then adjust the values to get something like this:
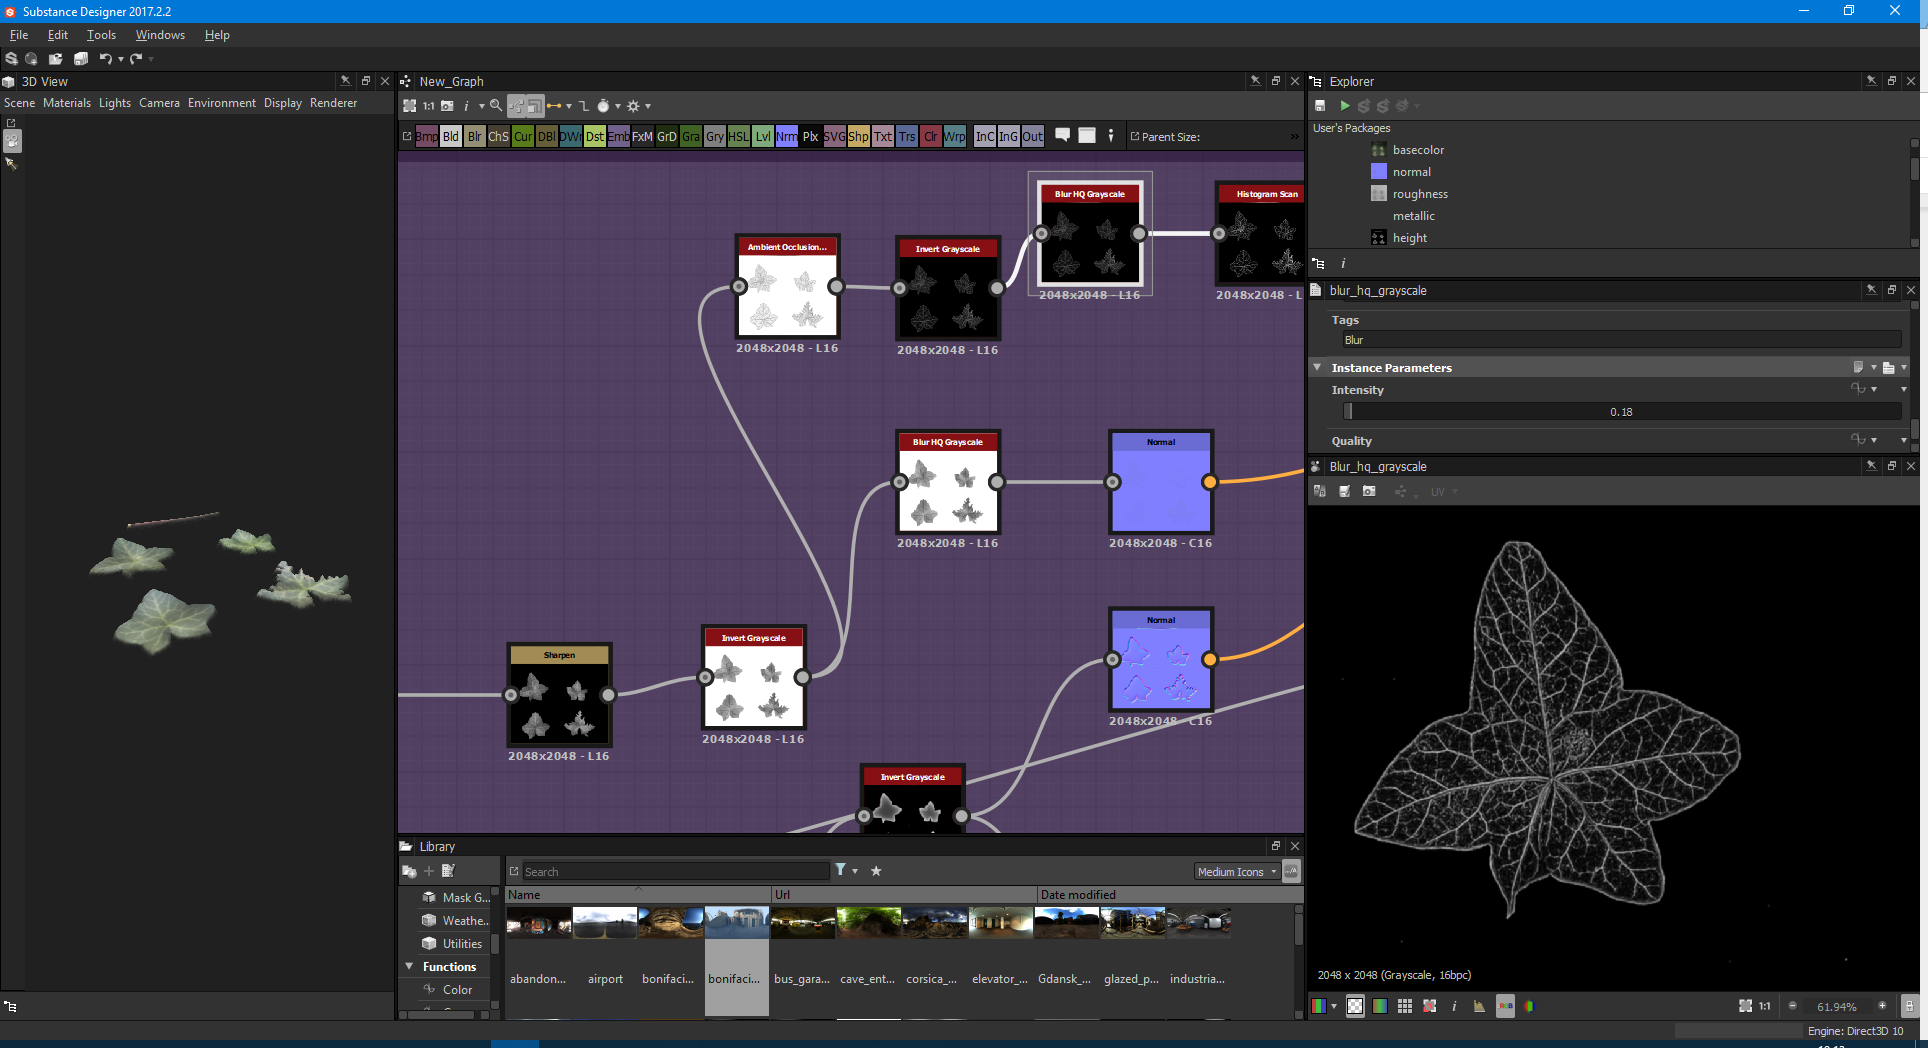
Then we invert this, and plug it into a Blur HQ node. This time, we want to blur this mask so that we can use the white areas of the leaf veins like this:
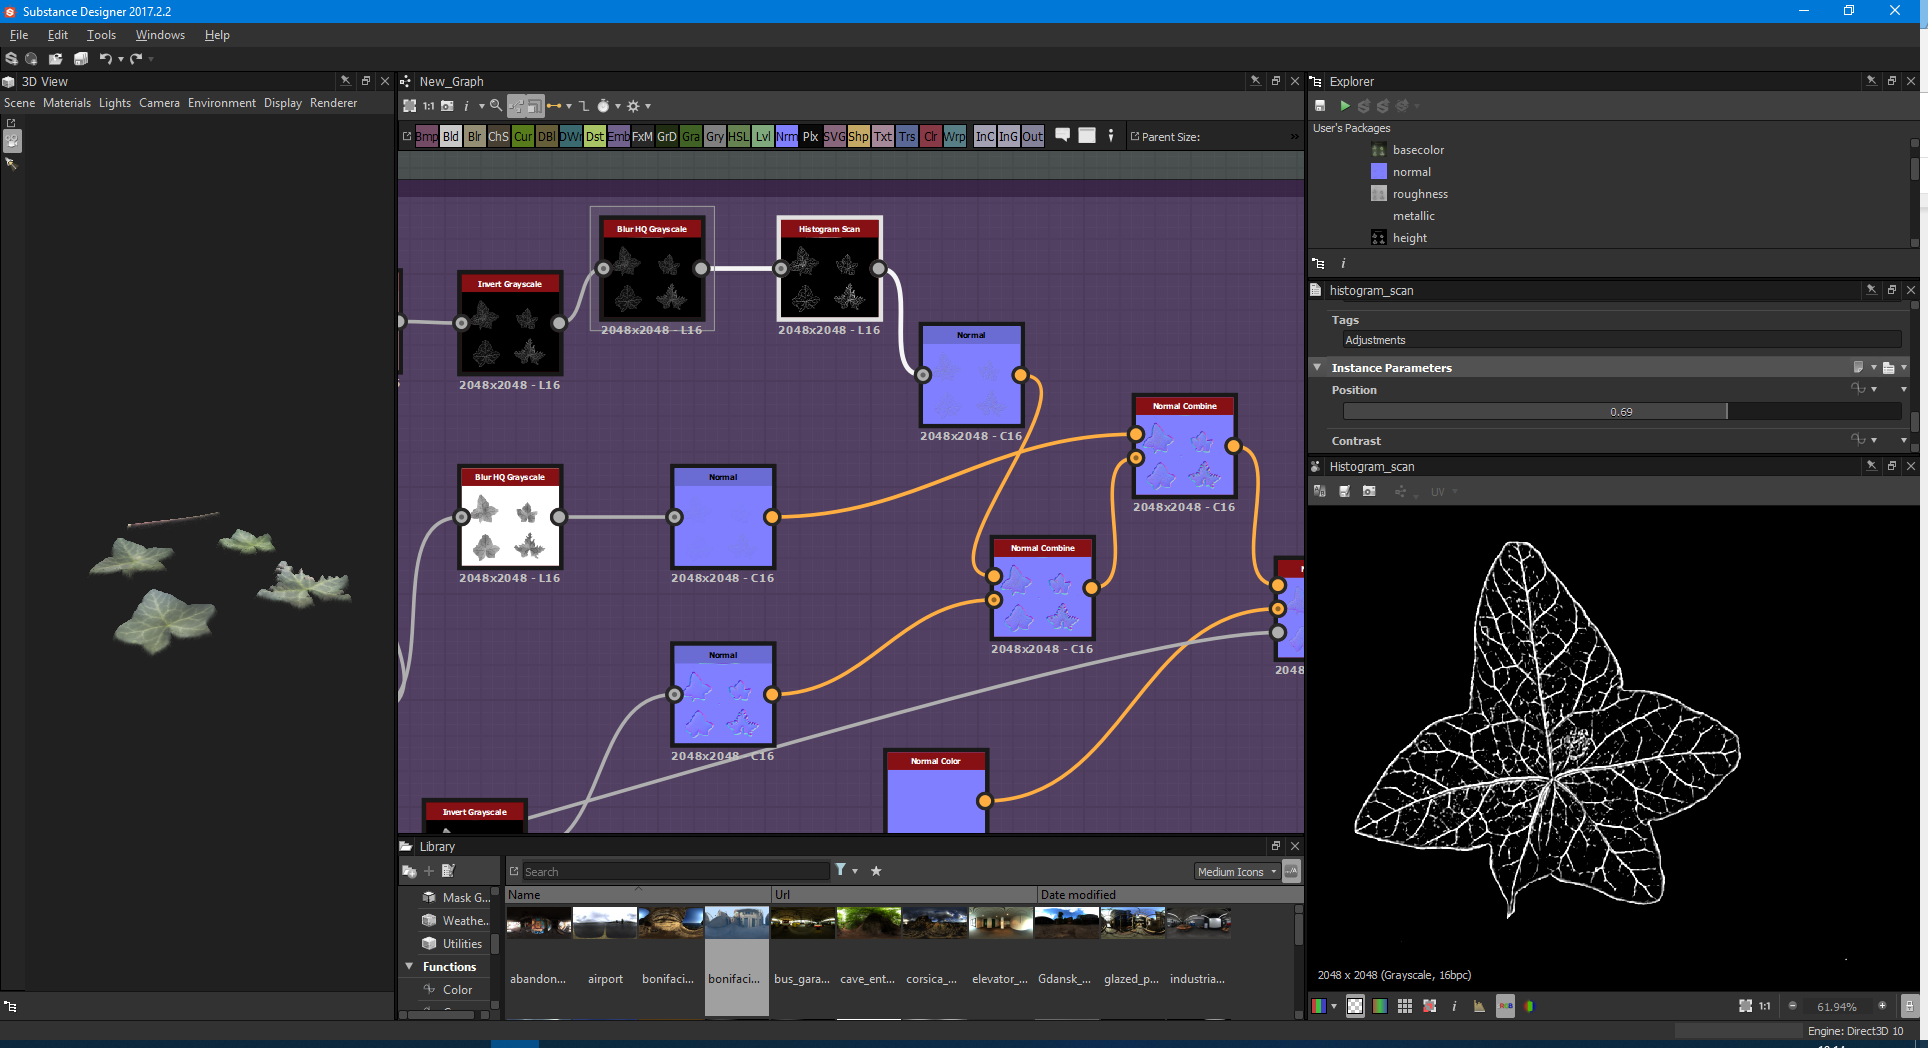
We can then run this through a Histogram Scan node, and adjust the levels to get the perfect outline for the veins:
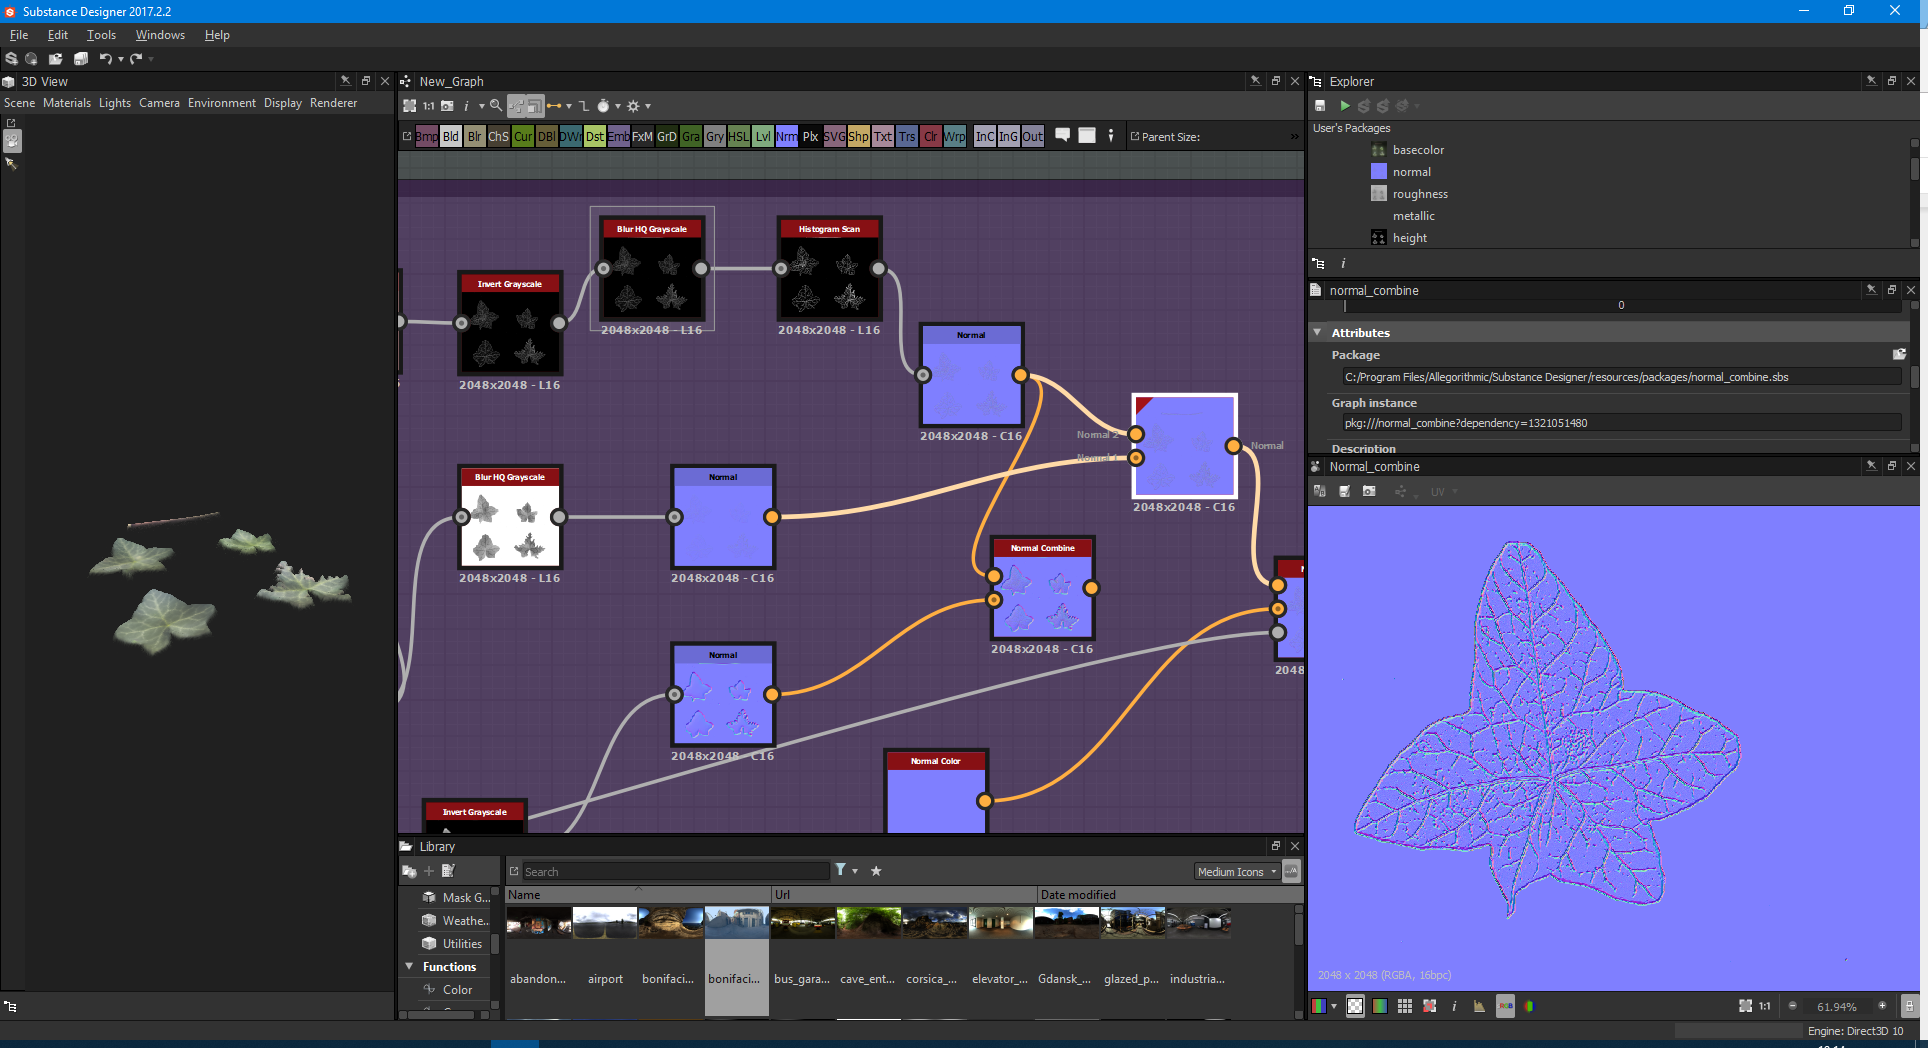
We can now use this as a normal and combine them together:
Next, we want to take our mask and use that to create an ambient occlusion map.
Don't forget to blur here, we’re using this to look at ‘shape’ so we can determine the shape of our leaves’ normal, and invert to get the final look:
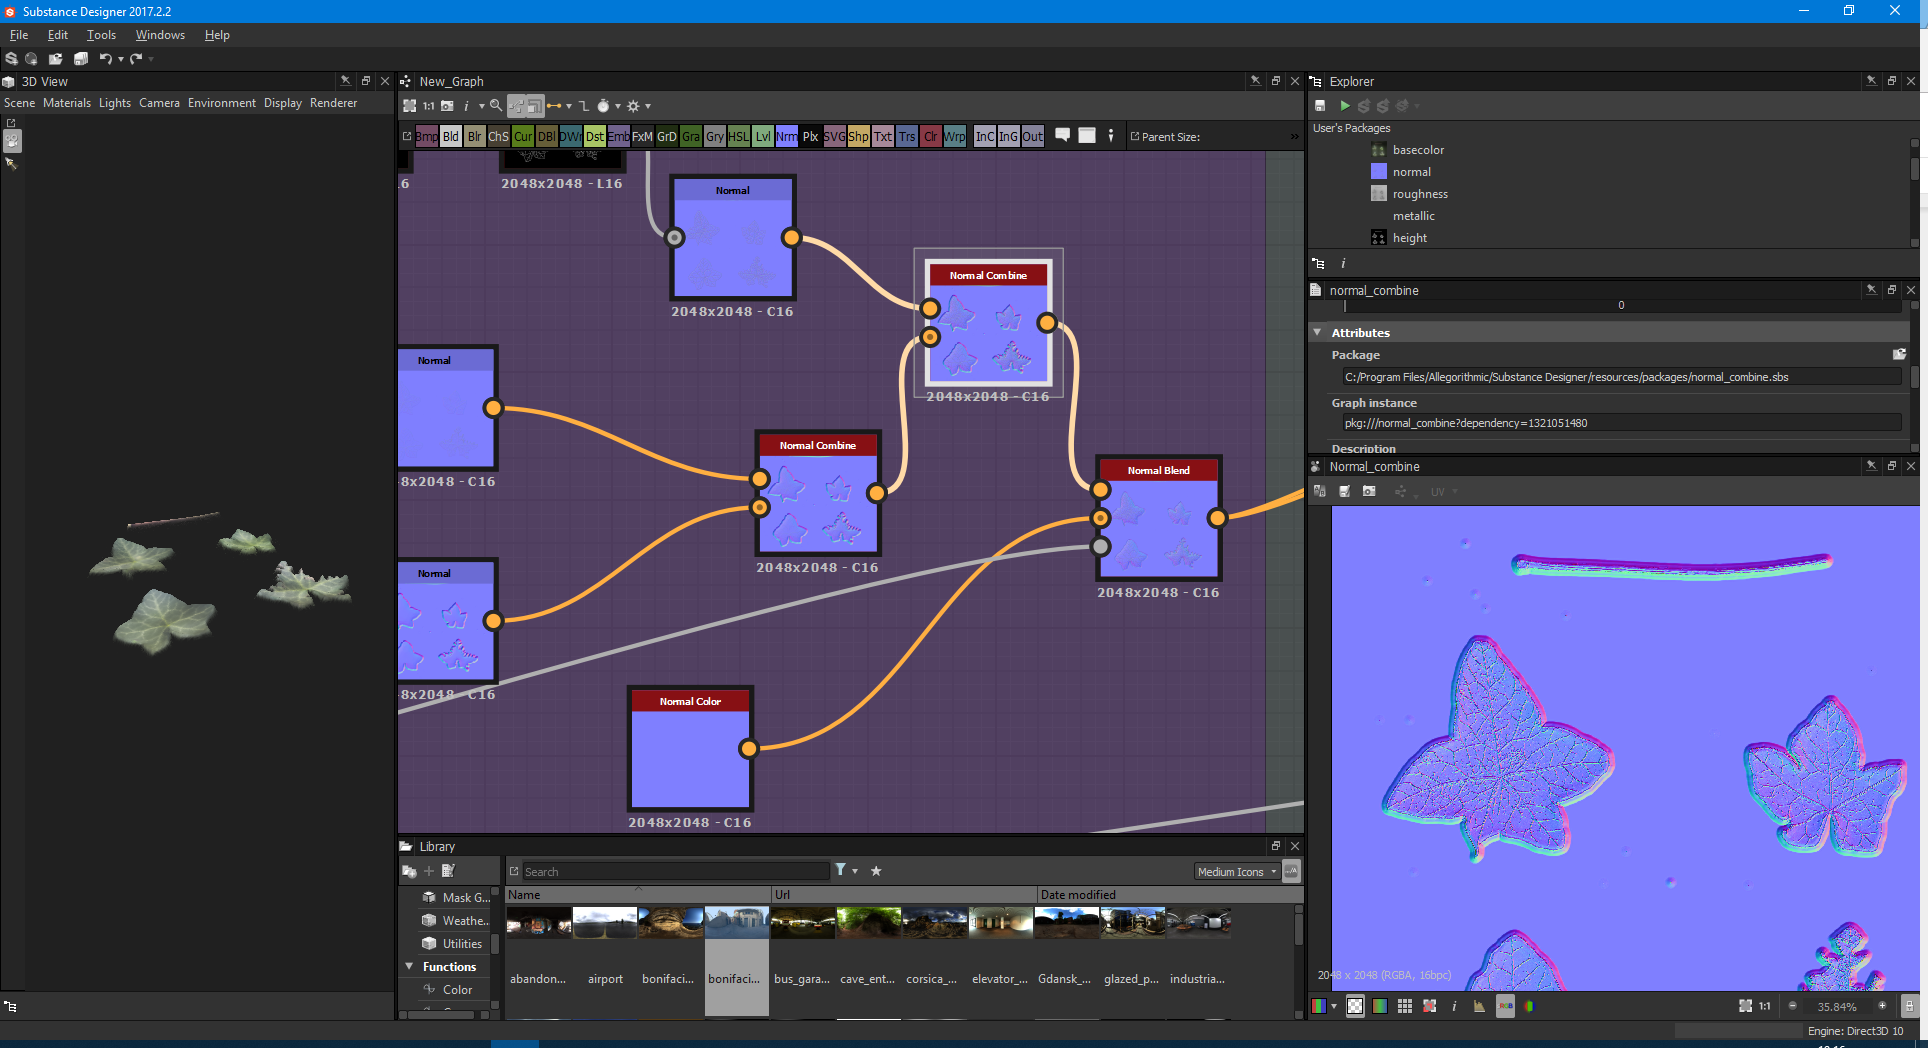
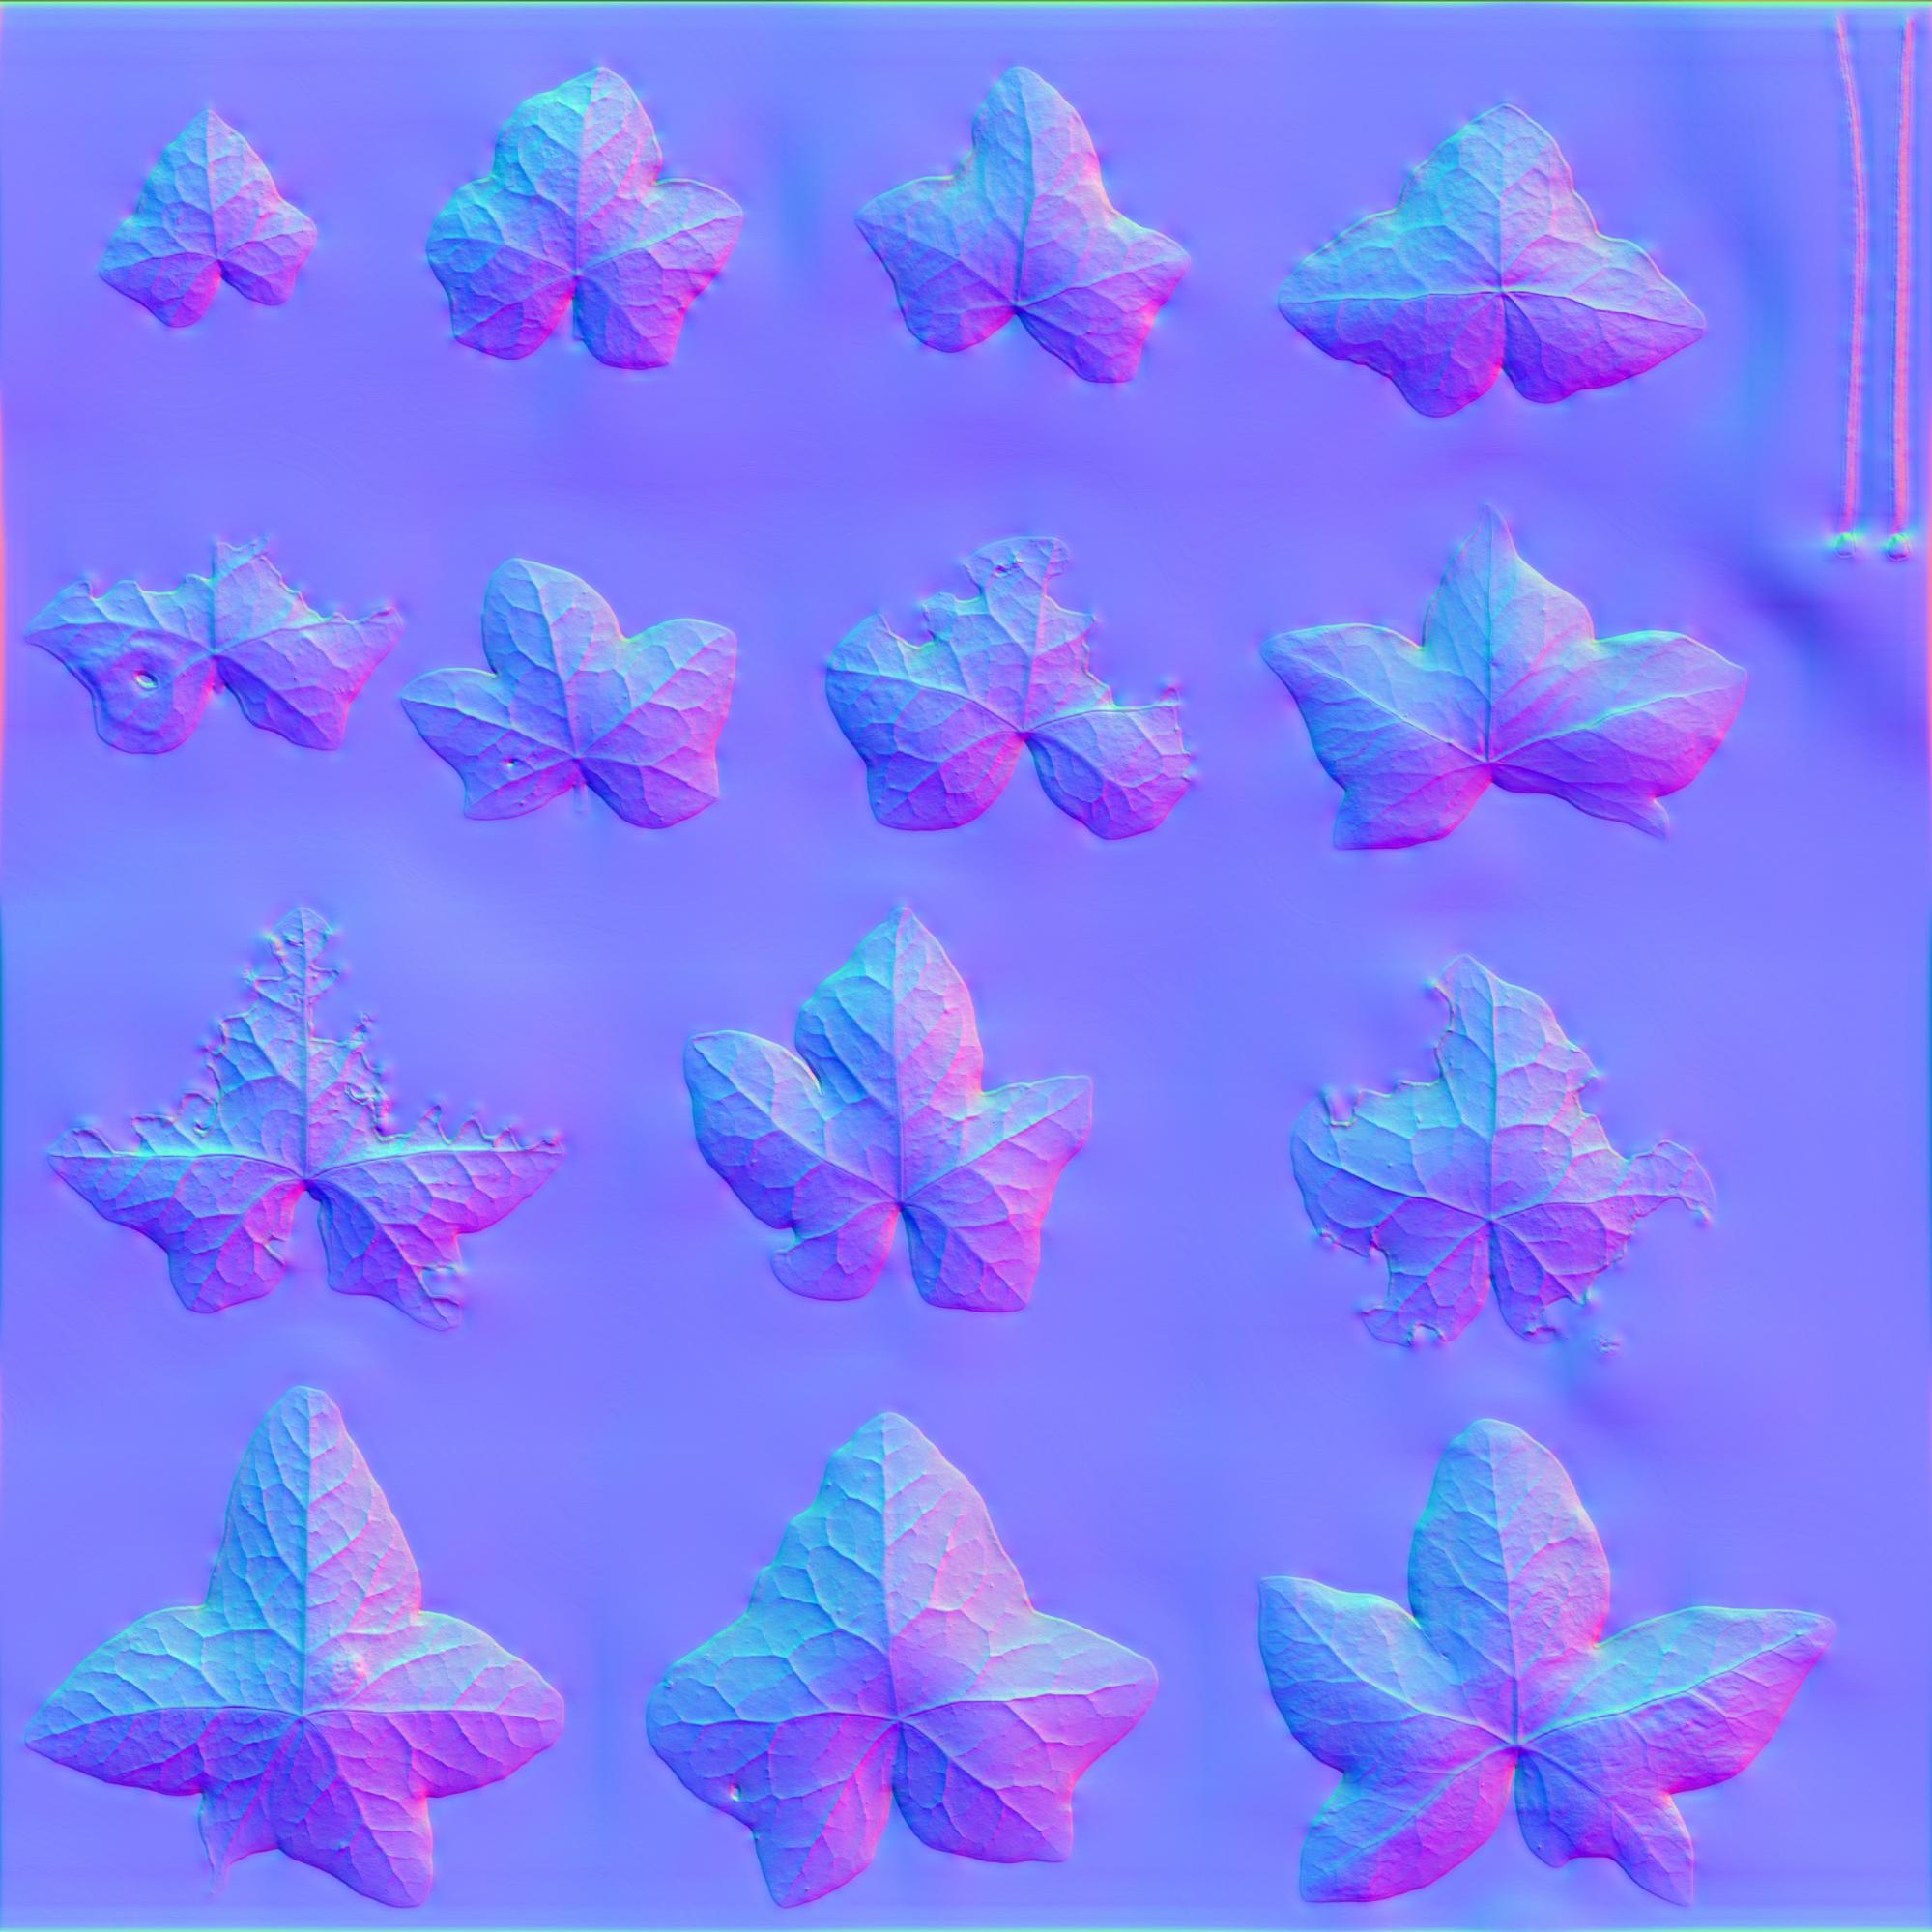
Now combine this normal with the other two normals.
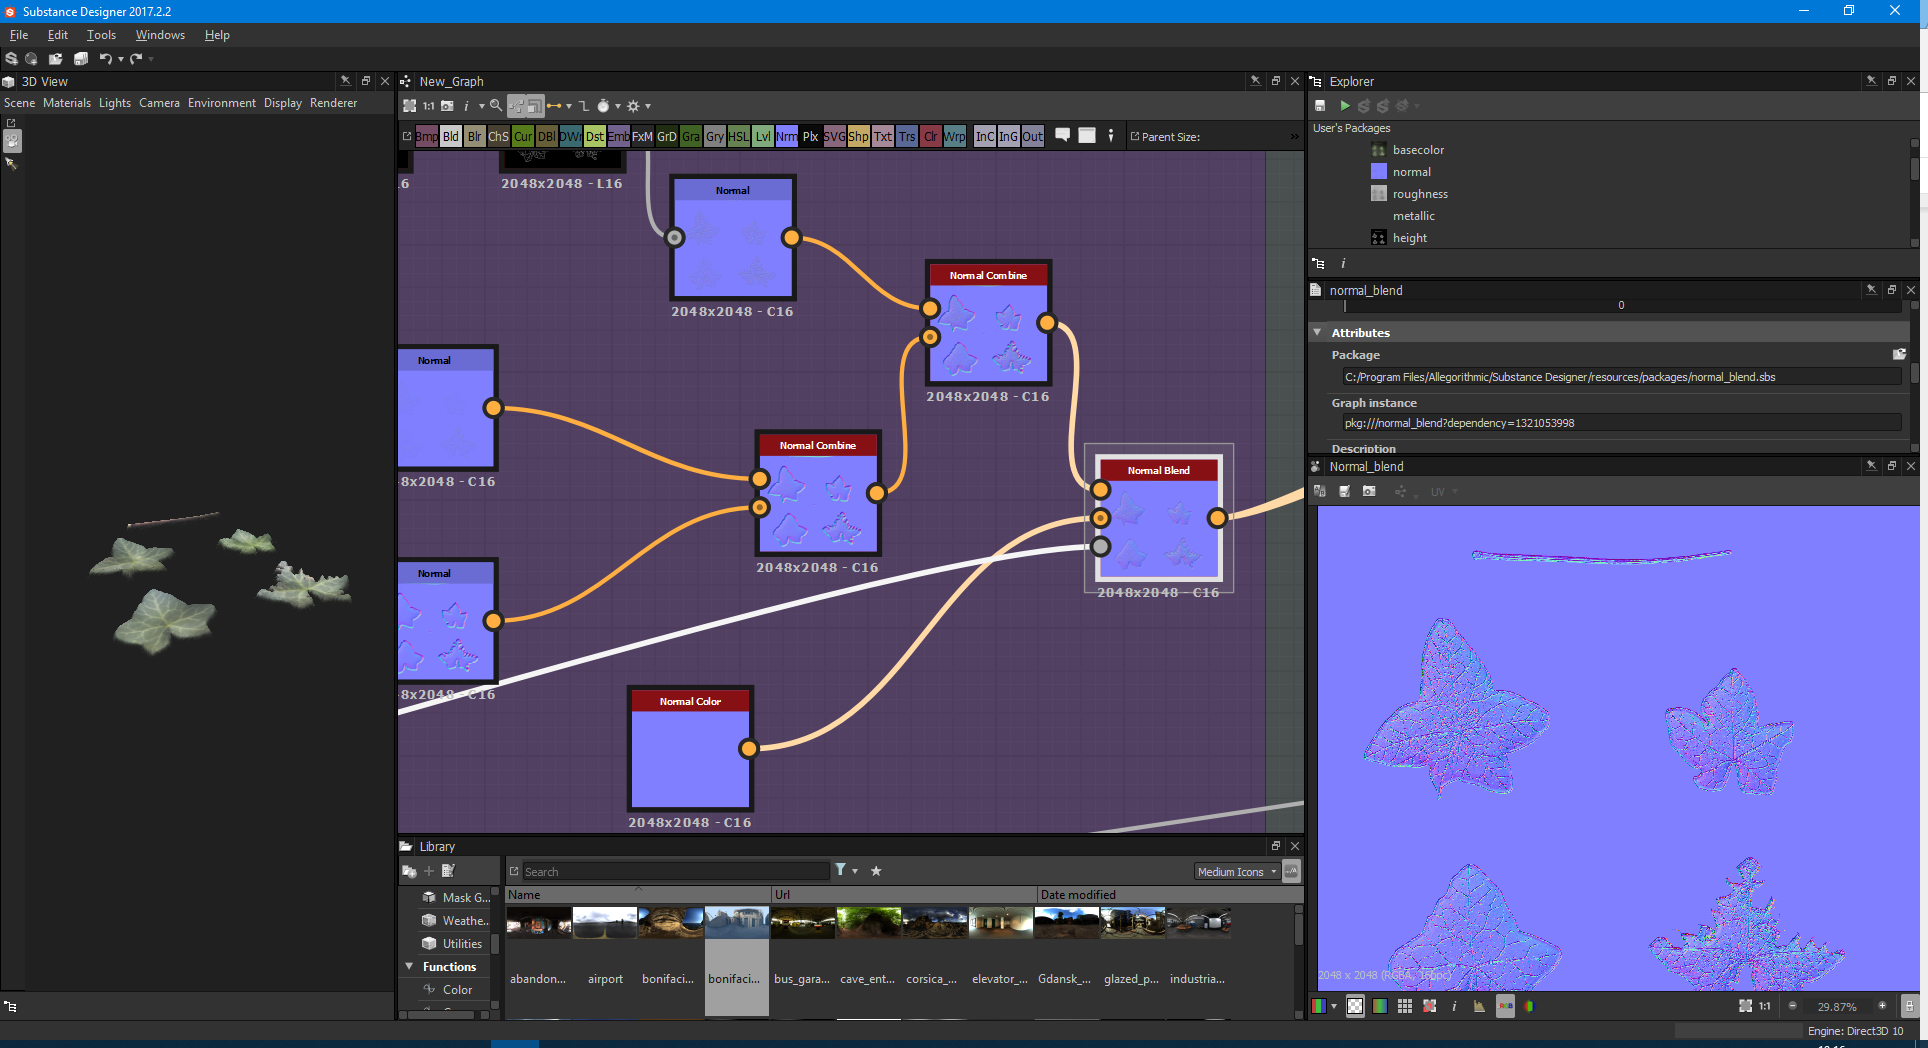
Finally, let’s get rid of those hard edges. We use the mask and a normal color, and then we use the Normal Blend node like this:
We can also use the shape AO as the height AO if we want to make high-poly versions of this and put them into ZBrush.
Our next step is to create an albedo background: I usually gaussian blur my image several times, and lay it over itself to get a masked background bleed:
Then blend it with the original atlas we made.
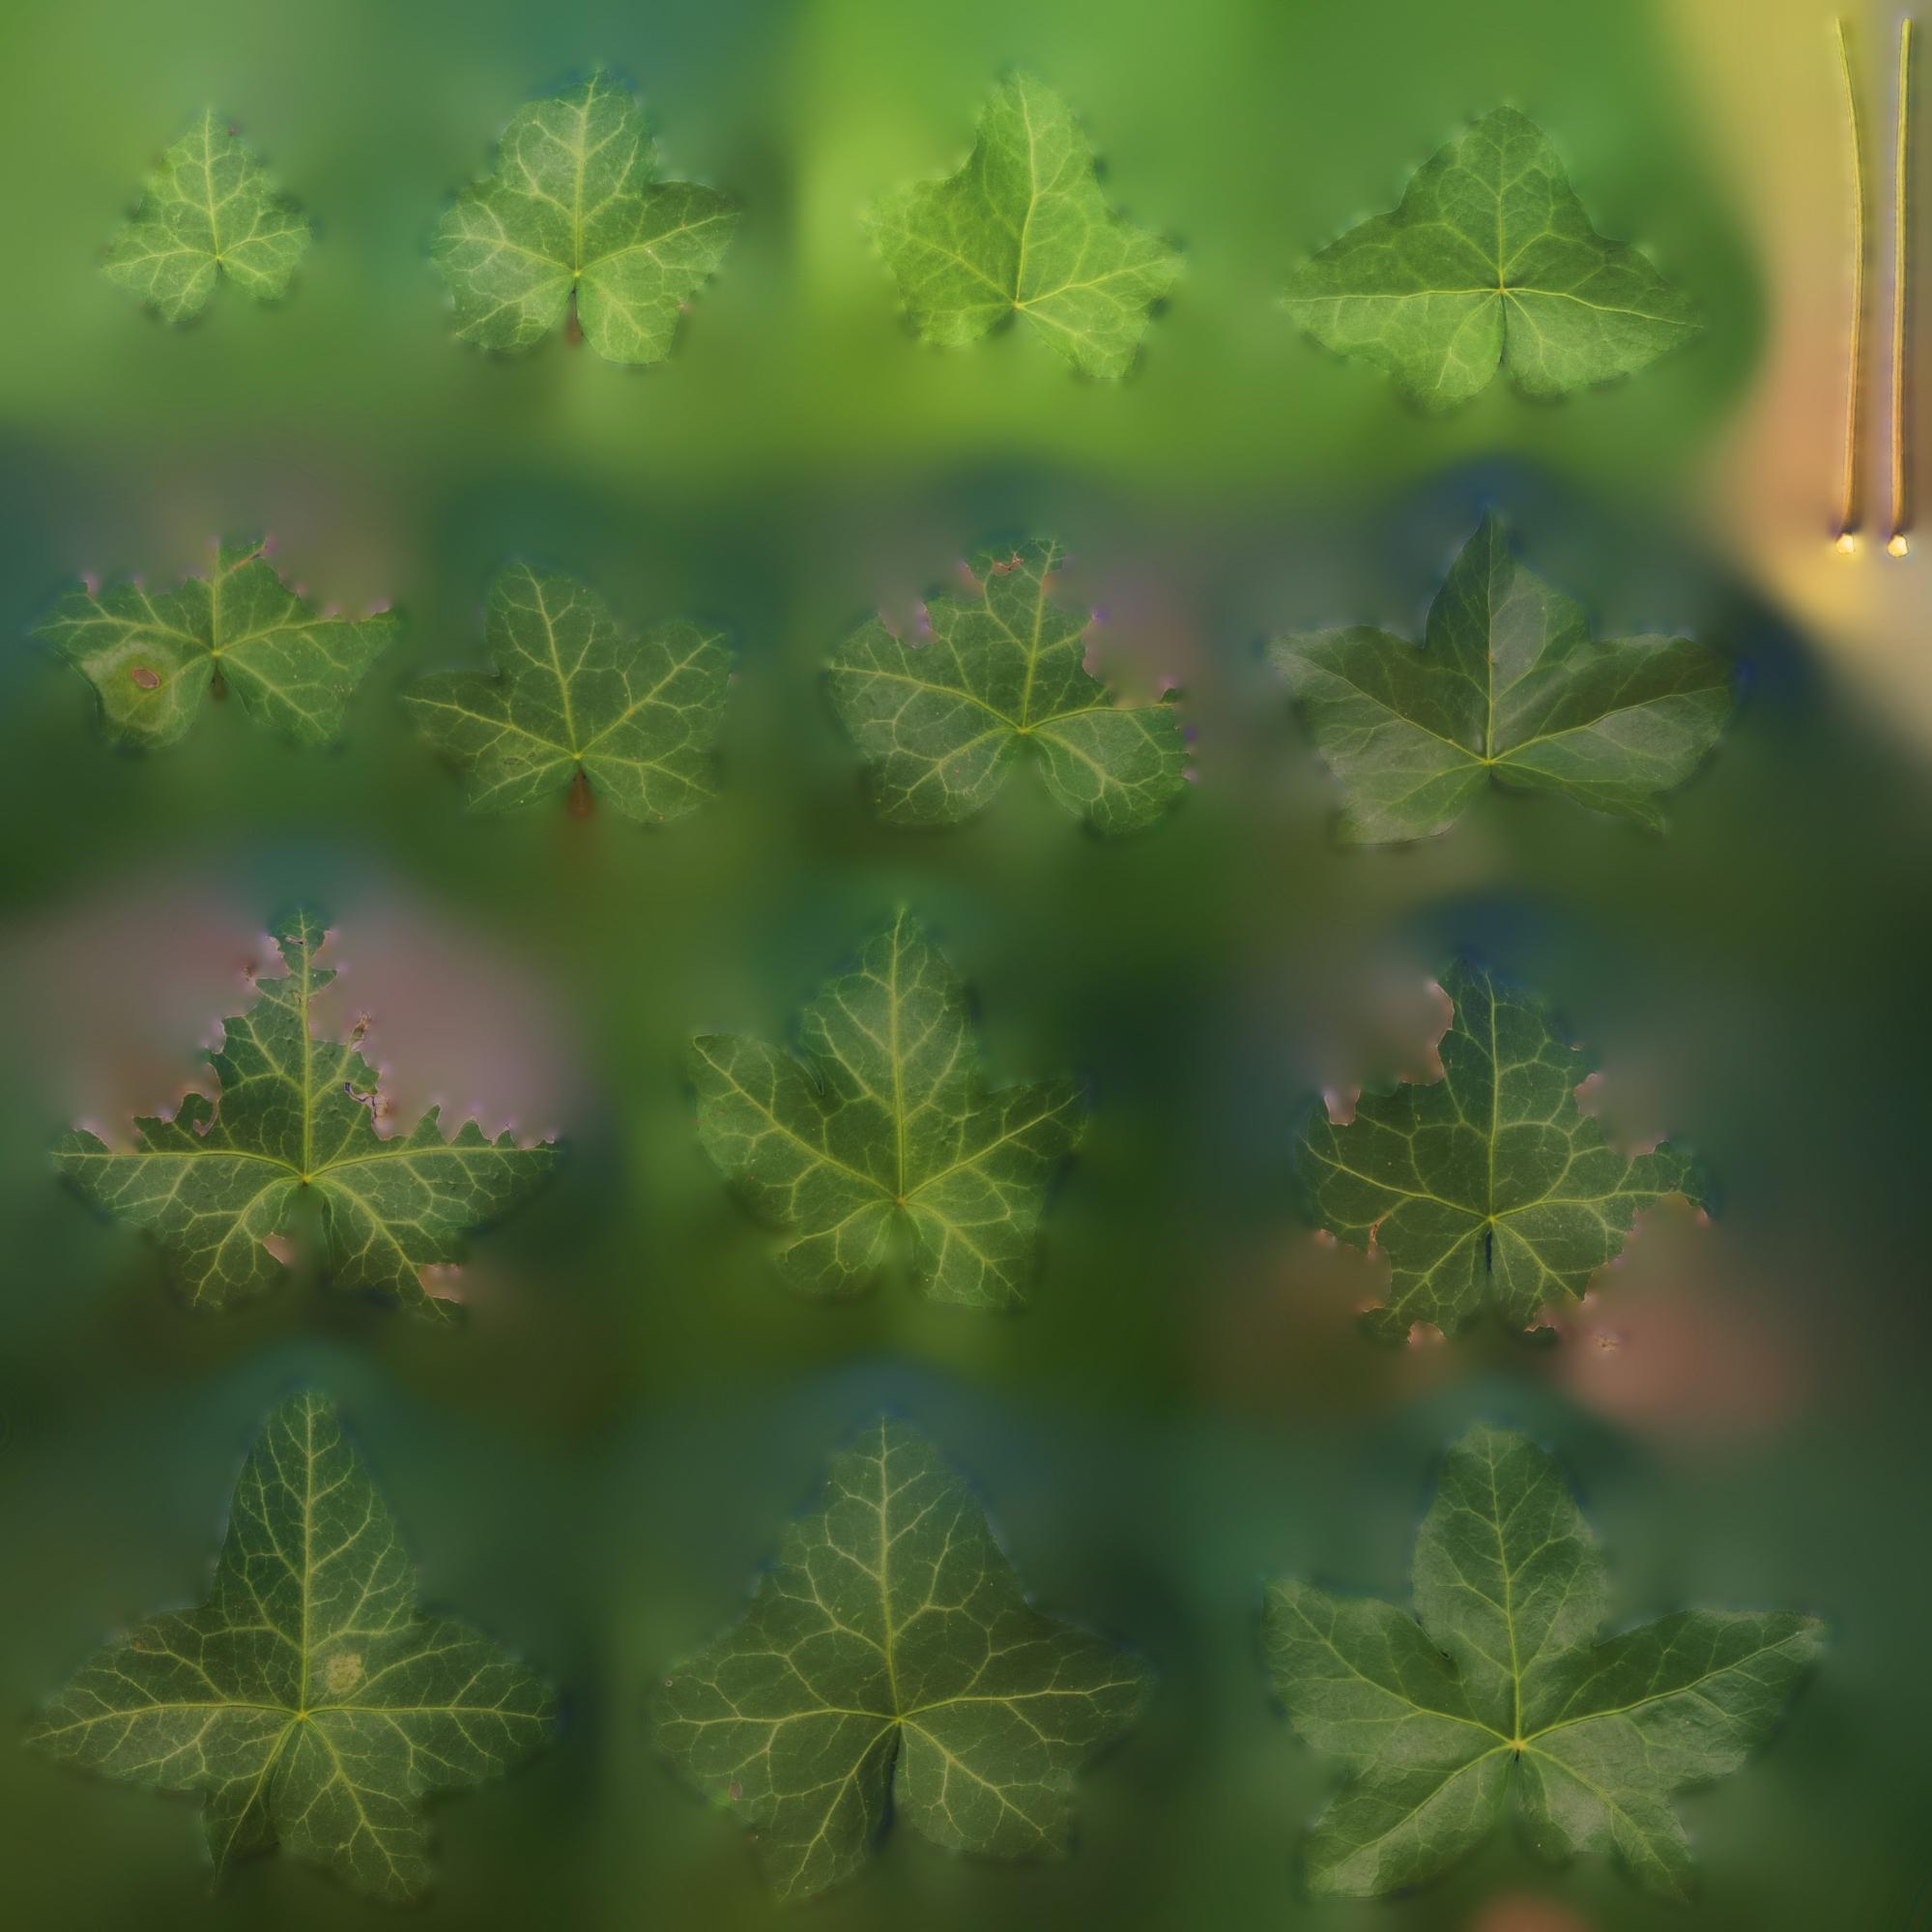
Now we have the albedo:
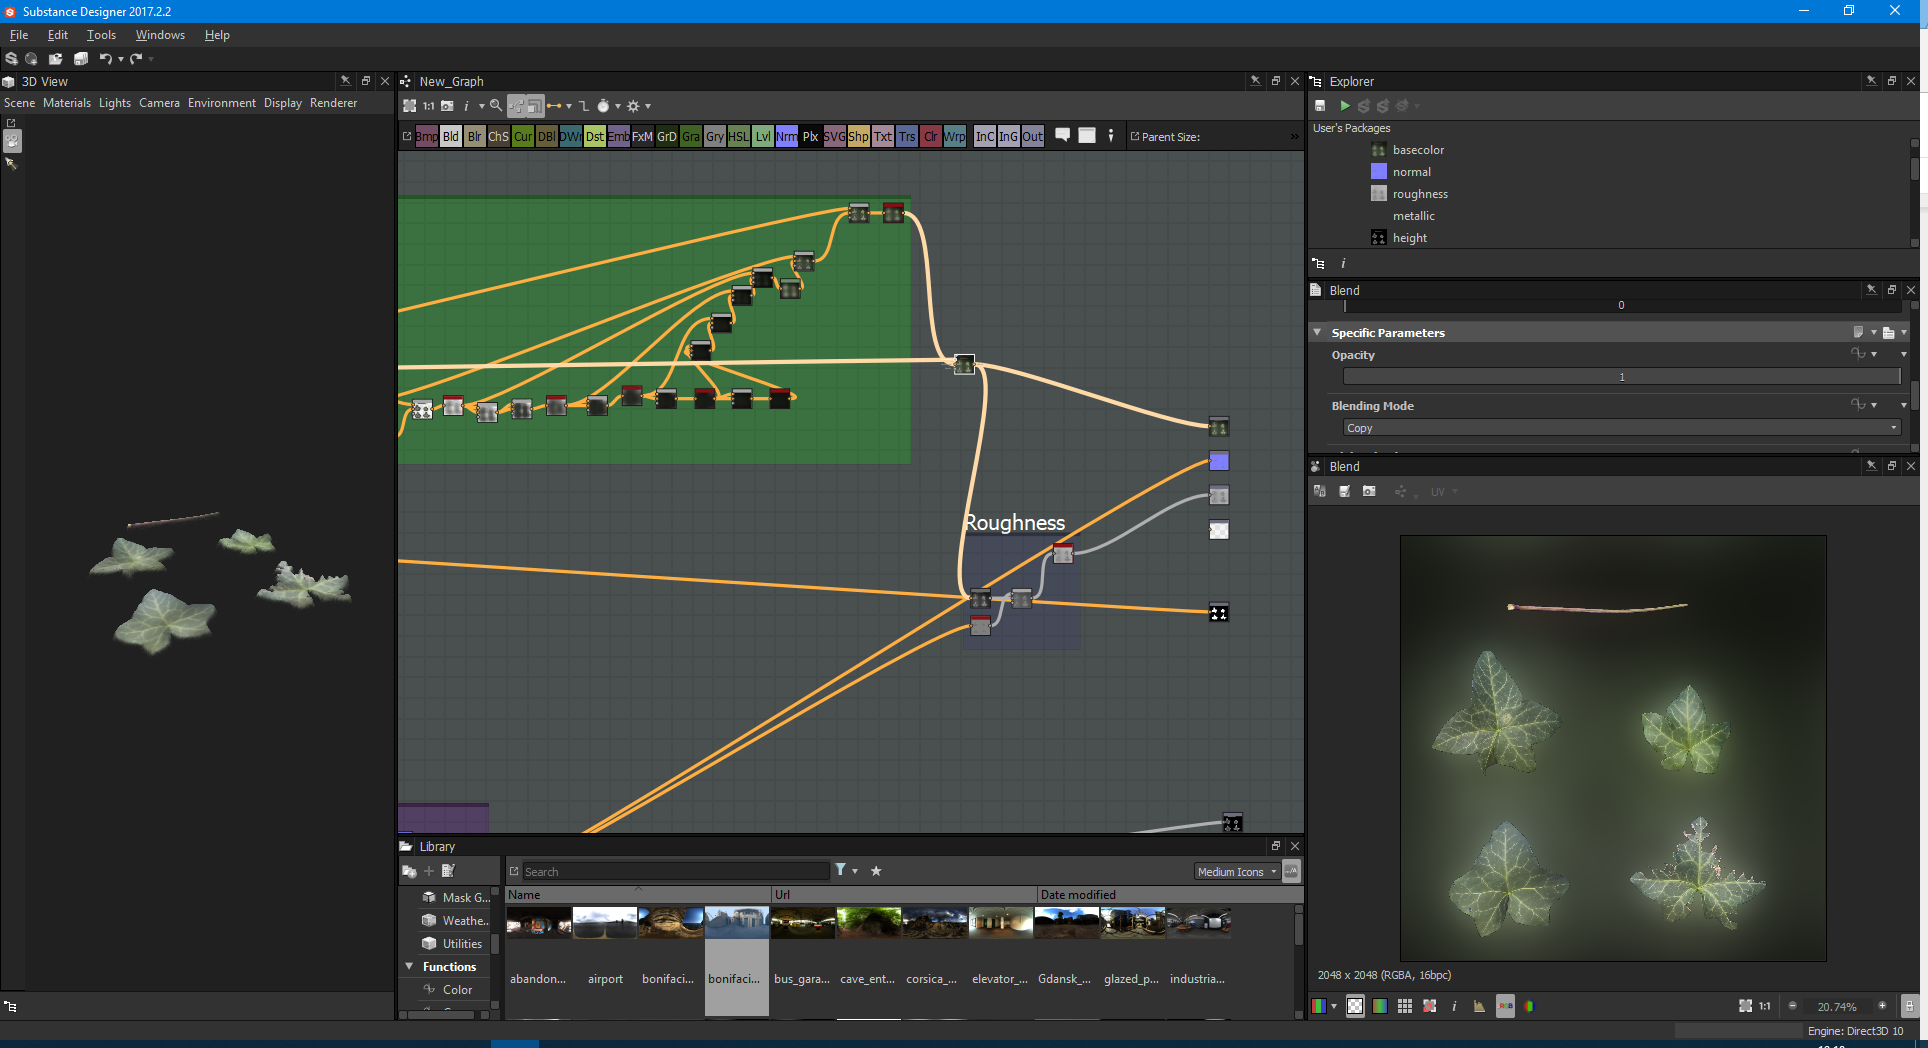
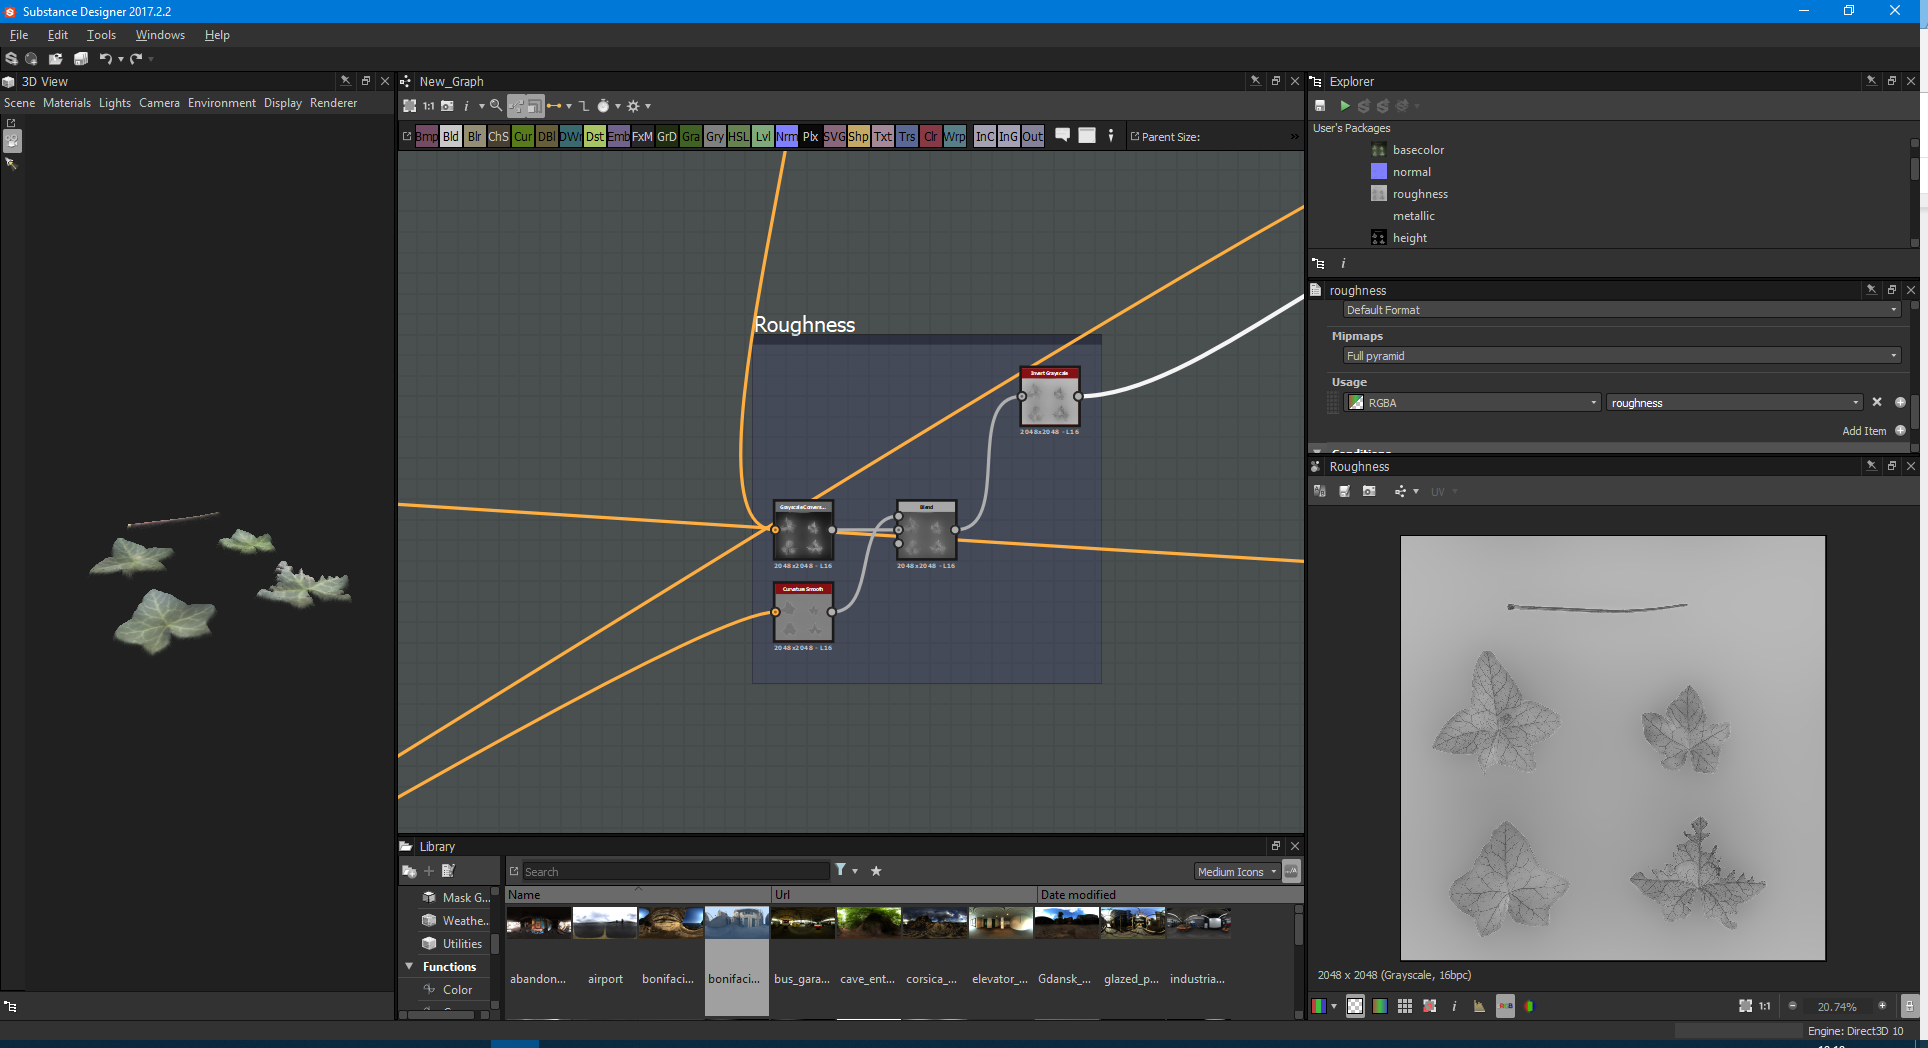
We can also go one step further by taking the albedo, creating a grayscale and also grabbing a curvature smooth from our normal, then blend them together on a copy and adjust the opacity until you’re happy with the result. Then we invert and - hey presto! We have a roughness map too:
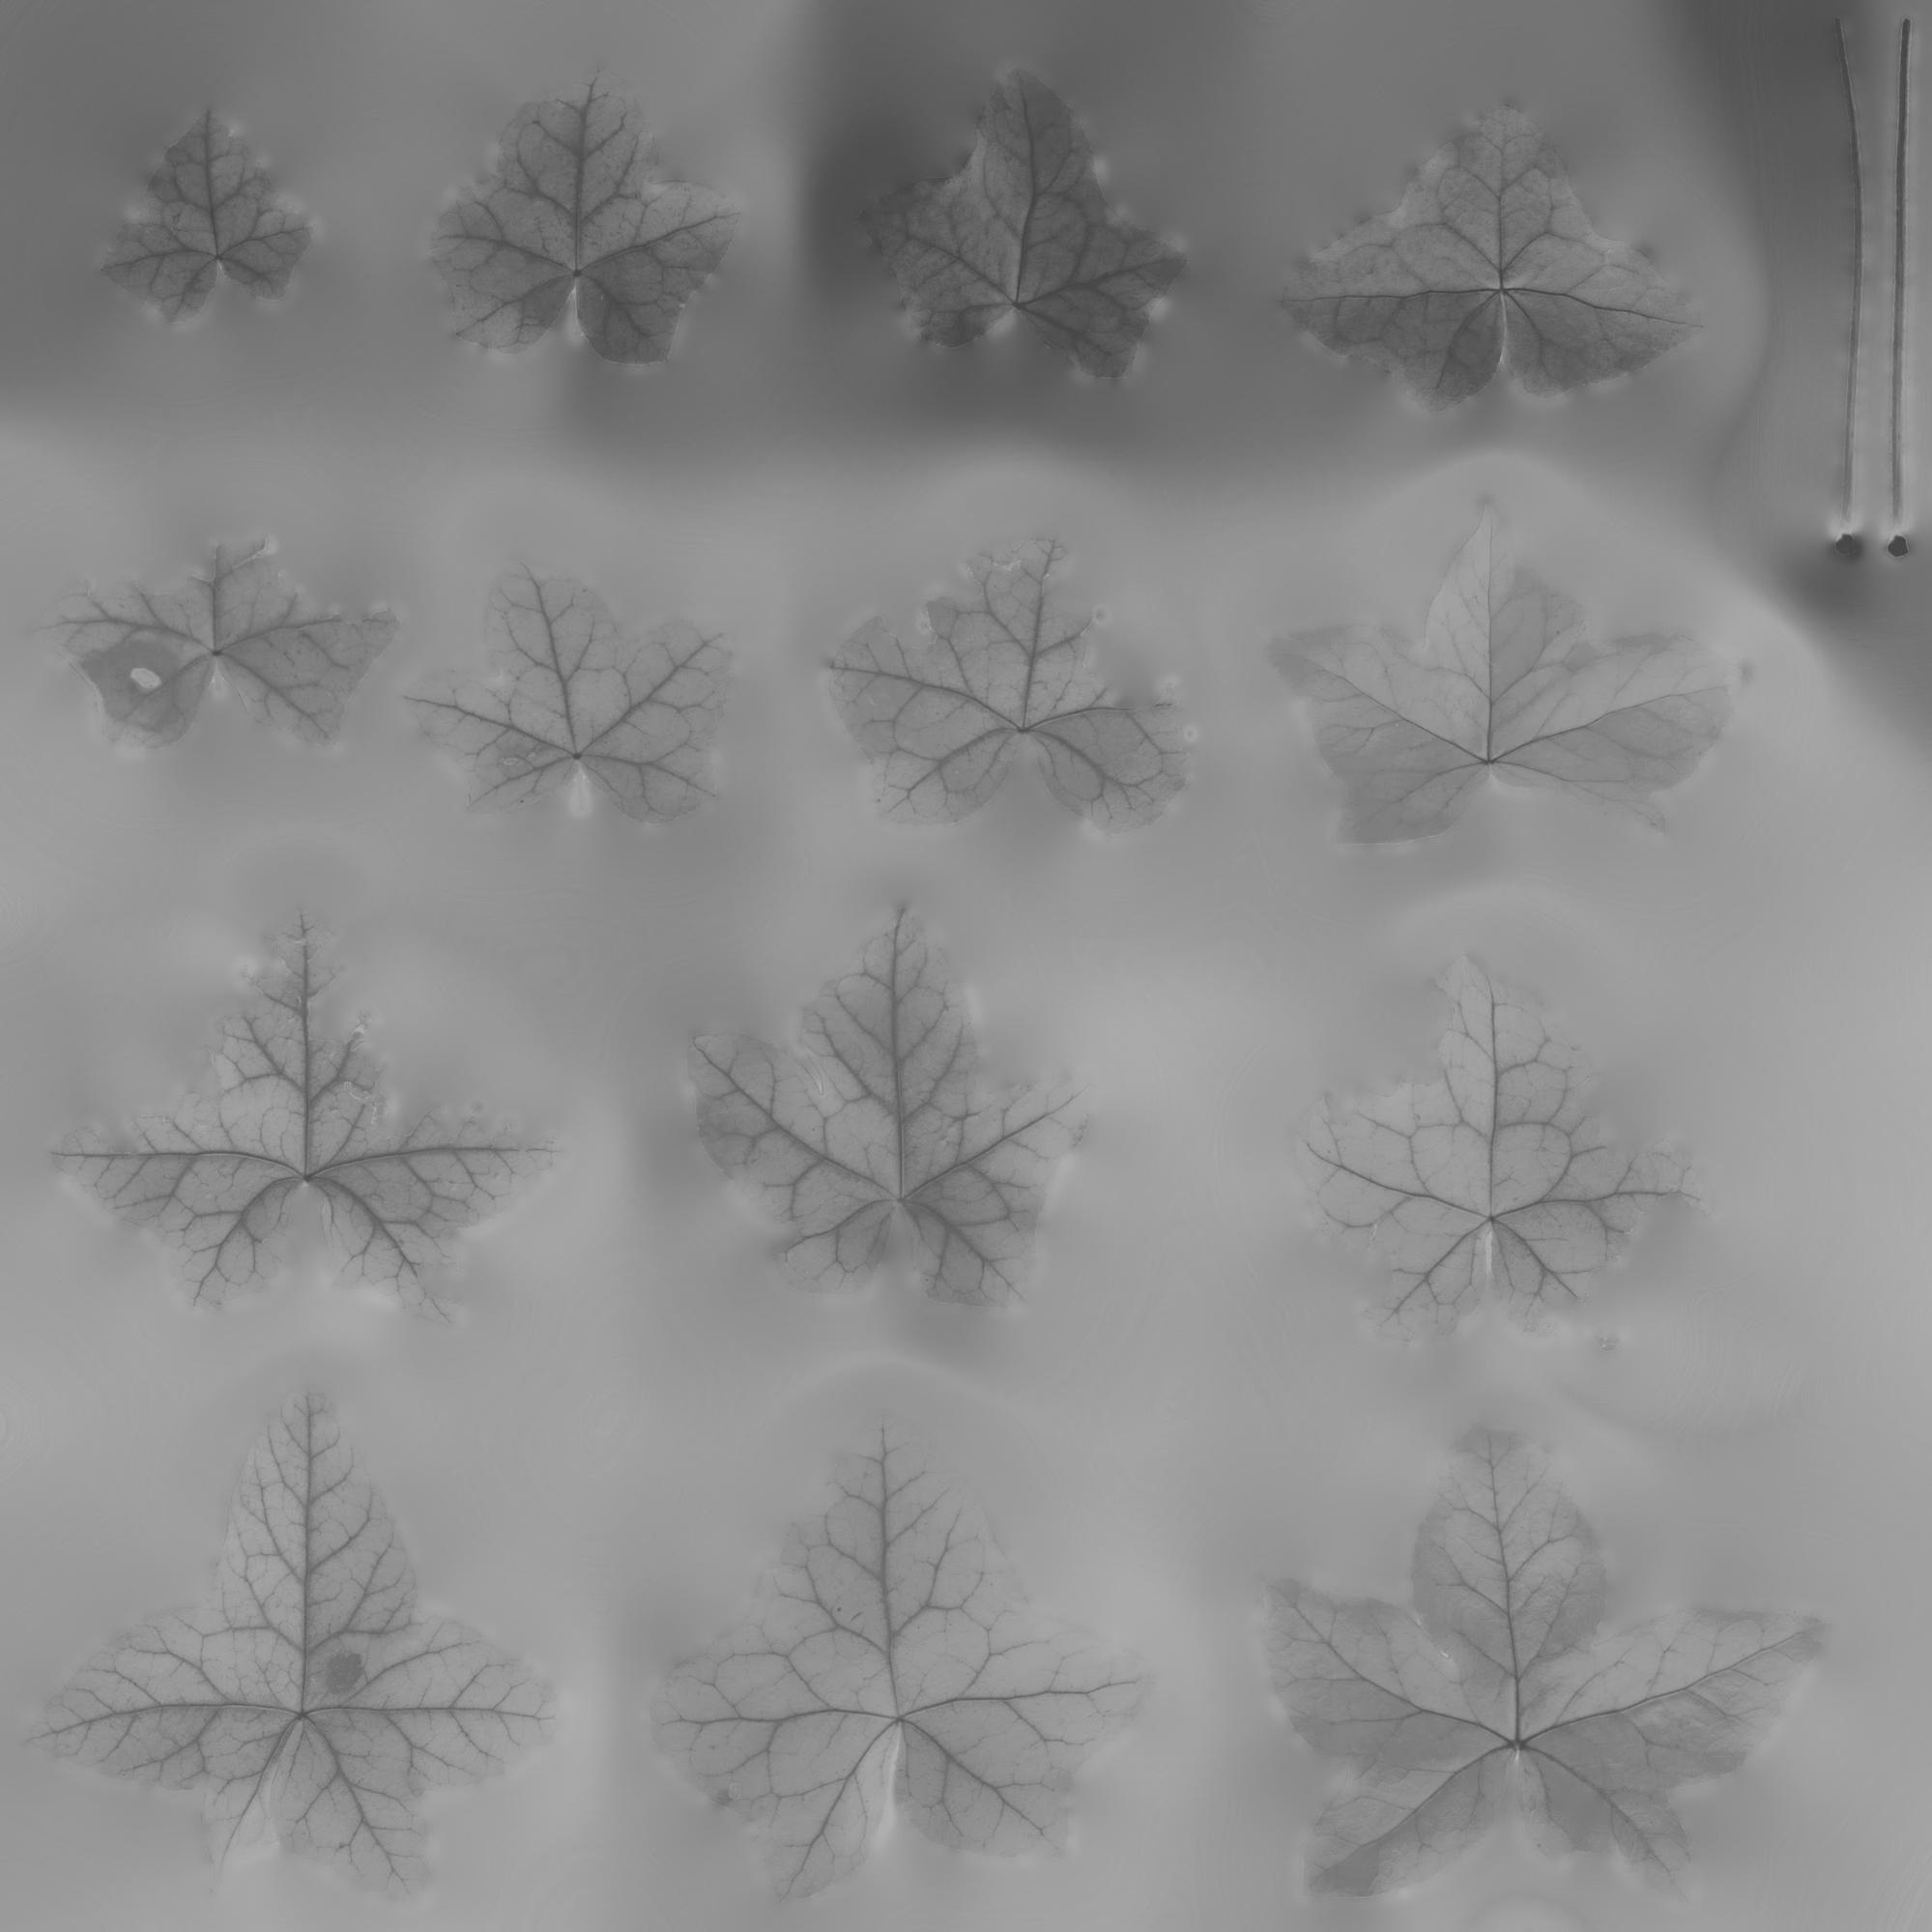
Here’s an earlier atlas I did:
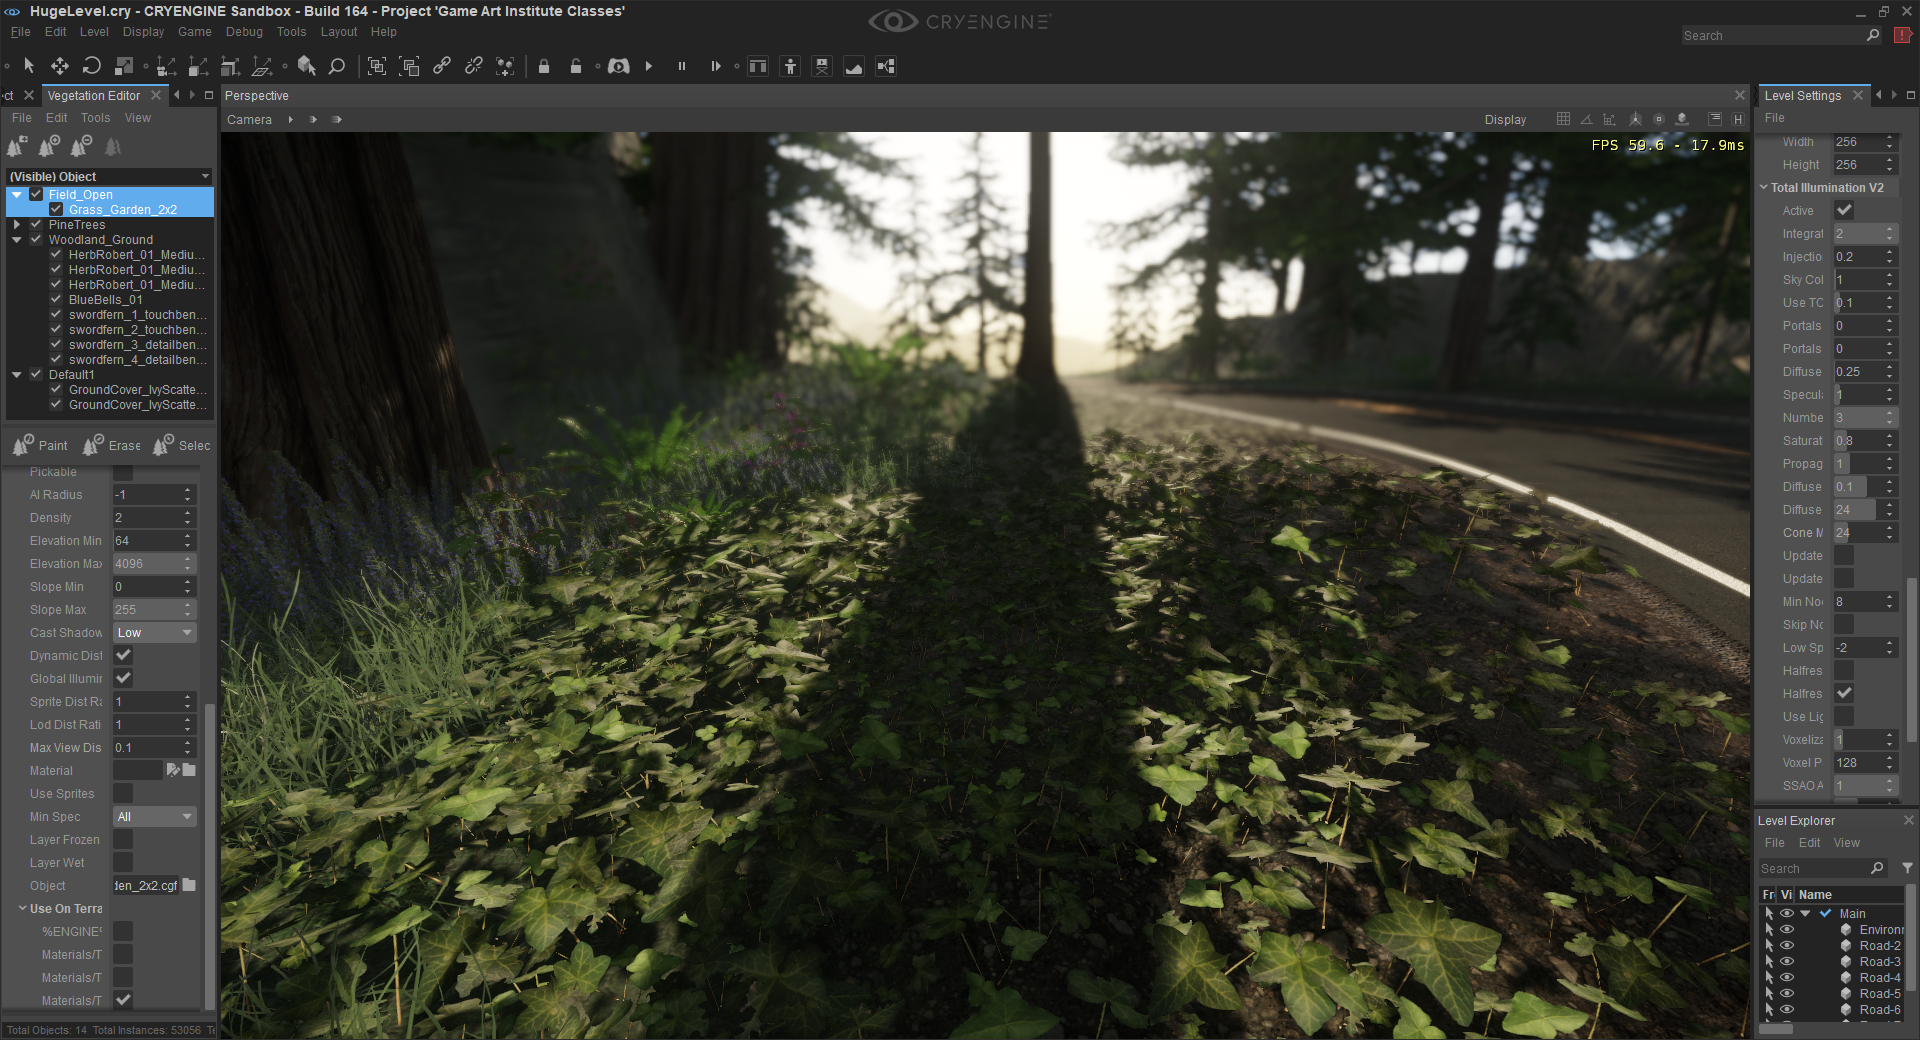
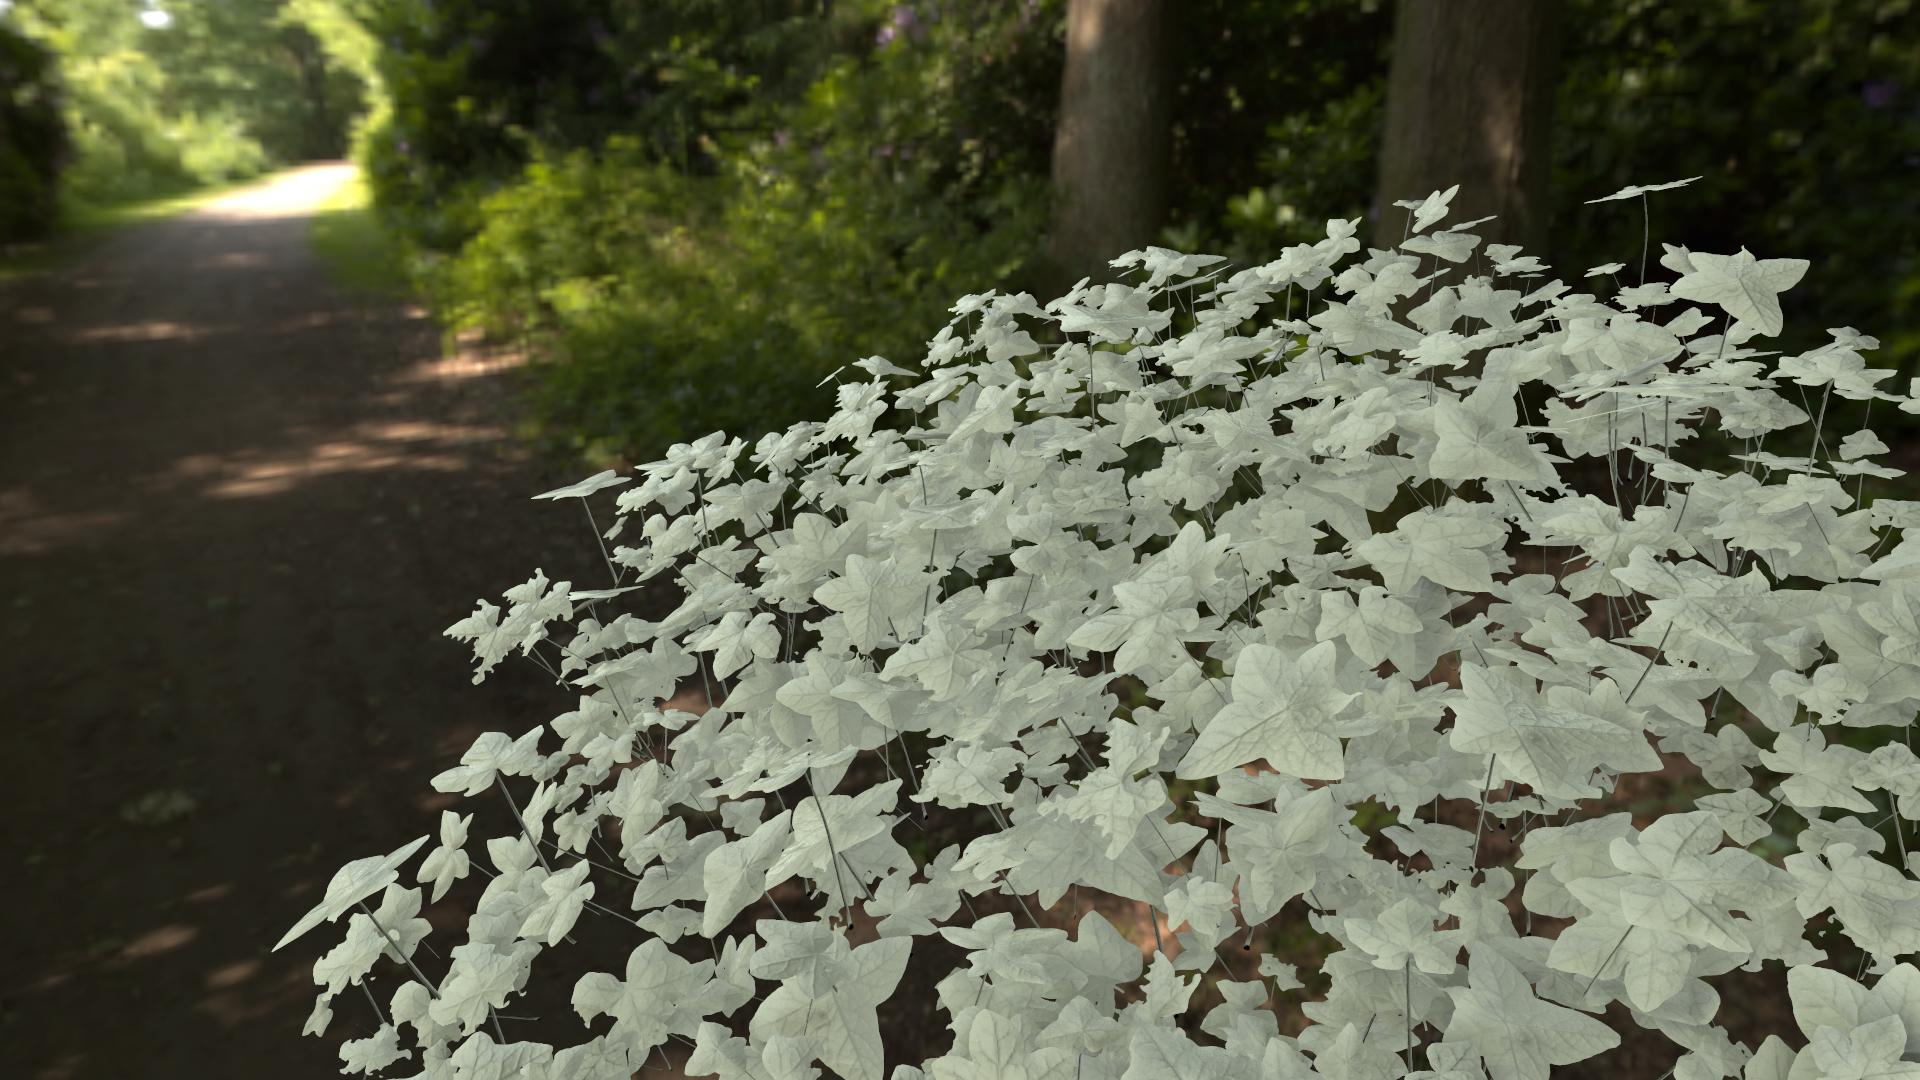
Here’s a final result in Cryengine:
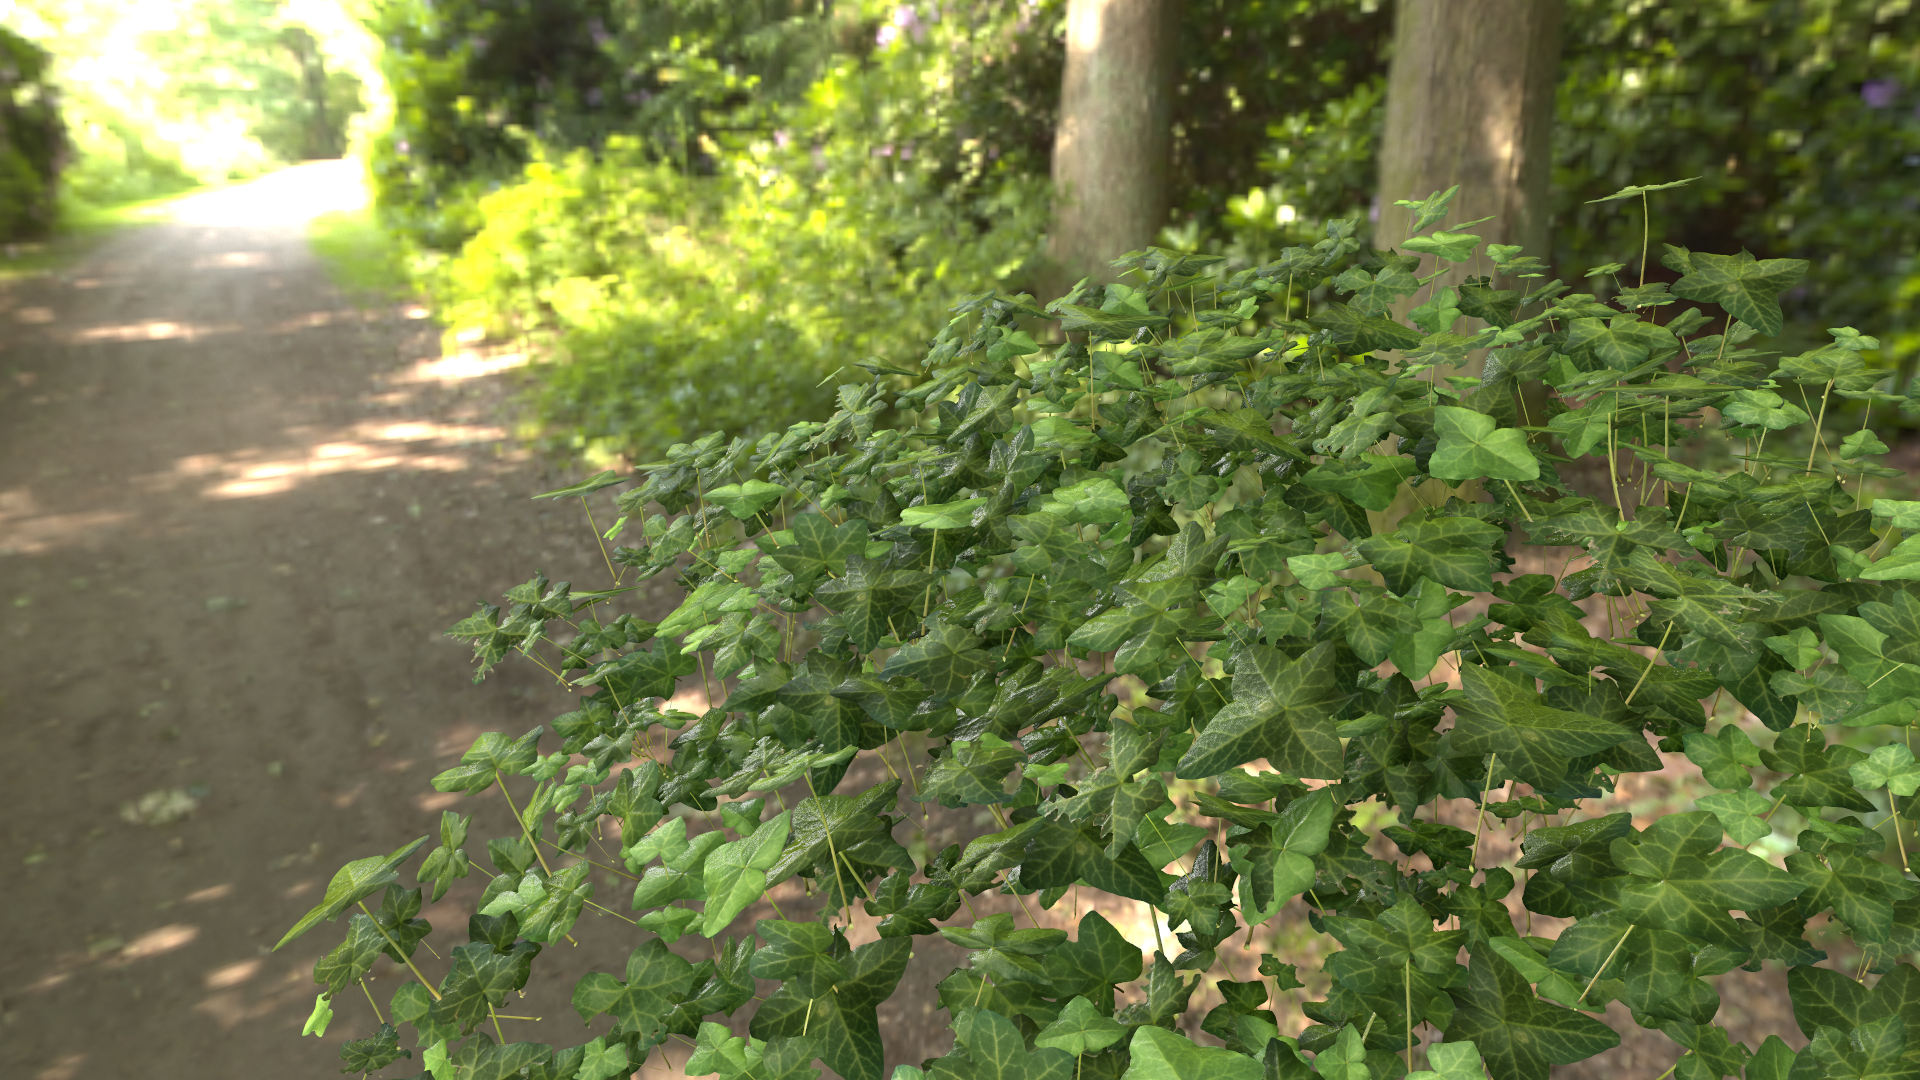
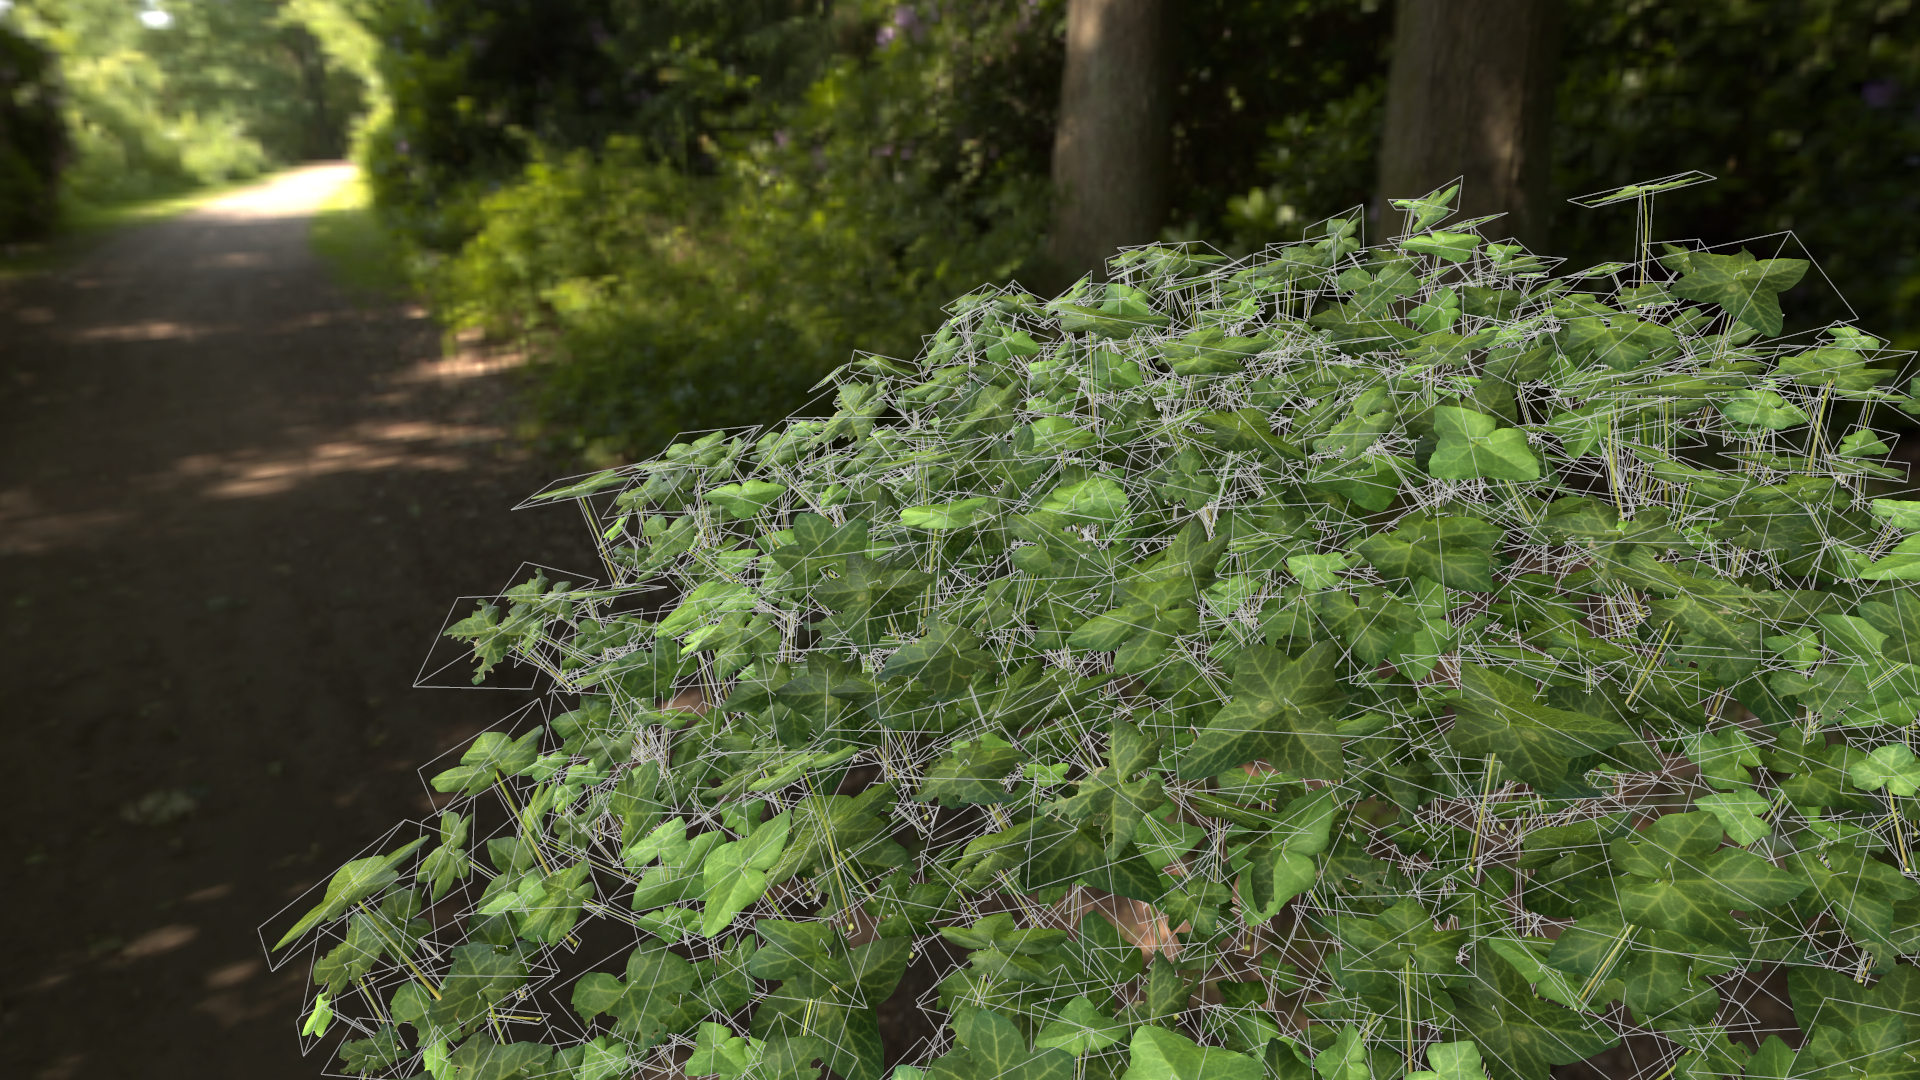
And a few final renders in Marmoset: