Make a splash with rain photography.
Whether you want to capture water droplets in puddles or cute family photos on a wet day, rain photography requires a little extra planning. Learn how to snap the perfect shot, whatever the weather.
When there’s rain in the forecast.
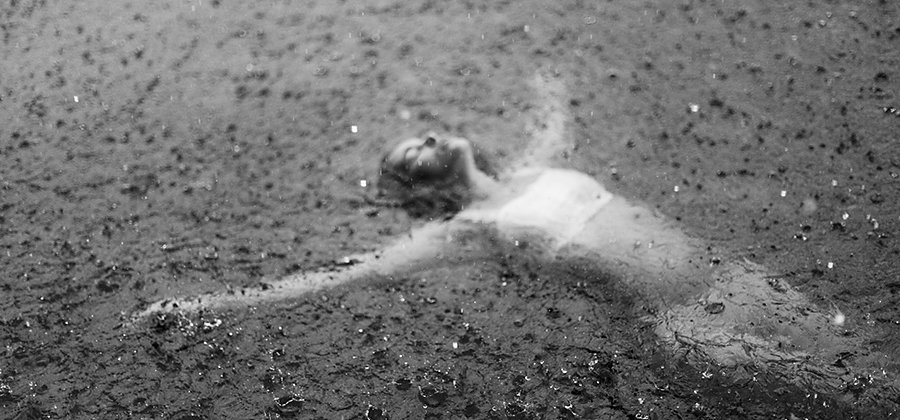
Stereotypical “bad weather” can result in some creative and dramatic photos. “Picture being in downtown New York City, with a crazy storm blowing through, people running around in trench coats holding umbrellas or magazines over their heads. That situation can create unique artistic opportunities,” says storm photographer Jason Weingart.
There are two kinds of rain photography: photography in the rain and photography of the rain itself. When you photograph in the rain, you can get unique portraits, stunning landscape scenes, and beautiful street photography. When you photograph the rain itself, you can capture detailed, almost abstract images of puddles, ripples, and splashing drops. Whatever your subject, if you brave the elements to capture a great photo, it’s important to plan ahead and protect your gear.
Plan and research.
Access to rain depends on where you live. If you want to photograph a rainy day in a wet, deciduous forest, you probably won’t have too much trouble. But if you want to capture images of thunderstorms in the desert, you need to do a lot more research. “When I started, I wish I knew I needed to learn about the weather so I could go find it rather than waiting for it to come to me,” says Weingart. “The more you plan, the more success you’re going to have, rather than going out there, winging it, and hoping chips fall in your favor.”
As a first step, check your local weather report to see if rain is in the forecast. From there, you can research weather patterns and weather trends in your region. Keep in mind that varying terrain is influenced by rain differently. In the city, visibility is down when it’s pouring, so be extra careful of passing cars and traffic. In the woods or on the beach, loose soil, deep puddles, and wet sand can cause problems with your tripod, your camera, and your own footing. If there’s too much rain, it may be too challenging to get the shot you want.
Gear up and stay dry.
Rain photography, along with most forms of nature photography or landscape photography, is all about being prepared.
- Protect yourself (and your models).
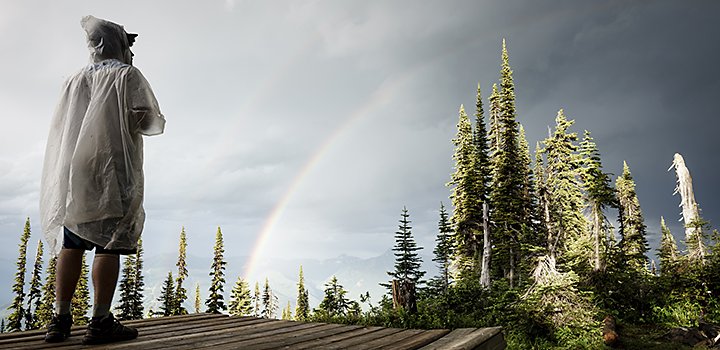
First, pack a raincoat and umbrella for yourself. “I keep an umbrella in my camera bag, and also a poncho or a rainsuit. If you’re out there in jeans and a t-shirt, you’re going to get uncomfortable really fast. Get good rain gear, boots, rain pants, or a rainsuit. Keep yourself dry as much as the camera,” says Weingart.
Plan for after the photoshoot too. “Bring a change of clothes so you’re not drenched and cold the rest of the day. If you accidentally dunk your foot in a puddle without backup shoes, your foot’s cold for the whole day,” explains photographer Melissa D. Jones.
After you’ve planned ahead for yourself, think about your models or subjects. If it’s a family photoshoot in the rain, or a fashion photoshoot, think about what you want the models to wear. Will they need matching or coordinating coats or umbrellas? If the clothes are meant to get wet, make sure your subjects have extra garments packed or a change of clothes planned for afterward. You don’t want anyone to be uncomfortable, so make sure they know what to expect.
- Protect your gear.
A wet camera can be expensive to repair. To keep your camera dry, get a waterproof camera bag, a camera rain cover, an umbrella, a lens hood, and a towel. “Your lens can get foggy, so you have to use your lens cloth a lot. I always use my lens hood when I shoot in rain, because it helps keep the rain off the lens. But if it’s really windy, or you’re in a downpour, that doesn’t always work,” says Jones. Camera rain gear doesn’t need to be complex or expensive. Even a plastic bag wrapped around your DSLR camera is a good precaution.
If moisture does get inside your camera and you see it fog up internally, dry it as fast as possible to avoid mildew buildup or internal water damage. A little moisture today can spell out big problems down the road.

Shoot right as rain.
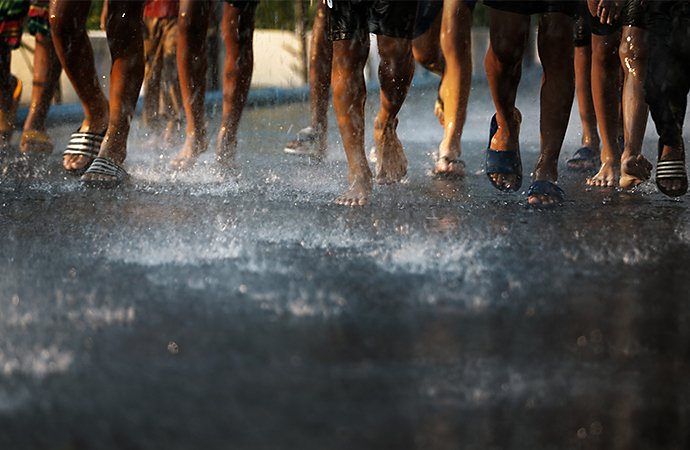
When you take photos in the rain, first be aware of your surroundings and the elements at all times. “Rain doesn’t just fall straight down. You’ve got wind blowing and splashing,” says Weingart. “Stormchasing has taught me a lot about how rain works, like how sometimes the rain turns into softball-sized chunks of ice. You want to be aware of what kind of storm or weather you’re dealing with,” he adds.
1. Adjust your camera settings.
Experiment with different camera settings to find the right one for your shot. If you want to freeze falling rain in midair, or mid-splash, use a very fast shutter speed. “If you’re shooting without a tripod and holding your camera, you’ll introduce camera shake if you shoot any slower than 1/60 of a second, and you’ll start getting blur from that,” says Weingart. Since rain moves so quickly, you’ll need to take quite a few photos to capture one with the rain where you want it in the frame. So take lots of photos and review them later when you’re out of the elements.
If you take outdoor portraits or landscape photos in a rainstorm, be sure to keep your ISO and aperture in mind as well. When it’s raining or overcast, there’s typically less ambient light, so do a few test shots to ensure you’ve got the right settings for a successful exposure. In low light with rain clouds overhead, you may need to open your aperture wider. This will create a shallower depth of field, so be aware of that as you plan the composition.
2. Keep your lens clean.
“Always check for raindrops on the lens after every couple of photos, especially if it’s a really rainy, windy situation,” says Jones. A stray raindrop can ruin countless photos if it splashes on your lens. This will distort all the images your camera captures until you clean the surface, so be sure to pack extra lens cloths or towels so you always have something on hand to dry off the lens.
3. Use a tripod.
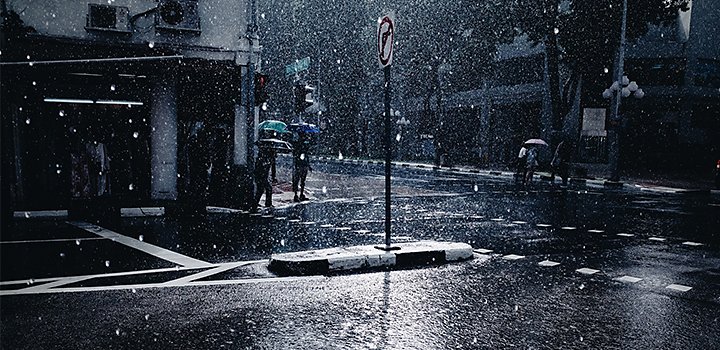
Out in the elements, you’re not the only thing getting rained on. “Make sure your camera is secure on your tripod as well as the ground you set it on. Rain can change the way the ground forms and makes it easy for your camera to slip and slide around. Make sure it’s extra secure before taking a photo, so you don’t damage your gear,” says Jones. This is especially true if you want to take long exposure shots and self portraits. If your hand isn’t on the camera, make sure it’s extra stable.
4. Know when there’s too much rain.
Sometimes the weather is just too severe to capture the right photo. When that happens, find shelter in your car, or under a pavilion or awning. “If there’s so much rain you’re worried you’re going to destroy your camera, you’re probably not going to be able to get any good shots anyway,” notes Weingart. Additionally, if you’re ever concerned for the safety of your subjects or yourself, it’s time to immediately call it a day and head back inside.
When the rain goes away.
The photoshoot doesn’t need to end when the rain stops. “Keep your eye on things after that storm is gone, because some of my best photographs are taken on the back side of thunderstorms after they pass,” notes Weingart.
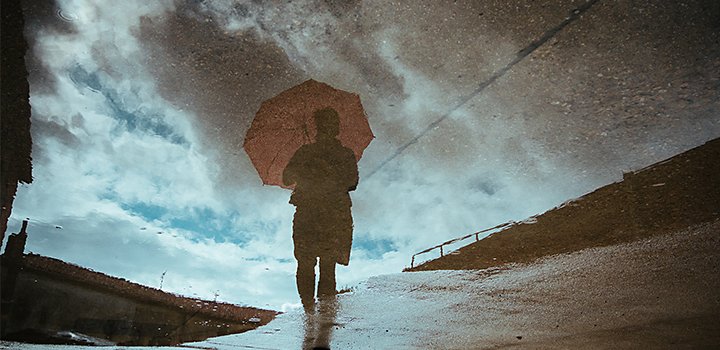
When the rain has passed, the remaining puddles and pools of water can be transformed into the perfect reflective surface. “Right after it rains you can find a lot of reflective surfaces that you wouldn’t normally see, like a wet street or the wet wood on a pier. You can catch a reflection of the clouds, sky, or sunset that way,” adds Jones. Capture the reflections of streetlights or traffic lights bouncing off wet pavement. The distortion and warp of the light can give your photos a painterly effect.
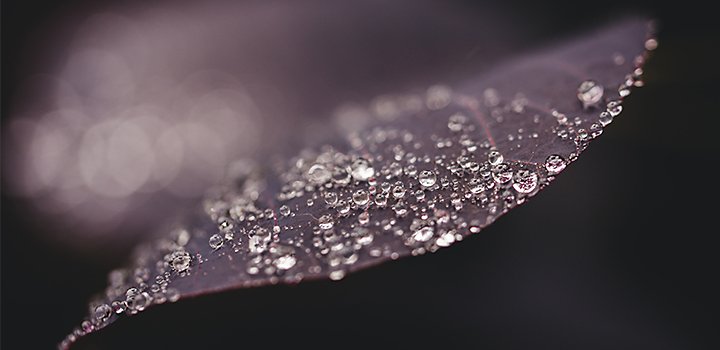
Right after a rainstorm is also the perfect time to capture close-up shots of water droplets. Examine the way light plays off the drops caught on car windows or plant leaves. If you have a macro lens, you can get an even closer look at the intricacies of light on droplets and ripples in puddles. This approach can help you photograph the calm after the storm.
When you’re nice and dry back inside, you can easily edit your rain shots with presets in Adobe Photoshop Lightroom. With a little research and preparation, you’ll be ready to hit the streets, the trail, or the beach, and capture stunning shots in the wet weather.
Contributors
Do more with Adobe Photoshop Lightroom.
Edit photos easily with Lightroom presets, Super Resolution, easily share photos from any device, and access your projects anywhere with cloud photo storage management.
You might also be interested in…
Explore the exciting world of storm and lightning photography.
Discover how to capture lightning strikes on camera and learn safety tips for photographing storms.
Go places with travel photography.
Make the most of your travel photos with these tips from professional travel photographers.
Building a great landscape photo.
Explore ways to artistically capture scenic views with tips on landscape photography.
Paano magdagdag ng mga bokeh na background sa iyong mga photograph.
Alamin pa ang tungkol sa magandang blur effect na makapagbibigay sa mga larawan mo ng kapansin-pansing hitsura.


