Step-by-step instructions for drawing hands.
Hands are some of the most expressive and complex anatomical forms to draw. Understand the process to break down the art of drawing the human hand.
Hands showcase humanity.
Hands hold a place of honor alongside the face as some of the most expressive and nuanced parts of the body. “A picture of gesturing hands can evoke just as much and tell you the same story as an expressive face,” says illustrator Anna Daviscourt. While hands make for stunning drawings, they are notoriously difficult to draw due to the amount of bones, muscle, and tendons in each hand. But don’t let that intimidate you. Simplify the process and break hand drawing down into basic shapes and manageable steps, and you’ll be on your way to drawing a lifelike hand.
Always use a reference.
It’s important to use reference images, no matter your illustration skill level. Whether you look at a photo, take pictures of your own hand, or ask a friend to model different hand gestures, have a guide at your side. “There will always be something unexpected and different, even if you’ve drawn them a million times,” says Daviscourt.
Six steps to realistic hands.
A step-by-step approach can help demystify the process of drawing hands, as well as make sure your illustrations look anatomically correct at every stage. Comic book artist Megan Levens uses a six-step process for hand drawing, starting with basic bone structure and building up to details like fingernails and shading.
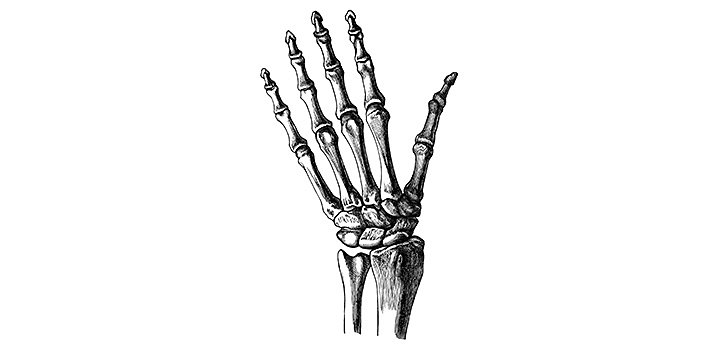
Image by Megan Levens
Step 1: Start with bone structure.
Your first layer should be the bones of the hand, the carpals. Don’t worry about making it pretty; this step is about laying the foundation for an anatomically correct hand. Just as the bones are the framework of the body, bones will also be the framework of your drawing. “Each finger radiates out at a different angle,” notes Levens. “They shouldn’t all point straight ahead together.” Daviscourt also recommends starting from the wrist at this step “because the wrist is where the lines of the hand start to intersect visually.”
To make your hands look realistic, consider the height differences between your fingers. The middle finger should be the tallest, with the ring finger and index finger on the downward slope of the arch, and the little finger finishing out the line. The thumb is an outlier from the rest and should sit farther apart from the others.
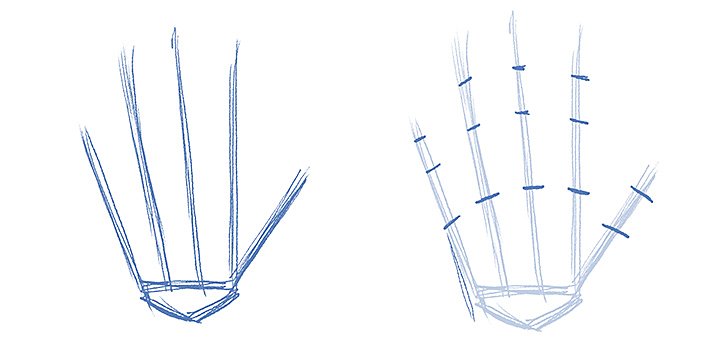
Image by Megan Levens
Step 2: Mark your knuckles.
The knuckles are your points of articulation. All gestures and movements hinge on the knuckles. Make your mark according to the shape you want your fingers and hand to make. Keep a human anatomy book handy to make sure you’re on the right track with proportions and positioning. There’s always a bend in the knuckles. Avoid straight lines and always opt for curved lines for more realistic hands.
Another way to approach the first two steps is to group areas of the hand into basic geometric shapes. The palm of the hand up to the fingers often looks like a trapezoid or square, while the fingers might be grouped together as a rectangular shape with a rounded edge. No matter what hand pose you pick, think about how you can divide your hand into simple shapes to make the process easier.
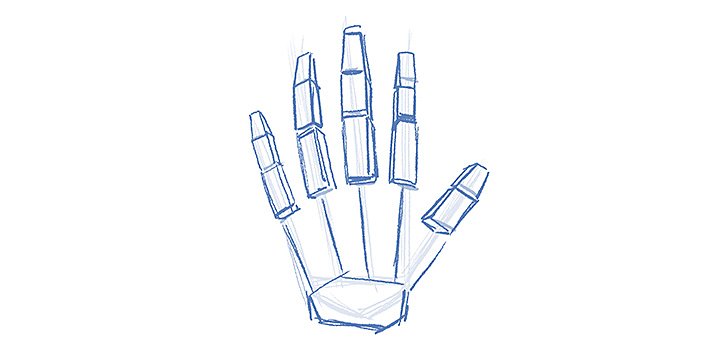
Image by Megan Levens
Step 3: Draw 3D finger shapes.
Fingers aren’t flat, so draw each finger as a 3D shape and separate them at the finger joints. They’ll look a bit like long boxes. “Think of them as having volume and six sides, so you can visualize how they move in perspective,” says Levens. If your pose includes foreshortening, the depth effect that makes objects closer or farther away out of proportion, you’ll want to note how that perspective shift alters your hand shape.
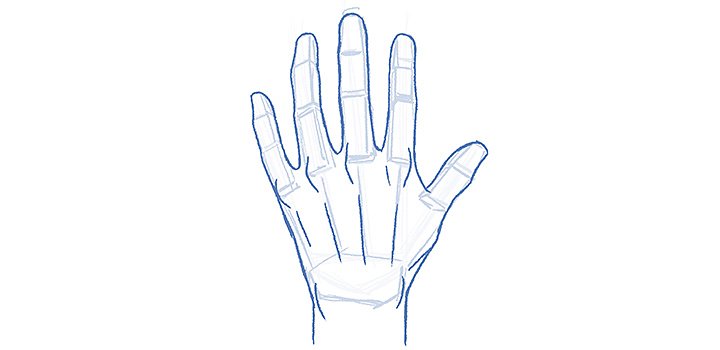
Image by Megan Levens
Step 4: Go over your lines with a darker pencil.
Flesh out the foundational lines of your hand sketch. If you’re working digitally, you can simply make a new layer and reduce the opacity of your old layers. If you used tracing paper for the previous steps, you can transfer the lines you want to keep onto a new sheet of paper. “This is where you can start to draw the outer landmarks of the hand and fill in the contours,” says Levens. But don’t get too hung up on details. “Figure out what the whole surface looks like before you go in and add knuckle wrinkles and fingernails and such.”
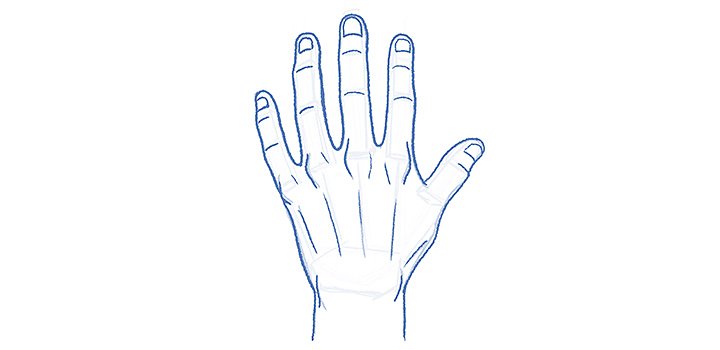
Image by Megan Levens
Step 5: Fill in the details.
Add character to your hand. Is it wrinkled and sunspotted? Smooth and freckled? Rough and calloused? You can convey a lot about a hand’s personality with the details you include. “You don’t want to emphasize the lines of the metacarpals on female hands if you’re trying to draw a youthful or feminine hand,” explains Levens. “Depending on the age and gender of the hand you’re drawing, you can really exaggerate and make it look like an older hand with a lot of character. But if you want to draw younger hands, go lighter on the details.”
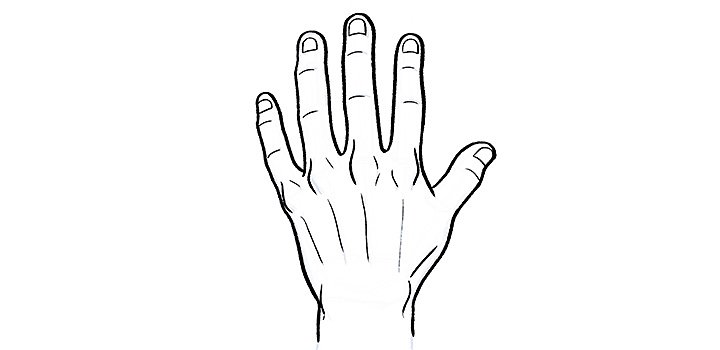
Image by Megan Levens
Step 6: Lay down the final ink.
Be attentive to line weight when adding the finishing touches to your hand illustration. You’ll probably want to switch up your brush or brush size in certain areas for the most lifelike results. Learn more about the digital inking process in Adobe Fresco with this live drawing tutorial.
More tips for successful hand drawing.
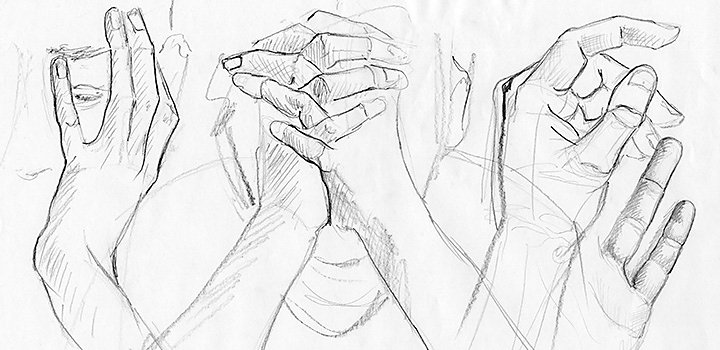
“The sky is the limit for stylizing hands,” says Daviscourt. Remember that realistic hand drawings are just one way to go. A hand drawn in the style of comic art, manga, anime characters, or cartoon hands will each bring its own flavor and personality to the table.
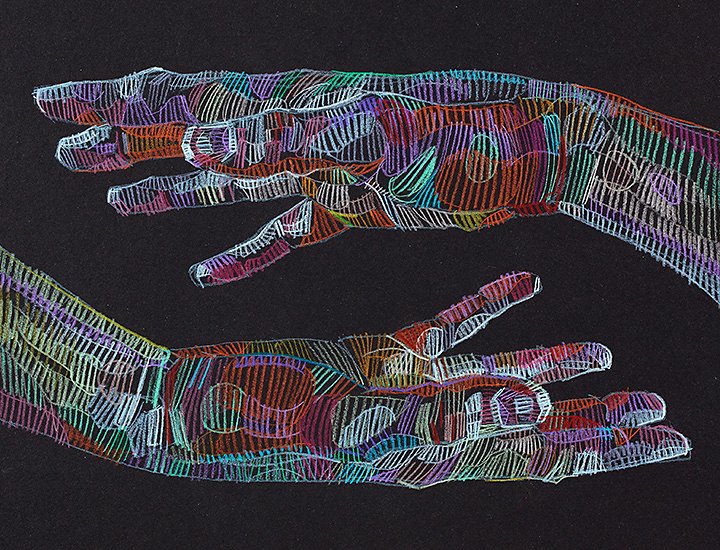
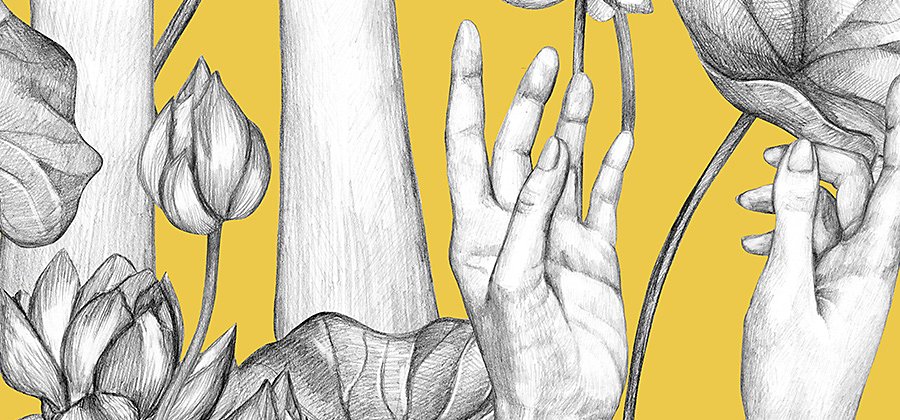
Image by Lui Ferreyra
Each pose or gesture you draw will present something new and unexpected. Every hand comes with its own set of challenges to master, and that’s part of the fun. Repetition is the key ingredient to a successful hand drawing. Start drawing today and watch your hand come together a little more smoothly with each try.
Contributors
You might also be interested in…
ดูเคล็ดลับเกี่ยวกับวิธีวาดชิ้นส่วนกายวิภาคของมนุษย์สุดท้าทายนี้

ยกระดับทักษะของคุณด้วยแบบฝึกวาดภาพและคำแนะนำจากนักวาดภาพประกอบมืออาชีพ

วิธีก้าวไปสู่การเป็นนักวาดภาพประกอบ
เรียนรู้เคล็ดลับการสร้างพอร์ตโฟลิโอและการนำเสนองานศิลปะที่จะช่วยให้คุณเป็นดาวรุ่งในสายอาชีพใหม่

การวาดภาพด้วยดินสอเป็นก้าวแรกที่สำคัญสำหรับศิลปินส่วนใหญ่ ลองดูว่าทักษะนี้สามารพัฒนางานศิลปะของคุณได้อย่างไร