|
Food photography tips.
Food photography covers everything from taking quick snaps of your favourite restaurant meal to more staged shots of home-cooked dishes for your blog or sharing with friends.
Whether you’re a chef looking to showcase your dishes or a photography enthusiast seeking a new project, we’ll take you through the various types of food photography and show you how to get the best images. Along the way we’ll hear some tips and tricks from our team of experts and professional food photographers.
What you’ll learn:
- What is food photography?
- How to photograph food
- Equipment and settings
- Lighting, framing and techniques
- Food photography advice from the experts
- Adobe’s food photography partners
What is food photography?
At its most basic, food photography is a way to capture an image of a great meal. But it’s much more involved than simply pointing, clicking and sharing.
Whether you’re planning food photography in a restaurant, looking for high-quality promotional images or just want to showcase your cooking to your friends, family and followers, these food photography tips can bring your final images to life.
Food photography falls into three distinct categories:
1. Social sharing. Whether you’re posting to Instagram for your thousands or followers or just sharing over WhatsApp, we all love to share an amazing-looking meal.
2. Advertising/promotion. These are more structured and staged images, used on the restaurant’s own social channels, menus and websites.
3. Blogging. If you’re a food blogger, you’ll be sharing your images socially, but will also have the time to prep the shot.
There are other times and reasons for snapping food. But the main difference between the types of food photography identified is the prep time. With social sharing you’ll be taking photos of food as presented in conditions set by the restaurant, while more professional shots have the chance to change the scene and present the food as it needs to be for the image.
“If you’re looking at professional food photography that’s great to aspire to, don’t be disappointed when your shots don’t look like that — because you’ve got to remember that in a situation like that, they’ve got a professional food stylist who has come in to basically do hair and makeup on the food.”
Photographer and Teacher Ben Long
No matter which of these you’re focussing on, there are a few simple rules to follow to make the most of your food images.
4 food photography tips that’ll get you results.
Photographing food provides its own unique challenges. Not only are you trying to capture the look of the food, but you really want to try to convey everything from taste and smell to texture. You don’t just want people to say: ‘what a nice photo.’ You want people to almost taste the food – enough to want to like and share your photo, place an order or try making it themselves. Here are four tips from our food photography experts.
1. Plan carefully.
If you’re shooting at home or on-location at a restaurant, it gives you time to prep your shot. This is key, as you want to start clicking as soon as the dish hits the table, otherwise the meal could become lifeless and dull – or even worse, it could melt. If it’s a hot dish, you might be able to capture dramatic wafts of steam rising from the dish if you’re quick.
“I typically always try to have a plan. I’ll have a style in mind that I want to do before I start.”
Food Photographer Sarah Aagesen
Have an idea of how you want the end product to look – even going as far as to sketch it. You could also create a mood board with colours and textures.
2. Choose your surroundings.
Remember, you’ve got a range of tools to bring your food to life – so why not use them all? Choose the right linen or table as a background, some key props such as utensils or examples of the ingredients, and maybe a glass or two. The right bowl is also key.
“The texture that you’re shooting on might be important. If you’re shooting a Mediterranean salad, you maybe don’t want a lot of rustic Americana props around. You want stone or tile or something like that underneath the salad bowl.”
Photographer and Teacher Ben Long
3. But be prepared to work with what you’ve got.
While framing your food around a vibrant background is great for staged shots, you might have to work with what you’ve got if you’re out and about trying to capture delish images. If the restaurant has dim lights, adjust your ISO, aperture and shutter speed settings to pick up more details. These could be the icing on the cake, the grains in the seasoning, or the way the brightness of the avocado catches the light.
If you’re eating al fresco, find a place where the sunlight is less harsh or use a menu to diffuse the light a little.
4. Style your food.
Professional food photography styling often involves a variety of non-edible items – even going as far as replacing food with something that photographs better.
“There’s very little on a professional food photography set that you can actually eat. It’s very rare that any ice cube you see in professional food photography is real. Water splashed on lettuce — that’s not real. There are just so many tricks food photographers use.”
Ben Long
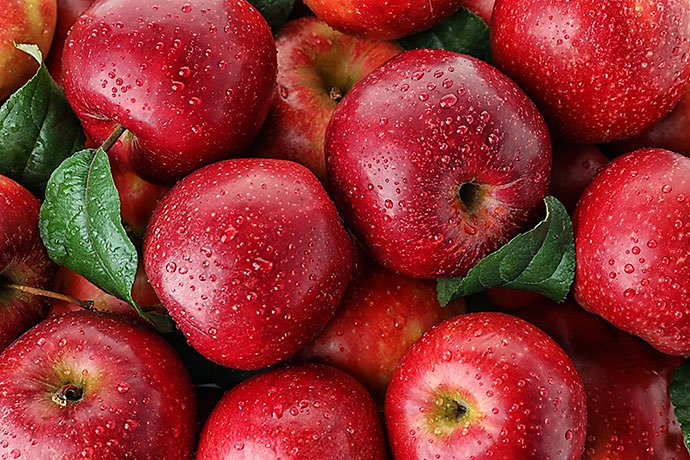
But there are a few ways of styling your own food to bring it to life. Give items like salads or fruit a spray of water for that freshly washed feel.
A good tip is to start with the basics – just a plate of food – then photograph that. Use that image to build up a style, adding toppings, accessories and different light until you get the perfect shot.
“Typically when I’m starting out, I will take one or two shots with things really simple, with just the dish in there, with a clean background. So then I have that as an option, and then I’ll start adding in props.”
Sarah Aagesen
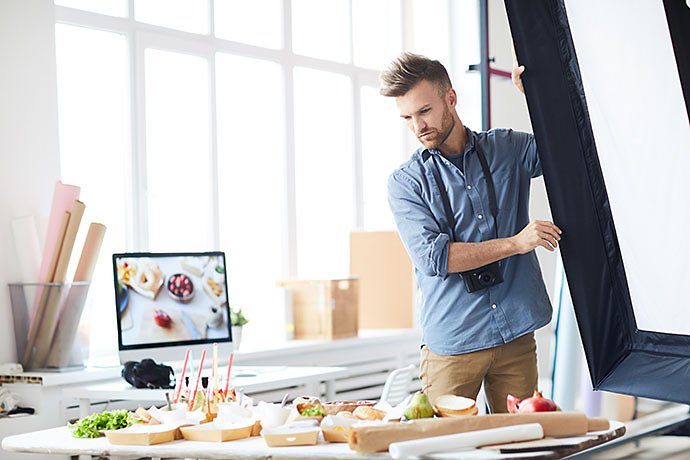
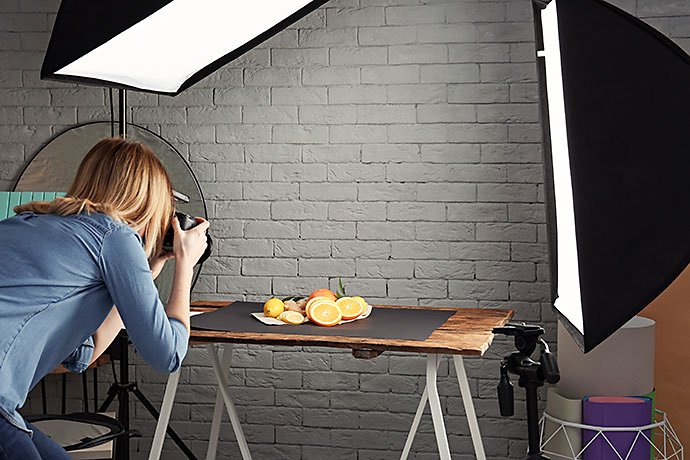
Best equipment and cameras for food photography.
To set up the perfect image, you’ll need the perfect equipment. While you could get a good image with just the camera you own, adding the right lens, accessories and props can give your food photography that professional touch.
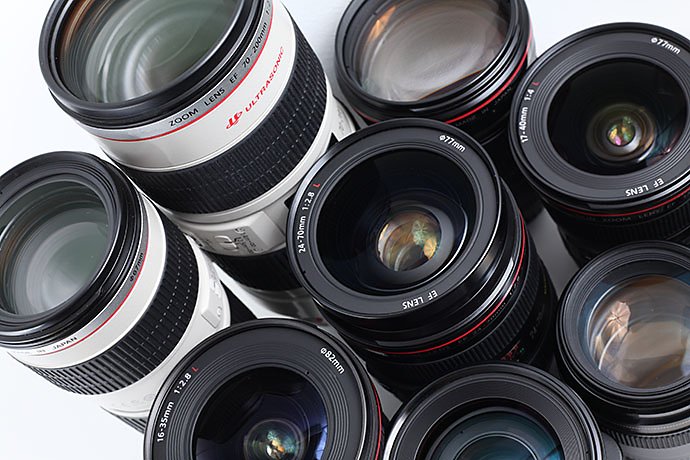
Camera and lens considerations.
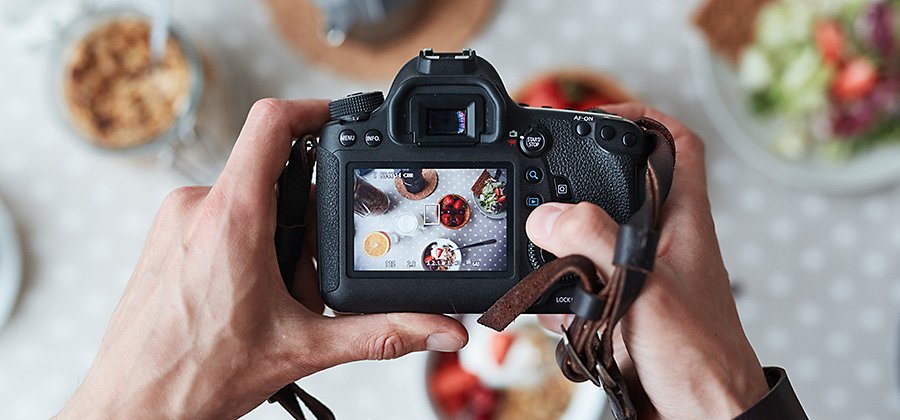
To get the best results in food photography, we’d recommend using a DSLR camera, as you’re given a range of options to choose from in your settings. Most entry-level lenses are good enough, but you might opt for a fixed lens to remove another variable. It’ll just mean you can’t zoom, and will have to move yourself and the camera closer to the food (but this will arguably give you better results anyway). Alternatively, if you’re just getting started, you could experiment with your smartphone camera.
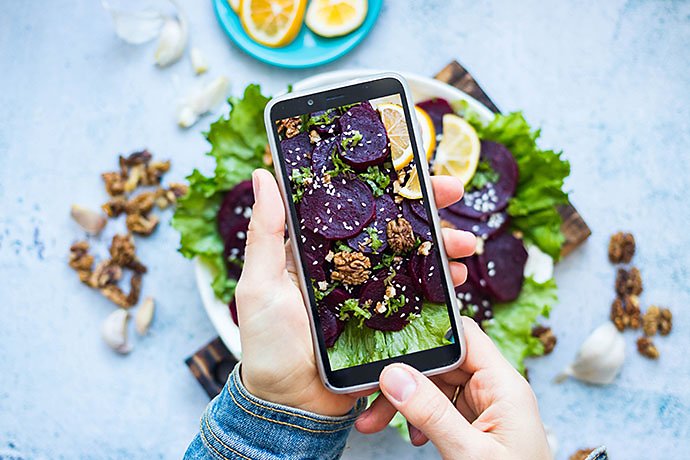
You can also take great pictures of food on iPhones and Android phones. Many food influencers will use their smartphones when out and about. Some phones recognise you’re shooting food and can automatically adjust the settings to get the best shot.
iPhones tend to have a fixed wide-angle lens, so top-down shots generally work best here. Play with the settings in Professional mode to get the best picture, whether you’re adjusting ISO, shutter speed or adding a grid to make sure your image is balanced.
Accessories required for food shots.
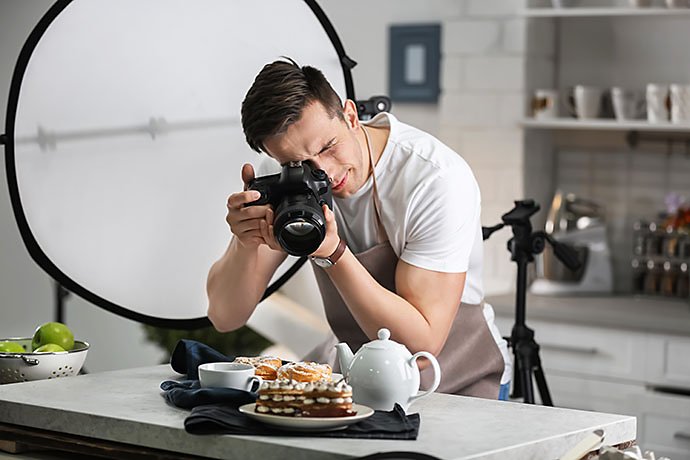
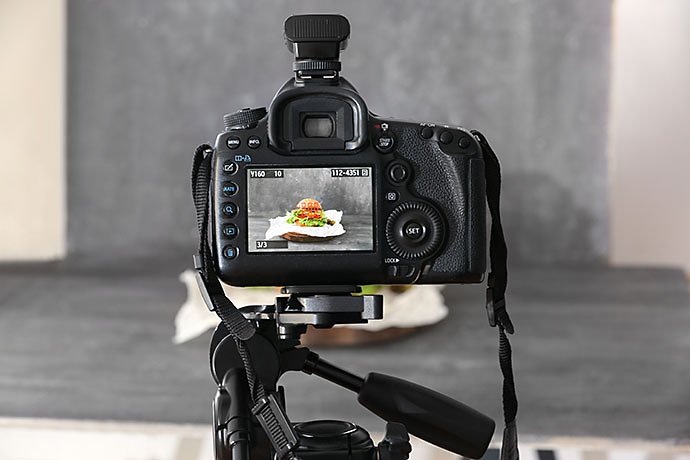
For the best food photography, you need a few key accessories. We’d suggest a tripod to provide perfectly crisp images of perfectly crisp lettuce. This is especially key in low-light settings.
Lightboxes and diffusers are good investments for any photographer. They’ll help to take your food photography lighting to a new level.
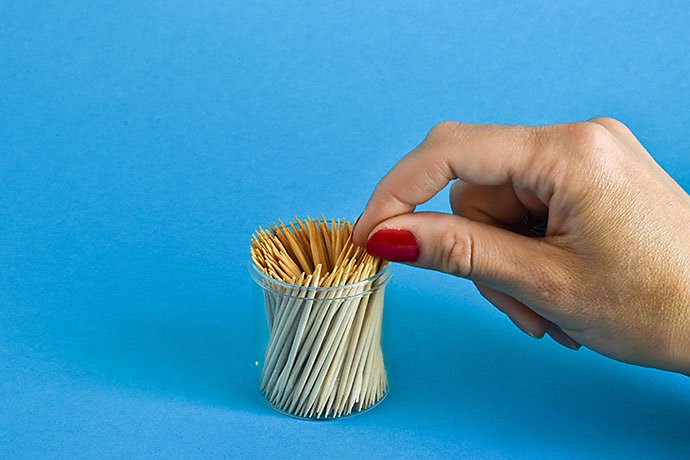
Using advertising tricks to enhance food images.
Some food photography tricks can make the final product look amazing but actually be inedible, such as using motor oil instead of maple syrup. Here are some tried and tested techniques to make your food look irresistible on camera.
- You can use items such as wood skewers or toothpicks to keep food upright or straight while you’re snapping away.
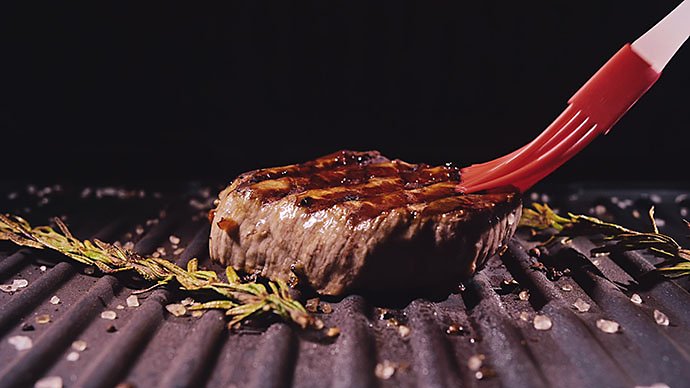
- Give fresh meat a quick brush with vegetable oil to make it shine and catch the light.
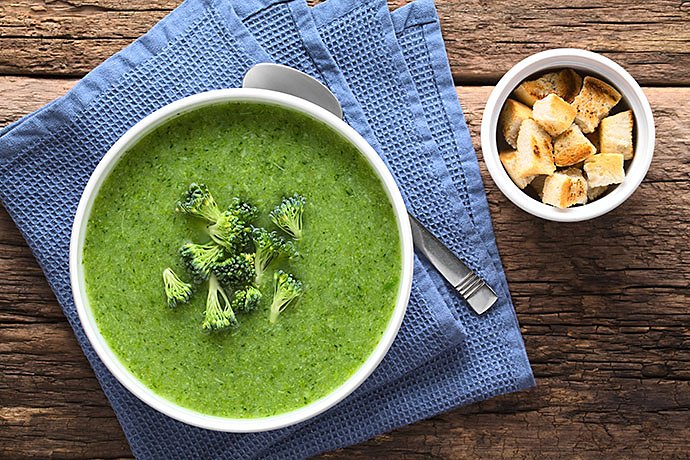
- If you’re shooting soup or stews, use a smaller bowl or dish inside, positioned upside down. You can then use the bottom of this smaller bowl – which should be hidden just under the surface – to place ingredients on so they appear to be floating on the surface.
Lighting, framing and techniques for food photography.
There are three real steps to taking a photo – setting up the scene, taking the shot and editing the image. When you’re going through each of these steps, there are key factors to consider such as lighting, camera angle, settings and how to edit an image.
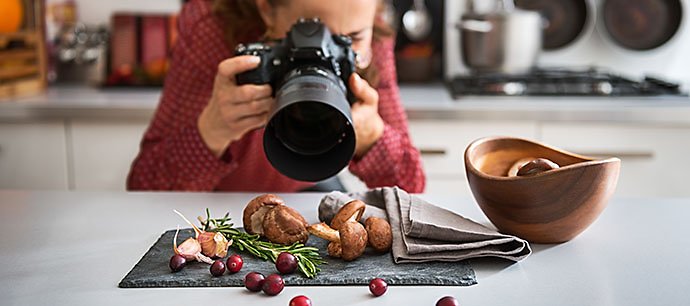
Setting up lighting for food photography.
Once you’ve chosen where to shoot, you’ll need to either adjust the light or work with what you’ve got. Natural daylight works well with food, but avoid direct sunlight as it can often be too bright and provide harsh shadows. Turn off the flash as it can wash food out and make it seem dull.
Try bouncing the light off the ceiling, or set up your artificial lighting on opposite sides of your subject. This can balance out the lighting and eliminate most shadows.
Choosing the right camera settings to photograph food.
While there’s no perfect combination of settings, when it comes to food photography knowing what each aspect of the ‘exposure triangle’ does can help to bring your photos to life.
- ISO. This is how sensitive the sensor is to the light coming in. The lower the ISO, the darker the image will be. Our experts suggest no more than 400 for food photography. Find out more about ISO.
- Shutter Speed. Try to keep it fast to avoid blur, or if you’re shooting handheld. If you’re using a tripod in low-light conditions, experiment with a long shutter speed for food photography – around 1/15th of a second. Learn about the effects different shutters speeds produce.
- Aperture. This depends on the angle you’re shooting from. Shooting directly down provides a good overlay, especially if you’ve got more than one plate or a number of accessories. For this, you’ll need an aperture of around f/11.0 or over to catch every detail. For shooting at an angle, you’ll probably need to create a blurred background, so go for a lower f-number like f/4.0. Discover how to master aperture.
Add effects and sharpen food shots with smart editing.
While you might feel you’ve got the perfect shot, when you look at the images on a larger screen you may find it needs fine tuning. Editing software, whether on your laptop or as an app, can help to give your food photography an extra edge.
With tools such as Lightroom and Photoshop, you can add a range of effects and finishes to the final shot – whether it’s simply cropping it to make it more balanced, or adding extra blur, adjusting the colour or layering text and other items to give it a professional finish.
Food photography advice from the experts.
Our experts answer your key questions and reveal their food photography tips:
How can I improve my food photography?
Sarah Aagesen says: “I’ll start with something that’s pretty un-styled, with maybe just the smoothie in the bowl to start. And I’ll take photos along the process as I’m adding things. So I’ll have them through different steps, in case I end up going too far or adding too much. Sometimes you’ll add a few things and think, ‘You know, it looked better a few less ingredients ago.’”
How can I get a balanced shot?
Food photography is similar to still life photography, and using the rule of thirds can “make all of your photos instantly look better,” according to photographer Derek Boyd.
Photographer Samuel Nute adds: “Think of your viewfinder as broken up into nine different sections, and try and stay cognizant of what’s filling up six of those areas.”
How can I improve the light for food photography?
Aagesen says: “Consider shooting through a window, if it’s not direct sunlight, or through a white curtain that diffuses the light.”
Adobe’s food photography partners.
Ben is an award-winning photographer and senior editor at Macworld magazine. Based in San Francisco, he has written books on digital photography, is a senior contributing editor to Macworld magazine, and a senior editor at CreativePro.com. He has worked for 20th Century Fox, Blue Note Records, Global Business Network, and the San Francisco Jazz Festival.
Sarah Aagesen
Sarah is a professional photographer who is part of the Four S Club, which covers digital photography, marketing and design. Her brand photography has been used across a range of high-profile clients including Sun Butter, Foods Alive and Skoop.
Samuel Nute
Sam is a freelance photographer based in Portland, Oregon. He specialises in lifestyle, editorial and landscapes photography, with work spanning several industries and a client list that includes Sonos, IKEA, Ford, Soylent and MailChimp.
Derek Boyd
Oregon-based Derek has worked as a photographer for most of his adult life. He is a professional and artistic photographer, covering the Pacific Northwest. He has experience working on digital and film in studio and on location.
You might also be interested in…
Discover how adjusting shutter speed can help you capture clean shots or motion-filled moments.
An introduction to shallow depth of field.
Explore how shallow depth of field can add dimension to your photographs.
How to use and break, the rule of thirds.
Improve your photo composition skills to capture more stunning images.
The art of still life photography
Improve your composition skills by learning the art of still life photography.

Lightroom plan
Edit, organise, store and share photos from anywhere.
7 days free, then £9.98/mo.
Photography
Get Lightroom, Lightroom Classic, Photoshop and 20 GB of cloud storage. 7 days free, then .
Create professional-quality food photos with Adobe Photoshop Lightroom.
Creative Cloud photography (20 GB)
Get Lightroom for desktop and mobile, Lightroom Classic and Photoshop on desktop and iPad.
£9.98/mo
|
Creative Cloud photography (20 GB)
Get Lightroom for desktop and mobile, Lightroom Classic and Photoshop on desktop and iPad.
£9.98/mo.
Students and teachers
Save over 65% on 20+ Creative Cloud apps — includes Lightroom.
£16.24/mo.
Business
Get Lightroom and all the Creative Cloud apps plus exclusive business features.
£56.98/mo
Business
Get Lightroom and all the Creative Cloud apps plus exclusive business features.
£56.98/mo