A complete guide to standard photo sizes.
Understanding how photo sizes work is an important part of any design project. Making sure your images are the correct dimensions will help you to avoid pixelated photos, as well as stretched or distorted images.
Find out how why image size is so important, the most common image sizes for various applications, what an aspect ratio refers to and how to resize a photo.
What you’ll learn:
- Why it’s important to use the correct photo size
- What aspect ratio means
- The standard image sizes for print
- The standard image sizes for social media
- The standard image sizes for web
- How to change an image size in Photoshop
Why is using the correct image size important?

To achieve the best results from your photography, size matters. Using the correct image size can make sure your photos appear in a shape that best fits the subject.
Therefore, it’s worth knowing what size your photo will be before you take it. This way, you can make sure the aspect ratio you’re using reflects the size of the image and the subject of the photo – so you don’t have to crop out as much from your photo to make it fit.
When you’re designing for the web, it’s important to think about image sizes as it can affect site speed. If an original image is larger than the space it fills on a website, it will shrink to fit. However, your browser will still need to load the larger image.
If you have lots of large photos on a website, it can take longer for pages to load, which users might not be patient enough to hang around for. By resizing images so they fit the exact space they are supposed to, you can improve the site’s performance and user experience.
What is aspect ratio?
An aspect ratio refers to the ratio of an image’s width compared to its height. It essentially tells you what shape the photo is going to be.
For example, an aspect ratio of 1:1 means the width and height are the same, creating a square image. A ratio of 3:2 means the width is greater than the height, creating a rectangular image.
Common aspect ratio sizes.
1:1 aspect ratio.
Using a 1:1 aspect ratio means you’re shooting a square image, as both sides are the same width and height. It’s commonly used for things like social media profile photos.
3:2 aspect ratio.
Another common aspect ratio is 3:2, which is used across much of film and digital photography. This is the aspect ratio of original 35mm film, which is why it’s so commonly used.
4:3 aspect ratio.
4:3 is the aspect ratio that some computer monitors, TVs and digital cameras use. This is the perfect aspect ratio to shoot photos or film in if you’re creating photos that will fill a screen.
16:9 aspect ratio.
A 16:9 ratio is more common on most computer monitors and modern widescreen TVs. This is a slightly longer width than a 4:3 aspect ratio.
What are the standard image sizes for print?
When you’re designing for print, it’s important to know what the correct size is for the image you want to use. There’s nothing worse than printing work and realising the photo has become pixelated or misshapen. Discover the main print sizes and what they are appropriate for:
4x6 inches.
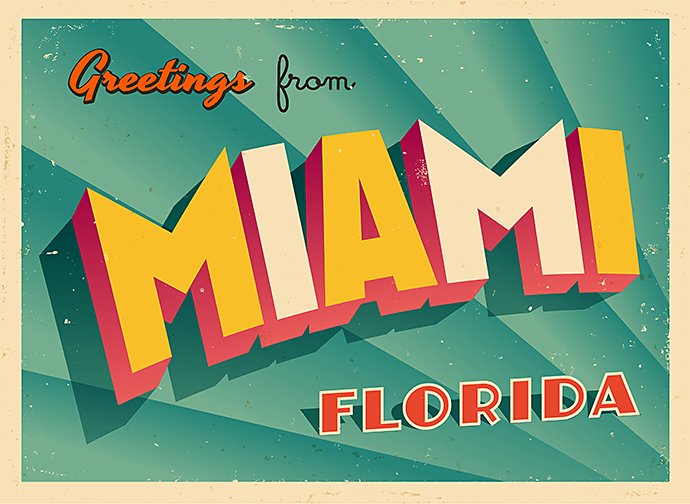
This is perhaps the most common photo size in print. This size of photo fits perfectly into a 3:2 aspect ratio. If you take a photo using this ratio, you shouldn’t have to crop out any of the image to make it fit. This size is ideal for framed photos, greetings cards and postcards.
You’ll need the pixel length to be 1200 x 1800 pixels for the image to print with the best quality.
5x7 inches.

This slightly larger image is often used for framed photos and greetings cards. To get the best results for a photo of this size, try to use a 3.5:2.5 ratio on your camera.
You’ll only need to crop a small amount of your photo to ensure it fits this size. For a perfect fit and quality when printing, make sure your photo is 1500 x 2100 pixels.
8x10 inches.
If you want more impactful images, this slightly larger size is a good choice. To get the most from this image size, try to use an aspect ratio of 5:4 on your camera.
You’ll need to crop the long side of your photo, so make sure there’s nothing important at the bottom or top. If you’re resizing an image, make sure it’s 2400 x 3000 pixels to fit this printed size.
8.5x11 inches.
This image size might be more appropriate for a poster, or a large print to frame. To get the best results for a photo of this size, use an aspect ratio of 4:3. To achieve a print of this size, resize your image to 3400 x 4400 pixels.
12x18 inches.
To get the most from a print of this larger size, make sure the image you’re printing is large enough. A pixel size of 3600 x 5400 pixels and an aspect ratio of 3:2 should give you the best results.
18x24 inches.
For a much larger print size like this, you’ll need your image to be 5400 x 7200 pixels. When you’re taking the photo, use an aspect ratio of 3:4.
24x36 inches.
For an extra-large print, use a digital image size of 7200 x 10800 pixels for the best quality. Use an aspect ratio of 3:2 when you’re creating a photo of this size.
What are the standard image sizes for social media?
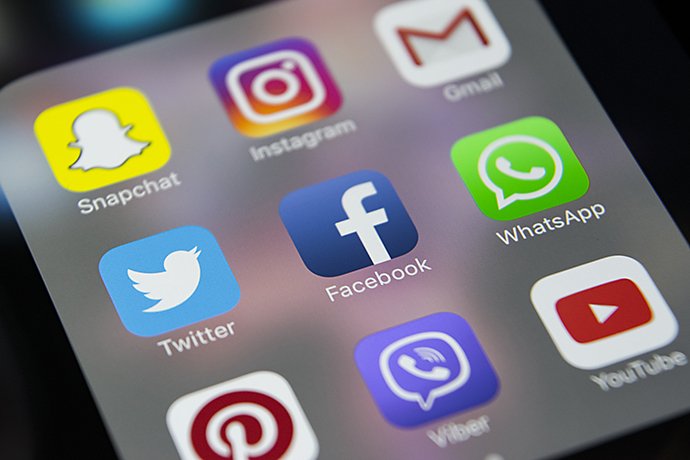
When you’re creating social media assets, there are lots of different sizes to consider depending on what platform you’re using. Some platforms won’t let you publish photos unless they are the correct size, so it’s important to get it right.
Instagram posts.
A standard Instagram image should be 1080 x 1080. This will be scaled down by Instagram, but using a larger image will give you the best possible image quality. Use a 1:1 aspect ratio for these.
Instagram stories.
Instagram stories are vertical, so you’ll need to flip your photo to fit. It’s a good idea to take any photographs that are intended for stories in portrait orientation (taller than they are wide). Alternatively, you could make Instagram story templates. The pixel dimension for an Instagram story is 1080 x 1920 with an aspect ratio of 9:16.
Facebook posts.
For a Facebook feed post, you’ll need an image size of 1200 x 630. This is the perfect size to slot into a newsfeed without Facebook clipping or stretching your photo to fit.
Facebook stories.
Facebook stories are the same size as Instagram stories, so you’ll need an image size of 1080 x 1920 with an aspect ratio of 9:16. These are also vertical, so a portrait photo will work best here.
Facebook cover photos.
A Facebook cover photo is the long image that goes across the top of your personal or business profile. You’ll need an image size of 820 x 312 pixels to go here, but remember that your profile picture takes up space on the left hand side of the image. Be sure to avoid putting anything important in this area of the image as it may be covered up.
Twitter posts.
If you want to use an image within a tweet, either as a single image, a set of images or within a link, you’ll need to use slightly different sizes:
- If you’re including an image as part of a link, use 1200 x 628 pixels.
- If you’re tweeting one image, use 1200 x 675 pixels.
- If you’re tweeting two images, make each one 700 x 800 pixels.
Twitter cover photos.
Your cover photo is the image that goes across the top of your profile. You’ll need a horizontal image of 500 x 1500 pixels for this.
Pinterest pins.
There’s no standard size for Pinterest pins. Depending on what you’re looking to do, you can adjust the length until you’re happy with the result. However, the recommended size for a pin is 1000 x 1500 pixels, with an aspect ratio of 2:3.
LinkedIn posts.
If you’re resizing a photo to fit within a LinkedIn feed, using a pixel size of 1200 x 627 will help make sure it’s not distorted or stretched so that it looks professional.
LinkedIn background image.
For the long background image at the top of your profile, use an image size of 1584 x 396 pixels.
What are the standard image sizes for web?
Whether it’s achieving the perfect display on an HD monitor or creating a 4K standard image, it’s worth knowing the sizes that are common across the web. Using the wrong image size can mean you don’t achieve the right level of quality for the person who’s viewing it.
For example, if a user is looking at your photos on a 4K monitor, you want to make sure they reflect the quality they’d expect to see.
HD quality.
An image size of 1280 x 720 pixels is large enough to be HD standard and is commonly used in photography and film. This size uses a 16:9 aspect ratio, which is also common in filmmaking.
4K quality.
4K is four times the number of pixels of 1080 x 1080 images, which were once the benchmark of high-quality images and video. To achieve a 4K quality image, it must be 3840 x 2160 pixels.
8K quality
8K takes this even further, using even more pixels and, in turn, producing impeccable quality video and photography. For an 8K image, use pixel dimensions of 7680 x 4320.
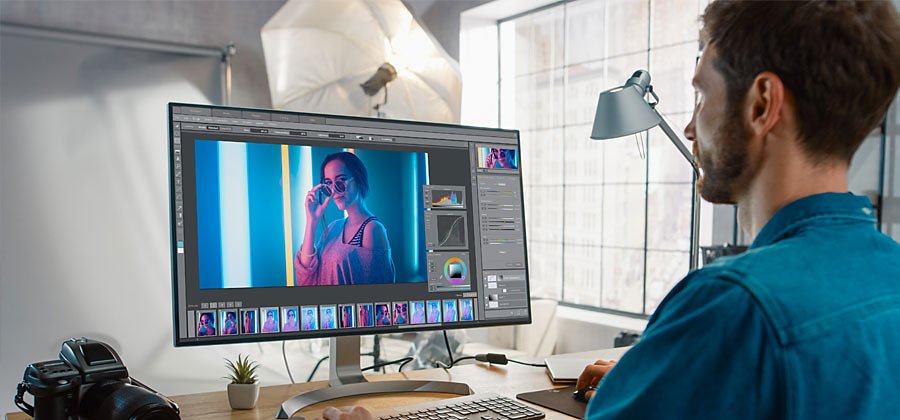
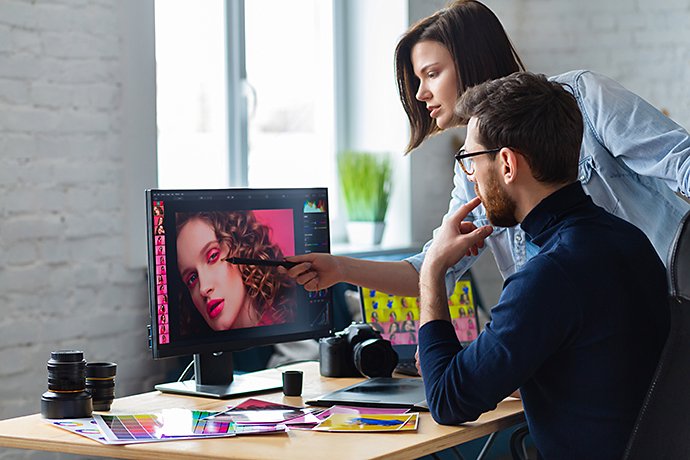
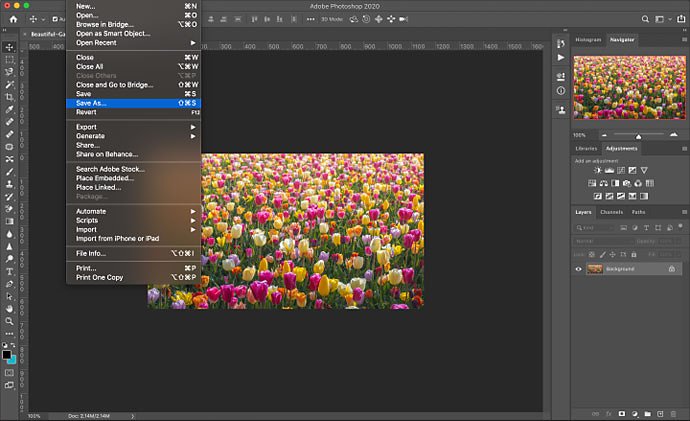
How to change an image size in Photoshop
Changing the size of an image using Photoshop is quick and easy. Follow these five simple steps to resize an image so it fits perfectly.
Step 1: Open your image in Photoshop.

Step 2: click on Image, then Image Size.
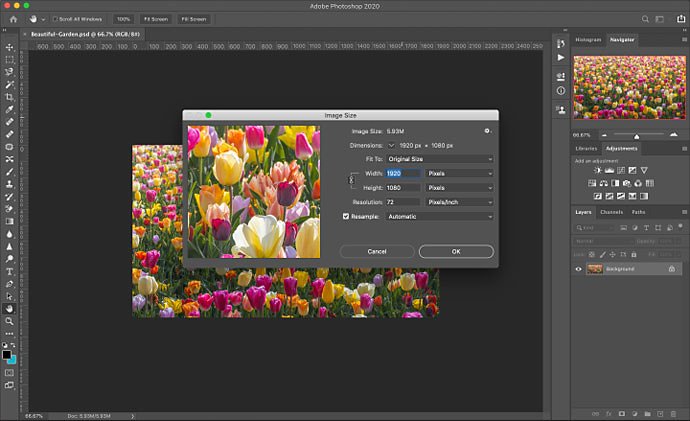
Step 3: choose inches, or change to pixels as the unit of measurement.
Step 4: Change the dimensions to the size you’re looking for.
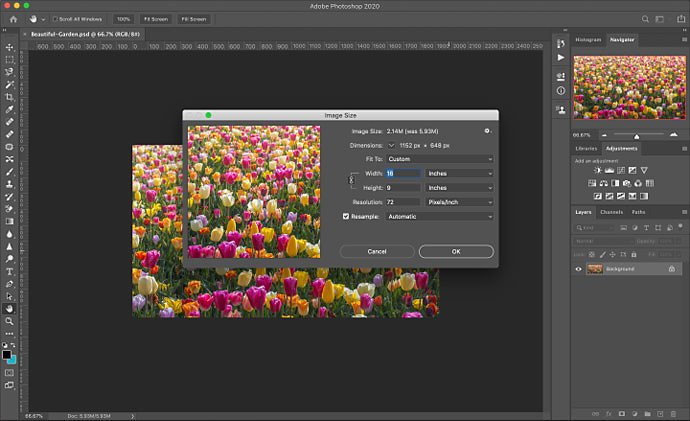
Step 5: click OK, then go to File. Click Save As to save your image.
By knowing how to resize your images, you can frame your photos in a way that best fits the subject and publishing platform. Whether sizing images for print, web or social, get the job done in Photoshop today.
You might also be interested in…
How to use, and break, the rule of thirds.
Improve your photo composition skills to capture more stunning images.
Understanding shallow depth of field.
Explore how shallow depth of field can add dimension to your photographs.
Discover how adjusting shutter speed can help you capture clean shots or motion-filled moments.
Tips for capturing nature photos of all kinds.
Explore the possibilities of nature photography, from animals in motion to sprawling landscapes.