Learn the art of flower photography.
Create beautiful images of flowers using perspective, composition and lighting techniques. Plus, get editing tips from the experts to bring out the best in your flower photos.
Why photograph flowers?
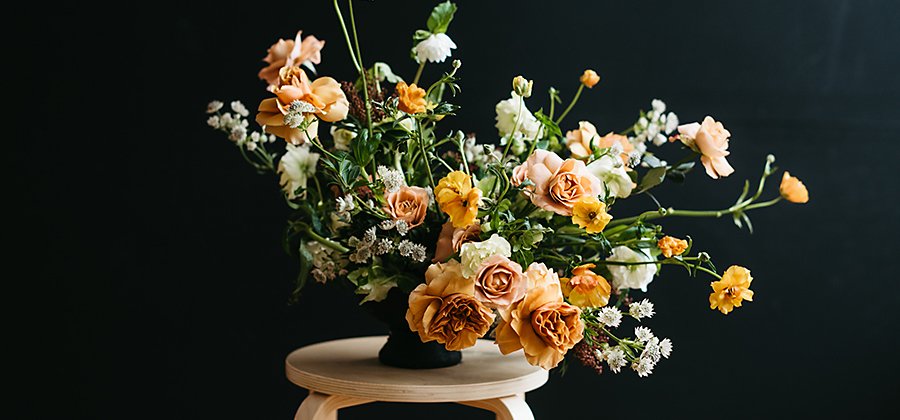
Flowers are a naturally photogenic subject matter — a joyful expression of colours, textures and shapes. Photographing flowers celebrates the beauty of plants and is an effective way to get better at various photography skills. “It’s a great place for beginners to start, but it can also be very advanced,” says photographer Derek Boyd. “It’s like that saying, ‘Easy to learn, hard to master.’” But by paying attention to the angle, framing, lighting and editing of your shots, you can go from simple flower pictures to beautiful images of blooms that stir emotions and evoke a second glance.
Gear up for flower photography.
You don’t need much to get started. Here are a few items you can gather before you head out for your first floral photography adventure.
Just your phone.
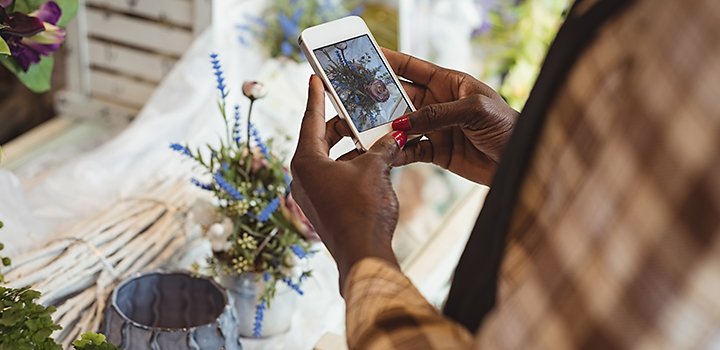
The only piece of equipment you truly need is a camera and your phone’s camera will suffice in a pinch. “It’s always with you and if you have one made within the last four or five years, it will take amazing photos of flowers that you can even print in fairly big sizes,” says photographer Jake Braught. “Phones have a tendency to overexpose photos. To better see what your phone is capturing, turn up the brightness of your screen, then adjust the exposure of the photo. I recommend turning the exposure down a bit to preserve more details.”
A DSLR and a 50 mm lens.
A DSLR camera and lens will give you more options for creating flower photography at the professional level. “My go-to lens is a 50 millimetre,” says Braught. “It’s a great lens for starting out, whether you’re photographing flowers or portraits. I have an 85 millimetre lens for portraits and flowers, as well. A big advantage of these two prime (non-zooming) lenses is that they have wide apertures that create magical blurry backgrounds due to the shallow depth of field.”
A tripod and cable release.
A tripod will help to eliminate camera shake to make your flower images sharper. A cable release will allow you to step away from your equipment while you take your shots. Take advantage of your steady camera by playing with various settings to see how they affect your photos. “You can do some really cool stuff with tripods,” says Braught. “If it’s near dusk and you do a long exposure, leaving the shot open for a few seconds, you can get some movement that makes the flower look like a painting.”
Reflectors.
“The reflector is one of my favourite tools for flower photography, especially outside. It’s handy for filling in shadows,” says Boyd. “Because you’re getting a lot of low angles and shadows, it helps to redirect the sunlight.”
Plan your expedition.
Create memorable shots of beautiful flowers using these flower photography tips and tricks.
- Try different times of day.
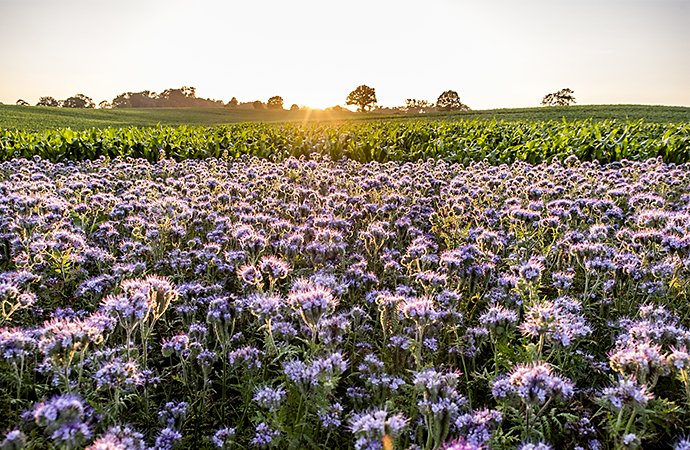
“I like to shoot at sunset or sunrise. Those are the better times,” says Braught. “But flower photography is forgiving, because you can also take shots in the middle of the day and play with the shadows.”
- Don’t aim for perfection.
Accidents can bring about interesting results. “Not every photo is going to be technically perfect and sometimes your best ones aren’t,” says Braught. “You can capture movement or blur that brings in some other emotion you wouldn’t normally get.”
- Bring props.
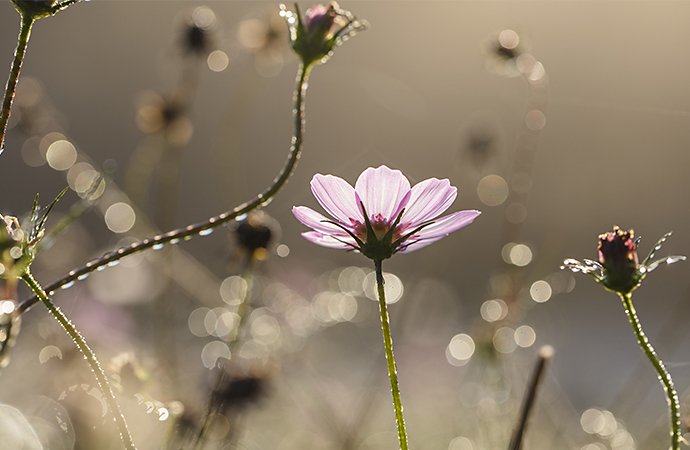
Use a spray bottle to add water droplets. Frame your lens with plastic wrap as a diffuser for dreamy light distortion. Create lens flare by holding fallen flower petals near the edge of the lens. Refract the light shining onto the flower with a prism or fractal lens. “It’s always fun to experiment,” says Braught. “Anything see-through can be held in front of your lens to distort things in unique ways.”
You can learn a lot from flowers.
Flowers are a model even the shiest photographer can direct. And their colours and textures are a playground for getting better at photographic techniques and camera settings. Learn some of the lessons below through flower photography.
Composition is key.
“The number one thing I learnt from flower photography was composition, putting your main subject in the right place in the photograph,” says Boyd “and using objects in the foreground and background to frame your subject.” Use the rule of thirds to build a good composition — no matter if you’re doing a close-up of a single flower or a full frame of an entire garden — and take a lot of photos at different angles. “Try getting down at the ground level and shooting up at it,” says Boyd. “Taking photos from above can be great as well,” Braught explains, “The thing about flowers is they can look completely different from different angles of even just a few degrees.”
It’s better to underexpose.
“Always err on the side of underexposing your photos,” explains Braught. “Whether you’re shooting on your phone or a DSLR, once you get into post-processing, you can always lighten the photo, because the data is still there. But if a photo is overexposed, the data is destroyed for any blown-out areas.” Turn your exposure down a touch on your phone or narrow your aperture by closing your f-stop to a higher number value. Increasing your shutter speed can also help.
A shallow depth of field is forgiving.
Shooting with a shallow depth of field keeps the subject of your photo in focus and everything in the foreground or background blurry. A shorter focus distance is helpful when you want to take emphasis away from certain objects in your frame that are less attractive. “A building in the background or trash on the ground, a lot of times, a shallow enough depth of field will wash that out for you so you don’t have to worry about it,” says Braught.
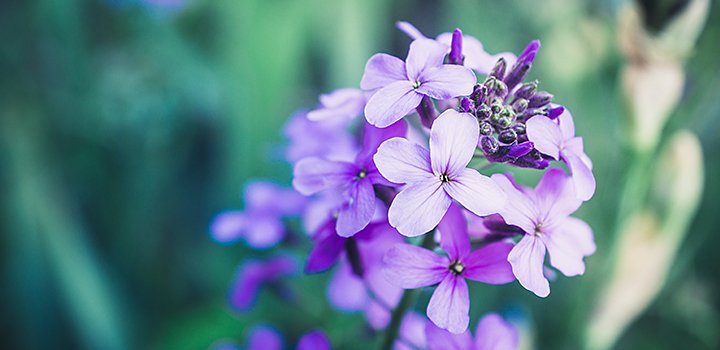
Use a wide aperture for this look, but don’t overdo it — unless your intention is to focus only on certain parts of the flower. “An aperture in the ballpark of 5.6 to 8 gives you enough depth of field for the entire flower to be in focus but your background and foreground to still be blurry,” says Boyd. Remember to increase shutter speed when your aperture is wide open, so you don’t overexpose your image.
Edit your flower photos.
“A big part of flower photography for me is editing,” says Braught. “That’s where I bring the tones and the mood to the photo.” Make quick edits from anywhere with Adobe Lightroom and then dive into deeper transformations with Adobe Photoshop.
Use Lightroom presets for instant enhancements.
Create your own customised filters and find ones from photographers you like with Lightroom presets. “There are presets that do what I would try to do manually but quicker,” says Boyd.
Adjust temperature and tint.
Check the white balance of your shots in camera. Then fine-tune tones in your photos in Photoshop by applying a Curves adjustment. “I like to make my white point pure white or a little on the cooler or bluer side of the spectrum,” says Braught. “You have to strike a balance. If I pull a photo’s temperature down a lot, I will then go into Tint and bring some of the magenta out of it.”
Play with contrast, saturation and texture.
“Contrast and saturation are the two things I like to mess with the most,” says Boyd. “I like things to look more dramatic.” Try messing with your settings to see what speaks to you. Increasing saturation can add an element of dreaminess. Decreasing it all the way to black and white can help you to emphasize composition and contrast. “I love the look of film photography grain so I add it to my digital photos in post," says Braught. "Adding some grit helps your photos feel more tactile and timeless.”
Try focus stacking.
Combine photos from your mobile phone or a DSLR to create one image with multiple focal points in sharp focus by focus stacking. See if you can create a photo where an entire bunch of flowers or even an entire garden is in focus.
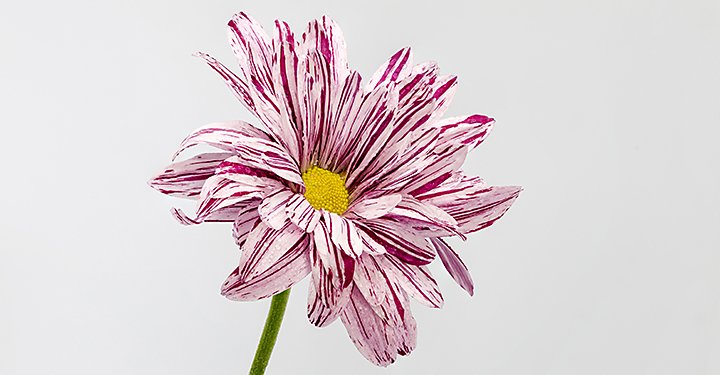
Get started in floral photography.
Images of flowers can vary widely — from your typical sunny photo of a field of daffodils to an overcast shot of a single dried rose at an unexpected angle. See what moods you can illustrate through creative flower photography.
Explore your neighborhood.
“A lot of my inspiration and photos come from walking around my neighborhood,” says Braught. “It’s a nice way to capture the history of my neighborhood as well as find beauty in the everyday stuff.”
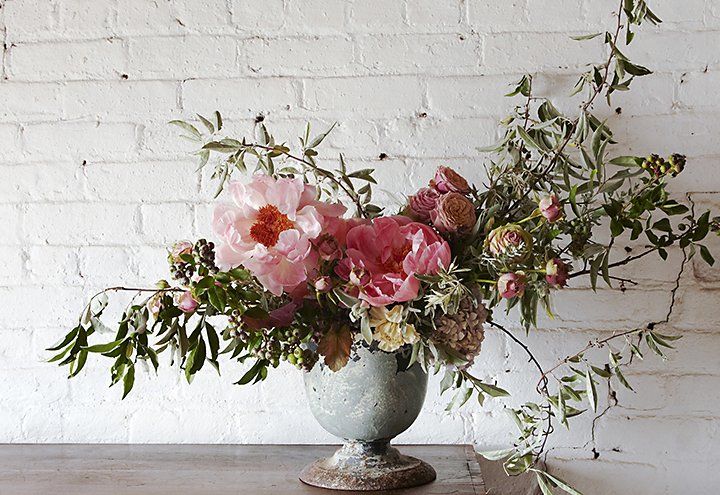
Set up still-life shots at home.
Go to the florist, order a flower delivery online or pick wild flowers. Then set up your own still-life shots at home. “I make my own arrangements to work on interesting compositions,” says Boyd.
Find flower photographers you like online. Get acquainted with their work and don’t be afraid to keep in touch with questions. “The photography community is friendly and willing to share tips,” says Braught. Then get started shooting flowers on your own. “Take a lot of pictures, even if you really like the first one you took,” recommends Boyd. “If you take more, nine times out of ten, the first one you took won’t be your favourite.”
Contributors
You might also be interested in…
Tips for capturing nature photos of all kinds.
Explore the possibilities of nature photography, from animals in motion to sprawling landscapes.
The art of still life photography
Improve your composition skills by learning the art of still life photography.
Understanding shallow depth of field.
Explore how shallow depth of field can add dimension to your photographs.
Building a great landscape photo.
Explore ways to artistically capture scenic views with tips on landscape photography.
