LIGHTROOM
For iOS and Android

What is lens aperture?
Learn how aperture affects your photos and how understanding f-stop settings is a foundational skill for great photography.
Photography & tutorial by @tk_north
Aperture controls the amount of light that enters your camera.
The way that photos are created is reliant on an “exposure triangle” controlled by three major settings. Shutter speed controls how fast or slow your shutter closes, affecting the time of your exposure and helping you freeze motion properly. ISO is used to indicate the light sensitivity of film or adjust the light sensitivity of a digital camera’s sensor and photographers adjust it based on their surroundings. Lastly,
Aperture is the adjustable lens opening that controls the amount of light allowed into the camera. Learning to properly adjust these three settings based on your location and subject is essential for capturing good exposures.
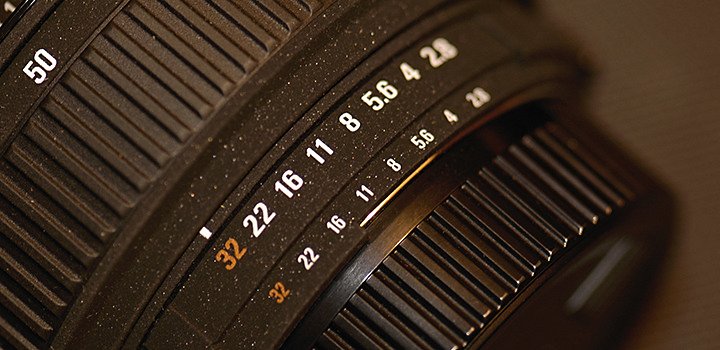
Understanding how different aperture settings work.
The f-stop number or f-number, is the setting that controls the size of the aperture and therefore how much light can pass through the camera lens. F-numbers are determined by the ratio of the diameter of the aperture to the focal length of a lens. A small aperture has a higher f-stop, whereas a large aperture has a small f-stop number. Smaller apertures let in less light, so naturally, larger apertures let in more light. Your maximum aperture (as low as f/1.4 with some lenses) lets in the most light. All cameras can have a minimum aperture as narrow as f/16, which is the aperture setting that most limits light.
When to adjust your aperture opening.
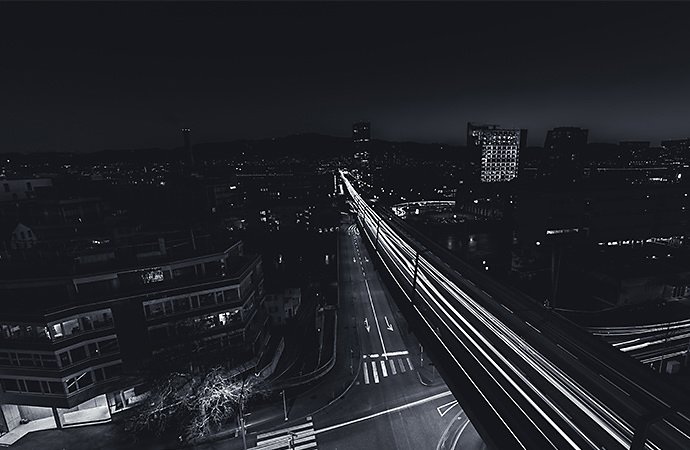
Too much light will wash out a photo and too little will give you a very dark image. Adjusting the size of the opening for your lens based on environmental conditions will help to achieve the exposure you want. If you are shooting in low light,such as taking night photography with a wider aperture size will allow in more light. If you’re outdoors with a lot of light, a smaller aperture can limit the amount of light.
“If your f-stop is larger — your aperture is smaller — you’ll need a longer shutter speed to compensate for that,” photographer Ivy Chen explains. “Be mindful about keeping your camera steady. The shutter is open for longer — it’s taking that much longer to capture the photo — and during that time, if there’s any movement of or in the camera — that’ll result in motion blur.” You can also try taking light painting photography using this.
How aperture affects depth of field.
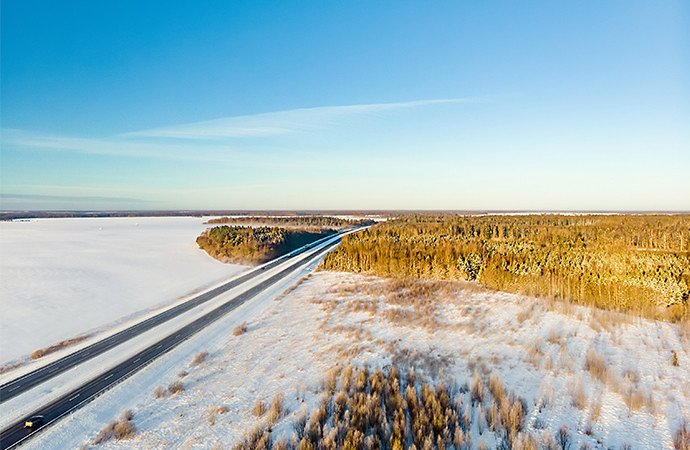
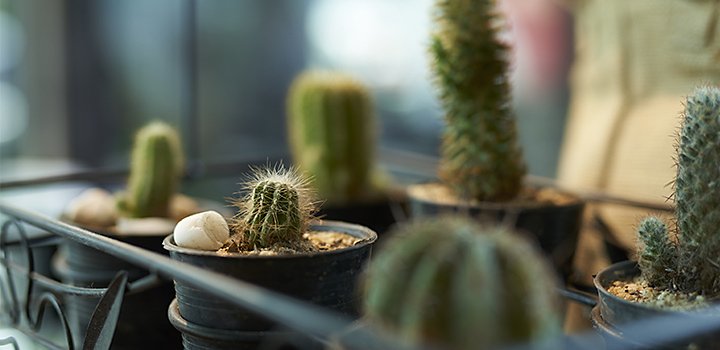
Aperture adjustments affect the depth of field for your photos — the range between the nearest and furthest objects in focus within a picture. Shallow depth of field, which blurs the background to help pop the in-focus subject of the photo, is achieved with a wide aperture. This effect is known as bokeh and can be simply achieved on a DSLR or mirrorless camera with aperture adjustments. A smaller aperture will give you a larger depth of field, which allows you to keep a larger amount of the frame in focus — ideal for group shots or scenic landscapes, compared to the shallow depth of field photos great for portraits or food photography.
Setting an aperture priority.
While you can always change the aperture with manual focus adjustments, aperture priority mode is an automated camera setting available on most modern cameras that can help you to capture good photos. In aperture-priority mode, the photographer selects the desired aperture and the camera autoselects an appropriate shutter speed. This can be helpful when you need to capture a bunch of fast shots in a consistently lit environment and you don’t have time to adjust your settings. It can also be a good learning tool as, in editing, you can see the corresponding shutter speed your camera selected in certain conditions. Shutter-priority mode, conversely, autoselects an aperture based on your chosen shutter speed. And programme or auto mode will autoselect both for you.
Whether you’re shooting on a Nikon, Canon or any other brand of camera, a mastery of aperture settings — and their effect on your photos — will help you to get great shots in different settings and at slower or faster shutter speeds. And if further adjustments are needed in post-production, that’s where editing comes in. Depth of field can be adjusted in post and if you don’t quite achieve the bokeh you want, you can blur a background to pop your subject. No matter what your goals in photography, a good understanding of aperture will improve the quality of every photo you take.
Contributors
Do more with Adobe Photoshop Lightroom.
Edit photos easily with Lightroom presets, Super Resolution, easily share photos from any device and access your projects anywhere with cloud photo storage management.
You might also be interested in…

How to use and break, the rule of thirds.
Improve your photo composition skills to capture more stunning images.

Discover how to capture all the scheduled and candid moments of the big day.

A good headshot tells a story. Here’s what you need to know to hone your skill in this field.
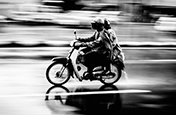
Learn to capture motion with panning photography.
Discover how to show a subject in motion on a blurred background in still photography.