How to remove audio from video using Adobe Premiere Rush.
Cut noise from your original video or extract audio to pair with another clip in your video editor.
Edit video to remove sound from your clips.
Capturing perfect footage and perfect audio in one take is a challenge. Your best footage might be marred with distracting noise. Or you capture amazing audio, but it needs to be paired with another part of the video. Sometimes you may want to mute the audio in your video and add a soundtrack or voice-over before posting the video online. In Premiere Rush, you can mute your video clips, remove audio from video entirely or creatively align audio and video tracks in your timeline. And you can do it all by video editing on your iPhone or mobile device.
How to remove audio from your video clips.
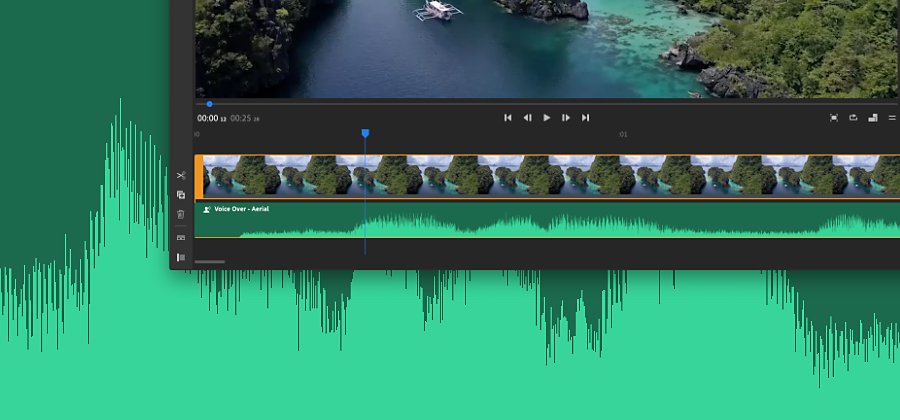
You can separate the audio from the video clip by removing it from the video file. Premiere Rush gives you the editing flexibility to separate audio that is a part of any video clip. Separating audio lets you edit the audio track independently from the video, allowing you to layer audio clips one over the other, swap audio clips around and more.
To separate an audio clip from a video clip, use one of these methods:
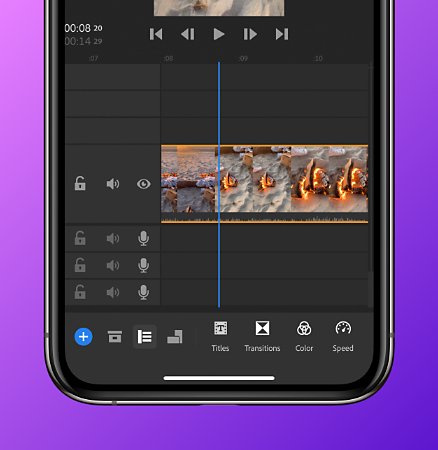


- On mobile: Long press on the clip in the timeline and select Separate Audio from the menu that pops up.
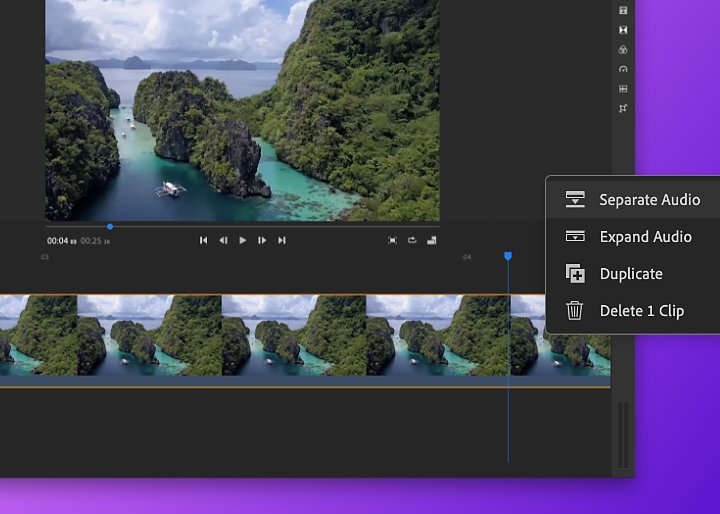
- On desktop: Right-click on the clip in the timeline and select Separate Audio from the menu that pops up. You can also use the keyboard shortcut E.
With the Separate Audio feature, you have two options: muting or moving the audio. By removing the audio, you can mute video clips. Or, you can use the original audio from the video and drop it into the first available audio track. If no audio tracks are free, the separated audio is placed on the A3 track. If you change your mind, you can always unmute the audio from the original clip.
Editing your audio and video.
You can edit these new audio clips just like any other clip in your timeline: Adjust the volume of your audio clips or place them in new locations in the timeline. Need some new audio? You can even replace the removed background noise with one of the 33 soundtracks in Premiere Rush or add your own music by tapping the plus (+) icon and adding media files to the project. Remove, trim, relocate and recombine audio and video tracks to get the exact look, sound and feel you want — all done right in the mobile app.
When you finish editing, export your video to your device. Then upload videos to share on Instagram, YouTube, Facebook or TikTok. It’s just the beginning of what you can do in Premiere Rush — learn more about video filters and changing video speed to take your online videos even further.
You might also be interested in…

Find the right aspect ratio for your video.
Discover how to match aspect ratio to the substance and style of your project.

Edit videos on your phone.
Use Adobe Premiere Rush to edit video clips and merge them into one video file for web or social.

How to rotate video in Adobe Premiere Rush.
Tilt your video’s orientation a few degrees or rotate completely — and do it on your phone.

Learn to use editing software to achieve realistic color and subtly shift mood and tone.