How to draw hair of all types.
Realistic hair can be a challenge to get right. Follow these steps for drawing hair of any texture, style, cut, and color.
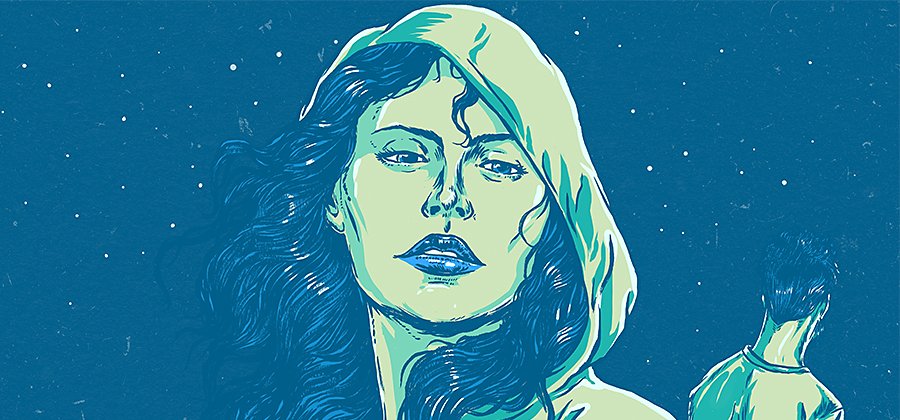
A hairy situation.
Unless all of your subjects are bald or wearing hats, you have to master hair to master portrait drawing. No other part of the body has as many individual details and as much variation. But if you go step by step, you can break down any hairstyle into manageable parts.
Whatever type of hair you want to draw, begin with reference photos. See how hair behaves in the real world and how you might replicate that in your art. “For any hair drawing, especially in the beginning, I would definitely use a lot of reference photos or even just watch videos of people with different types of hair,” says artist Vanessa Lamb.
No two hairs (or hairstyles) are the same.
You don’t need to know exactly where each one of the 100,000 or more hairs on your subject’s head fall, but you should know the length, style, texture, and volume of the hair. Short hair requires a different strategy from long hair, just as curly hair demands totally different pencil or brush strokes from straight hair.
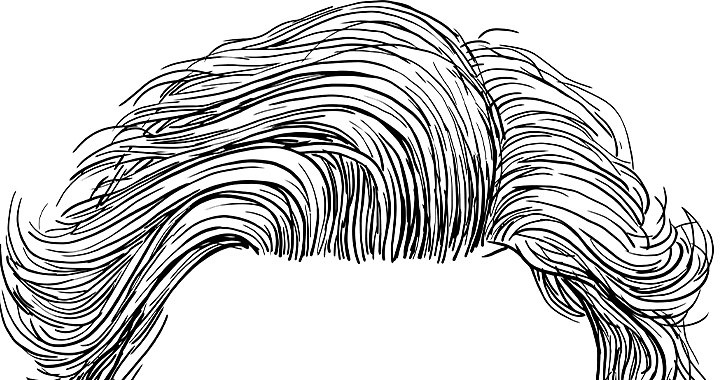
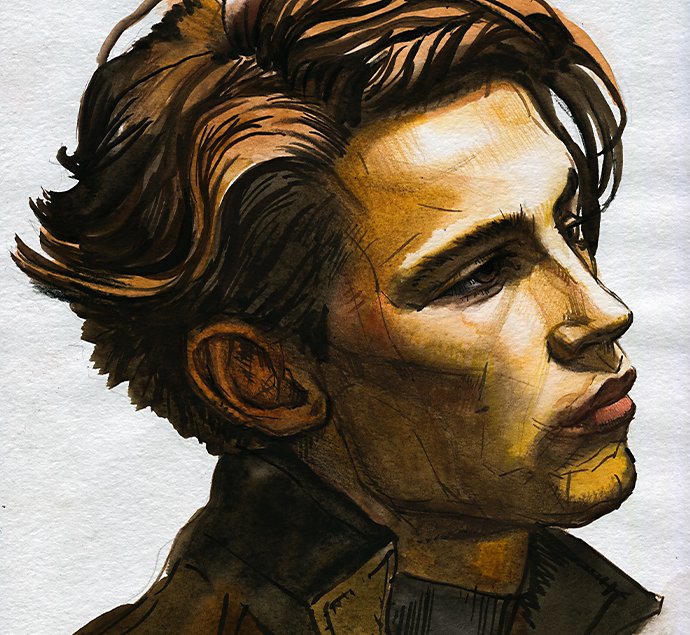
Short hair
1. Outline.
Once you’ve established the general shape of the head, lightly draw the outline of the hair. Pay attention to where it falls near the ears and along the temple and forehead. Look closely at your reference photos to see where on the forehead the hairline should start and how far above the top of the head it extends.
2. Follow the flow.
Determine the general directional flow of the hair. Is it wavy or curly, arcing upward first before gravity takes over? Is it stick-straight, falling immediately? Draw a few lines or arrows to guide you. For extremely short hair, it’s even more important to pay attention to the directional flow because shorter hair can have a greater variety of direction. For curly hair, make small circular strokes to capture curls made of several strands. Make sure that you leave your strokes lighter where the hair lifts off the hairline and leave some middle areas lighter for natural variations in tone.
3. Divide and conquer.
Once you know the general direction in which the hair flows, separate it into sections, each flowing in a particular direction. Lightly sketch out shapes of light and dark areas to work with.
4. Add detail.
When you’re happy with the shapes, fill them in with individual strands of hair, starting at the root and going outward. You can leave room for highlights by not filling in every part of the strands. (You can also add highlights with an eraser later.) Note that hair that hangs down will have a darker underside and hair near the part also tends to be darker.
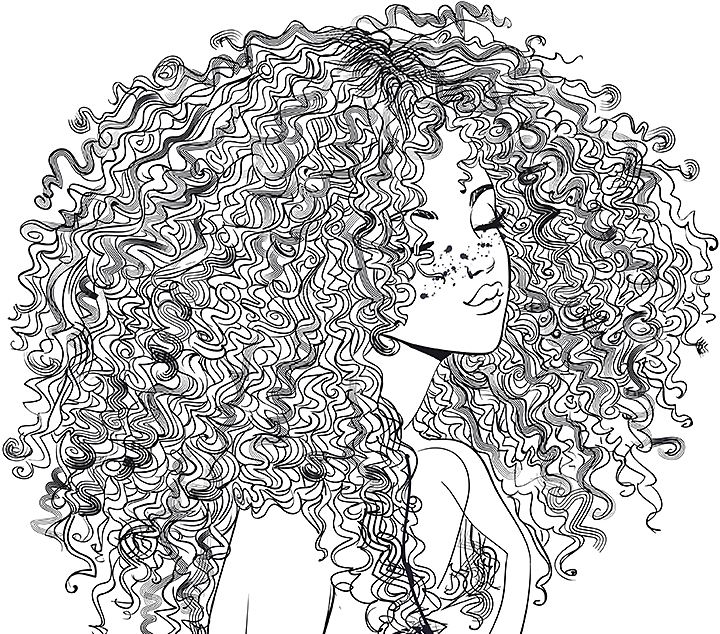
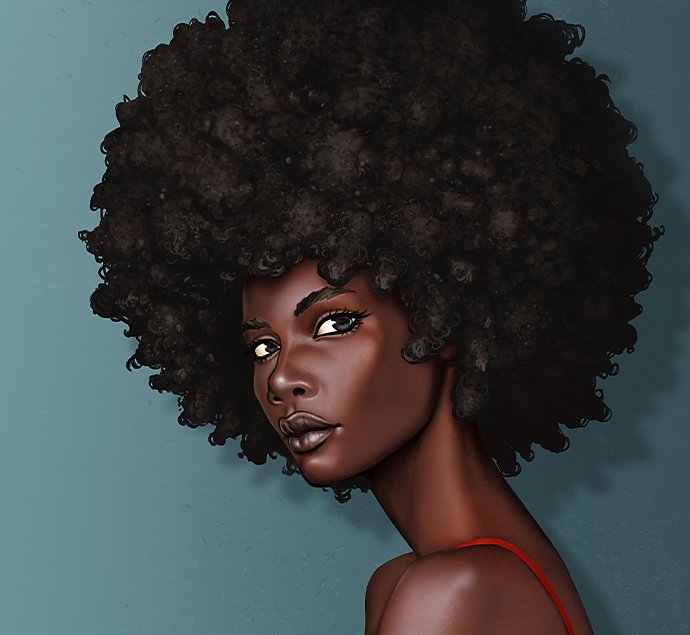
Curly long (or big) hair
1. Outline.
Sketch the general shape of the hair. “With curly hair, I start with cloud-like motions,” says Lamb. “It’s never a perfect circle.” The contours of the clouds can help guide you while you add individual strands.
2. Loop it.
“Once I have that mapped out with a lighter color, I go over it, adding darker strands,” Lamb says. “Some are squiggles and others are loops.” Remember that curly hair tends to extend away from the head before falling downward. “Very curly hair does not care about gravity at all. It’s always going to be sitting up,” says artist Monica Jemison.
3. Layer.
Keep adding strands until you get the opacity you want. Then add extra strands around the edges where the individual curls stand out more. Jemison suggests using multiple shades of the same tone to add the appearance of thickness. Follow the looping pattern over and and over again to fill out the middle of the hair. Unfortunately, there are no shortcuts here. “If you just paint a color and then add the edges, it’s not going to look realistic,” Jemison says.
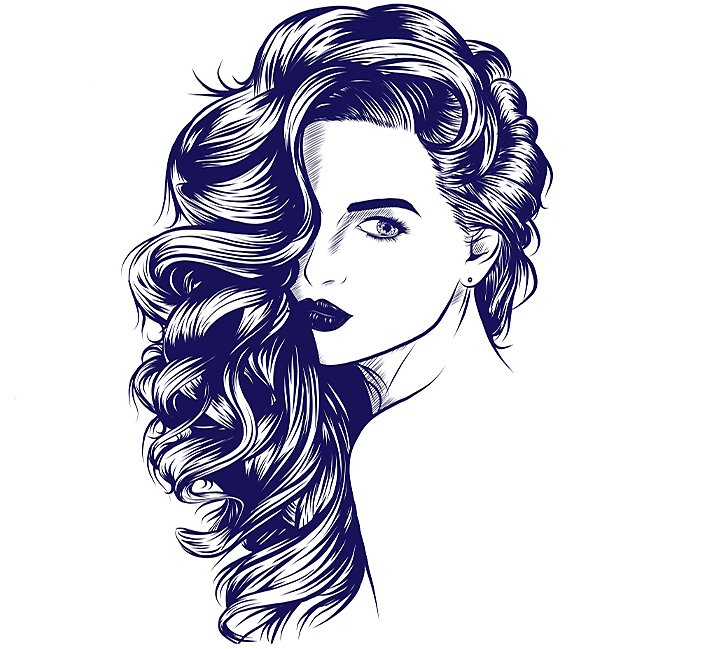
Wavy long hair
1. Find the outline.
Wavy hair tends to have less body than curly hair, but it’s still thick enough to stand out from the head.
2. Find the flow.
Draw some guidelines or arrows to get the directional flow of the hair right. Notice in your reference photos how the hair never goes straight up and down. “I let the inner strands run into each other,” Lamb says. A little randomness adds realism.
3. Fill in strands.
“Start off spreading them out first, and then fill in the gaps afterward, working from outside in,” Lamb says. As you fill in the strands, you can use a wider brush to add dimension.
To draw straight hair, follow the same steps as for wavy hair. Just remember that straight hair tends to have less volume than curly or wavy hair, so it might sit a little closer to the head. The directional flow will also vary less, but there should still be some slight curves. Once you have your outline and flow, fill in the strands and add color.
The process for drawing dreadlocks is similar to that for other types of hair. Draw the outline first, and then just draw the general shape of the locks, which are like thin rectangles. Refer to your reference photo to see how the locks fall. Note how much heavier long locks appear than short ones, and how locks that start at the top of the head go outward before falling downward.
Once you’ve drawn the basic shape of each lock and you’re happy with the directional flow, you can draw over the edges with organic-looking, wavy lines. Add loose hair strands at some of the edges and around the hairline. For realistic detail, draw small, shallow U shapes inside each lock. The upward curves at the edges will give the appearance of depth. This process can take a long time, but do this for every lock, varying the darkness of some curves and edges to add texture. For highlights and shadows, go back to your reference photo to see how the light reflects off of each lock or gets lost in the layers.
Finish it off with shadows, highlights, and color.
Well-drawn highlights and shadows will give the hair a three-dimensional look. Again, refer to your reference photos and note how different types of hair reflect light in different ways. Even on the same head of hair, different areas of the hair reflect light differently. “Pay attention to how the light hits different strands,” says Lamb. “With straighter hair, the light concentrates on the bends, but curly hair has so many bends and so much dimension that you’re not going to see as much light.”
Consider the light source and notice where the shadows fall. “As you get closer to the body, like underneath the chin, the hair will be darker because less light is going to hit there,” Lamb says. “I just use a bigger, more transparent brush and go over it lightly, following the lines that are already there.”
If you add color, remember that one person’s hair can contain many different colors. And if you draw Black hair, remember that natural Black hair is never completely black. “Add a little bit of tone to show that it’s black but there are also some extra colors in there,” Jemison says. These colors will also add to the sense of three-dimensionality.
Make every day a good hair drawing day.
To master the art of drawing hair, just keep practising. Experiment with different hairstyles and cuts and always give yourself time to observe hair in the real world. “Play with your own hair, if you can, to get a feel for it. If you don’t have hair, get a doll,” Jemison says.
Try drawing in Adobe Fresco. With endless brushes and infinite canvases, you can practise every type of hair-drawing style. Learn how to draw braided hair and explore tutorials on drawing with digital watercolours or painting with realistic-looking oils. Pay attention to the details and then just draw. Let your hair down and be open to what you discover.
Contributors
You might also be interested in…

How to draw a caricature.
Learn to pinpoint the unique features of one person and make them pop in a fun drawing.

How figure drawing can improve your illustration skills.
Dive into figure drawing to learn the foundational drawing techniques of human anatomy and form.
Honing your ability to draw faces and heads.
Get tips for drawing better facial features, from realistic portraits to cartoons.

Spark your passion for fashion illustration.
Learn the art of fashion illustration with easy-to-follow drawing tips from the pros.