Photography (20GB)
₱498.00/mo
Lightroom on desktop and mobile, Lightroom Classic, and Photoshop on desktop and iPad. Learn more
Learn when to use Gaussian blur filters during image processing, gain a better understanding of how they work, and how to pronounce “Gaussian.”
Named after mathematician Carl Friedrich Gauss (rhymes with “grouse”), Gaussian (“gow-see-an”) blur is the application of a mathematical function to an image in order to blur it. “It’s like laying a translucent material like vellum on top of the image,” says photographer Kenton Waltz. “It softens everything out.” A type of low-pass filter, Gaussian blur smoothes uneven pixel values in an image by cutting out the extreme outliers.
Photographers and designers choose Gaussian functions for several purposes. If you take a photo in low light, and the resulting image has a lot of noise, Gaussian blur can mute that noise. If you want to lay text over an image, a Gaussian blur can soften the image so the text stands out more clearly.

In product photography, you can direct the viewer’s eye to a certain part of the image by applying a Gaussian blur to every other part of the image. People’s eyes will naturally move to the sharpest area. You might also use this blur to hide the features of a person, license plate, or brand logo you don’t have permission to use.
Gaussian blur is also useful for reducing chromatic aberration, those colored fringes at high-contrast edges in an image. For example, if you’ve taken a landscape photo of faraway palm trees against a light-blue sky, you might find bright white or red lines along the edges of your palm fronds. Applying a Gaussian blur will reduce the extremely bright pixels around the edge of the fronds, eliminating those bright spots.
You can also take a more creative approach to this tool. For a portraiture project, photographer Andres Gonzalez recalls using a Gaussian filter to create a surreal effect. In Adobe Photoshop, he added a duplicate layer over the original image and applied a Gaussian blur to that. Then, he says, “I went in with an eraser and erased the blur in places that I wanted to be focused. It created this foggy, frosted look.”
One thing to keep in mind when applying a Gaussian blur is that greater blur intensity results in decreased sharpness. In the case of the landscape photo above, when you apply the blur filter to the image, the white or red chromatic aberration disappears but the border between palm leaves and sky loses definition.
You can add sharpness back into the image by decreasing the blur radius. This is measured in pixels, and it determines just how many neighboring pixels the Gaussian function will take into account as it calculates the blur. You can also use an edge detection tool on the filtered image. As with the blur filters in Photoshop, the Refine Edge tool allows you to adjust the radius to create smooth, hard, or feathered edges.
Both grayscale and color images can contain a lot of noise, or random variation in brightness or hue among pixels. The pixels in these images have a high standard deviation, which just means there’s a lot of variation within groups of pixels. Because a photograph is two-dimensional, Gaussian blur uses two mathematical functions (one for the x-axis and one for the y) to create a third function, also known as a convolution.
This third function creates a normal distribution of those pixel values, smoothing out some of the randomness. How much smoothing depends on the size of the blur radius you choose. Each pixel will pick up a new value set to a weighted average of its surrounding pixels, with more weight given to the closer ones than to those farther away. The result of all this math is that the image is hazier.
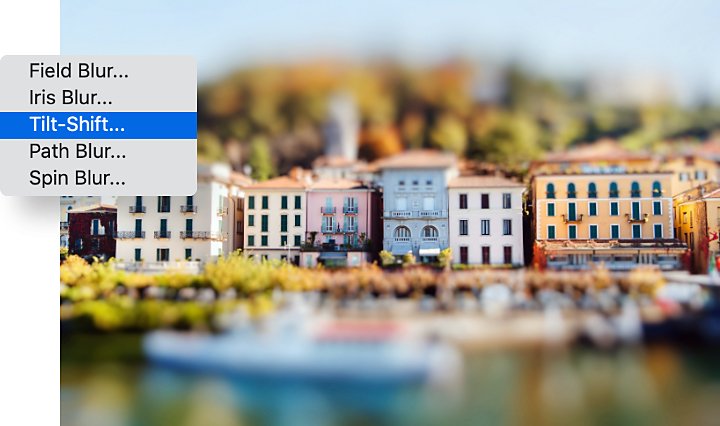
With several options in the Photoshop Blur Gallery, there’s plenty of room for experimentation. Narrow the depth of field, keeping some objects in focus while blurring others, with lens blur. Highlight a focal point and blur the background with iris blur, or create a dramatic sense of movement with motion blur. You can also learn how to restore noise in blurred areas to keep surfaces from looking unnaturally smooth. Just remember the first rule of Photoshop: always create a new layer to ensure that your edits are nondestructive.
An introduction to documentary photography.
Document major events and capture of everyday life in a mixture of fine art and photojournalism.
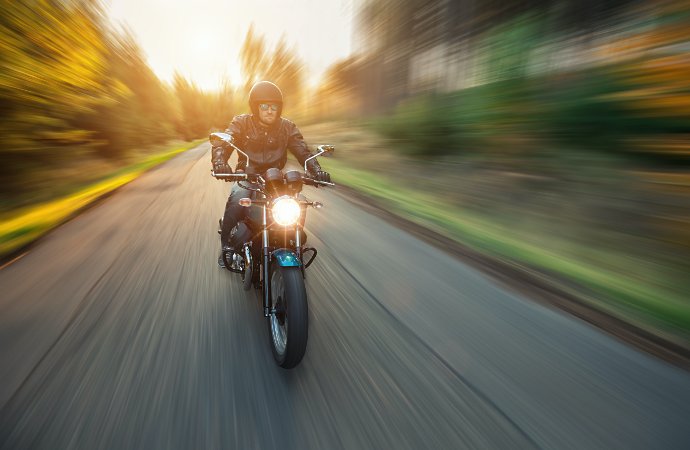
Discover how adjusting shutter speed can help you capture clean shots or motion-filled moments.

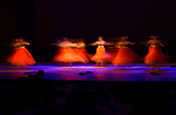
Understanding the art of surreal photography.
Look into the world of surrealism, and find out how to make your own dreamlike images.

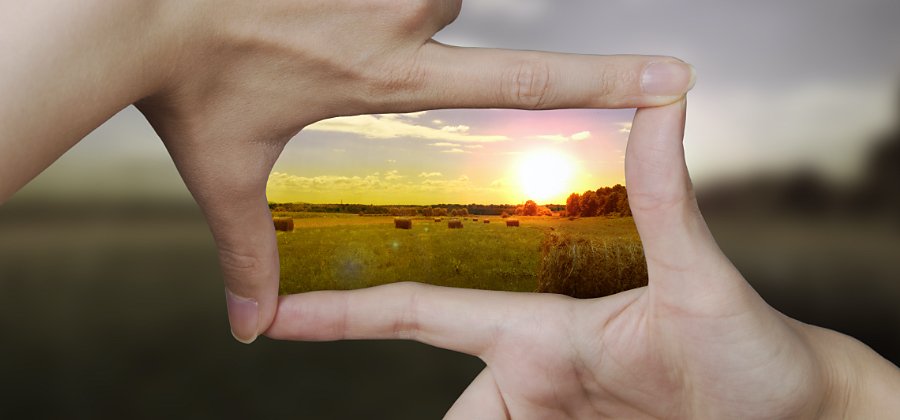
The basics of photography composition.
Composition is all-important for photographers. Learn more with these tips from the pros.
Find the Creative Cloud plan that’s right for you.
₱498.00/mo
Lightroom on desktop and mobile, Lightroom Classic, and Photoshop on desktop and iPad. Learn more
Photography (20GB)
Lightroom on desktop and mobile, Lightroom Classic, and Photoshop on desktop and iPad. Learn more
₱498.00/mo
₱1,146.00/mo
Get Photoshop on desktop and iPad as part of Creative Cloud. Learn more
Adobe Photoshop Single App
Get Photoshop on desktop and iPad as part of Creative Cloud. Learn more
₱1,146.00/mo
₱2,891.00/mo
Get Photoshop on desktop and iPad, plus the entire collection of creative apps. Learn more
All Apps
Get Photoshop on desktop and iPad, plus the entire collection of creative apps. Learn more
₱2,891.00/mo
₱997.00/mo.
Save over 60% on the entire collection of Creative Cloud apps. Learn more
Students and teachers
Save over 60% on the entire collection of Creative Cloud apps. Learn more
₱997.00/mo
Anong kasama.
Anong kasama.