Your ultimate guide to wildlife photography.
Photographing wildlife is one of the most technically demanding and exhilarating genres of amateur and professional photography. Learn how to master it in our complete guide packed with wildlife photography tips.
What you’ll learn:
- Introduction to wildlife photography
- What skills do I need to be a wildlife photographer?
- How do I get started with wildlife photography?
- What are the best cameras for wildlife photography?
- Choosing the right camera settings
- The best lens for wildlife photography
- Where can I capture wildlife photographs?
- Other equipment needed for wildlife photography
- How to photograph animals
- Working in different environments at different times
- Why patience is key to successful wildlife photography
- How to become a professional wildlife photographer
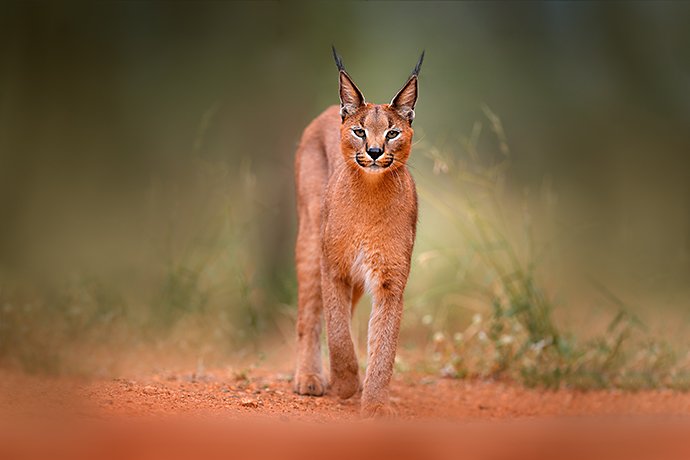
Introduction to wildlife photography.
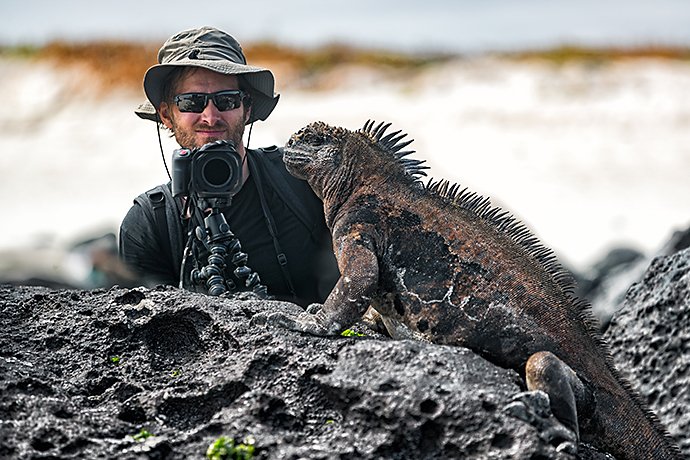
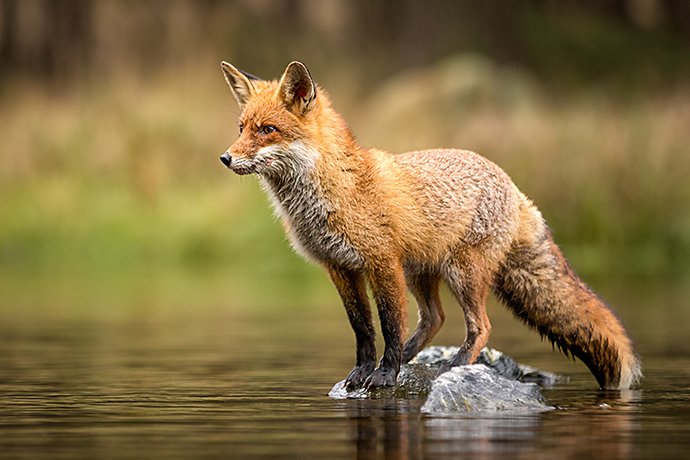
Wildlife photography can take you right around the globe and back again. As a wildlife photographer, you can capture cheetahs chasing antelope in sub-Saharan Africa or frame robins basking in your own back garden. You can work on land, in the air or at sea. On snow-capped mountains or sun-kissed coastlines. In your local woodland or deep within a national park. Wherever you are and whatever you’re shooting, you’re sure to find this type of photography a demanding discipline.
Wildlife photography: the risks.
For all the reward, certain wildlife photography involves risk. Photographers are urged against getting too close to animals – so always keep your distance and do not directly approach them.
What skills do I need to be a wildlife photographer?
You need a whole range of skills to become a good wildlife photographer. These go from technical proficiency with your camera to the so-called ‘soft’ skills we value at work and home. It can certainly benefit you to develop your:
- Camera skills. You’ll need to know how to operate your camera and its main settings – shutter speed, aperture and ISO. Many animals move very quickly with very little notice, while others only come out at night.
- Wildlife knowledge. The best wildlife photographers understand their subjects. How they move, where they live, how they behave. Choose a subject and stick to it – photographing zebra is very different to photographing cows.
- Patience and solitude. You could be waiting hours, even days, until the animal appears, and you get your shot. Having plenty of patience to play the waiting game is essential. As is the ability to spend long periods of time in near-silence – ah, the solitude.
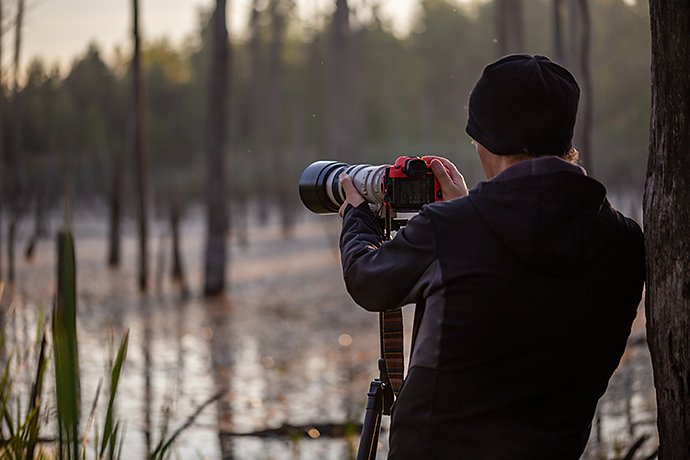
How do I get started with wildlife photography?
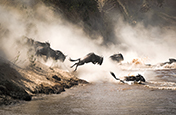
When you think of wildlife and animal photography, your mind may well go straight to the glamour – a herd of springbok galloping across the South African plains, for example. But when you’re just getting started, it’s much better to make those first tentative steps small ones.
5 wildlife photography tips for beginners
- Start at home. Practise taking photographs of your pet cat or dog as well as garden birds, such as sparrows
- Know your area. Learn what types of wildlife live in your local area and focus on them as your subject
- Swot up. Look at examples of how other photographers have shot that subject and read online guides
- Wrap up. You could be in for a long wait on location. Buy a decent waterproof and layer up with T-shirts and a sweater
- Shoot (and shoot). Take lots of photos and learn from them – don’t let poor results dishearten you.
What are the best cameras for wildlife photography?
To capture the type of shots that come to mind when you think about wildlife and animal photography, you should invest in a good camera such as a DSLR or mirrorless model.
DSLR cameras.
The best-known serious camera, the DSLR is an ideal camera for wildlife photography. It stands for digital single-lens reflex, and has a mirror inside that’s used to create the photograph. DSLR cameras are top quality for all kinds of photography. They combine large image sensors (such as full frame and APS-C) and fast shooting speeds with great flexibility with lenses.
With a DSLR, you start with the camera body and then purchase different interchangeable lenses depending what you’re shooting.
Mirrorless cameras.
Mirrorless cameras are the main alternative to a DSLR and make an equally good wildlife photography camera. They offer similar specs to DSLR cameras, but work differently. Whereas a DSLR uses mirrors to capture the image, mirrorless cameras do not (hence the name ‘mirrorless’). The main advantage they give you is greater freedom to perfect the image while you’re framing it. With no mirror inside the body, these cameras are also lighter and smaller than DSLRs.
Key camera features for wildlife photography.
You’ll find these camera features particularly important when working with wildlife.
- Sensors. When it comes to detail, the image sensor is key. It captures the light when you take a photo. Bigger sensors, which capture more light, mean better photos rich in lifelike colour and detail. Full-frame and APS-C sensors are the best quality.
- Lenses. With wildlife photography, you’re generally shooting from distance. Using a DSLR or mirrorless camera with an interchangeable zoom or telephoto lens delivers improved detail and quality. Zoom lenses with longer focal lengths (mm) will give the best results.
- Autofocus. An autofocus (AF) system helps your camera to focus on the subject. Multiple focus points track your subject as it moves across the frame. This is particularly important when you’re often trying to capture a fast-moving animal.
- Weather-sealed. Both DSLR and mirrorless cameras are available in weather-sealed options. Should you be planning to spend lots of time outside, shooting in the rain, sleet and snow, this could be a good option for you.
- Manual settings. To become proficient at wildlife photography, you need to develop true control of your camera – to play it like a rock star does an electric guitar. And to do that you need manual settings for shutter speed, aperture and ISO.
Choosing the right camera settings.
To get the best camera settings for wildlife photography you need to understand the exposure triangle – that is shutter speed, aperture and ISO and the relationship between them.
Shutter speed

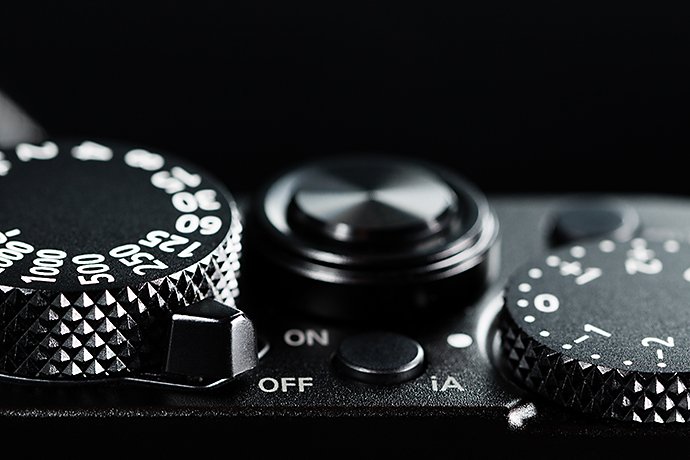
Shutter speed is all about the length of time your camera shutter opens when taking a shot. It’s controlled using Shutter Priority, which is marked as S or TV on your camera dial.
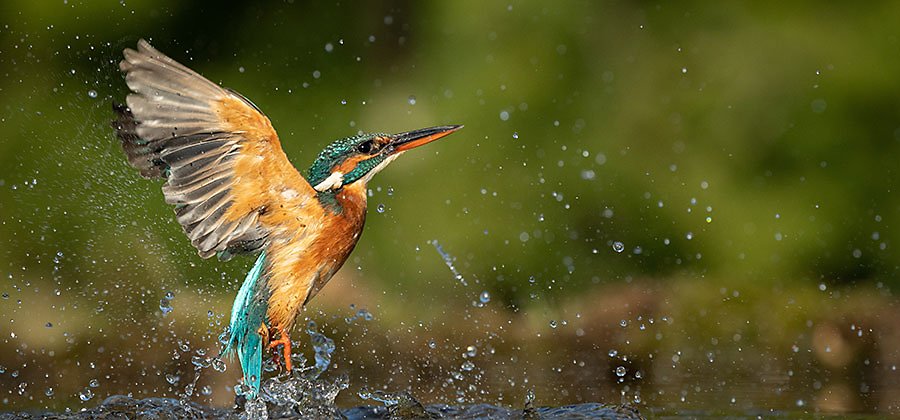
Shutter speed is measured in fractions of seconds. With fast shutter speeds (1/125 or faster) you can freeze movement. This makes it an essential skill to master for wildlife photography. When you see a photograph of a cheetah at full stretch or a bird splash-landing on the surface of a lake with its wings outstretched, it’s likely been taken with a fast shutter speed.
Learn more about shutter speed
Aperture
Aperture is all about how much light gets into your camera. The aperture is a tiny hole that you can make wider or smaller by controlling your camera’s aperture priority setting. To understand how aperture works, think about how your eye pupils dilate or contract to deal with different light.
Aperture Priority is marked as A or AV on your camera dial. This size is measured in f-stops. With a wide aperture you can capture shallow depth of field, where the subject is in sharp focus and the background is blurred – adding mood and drama to a shot.
ISO
ISO can make your photographs lighter or darker depending on how it’s set. It’s all about your camera’s sensitivity to light, and is generally used to compensate for poor natural light – whether too bright or too dark.
Rather than being controlled on your camera’s manual dial, it’s normally adjusted using a button on the back of your camera and/or on its touchscreen. Slightly higher ISO (400) can give you better results if you’re photographing birds at a nature reserve on a cloudy day.
The best lens for wildlife photography.
Finding the right lens is super-important when considering the best wildlife camera for you. Most wildlife photographers use DSLR or mirrorless cameras designed to work with interchangeable lenses. The best lenses for wildlife photography include:
Standard Zoom Lens.
The standard zoom lens is to the wildlife photographer what the trowel is to a bricklayer. This essential tool gets you up-close to the action from a safe distance and a is key part of your toolkit. It has a zoom range, which means you shoot at various set focal lengths. What makes a good zoom lens?
- Adjustable focal length (18mm to 200mm)
- Wide aperture rating across the zoom range
- Built-in image stabilisation
Telephoto Lens.
Often confused with a zoom lens, a telephoto lens also makes objects in the distance appear closer. But it works slightly differently to a zoom, and has a longer fixed focal length and more powerful magnification. It’s because of this increased focal length and powerful ability to make distant subjects appear closer that the telephoto lens is loved by wildlife photographers. Telephoto lens options include:
- Prime telephoto lens – good for shallow depth of field
- Super-telephoto lens – ideal or wildlife photography
Macro Lens.
This type of lens is all about getting super up-close. When you see incredibly detailed shots of colourful insets and plants, they’ve generally been shot with a macro lens. It even has its own name – macro photography. What makes a good macro lens?
Where can I capture wildlife photographs?
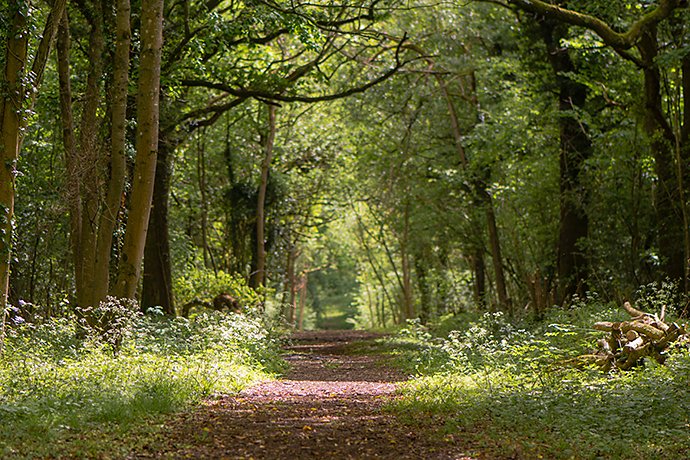
The great thing about wildlife photography is that nature is all around you. You can travel far and wide to iconic locations, or simply step into your own back garden or local park. Here are some key places to go:
- Wetlands. Estuaries and reserves are great places to practice bird photography. Dotted around the country, many have cosy hides to get set up.
- Forests. Our woodlands are home to many species. From solitary goshawks to the endangered red squirrel, some truly amazing photo ops await.
- National Parks. Our many National Parks are packed with wildlife. Meet grouse at the Peak District and Herdwick sheep in the Lakes.
Other equipment you’ll need for wildlife photography.
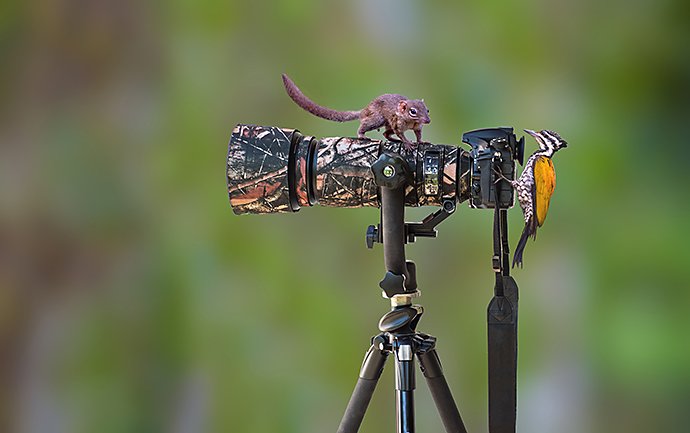
As well as your camera and lenses, there are other bits of kit you need to become a wildlife photographer. These include:
- A tripod. Essential for keeping your camera steady when you’re photographing birds with a telephoto lens.
- Extension tubes. Get closer to your subject by extending your focal length with extension tubes (these are not optical lenses).
- Remote shutter releases. Take the shot without touching your camera with a remote shutter release.
- A lens rain cover. Protect your zoom or telephoto lens when you’re on location in wet or stormy weather.
How to photograph animals: 3 golden rules.
Photographing wildlife brings many challenges. With each species being different, there’s no one-fits-all approach. But these wildlife photography tips should help.
- Don’t get too close. Wildlife photographers use telephoto and zoom lenses for a reason. Getting too close can put you in danger. Remember that in every moment, they’re doing their best to survive predators.
- Let them come to you. Similarly, don’t approach wild animals. Keep a safe distance and observe until they wander into your frame.
- Show respect. You’re on their patch. Always respect the wildlife and their habitat and apply for permits where required.
Photographing wild animals.
When photographing animals in the wild, be it a solitary sheep on a moorland trail or a hare rising from a cornfield, it’s important to follow the rules outlined above. Keep your distance and respect their space. Because of this you’re likely to need a camera with a zoom lens.
“If you use a mid-range lens, you will capture the bird, but it will be a tiny speck” – photographer Jeff Carlson on nature photography.
Photographing pets.
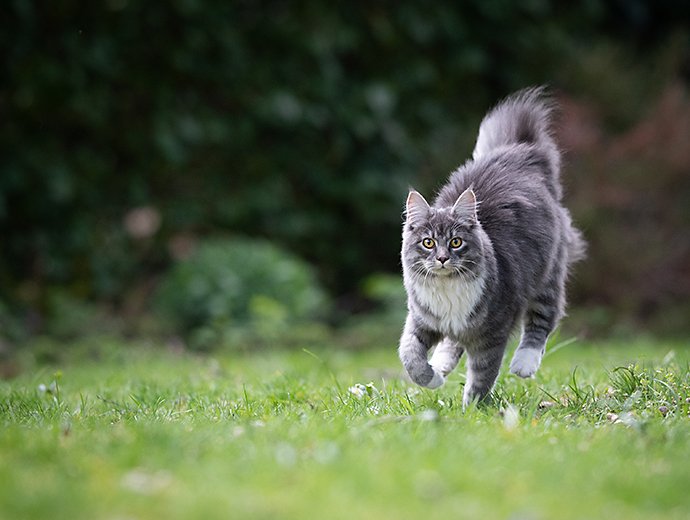
When photographing your own pets, it’s a bit different. These animals are domesticated, so they are used to people. Cats and dogs are much happier to sit for a portrait than wild deer. With pets, you can try to get a reaction.
“Learn how to make really weird noises and don’t be shy — you usually get only a few reactions per sound.” – photographer Carli Davidson on nature photography
Photographing exotic species.
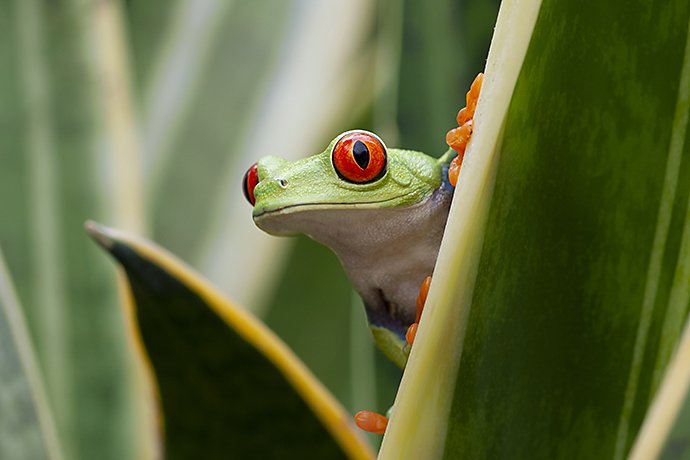
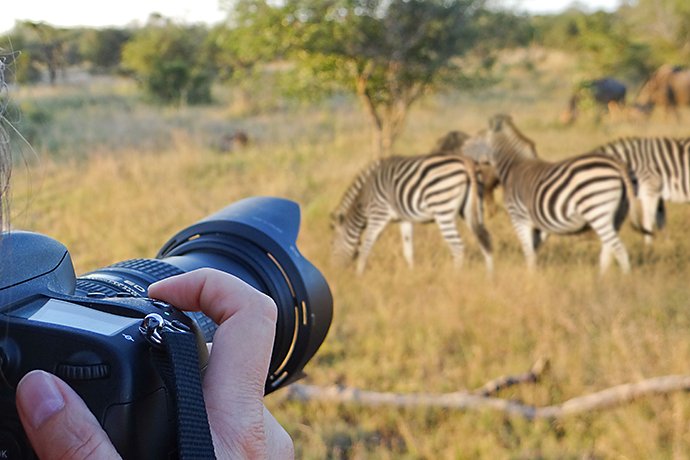
The best-known wildlife photography is often that taken in exotic locations such as the Masai Mara or Amazon Rainforest. Powerful zoom lenses will take you much closer to distant animals such as zebra speeding across the plains or a herd of giraffe. When it comes to insects or small frogs, a macro lens can help you to get super-close for a photo rich in colour and detail.

Wildlife doesn’t work a nine to five. Some species come out at night, others rise with the sun. Here’s how you can get better results at different times.
Daytime.
Light changes throughout the day. The shots you take at dawn will look different to those at dusk. During the day, the best time to shoot is during what photographers call golden hour. Golden hour comes not once but twice – just after sunrise and just before sunset. What makes it special is the soft, warm light that makes your photos look sumptuous.
Night-time.
After sunset and before sunrise, it gets trickier. Photography is all about light, and after dark it’s in short supply. There are things you can do with your camera settings to avoid having to use your flash. Slower shutter speed lets more light into the camera to compensate for the darkness, but you’ll need a tripod to steady your camera.
Why patience is key to successful wildlife photography.
There’s lots of detail in this guide. But the key takeaway for any aspiring wildlife photographer is this: patience is a virtue. You need to track the animals, spend time setting up your gear, and wait for them to wander into your shot. It might take hours, it might take days. Wildlife photographers know how to play the waiting game. To master the art, so must you.
How to become a professional wildlife photographer.
To become a professional wildlife photographer takes investment, skill, patience and luck. Many specialists are undiscovered amateurs who head out with their cameras at weekends. To become professional, you need to:
- Build a profile. Start an Instagram focused solely on your work. Post often and consider promoting your content to other photographers.
- Enter contests. Wildlife photography contests range from the big ones like National Geographic to more local affairs. Enter them all.
- Read (and read). The internet boasts a rich archive of expert guides written by pro photographers – read and learn. Check out the latest wildlife shots from creatives worldwide on the Behance network.
- Practice, practice. Spend as much time as possible out with your camera. Explore different landscapes and species.
Now you’re ready to grab your camera, step outside and put all this knowledge into practice. Take your wildlife photography to the next level by editing with Adobe Photoshop.
You might also be interested in…
Cách sử dụng và phá vỡ quy tắc một phần ba.
Nâng cao kỹ năng bố cục ảnh để chụp ra những bức hình tuyệt đẹp hơn.

Understanding shallow depth of field.
Explore how shallow depth of field can add dimension to your photographs.
Discover how adjusting shutter speed can help you capture clean shots or motion-filled moments.
Bí quyết chụp ảnh thiên nhiên đẹp mọi góc độ.
Chinh phục vẻ đẹp của nhiếp ảnh thiên nhiên, từ những khoảnh khắc chuyển động của động vật đến khung cảnh hùng vĩ của đất trời.
Get Photoshop Lightroom.
Edit, organize, store, and share photos from anywhere.
7 days free, then US$9.99/mo.