CREATIVE CLOUD FOR TEAMS
Take your events online in 7 steps.
Webinars and online events are one of the best ways to reach your audience, attract high-quality leads and build brand authority. If you haven’t given it a try, now might be a great time to start. And Creative Cloud for teams can help you to make it a success.
In the current climate, many businesses are discovering the opportunities that virtual events can offer. Running a virtual event enables you to tailor content for your target audience, focusing on their needs, their level of experience and what they are most interested in. It’s a great way to present complex information more clearly, such as doing a live product demonstration. Optimising your content for digital delivery means it will be more concise, engaging and have more impact. You can also increase audience engagement by including live interaction through online Q & A sessions and moderated chats.
Switching to online events now will also enable you to connect with your customers when they may have more time and a greater appetite for consuming inspiring content.
Here are seven simple steps you can take to run an online event, create a toolkit to brand and promote it and ensure your event has maximum impact.
Here are 7 simple steps you can take to run an online event, create a toolkit to brand and promote it and ensure your event has maximum impact.
1.
Plan your content.
Even though you’re organising a virtual event, the normal rules of marketing still apply. It’s important to remember your objective - to provide the information your customers need and provide them with real value.
Always plan your content in detail, from your audience’s perspective. What do they need to know? What expertise can you share that will really benefit their business? This will help you to put together engaging, relevant content that will attract and retain their attention.
You may find you’ll get through your content quicker when hosting a virtual event, as you’re less likely to have interjections and questions as you go. You can mitigate this by carefully planning out your content using a structured script and doing a practice run to check the timing.

2.
Decide on a format.
Once you’ve decided what you’re going to say, it’s time to decide how and where to say it. You could either livestream your webinar or virtual event through a platform like Facebook Live, YouTube or Instagram TV or pre-record it and host it on your website.
Livestreaming will make the event a more interactive experience for the audience, especially if you take questions online in real-time through online chat. You just need to be prepared for minor hiccups that can’t be fixed in an edit!
Pre-recording the session may be a better option if you think nerves might get the better of you or you’re keen to avoid any potential glitches. This way the webinar can easily be viewed on-demand, but it will make the session less interactive.
You could even combine both approaches - livestreaming a pre-recorded video, followed by a live Q & A to handle any questions. This could be a good option, depending on the topics you’re covering, the needs and preferences of your audience and whether you’re running a one-off event or a series.

3.
Brand your event.
If you were hosting a physical event for customers, you would spend time and budget on branding it and pool all the skills and resources available within your team to make it a success. That’s just as important when you’re taking the event online.
So whether you use all the same styling or find a small way to differentiate, you’ll need to consider how to present the event to your audience and ensure everyone in the team collaborates effectively to make it happen.
The tools within Creative Cloud for teams are designed to make collaboration easy and effective, no matter where individuals are working from. The ability to quickly and easily share assets in Creative Cloud libraries will speed up the creative process as you develop branding and ensure consistency across all assets.
Making your event look as professional as possible might be as simple as creating branded ‘intro’ and ‘outro’ videos in Adobe Express to play at the beginning and end of the event. If you’re pre-recording the event, you could also display information such as names, job titles and links on screen that match your branding.
Adobe Stock’s motion graphics templates are a helpful shortcut for creating polished titles, overlays and on-screen quotes. Or if budget allows, you could even find a motion graphics artist to create them from scratch in After Effects.

4.
Perfect your set-up.
Next, it’s time to create the right set-up for a professional-looking video. If you plan on recording or livestreaming regularly, it’s a good idea to find a room where you can easily set up or breakdown any equipment you use.
For lighting, try and aim for natural light shining on you, but avoid direct sunlight. A well-placed lamp (out of view of the camera) will act as a good fill light and you could also use a standing lamp or TV screen to serve as a backlight.
A separate camera will deliver better quality video, but if you can’t get one, try putting your laptop on a stand to bring its webcam closer to eye level. For the most flattering angle, place the camera level with either your eyeline or hairline.
Sound pollution will be distracting for you and your audience. Turn off laptop speakers to avoid noise and feedback. External USB microphones are very inexpensive and highly effective for cutting noise and increasing clarity.
When you’ve finalised your set-up, have a couple of dry-run practice sessions to get used to the equipment. This will also give you the chance to make any necessary adjustments before going live or recording.

5.
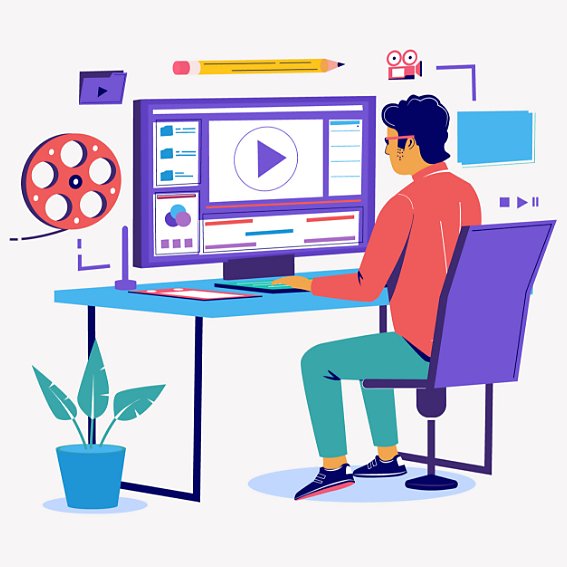
Edit your video.
If you don’t want the added pressure of presenting live, you can polish your webinar content before your audience has a chance to watch it. Load up Adobe Express to cut out any waffle and add subtitles or supporting text. You can also create and edit videos quickly and easily for streaming with Adobe Premiere Rush. Or if you want to do more extensive editing, Adobe Premiere Pro is your go-to app. If you’re a beginner, don’t worry, just check out these beginner tutorials.
6.
Promote your event.
Your content is ready to go - now it’s time to promote your event and drum up interest. This is another great opportunity for your team to collaborate to make the virtual event a success. Everyone can share their assets with Creative Cloud libraries, enabling you to keep an eye on all the content that gets created, while ensuring quality-control and avoiding duplication.
With Adobe Express, you’ll not only be able to create smart video trailers - the perfect teaser content for a social media campaign - but you’ll also be able to create posts that have a consistent look and feel to your main-event content.
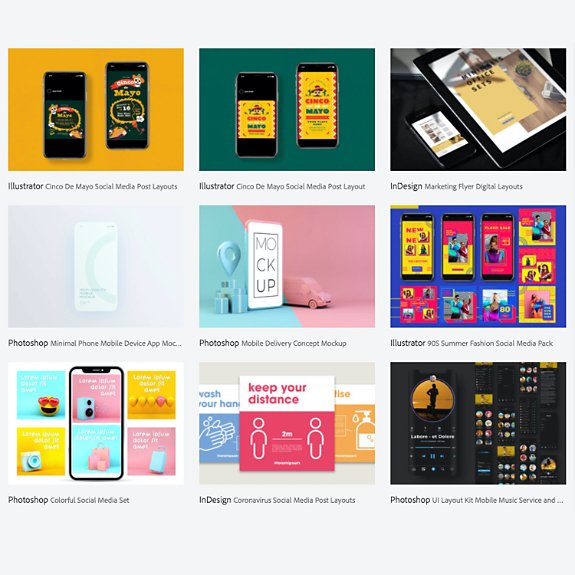
As well as teaser trailers, why not take advantage of Adobe Stock’s great social media post kits? Using these templates you can create your own posts with Adobe Photoshop and Adobe InDesign.
7.
Convert it to an on-demand event.
Once your live event is over, you’re left with a valuable piece of on-demand content which you can make available to your audience in the future. You can host your webinar on your website and promote it using some of the methods mentioned in step 6.
If you’re looking to capture sales leads, you can also gate the content with an online form. It’s a great way of extending the reach of your webinar or event and continuing to reach your audience.

And finally…
Once you’ve planned the right content, chosen your format, branded the event, perfected your set-up and created a suite of promotional assets to support your event content, you’re good to go. Now there’s just the countdown to the day - but with all the preparation and hard work you’ve put in, your event is bound to be a great success.
Now you’re feeling inspired, why not get started with Adobe Creative Cloud for teams? With over 20+ apps for every skill level, Creative Cloud for teams is the industry-standard in design, web, photography and video and includes services to help everyone work together more easily. If you’re a marketer in a small or midsize business, this is your competitive edge.
Choose your Creative Cloud for teams plan.
All plans include the Admin Console for easy licence management, 24/7 tech support, unlimited job postings on Adobe Talent and 1 TB of storage.
Single App
Your choice of one Adobe creative app such as Photoshop, Illustrator, lnDesign or Acrobat Pro.*
BEST VALUE
All Apps
Get 20+ Adobe creative apps including Photoshop, Illustrator, InDesign, Adobe Express, XD and more.
Introducing Creative Cloud for business Pro Edition. All the apps teams love, now with unlimited Adobe Stock. Learn more
Call 0800 007031 or request a consultation
Questions? Let’s chat.
Buying for a large organisation? Learn about Creative Cloud for enterprise
* Acrobat Pro, Lightroom and InCopy single apps come with 100 GB storage.