LIGHTROOM
For iOS and Android

Tips for capturing nature photography of all kinds.
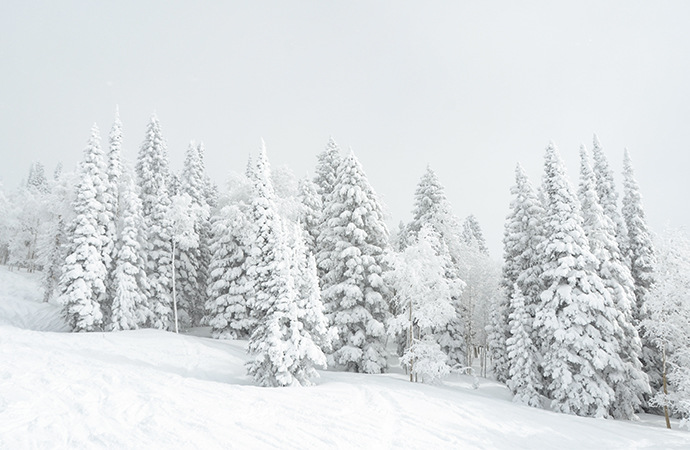
Often used as a catchall to cover everything from wildlife photos to macro images of flowers, nature photography spans a wide variety of styles and approaches that, while inherently different, share many similarities.
An introduction to nature photography.
Nature photography is a versatile medium with a unique set of challenges and the potential to tell compelling stories. Whether you’re experimenting with shutter speed to catch an animal in motion or you’re trying out different depths of field in your close-up flower photograph, it takes patience and creativity to successfully capture the great outdoors.

How to shoot stunning photographs outside.
When shooting outdoors, there are several things to keep in mind. Thanks to inclement weather, constantly changing light and uncooperative wildlife, nature photography shoots are different every time. As renowned animal and wildlife photographer Carli Davidson says, “Studio photographers have waking nightmares about having to shoot in nature because it’s such an uncontrolled environment.” If you’re used to working in a studio, shooting outdoors pushes you outside your comfort zone — physically and creatively.
The art of planning ahead.
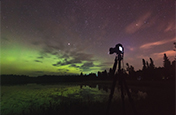
Before pulling on your hiking boots and hitting the trails, make sure that you research and plan your outdoor shoot. This includes strategically choosing your time of day and lighting. Morning and evening light is often the best for capturing photos of the natural world, since the light is softer without the harsh shadows of midday — be prepared to set your alarm to 5 a.m. instead of 8 a.m.
Planning also ensures that you have the right gear. You’re at the mercy of the elements outdoors and you don’t want to be unprepared. As Davidson says, “Whether it’s 10 degrees or 150 degrees outside, I’m going to have to be out there all day.” Getting the appropriate clothing, gear and equipment is vital. Always bring something waterproof to protect your gear. And bring a hat to shade your camera if it’s sunny, so you can see the camera display to check your exposures.
“You don't need a lot of specific gear. The most important thing with nature photography is getting yourself out into nature,” experienced photographer Jeff Carlson says. Pack light, but always bring extra batteries, storage cards and a lens with a broad focal length range. Carlson recommends starting with a DSLR camera with an 18–55 mm lens. This gives you enough range to capture some details in the distance, while also capturing the details in your immediate surrounding.
The challenge of outdoor exposure.
One of the biggest challenges in shooting outdoors is nailing the proper exposure. If a cloud moves overhead, your images could suddenly be underexposed due to less light. A quick fix for this is to regularly check your exposures as you shoot and don’t delete any photos before you can look at them indoors. This is also where technical expertise comes in. Davidson points out that it’s easy to get distracted or excited when shooting outdoors. So practicing your technical skills enough so that they become second nature can save you in the long run. There’s nothing worse than shooting a full day of photos, only to look at them later and find they’re all over- or underexposed.
Understanding your environment.
Another major element of shooting outdoors is respecting your surroundings and understanding the environment you’re shooting in. This holds true whether it’s your own backyard or a remote location you’ve backpacked in to see. Always apply for permits when necessary, stay on the trails and leave the location as pristine as you found it. One of the major threats to nature photography is overuse. For example, if you’re hiking through a field of Alpine flowers, stick to an established trail because they can take decades to grow a few inches.
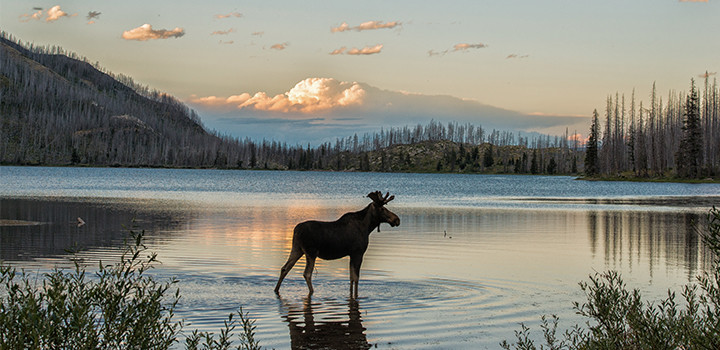
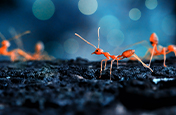
An introduction to animal and wildlife photography.
When it comes to capturing wildlife and animals in motion, preparedness is key. Animals move pretty fast and any delay on your part can mean a missed opportunity. An appropriately fast shutter speed can save you in this situation. Make sure your shutter is fast enough to eliminate accidental camera movement so you can freeze your subject in time.
Animals can be tricky to find and hard to track. And while you may not see them, they definitely see you. Sometimes you’ll immediately stumble upon a great shot or a rare animal; otherwise you’ll have to practice patience. Just when you decide no moose will show up, one could pop out of the woods a few yards away.
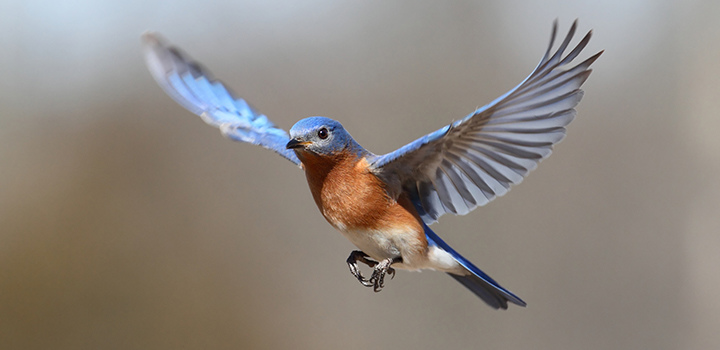
Birds are a great subject because they’re everywhere, but Carlson says, “Unless you’re shooting a hummingbird feeder, none of the birds will be very close. If you use a mid-range lens, you will capture the bird, but it will be a tiny speck. Depending on the resolution of your camera, you can zoom in and you might still have a good shot.” This is one reason why understanding the limits of your gear is so important. It can help you to make artistic choices in the moment and influence what you choose to capture with each shot. If you have access to a zoom lens, this can greatly improve your photos of wild animals, although it also increases the amount of gear you’re carrying.
Animals are not always willing subjects — even when they’re trained pets. Approach your shoot with a plan in mind and be prepared to work with your photos in post-processing. Sometimes you can’t find an original or interesting shot in the moment, but editing later can help you to turn a mundane photo into a great image.
Understanding the basics of plant and flower photography.
Plants, when it comes to predictability, are the perfect subject. “The tricky thing is depth of field,” teacher and nature photographer Ben Long says. “When you’re getting close to a flower, your depth of field will be shallow, so you may not get all the details that you want in focus.” Bring a tripod with you so you can use longer exposures and smaller apertures to make your depth of field deeper. While you have more control over your subject with plant photography, you still have the elements to deal with. Don’t let a breeze ruin your long exposure. Try shielding your subject or bring clamps to hold the flower in place.
Davidson suggests shooting in aperture priority mode to give you more control over depth of field. Plants are an agreeable subject, but they’re also a very common subject. Rather than being intimidated by this, Davidson says this “allows you to play and try new things.” Push your creativity and find a unique way to make your image interesting.
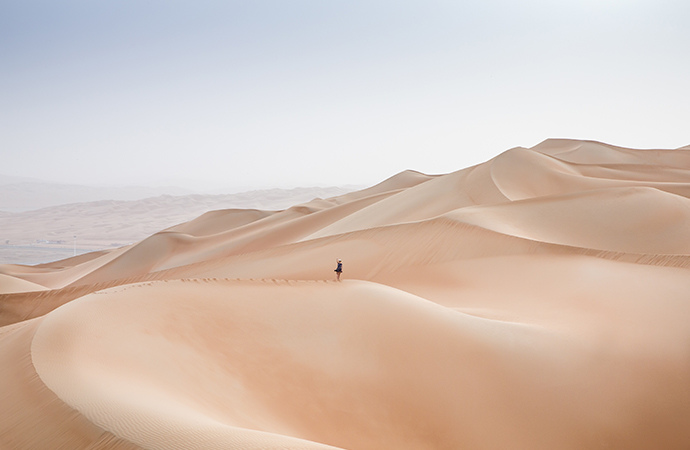
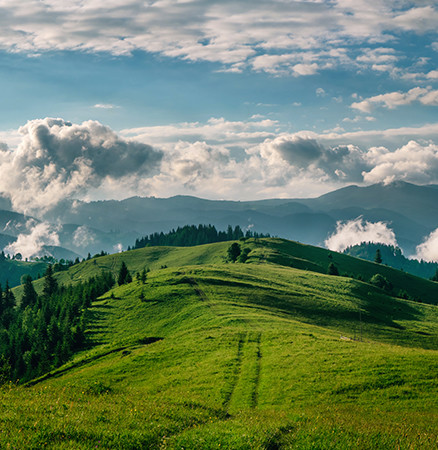
Finding a different perspective on landscape photography.
Shooting landscapes is its own skill, but it also falls within the category of nature photography. To capture the best possible shot, landscape photographer Samuel Nute says, “Be patient for the conditions to line up and try to get a different spin on popular landscapes.” Outside of dealing with the weather, finding your voice and style is the most challenging part of landscape photography.
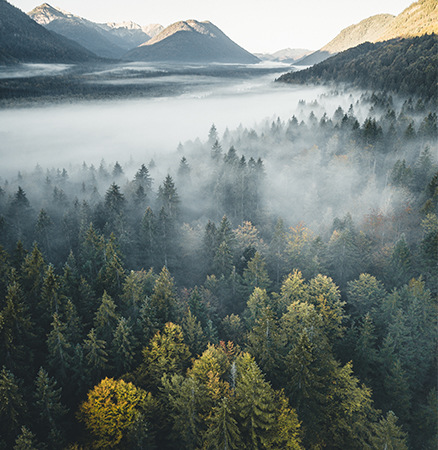
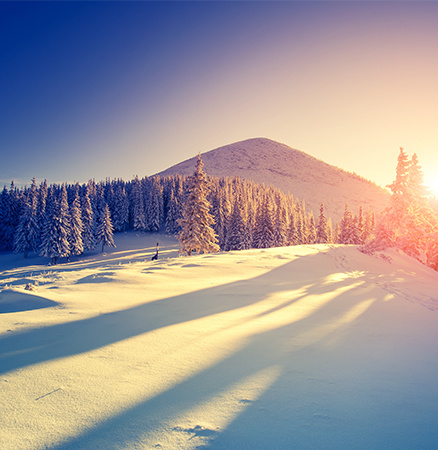
If there’s one thing to keep in mind, it’s light. Dawn and dusk (also known as the golden hours) offer the perfect lighting conditions for great landscape imagery. This is also the time to capture beautiful sky photos. Carlson notes, “Sometimes the better sunset happens after the sun goes down. Depending on the clouds, the sky can explode with colour. Too many times I see people out shooting and when the sun goes down, they think it’s time to go.” Experience is the best teacher, so if you want to improve your landscape photography, just get outside and start shooting.
“Sometimes the better sunset happens after the sun goes down. Depending on the clouds, the sky can just explode with colour. Too many times I see people out shooting and when the sun goes down, they think it’s time to go.”
Packing the right gear is also essential. Wide-angle lenses are ideal for stunning landscape photographs. They allow you to capture a deeper depth of field than telephoto lenses, so your whole scene is in focus. As with any other kind of nature photography, the right gear makes all the difference, so be sure you’ve thought about which lenses to bring.
While nature is uncontrollable, learning to adapt to this fact lets you push your skills and find your inner adventurer. As long as you plan ahead and remember to check your exposures, the results will be rewarding.
Contributors
Do more with Adobe Photoshop Lightroom.
Edit photos easily with Lightroom presets, Super Resolution, easily share photos from any device and access your projects anywhere with cloud photo storage management.
You might also be interested in…
Building a great landscape photo.
Explore ways to artistically capture scenic views with tips on landscape photography.
Discover the ins and outs of capturing stunning images of the night sky.
Discover how adjusting shutter speed can help you capture clean shots or motion-filled moments.
Journey to a new world and make small subjects larger than life with macro photography tips.