Bokeh effect: what it is and how to achieve it.
Bokeh effect is a popular photographic technique which uses blur to focus the viewer’s attention on a specific area of an image. But there’s more to the technique than just adding blur. Learn all about bokeh and what it can bring to your images.

What is bokeh effect?
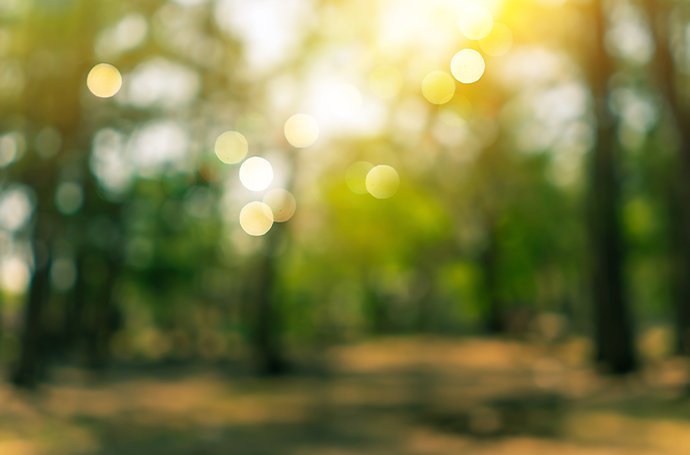
Bokeh effect is a common technique used in photography where one element of the image is intentionally blurred. Emphasis is placed on certain points of light in the background, with bokeh appearing as a backdrop to the focal area. The subject remains clear and in focus while the background is blurred, with brilliant points of light helping achieve ‘good bokeh’.
If someone were to say: “that image has good bokeh”, they would be generally referring to the aesthetic quality of an image’s background blur.
Bokeh comes from the Japanese word boke (暈け or ボケ), which means ‘haze’ or ‘blur’. The ‘h’ was introduced to help English speakers pronounce the word correctly [BO - KEH]. The official definition translates as: “the way the lens renders out-of-focus points of light.”.
Why use bokeh effect?
In photography, the use of bokeh backgrounds is highly effective at drawing viewers’ eyes to the focal point of the image. The soft and smooth blur creates pleasing out of focus areas with no distractions – effectively conveying an image’s beauty. It’s commonly used in portraits and wildlife photography.
Bokeh can be achieved by using a shallow depth of field and shooting with a wide open aperture. But creating bokeh effect photos that convey your artistic message requires practise and study. With time, the bokeh effect – whether created when shooting or afterwards in your editing software – will bring impact to your images.
How to achieve bokeh effect.
Mastering bokeh photography to create stunning images takes practise to perfect. The environment is important to achieving this effect. As with any good photo, it requires a strong subject and background. Beyond this, there are several important elements you need to focus on to get good bokeh.
Setting the right aperture.
The main mover and shaker for achieving a bokeh effect is the depth of field you create with your aperture settings. The lower the aperture setting the better, as you want to let in as much light as possible to get those stunning bokeh backgrounds.
Set your camera to ‘Aperture Priority’ mode and the lowest f-stop (normally f/3.5 or f/2.8, although professional lenses can go lower). Take your shot and have a look on the LCD display where possible. If the subject is clear with a soft and round blurred background, then it’s a good bokeh setting. Experiment with different f-stops and see what you can create.
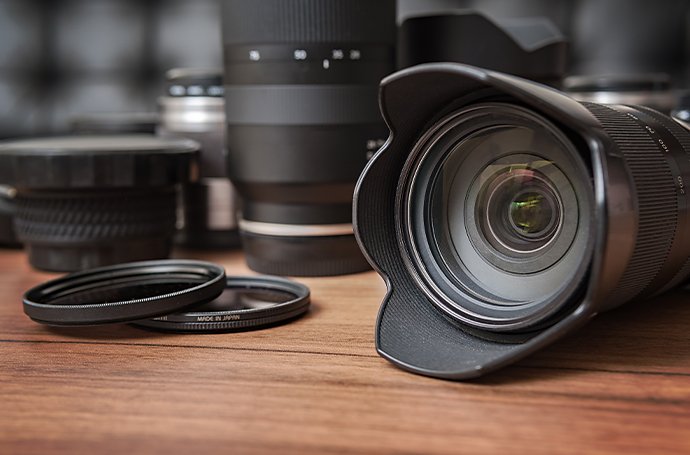
Choosing a camera lens to create the bokeh effect.
Before you go out and buy lenses, it’s important to know which ones are recommended for bokeh photography. A shallow depth of field allows you to make a single object your point of focus, while everything distant from that focal point becomes blurred. Most lenses that allow for this have a low f-stop – a number referring to how wide open or closed the aperture of your camera lens is.
Think of the aperture like the pupil of your eye. The wider open it is, the more light it allows in – at the cost of depth of field. The narrower the aperture, the greater depth of field you’ll have on display – at the cost of bokeh effect.
The shape of the diaphragm blades in a lens also affects bokeh. Circular shaped blades create rounder out of focus highlights, while a lens with hexagonal blades reflects that shape in your imagery. Both can be effective – it all depends on your personal taste.
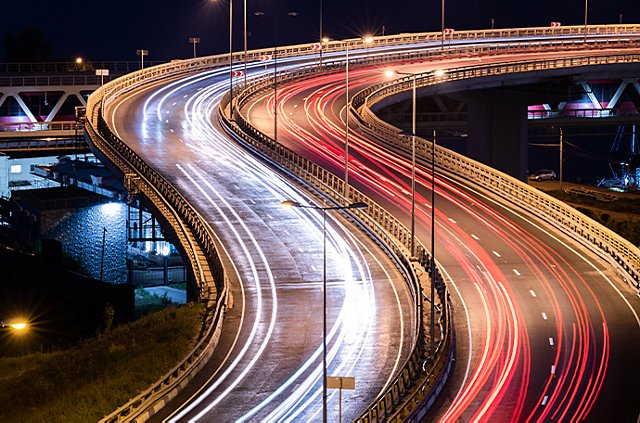
Shutter speed.
Shutter speed determines how long the shutter on your camera remains open. It’s measured in seconds – so a fast shutter speed might be 1/1,000th of a second, versus a slower speed of one second.
As you open up the aperture of your camera, you can increase the shutter speed to get crisper images of fast-moving subjects such as race cars. Lower shutter speeds are normally best for bokeh photography as they allow more light and blur into your image. However, this also depends on your camera’s lens and focal length.
Slow shutter speed:
Fast shutter speed:

Proximity and positioning.
The proximity of your camera to your subject – and your subject to the background –affects bokeh. Increasing the distance between subject and background creates a more shallow depth of field and improves your chances of achieving bokeh effect. The easiest way to do this can be to stay close to the subject but at least a few metres from the background.
Blurry lights are important in bokeh – whether natural sunlight, fairy lights at night or using a backlight. Positioning the subject a few metres in front of them rather than next to it can improve your chances of getting a softer bokeh background.
Try taking shots of your subject from different distances, and with the subject at varying distances from their surroundings, to see how it changes the bokeh your lens produces.
“I had to go through these motions over and over and over again until it became second nature. You do it long enough and your eyeballs become your light meter; you start to understand what your settings need to be to achieve a certain look.”
Bestselling Author and Photographer Carli Davidson
Optimising your focus.
What you choose as your focal point will alter the focal plane. Try focusing on different parts of your subject, snapping pictures and seeing how everything comes out. For example, try photographing your subject from different angles (from the back as well as the front) and experiment with close-up and distanced shots. And turn off your autofocus point selection.
Avoid thinking about the background too much, otherwise it can diminish the main focal point of your photo. Blurry lights in the background are important, but if they’re too bright your subject can end up as a silhouette.
“You want to determine what to focus on in the frame yourself instead of letting the camera choose. It can make a huge difference.”
Photographer Khara Plicanic

What is the difference between bokeh and portrait mode?
Portrait mode is usually built into your phone or camera. It’s a setting that captures someone in a portrait-style image, where the subject is in focus and the background is blurred. However, just blurring the background does not achieve bokeh. This is known as an artificial bokeh effect.
Artificial bokeh effect:

True bokeh effect:

To achieve the bokeh effect in the background, photographers set their lens aperture/opening to its maximum f-stop, leaving it wide open and in selective focus mode. The lens will then only focus on the immediate subject in front of it, blurring the background. This helps create the bokeh effect when taking a portrait photo.
Examples of bokeh effect in action.
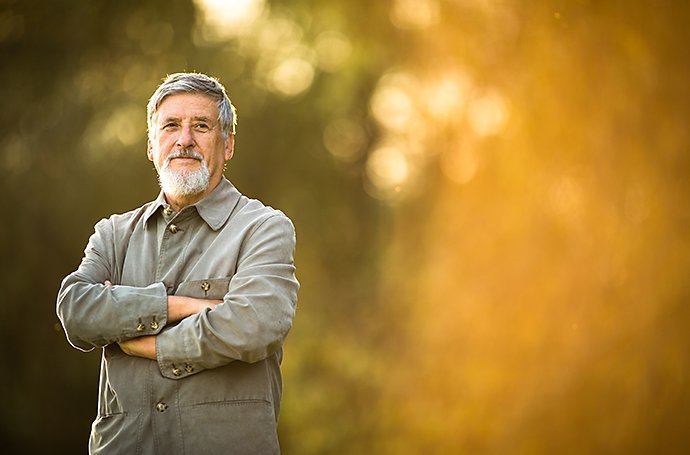
Bokeh backgrounds can be used to enhance all sorts of images. Portrait photography and human subjects are one of the most popular uses of the effect, whether in a natural or staged setting.

Both inside and outside environments can work just as well, as long as there’s enough lighting and the focal point remains clear.

Even more mundane subjects can be brought to life in a visually appealing image thanks to the use of a bokeh background, such as the simple wooden table surface and the Christmas tree below.


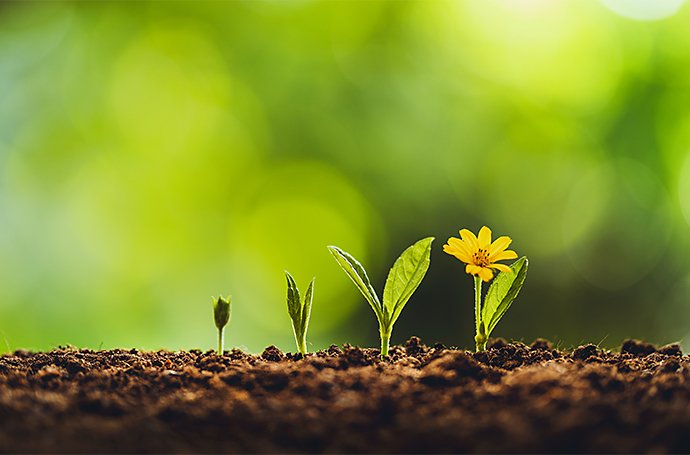
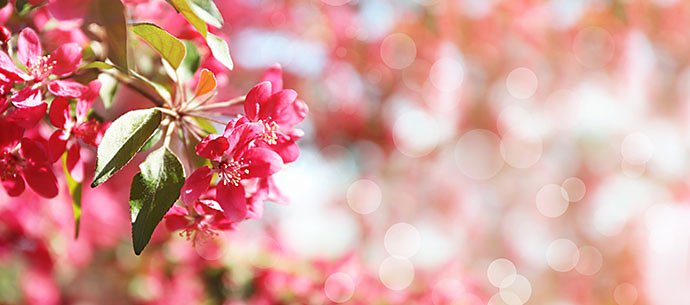
Nature photography is another great opportunity to use bokeh effect. This includes macro plant photography that focuses on the details of flowers in the foreground, for example.
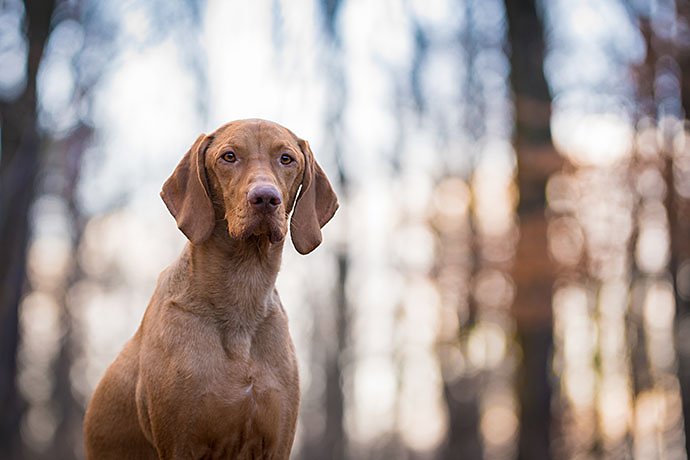
Animal photography also benefits from bokeh backgrounds, whether you’re capturing wild creatures in their natural environment or portrait shots of your own pets in the back garden.

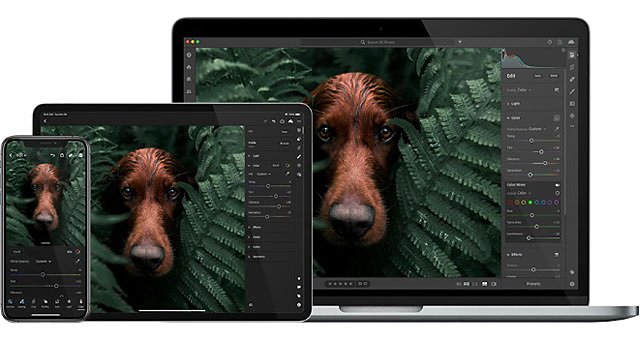
Using Lightroom to achieve bokeh effect.
Adobe Lightroom is a photo editing tool which makes creating beautiful bokeh effects in post-production easy. Use it on your desktop to professionally edit images or download the bokeh effect app to amend on the move – whether shooting with your mobile or a DSLR camera.
The Field Blur filter allows you to set a focal point in the image, then create varying levels of blur and focus in other parts of the photo. Play around with it and see what kinds of blurred bokeh backgrounds you can create. If you didn’t quite capture bokeh on your phone the first time, amend your images with ease afterwards.
You can also control bokeh directly. The Field Blur filter has a bokeh colour slider you can use to modify and alter the colour and intensity of the bokeh in your image. Again, experimentation is the path to success.
As you experiment with bokeh, you’ll discover plenty of different options and arrangements. Get out there and start developing your own unique photographic style.
Contributors

Lightroom vs Photoshop: which is best for you?
Discover the key differences between the apps so you can make the right choice and find the right plan.
You might also be interested in…
Discover how adjusting shutter speed can help you capture clean shots or motion-filled moments.

Night Photography.
Low light doesn’t have to equal low quality with these tips for successful nighttime photos.

Discover ways to select the ideal focal length for any and every photo.

Building a great landscape photo.
Explore ways to artistically capture scenic views with tips on landscape photography.
Get Photoshop Lightroom.
Edit, organise, store and share photos from anywhere.
7 days free, then £9.98/mo.