Vignette in photography – and how to use it.
Vignetting in photography – the darkening of the areas at the border of the photo – can either be an artistic choice or the result of something going wrong when taking a shot.
We’ll look at ways to achieve a vignette, how lenses and filters can impact them, when they are most effective, and how you can add or remove a vignette effect when editing your photos.
What is a vignette in photography?
A vignette is a darker border – sometimes as a blur or a shadow – at the periphery of photos. It can be an intentional effect to highlight certain aspects of the image, or as a result of using the wrong settings, equipment or lens when taking a photo.
The gradient of the effect can be gentle, with just a subtle edge to your photo, or more impactful, where parts of the image are actually obscured by the vignette. It’s usually most apparent in the corners as the vignette creates a rounded effect within an otherwise square or rectangular photo.
The ways vignettes are created also impacts how to add and edit them. We usually talk about four main types of vignette:
Optical vignette.
These are natural vignettes, added by the type of lens you are using. They are most common on lenses with large apertures or barrels. Light entering the camera can be blocked by the barrel and wide-angle lenses – as light takes longer to travel from the edge of the lens to the centre, creating a dullness.
Pixel vignette.
This is caused by the construction of the digital sensor in the camera. This sensor is flat, so while most of the light coming through the lens hits it head on, the light from the edges often hits the outside area of the flat sensors at an angle. This can lead to the edges of these images appearing darker.
Mechanical vignette.
This can be a result of using the wrong type of lens or filter. Most lenses that have large hoods are designed to reduce vignettes. But vignettes can be caused if you choose the wrong lens for your shot, as not all the light hits the sensor as it should. Mechanical vignettes can also be created when you add filters that aren’t the correct size for your camera or lens.
Artificial vignette.
This is when you add the vignette intentionally, either through a combination of a camera’s lenses, filters and effects, or in editing. These vignettes are the easiest to control.
Should I use vignette in my photos?
Whether or not you choose to use a vignette in your images comes down to what you’re trying to achieve in the composition of your photograph. Simply put – if you’ve added it in intentionally then it should be fine, as long as you can justify it artistically. But if it appears as a result of choosing the wrong lens or filter, then it might not be such a positive thing (unless it looks unexpectedly good).
When to use vignettes.
Using a vignette is a great way to guide a viewer’s eye. You can use them to:
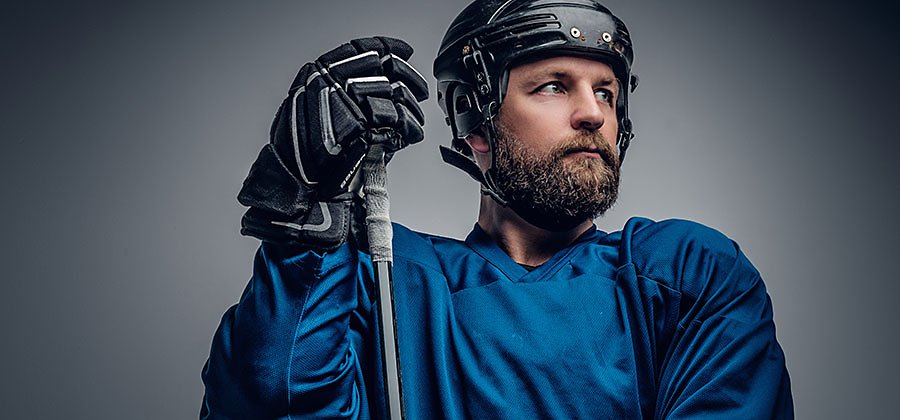
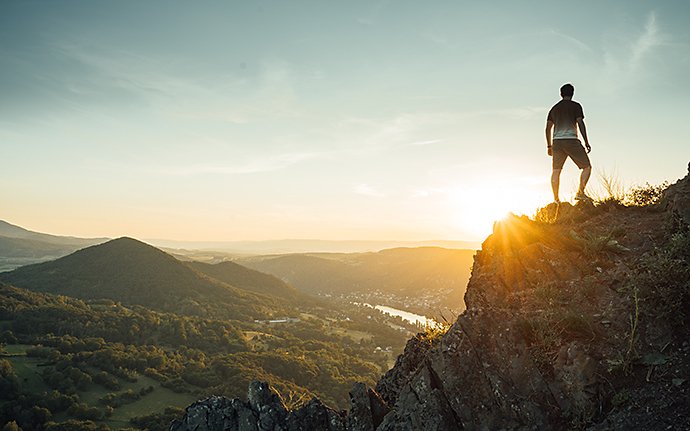
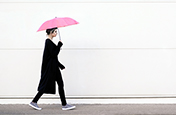
- Focus attention. When you’ve got a centralised subject, vignettes keep people focussed on them, removing distracting background details. Vignettes can be particularly effective in portrait photography or when creating macro images.
- Counter distracting lines or points of focus. If your image has lines that draw the eye away from the subject or a second point of focus that shouldn’t be there, a vignette can be used to keep the eye on the main subject of your photo.
- Draw the eye gently. Sometimes you might want to gently move a viewer’s eye across various aspects of the image. A subtle vignette can do this, pushing them slightly to the centre but not cutting off the rest of the image in the process.
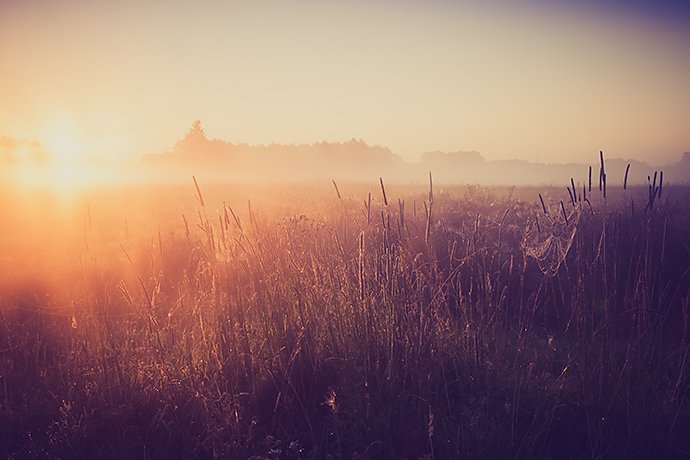
- For vintage effects – many old cameras didn’t have the technology to remove vignettes or reduce them when shooting, so the vignette has become associated with a retro look. Many retro or vintage filters on your smartphone will use vignettes to create that old-time feel – usually with a sepia tone added to the image.
When to avoid vignettes.
While every image is different, we’d suggest avoiding vignettes in the following situations:

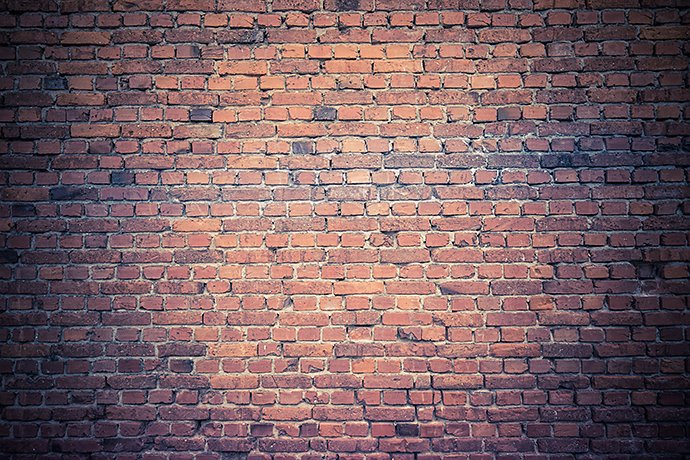
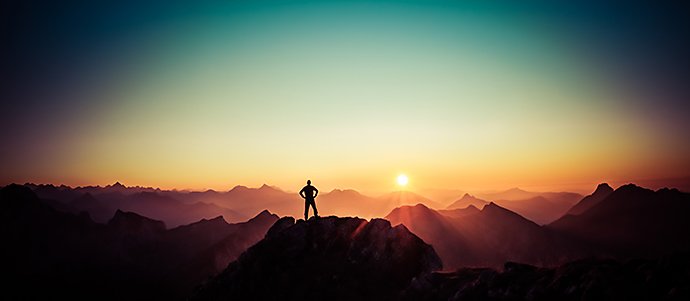
- Landscape and architectural imagery. If you’re shooting a scene without a central focus point or one where you want the viewer’s gaze to wander across the full image picking out various details, a vignette probably won’t be a good option.
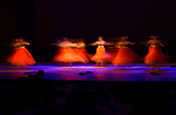
- When there are multiple subjects. If you’ve got an image of three or four people or subjects, using a vignette can make the image feel unbalanced and force focus on one of the faces or subjects.
- When it’s not intentional. You should always shoot with your story and subject in mind. An unintentional vignette can unbalance the end result. Try changing lenses, removing any filters or choosing a narrower aperture to get rid of any unwanted vignette effects when shooting
How to create vignette effects.
There are two main ways to intentionally create a vignette – when shooting and during the editing process. If you add the effect when shooting then you’ll have less control over the intensity of the vignette.
You can add a vignette when shooting by:
- Using lenses with larger barrels. The longer the barrel of the lens, the less peripheral light gets through to the sensors, as it comes in from extreme angles. This causes the light to be less intense at the edges.
- Choosing a wide aperture. A wider aperture means that you’re exposing more of the sensor to light. If you open it right up, the light might not reach the widest points as the angle at which the light travels in becomes more extreme. A narrow aperture focusses the light into a narrower angle.
- Adding a lens hood. Lens hoods are meant to keep out unnecessary light, allowing you to focus on a specific subject. High-quality lens hoods can balance this with letting in enough light to cover the sensors. But some don’t do this, and can add a vignette if not enough light is let through.
- With a lens filter. Some bulky filters can block light coming in at the edges, especially circular polarising filters.
Alternatively, some modern DSLR cameras come with the option of adding a vignette using their software, if you are looking to create a vignette effect why not try our online tool.
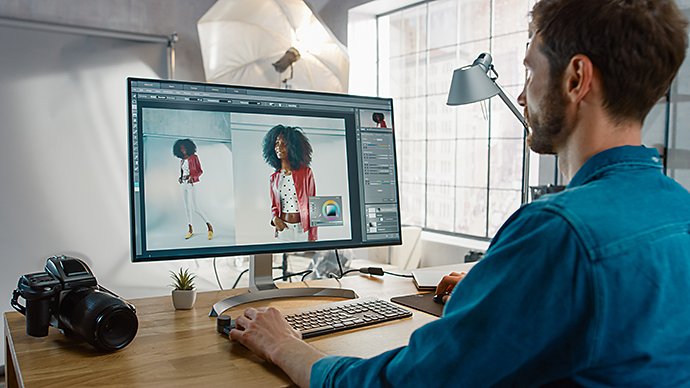
How to add vignettes in Lightroom and Photoshop.
Both Lightroom and Photoshop give you the option of adding vignettes. The beauty of doing this at the editing stage is that you will have more control over the end result.
For Lightroom, head to the Develop module. Here, you’ll find Lens Correction located to the right of the image you’re editing. You can add or adjust vignettes using the following settings:
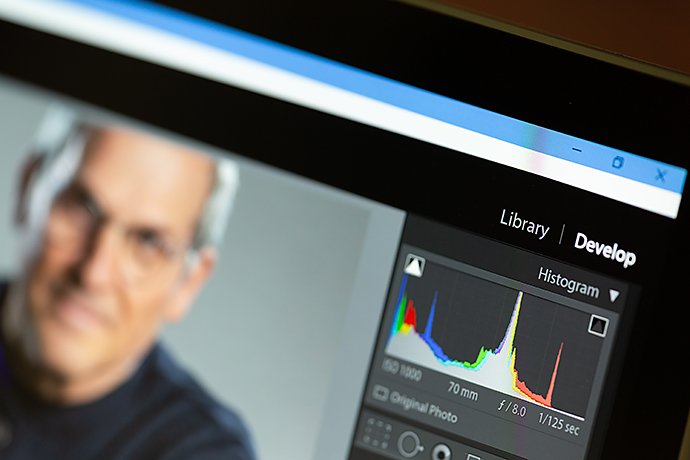
- Amount – this makes the vignette effect darker or lighter. You can lighten the edges to lift the mood of a shot, or create a unique artist effect. Darkening the edges produces a more classic vignette. You can go very dark for a more moody photo.
- Midpoint – click here to centre the effect or slide it to widen its effect. So if you want to focus solely on the central section, you can slide this to bring the vignette further in. For a more subtle impact, push the vignette to the outer edges of the image.
- Post-Crop – this makes sure you aren’t adding vignettes to areas that have already been cropped.
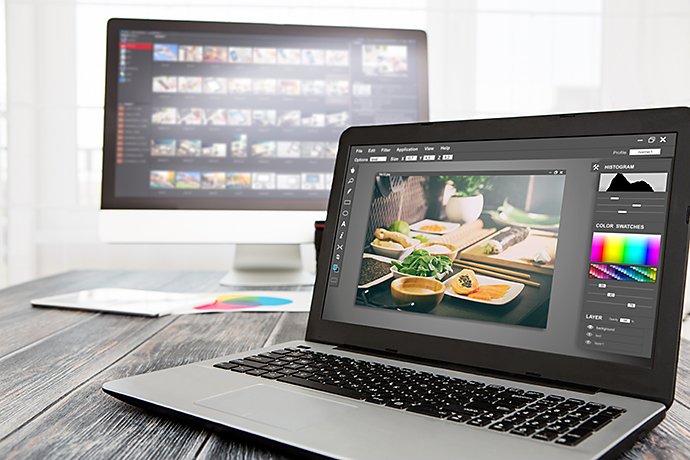
With Photoshop, go to Filter then click Correct Camera Distortion. You’ll find similar options as in Lightroom, as well as the ability to preview your changes.
You can also add vignettes in Photoshop using a number of techniques:
- Camera Raw > Effects – this allows you to control midpoint, roundness, feathering and highlights.
- Fill layer with solid black > Add layer mask > Invert Mask > Use feathered white brush to paint in vignette manually.
- Selection brush to select area of focus/subject > Select > Feather and type ‘1’ > Create new layer > Select background layer > Filter > Correct camera distortion > Use slides to create effect.
How to correct vignetting in Lightroom and Photoshop.
You can also use both Lightroom and Photoshop to correct or remove a vignette from an image you’ve shot.
A simple way to apply vignette correction in either of these is to:
- Go to Develop module
- Click Lens Correction module in Lightroom or Camera RAW in Photoshop
- Check Enable Profile Corrections
- Use sliders to reduce impact of vignette
- Save settings by checking Enable Profile Corrections. This means that any image taken using the same lens will have these settings automatically applied.
Ultimately, a vignette might be a happy accident you make when photographing, an intentional approach you take in editing, or an effect you want to remove immediately. It all depends on the subject, context and composition of an image.
You might also be interested in…
How to use, and break, the rule of thirds.
Improve your photo composition skills to capture more stunning images.

Understanding shallow depth of field.
Explore how shallow depth of field can add dimension to your photographs.
Discover how adjusting shutter speed can help you capture clean shots or motion-filled moments.
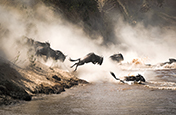
Tips for capturing nature photos of all kinds.
Explore the possibilities of nature photography, from animals in motion to sprawling landscapes.
Get Photoshop Lightroom.
Edit, organize, store, and share photos from anywhere.
7 days free, then Rp149.628/mo.