
PHOTOSHOP FEATURES
Using the Photoshop Paint Bucket.
Adobe Photoshop will brace the bucket as you pour paint onto your canvas. Learn how to use this versatile tool.
How to use the Paint Bucket in Photoshop.
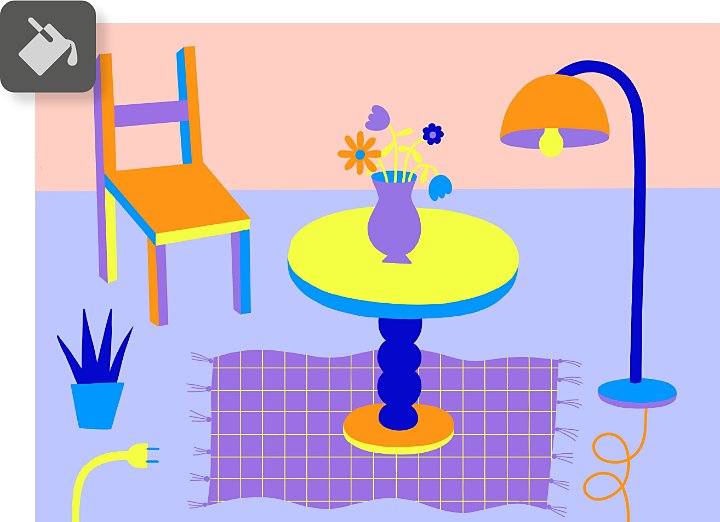
The Paint Bucket tool is a workhorse for creative people looking to bring splashes of color to their work in record time.
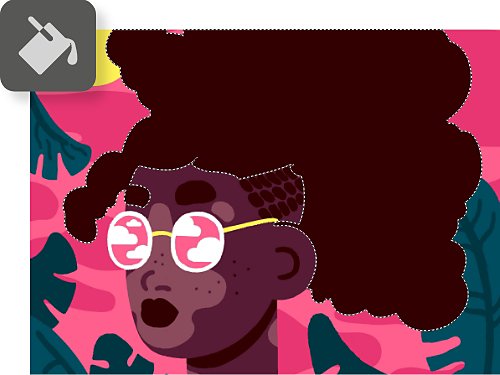
Fill an area.
Have an area that needs filling with a color or gradient? The Paint Bucket tool will colorize a selected space in a single click.

Color both foreground and background.
You can work quickly with the Paint Bucket tool, filling an area with your choice of two changeable colors: a foreground color and a background color.
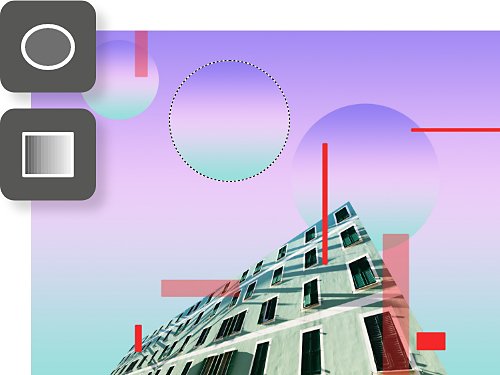
Use with other tools.
Combine the Paint Bucket with other Photoshop tools like the Brush tool, the Gradient tool, the Pen tool, and more to create complex illustrations and edits.
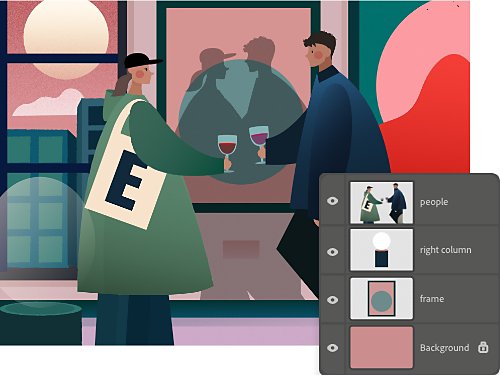
Work with layers and selections.
When paired with dozens of selection tools and versatile layer options, the bucket is a reliable accessory for creating complex collages of color.
Advanced Paint Bucket tool options.
The trusty Paint Bucket can do more than just cover an area — it has plenty of settings to help you create a smarter, better fill.
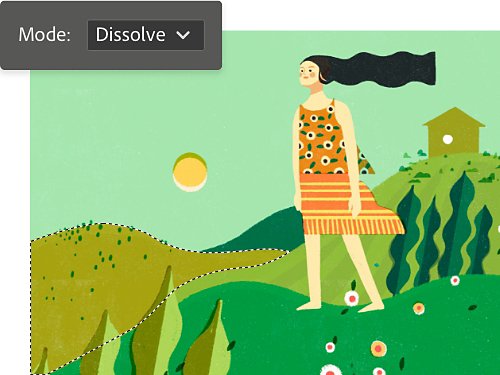
Choose a Mode.
The Paint Bucket tool Mode setting allows you to create more advanced color fills for interesting effects and a higher degree of control. Choose from toolbar options like Darken, Multiple, Color Dodge, and more to create different effects.
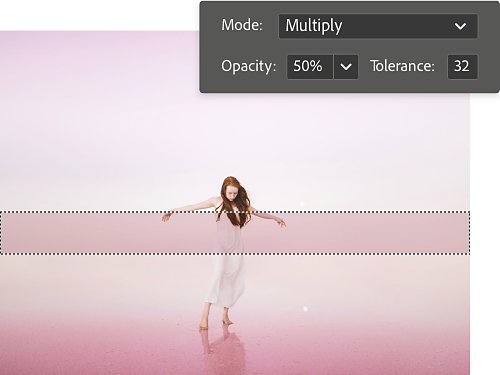
Tweak Opacity and Tolerance.
If you feel your fill is a little too aggressive, you can adjust both Opacity (transparency) and Tolerance (how many pixels it will cover) to paint over fewer colors or leave the background intact. This can often create a more random-seeming or artistic looking paint effect.
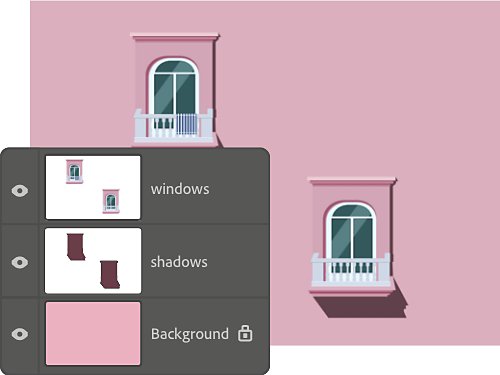
Go all in with all layers.
Typically, the Paint Bucket tool will fill areas only on a selected layer. If you want to paint to your heart’s content on your entire project, cutting through all layers, select the All Layers option. This is useful when you’re trying to change the entire document.
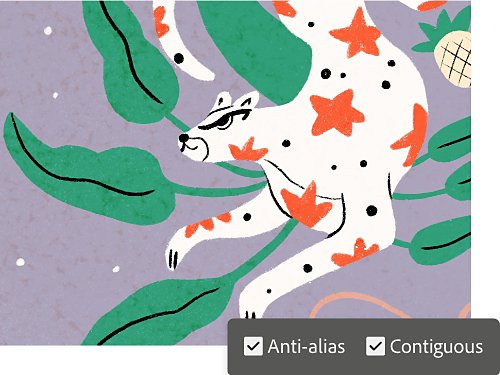
Pick Anti-Alias or Contiguous.
The Paint Bucket tool paints individual pixels, and you can alter how it behaves. The Contiguous option will paint only pixels that are directly attached to ones of the same color. The Anti-Alias option helps smooth out jagged edges of the areas you fill.
How to do a basic Paint Bucket fill.
Paint an area a flat color in just a few steps.
1. Select it:
With the correct layer selected, use a selection tool like the Lasso tool to select where you’re going to paint.
2. Set it:
Select the Paint Bucket tool. Make sure you’ve chosen a foreground color that you want to paint with and Foreground is selected in the top Options bar.
3. Shade it:
Choose a Tolerance number from 0 to 255. To fill all selected pixels of a color regardless of their starting shade, choose 255. To fill only pixels of a similar starting shade, choose a lower number.
4. Paint it:
Click the selected area you want to paint with the tool, and admire your handiwork.
5. Edit it:
If it’s not looking quite right, click Edit › Undo and try adjusting Opacity and Tolerance until you’re happy with the look.

Learn more painting and coloring techniques.
Ready for more? Learn about other Photoshop features and painting tools.

Go watercolor.
Photoshop has dozens of tools to help you replicate the look and feel of watercolor painting.

Adjust the palette.

Make it sunny.
Sometimes the image you have isn’t quite bright enough. This tutorial will show you how to adjust brightness and contrast.

Lines for beginners.
Line drawing is a great way to improve your illustrating and Photoshop skills at the same time.
Find the Creative Cloud plan that's right for you.
Adobe Photoshop Single App
inclusive of VAT
Get Photoshop on desktop and iPad as part of Creative Cloud.
Learn more
Creative Cloud All Apps
Rp346.080/mo inclusive of VAT
Get 20+ Creative Cloud apps, including Photoshop, Illustrator, Adobe Express, Premiere Pro and Acrobat Pro, now at a lower price.
See what's included | Learn more
Students and teachers
inclusive of VAT
Save over 60% on 20+ Creative Cloud apps, including Photoshop, Illustrator, Premiere Pro and Acrobat.
Business
per licence (excl. VAT) See terms.
Get up to 5 licences for your team and save 30% off the 1st year. 20+ Creative Cloud apps incl. Photoshop plus exclusive business features.
Purchase by phone: 001 803 065 038