|
Top tips and tricks for nature photography.
Nature photography is a catch-all term often used to cover all types of outdoor photography, from snapping birds and other animals to plants and landscapes. As it spans such a wide variety of styles, different areas have their own specialist nature photography tips, tricks and approaches to master the art.
Whether you’re a beginner or a professional looking to refine your skills, follow in this article, we reveal top tips from professionals about what factors to bear in mind for nature photography from the experts and improve your ability as a nature photographer.
What you’ll learn:
- What is nature photography?
- How to photograph-landscapes
- Photographing nature in detail (flora)
- Photographing animals (fauna)
- How to become a professional nature photographer
What is nature photography?
Nature photography is a versatile medium which covers landscapes, flora and fauna. The aim of a nature photographer is to capture the beauty and wonder of natural environments – and the animals, plants and flowers living within it.
Within nature photography are four specific niches:
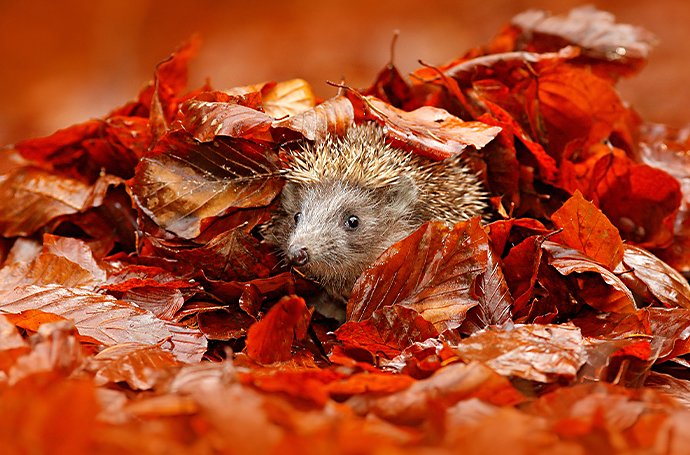
- Wildlife photography. From photographing a herd of elephants marching across the Sahara to a hedgehog wandering across your back garden, wildlife photography covers a vast range of animal subjects and settings.
- Plant photography. Capturing a field of tulips in full bloom, a lone tree that’s shed all its leaves in winter or a close-up of raindrops on a sunflower are all examples of plant or flora photography.
- Environment photography. Shooting natural landscapes, whether there’s an animal or plant as the background or foreground, is a type of nature photography – as long as the environment is not manipulated.
- Bird photography. This niche area is full of its own challenges – from how to capture animals moving at such speed to using zoom lenses to make sure you’re not scaring your subject away.
Photographing nature presents a unique set of challenges – but offers the potential to tell compelling stories. Whether you’re experimenting with shutter speed to catch an animal in motion or trying out different depths of field to get the perfect close-up of a flower, it takes patience and creativity to successfully capture the great outdoors.
Use my nature photography tips to achieve stunning shots of wild animals, plants and landscapes.
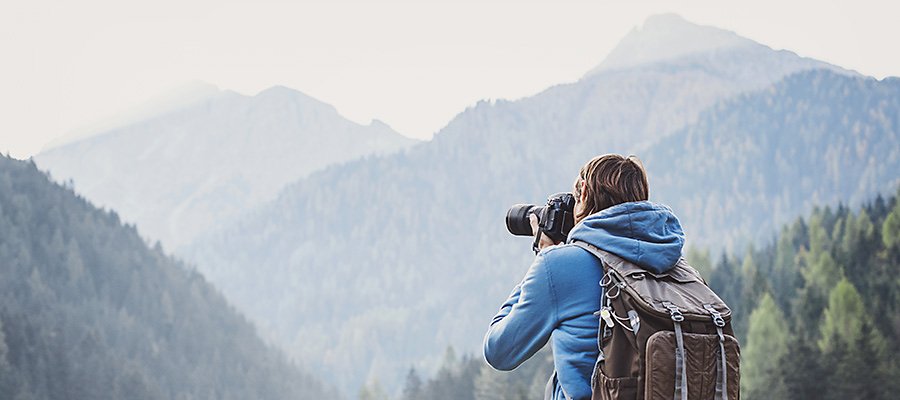
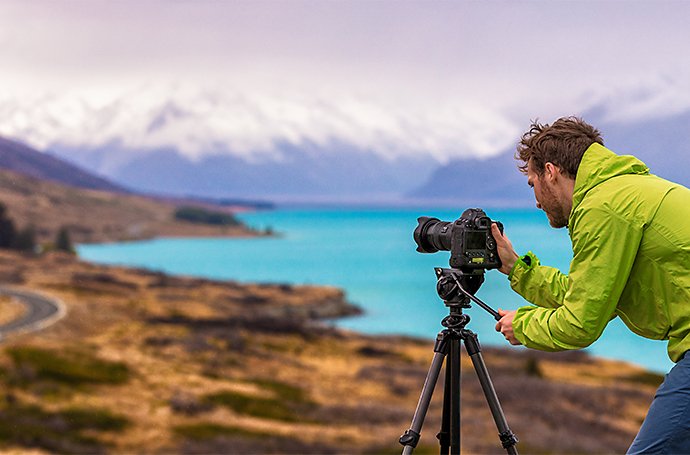
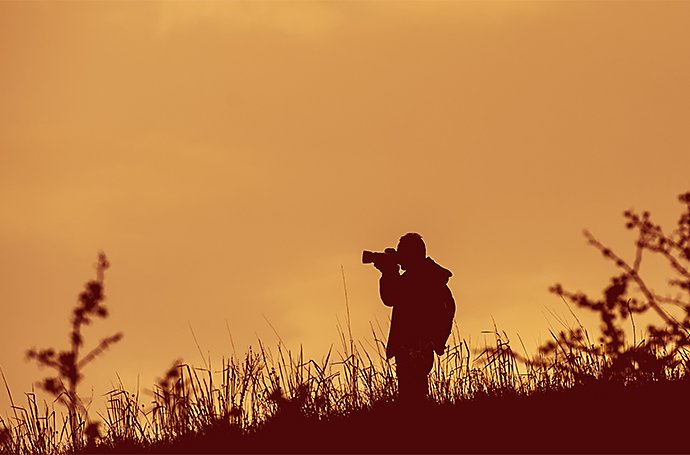
How to photograph landscapes.
There are several challenges you must overcome with outdoor photography to make shooting landscapes a success. While landscape photography might not involve capturing wild animals on the move, inclement weather and constantly changing light means landscape shoots will be different every time. If you’re used to working in a studio, outdoor photography can push you outside your physical and creative comfort zone.
“Studio photographers have waking nightmares about having to shoot in nature because it’s such an uncontrolled environment.”
Photographer Carli Davidson
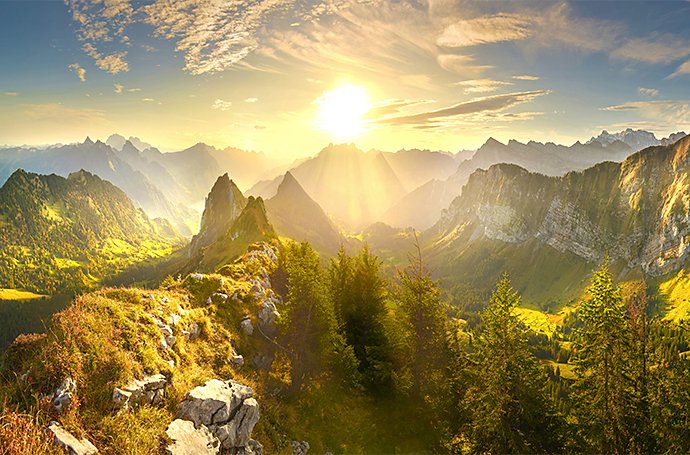
1. Plan for the best time of day
You should research and plan your outdoor shoot before pulling on your hiking boots and hitting the trails. Strategically choose the right time of day and lighting for the images you envision. You might find morning and evening is often best for capturing the natural world, since the light is softer without the harsh shadows of midday.
Set your alarm to 5am instead of 8am. Alternatively, make it a late one (especially at the height of summer) and head out for your shoot around 8pm. The golden hour for photographers is generally the first hour after sunrise and the last hour before sunset. This is when natural light is warm, soft and easy to work with due to the sun’s low angle flattening lighting situations for creative effects and great landscape imagery.
2. Pack light and right.
Planning is also about making sure you have the right gear. You’re at the mercy of the elements outdoors and you don’t want to be unprepared. As Davidson says: “Whether it’s 10 degrees or 150 degrees outside, I’m going to have to be out there all day.
Appropriate clothing, gear and equipment is vital. Always bring something waterproof to protect your gear. Pack a hat to shade your camera if it’s sunny, so you can its display to check your exposures.
“You don’t need a lot of specific gear. The most important thing with nature photography is getting yourself out into nature,” experienced photographer Jeff Carlson says.
Pack light, but always bring:
- Extra batteries
- Storage cards
- A lens with a broad focal length range
Carlson recommends starting with a DSLR camera with an 18–55 mm lens. This gives you enough range to pick up details in the distance as well as in your immediate surroundings. Wide-angle lenses are ideal for stunning landscape photographs as they allow you to capture a deeper depth of field than telephoto lenses, so your whole scene is in focus.
3. Perfect your exposure.
One of the biggest challenges with outdoor photography and capturing magnificent landscapes is getting the right exposure – even in the golden hour. If a cloud moves overhead, your images could suddenly be underexposed due to less light. A quick fix is to check your exposures as you shoot. Remember to never delete any photos before you can view them indoors.
Davidson points out that it’s easy to get distracted or excited when shooting outdoors. So practising your technical skills until they become second nature can save you time in the long run. There’s nothing worse than shooting a full day of photos, only to look at them later and find they’re all over or underexposed.
Read more landscape photography tips
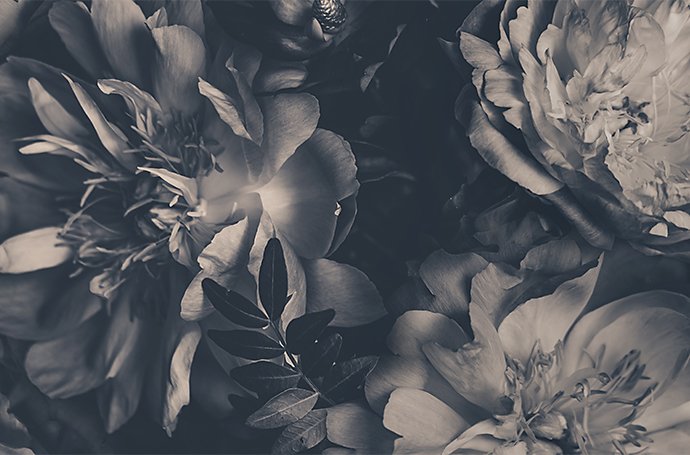
Photographing nature in detail (flora).
Plants are the perfect subject when it comes to predictability, but also a very common one. Rather than being intimidated by this, Davidson says plant photography “allows you to play and try new things”.
Taking simple shots of flowers and trees in the garden is a good start and practice makes perfect to capture the detail you want.
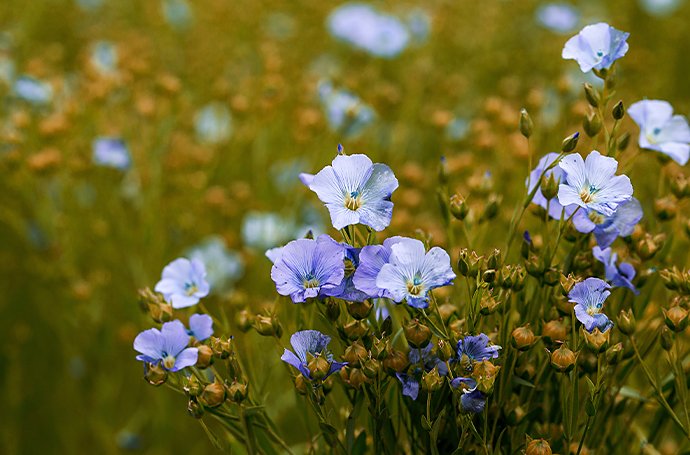
Techniques for photographing plants.
- Shield your subject – or bring clamps to hold the flower in place. While you have more control over your subject with plant photography, you still have the weather to work around. Don’t let a breeze ruin your long exposure.
- Shoot in aperture priority mode – to give you more control over depth of field, adjusting your aperture mode can improve results, as Davidson suggests.
- Experiment with black and white – bright colours may be the main draw when shooting flowers, but taking or converting plant photography into black and white can enhance their patterns and textures.
“The tricky thing is depth of field. When you’re getting close to a flower, your depth of field will be shallow, so you may not get all the details that you want in focus.”
- Teacher and Nature Photographer Ben Long
Travel with the right equipment.
Along with your camera, a few other bits of equipment are essential when photographing plants, whether in your back garden or out in the wild:
Tripod – so you can use longer exposures and smaller apertures to increase your depth of field.
Macro lens – a close minimum focusing distance picks up all the textured and patterned details of leaves, and gives you the ability to change focus points.
Kneepads – if you’re going to be getting down low and close to plants, knee pads are a good idea.

Shoot at the best time of day (and year).
Photographing flowers, trees and other plants during the golden hour is often best. In the evening, before sunset, the soft lighting adds a warm hue to your photos – for example, creating longer tree shadows in the woods.
When shooting in the morning, before the dew will have dried up, you can get effective images of water droplets on leaves, petals, and blades of grass. Waiting for a rainy day provides the same opportunity – overcast skies offering even lighting when focusing on your plant subjects, too.
Choosing the right time of year is especially important for plant photography. Summer is a popular season as many flowers are in bloom, with bright colours easy to find. Don’t ignore winter though – the presence of snow can really enhance your images, and the contrast between leaves on an evergreen plant surrounded by barren trees is incredibly evocative.
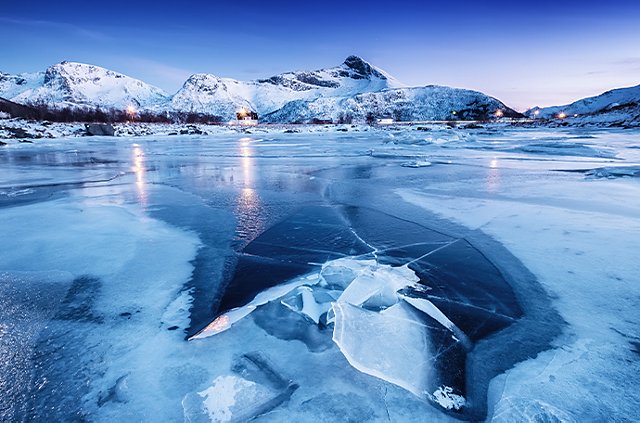
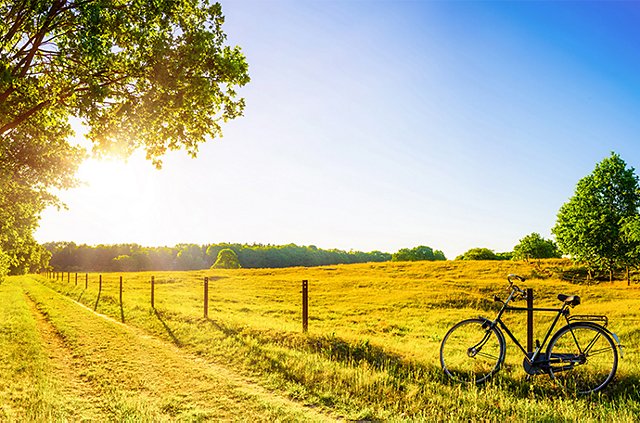
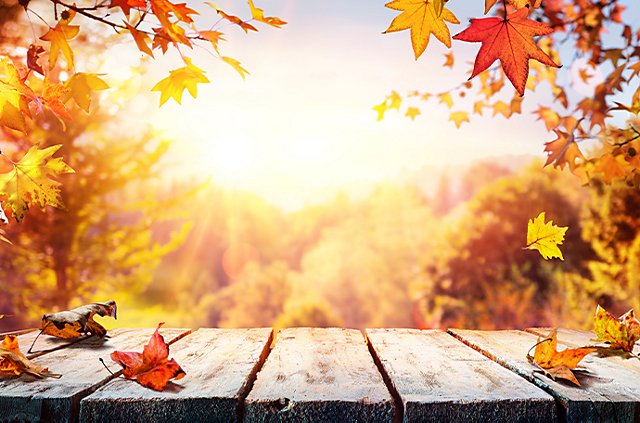
Shooting nature in different seasons.
Here are some of the opportunities photographing nature can offer at different times of year.
Winter
Spring

Summer
Autumn
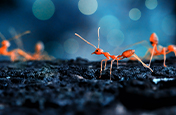
Photographing animals (fauna).
When it comes to animal photography and capturing creatures in motion, being properly prepared is key. From snapping a robin returning to its nest when experimenting with bird photography, to patiently observing a cheetah stalking its prey while on a wildlife photography shoot, planning and specific techniques will help improve your chances of success.
The best equipment for animal photography.
Animal photography can through up so many variables from temperamental subjects to changing light. It’s therefore key you use the right equipment to help control your environment as much as possible:
DSLR camera. A digital single lens reflex (DSLR) camera is generally better than a fixed-lens (point and shoot) camera for capturing animals. The versatility of interchangeable lenses lets you upgrade and adapt to your images.
Lens. In bird photography, it’s unlikely you’ll be able to get close enough to the subject to capture a detailed image when using a mid-range lens. Using a zoom lens vastly improves your wildlife photography when shooting from a distance. Depending what animals you’re photographing, the zoom resolution of your camera may be good enough – but make sure you check this before the shoot.
Tripod. Depending on what creatures you’re photographing, a tripod adds extra stability to your shots when focused on one place (such as waiting for a bird to return to its nest). You can still capture motion by using a tripod and camera to frame your shot right as an animal runs, flies or swims through the frame.
Editing software. Animals are not always willing subjects — even when they’re trained pets. Be prepared to work with your photos in post-processing. Sometimes you can’t find an original or interesting shot in the moment, but editing in Lightroom can help you turn a mundane photo into an extraordinary image.
Animal photography techniques.
The main challenge of wildlife photography is the unpredictable nature of your animal subjects. However, these techniques can improve your chances of getting the perfect image:
- Choose the best time of day. This depends on the animals you’re hoping to photograph, so familiarise yourself with their routines. Take into account migration and breeding periods, nocturnal animals and the season – many will be active in the early morning or late evening to avoid the heat of the day in summer.
- Use a fast shutter speed. Animals move quickly and any delay on your part can mean a missed opportunity. An appropriately fast shutter speed can save you. Ensure your shutter is fast enough to eliminate accidental camera movement so you can freeze your subject in time.
- Be patient but alert. Animals can be tricky to find and hard to track. While you may not see them, they’ll definitely see you. Sure, you may occasionally stumble upon a great shot of a rare animal, but most of the time you’ll have to master patience. Just when you decide no moose will show up, one could pop out of the woods a few yards away.
- Get up close and personal. Close-ups of animals capture an intensity the human eye doesn’t normally see. Use a zoom lens to take close-ups of insects, birds and larger creatures and it could really set your animal photography apart. If you have the luxury of time when your animal subject is in frame, try to experiment with different angles too. Whether it’s a deer framed within the landscape of a forest or an upwards shot of a hungry caterpillar, perspective isn’t everything in nature photography – it’s the only thing.
Animal photography dos and don’ts.
There are a few important things you should and shouldn’t do when taking photos of nature.
Do
- Respect your environment. Respecting and understanding the environment you’re shooting in is vital with any type of outdoor photography. Always apply for permits when necessary, stay on the trails, and leave no trace.
- Protect yourself and your gear. The exact gear you need depends on where you’re shooting. A raincoat, thick jacket, waterproof camera backpack and gloves are essential in cold and damp climates. Wear a hat to shield yourself from the sun, hold an umbrella to shade your camera and lens, and bring plenty of water and sunscreen when working in warmer environments.
- Keep a low profile. Animals can be spooked easily. Your role is to be as invisible as possible without disturbing them – so keep a safe and respectful distance, approach them slowly and make minimal noise. Use a silent shutter feature if possible and use burst mode sparingly – only when your subject is running and preoccupied so the noise won’t distract them.
Don't
- Go in blind. Setting off with just a point and shoot camera into unknown territory is never going to get the best results. Always research your locations first to make sure it’s the best place to find the animals you want to photograph. Then practise in your back garden or local park to get your camera settings right. Maybe start small shooting snails before building up to larger, faster moving creatures.
- Give up due to weather. If you’ve put in hours of planning, don’t give up. Keep going through the rain, snow and storms. After all, wildlife photography is about capturing animals in their real environment. Photos of creatures playing in the sun are great but don’t tell the full story, and the adverse weather can add a dramatic effect to your shots.
- Rush it. Animal photography requires patience, so don’t expect to nail a National Geographic prize winner straightaway. Take time to track the animals, find the right spot, lighting, weather and framing – the results will be worth it. Rushing your shots can lead to agitation and disturbing the animals, which is even less likely to help you get a perfect shot.
How to become a professional nature photographer.
I spoke with Adobe's featured photography experts Jeff Carlson, Carli Davidson and Samuel Nute answer a few questions about how to become a nature photographer. Here’s what they told me.
“You don’t need a lot of specific gear. The most important thing with nature photography is getting yourself out into nature,” says Carlson.
“Unless you’re shooting a hummingbird feeder, none of the birds will be very close. If you use a mid-range lens, you will capture the bird, but it will be a tiny speck. Depending on the resolution of your camera, you can zoom in and you might still have a good shot.”
Davidson points out that it’s easy to get distracted or excited when shooting outdoors. So practising your technical skills enough so they become second nature can save you in the long run.
Carlson mentions that experience is the best teacher. He says: “Sometimes the better sunset happens after the sun goes down. Depending on the clouds, the sky can explode with colour. Too many times I see people out shooting and when the sun goes down, they think it’s time to go.”
Creativity is also key to become a successful nature photographer. When shooting landscapes, Samuel Nute says: “Be patient for the conditions to line up and try to get a different spin on popular landscapes.”
Adobe’s nature photography partners.
Carli Davidson - an experienced wildlife photographer who spent more than seven years working in animal care and training at zoos and wildlife centres. In 2011, her photography series Shake became a worldwide hit, establishing her as a top animal photographer.
Jeff Carlson - a published photographer who specialises in landscapes and slice-of-life photography. He co-leads several photography workshops, has had his work hung in the Art Wolfe Gallery in Seattle and also authored several books covering topics including photography, video editing and more.
Ben Long - an award-winning photographer and author of more than 12 books on digital photography and video. Some of his photography clients include 20th Century Fox, Blue note Records and the San Francisco Jazz Festival, while he has taught and lectured on photography around the world – including at the Santa Reparata International School of Art in Florence.
Samuel Nute - a lifestyle and landscape photographer based in Portland, Oregon. He is a self-taught nature photographer but has been shooting professionally for more than eight years now, mainly in and around the Pacific Northwest.
You might also be interested in…
Building a great landscape photo.
Explore ways to artistically capture scenic views with tips on landscape photography.
Discover the ins and outs of capturing stunning images of the night sky.
Discover how adjusting shutter speed can help you capture clean shots or motion-filled moments.
Journey to a new world and make small subjects larger than life with macro photography tips.

Lightroom plan
Edit, organise, store and share photos from anywhere.
7 days free, then £9.98/mo.
Photography
Get Lightroom, Lightroom Classic, Photoshop and 20 GB of cloud storage. 7 days free, then .
Enhance your nature photography with Adobe Photoshop Lightroom.
Creative Cloud photography (20 GB)
Get Lightroom for desktop and mobile, Lightroom Classic and Photoshop on desktop and iPad.
£9.98/mo
|
Creative Cloud photography (20 GB)
Get Lightroom for desktop and mobile, Lightroom Classic and Photoshop on desktop and iPad.
£9.98/mo.
Students and teachers
Save over 65% on 20+ Creative Cloud apps — includes Lightroom.
£16.24/mo.
Business
Get Lightroom and all the Creative Cloud apps plus exclusive business features.
£56.98/mo
Business
Get Lightroom and all the Creative Cloud apps plus exclusive business features.
£56.98/mo