How to edit your photos for Instagram.
If you want your followers to grow and stay engaged with your feed, then you’re going to have to produce some amazing pics for Instagram. This isn’t just about what you snap – though that’s important – but also about getting them live how you want.

Like all great photography, the best place to start is with your subject. Capturing the right image in the first place makes all the other steps towards having a great photo for Instagram so much easier.
Whether you’re capturing shots directly on your phone or taking them on a DSLR and uploading them to the cloud for use later, there are a few key tips to help you take the perfect photo.
Lighting.
Light is your friend when taking great shots. A well-lit image makes editing photos for Instagram so much easier and faster.
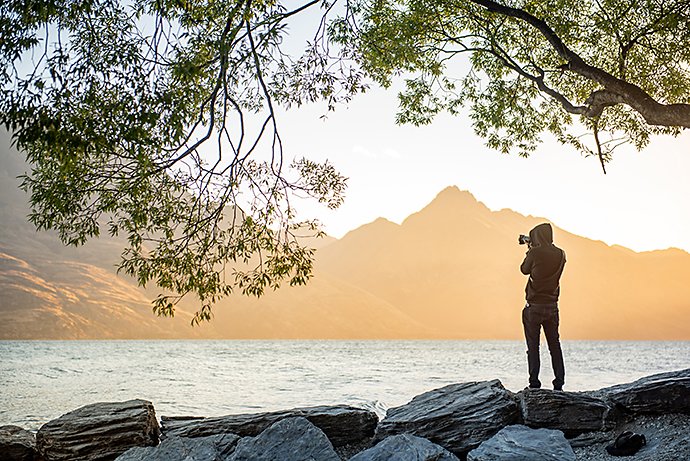
For the best natural lighting conditions, choose the golden hour – the hour after sunrise and hour before sunset. This provides a soft, golden light that can also provide interesting shadows.
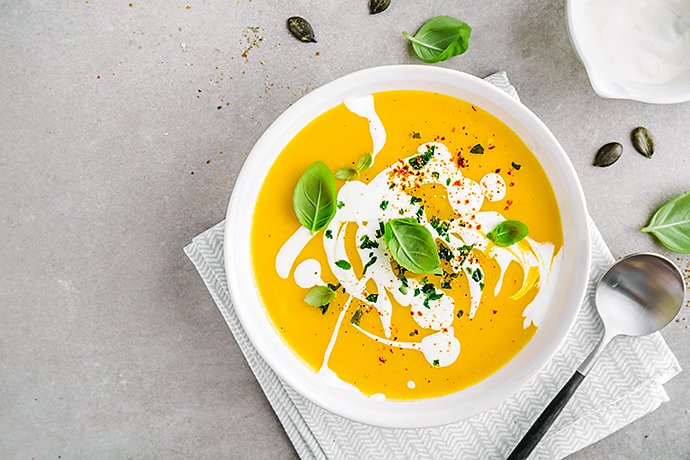
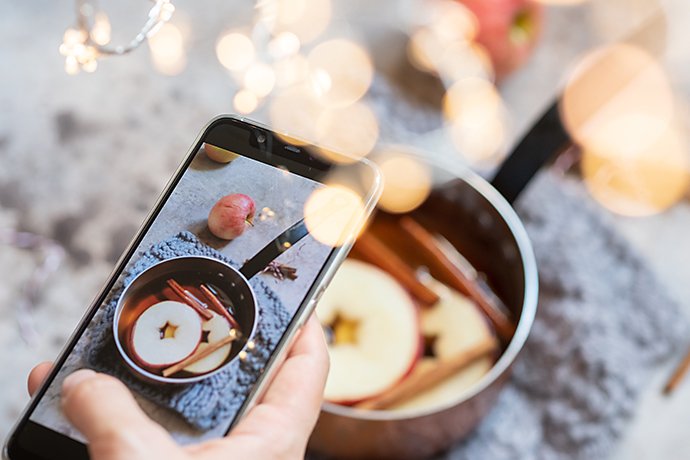
For interiors, avoid harsh overhead lights and instead opt for lamps and low lighting to soften your image. If you’re shooting pictures of food, try and avoid shadows altogether by reflecting light around the subject or using multiple lighting sources.
Angles.
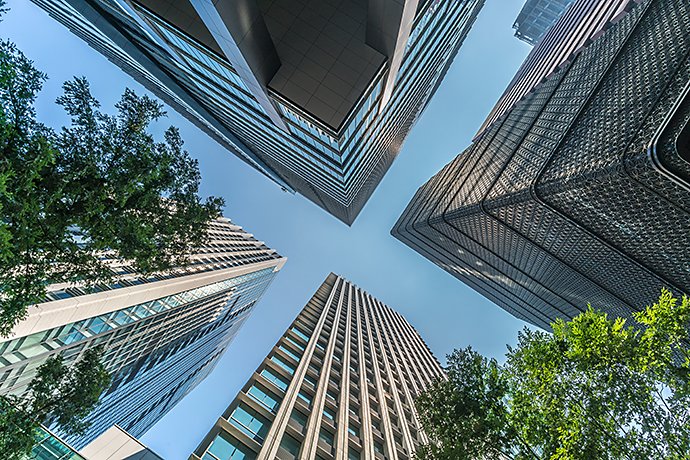
If you’ve got time to explore a subject, then choosing to shoot it from different angles is a great way to bring a fresh perspective to what could otherwise be a standard shot. Go low and shoot up to capture your subject against a clear blue sky, or opt for an overhead shot for your latest culinary creation. Play around and have some fun.
It’s not all about finding a quirky angle though. Some angles just work, like slightly above your eyeline for a selfie.
Subject.
There are a few key subjects that tend to get higher engagement levels than others. For you, it’s a balance between taking the photographs you want and uploading images to Instagram that your followers will like.
Some of the more popular subjects include fun or cute animals, tasty looking food, interesting patterns and colour combos, and, of course, people in unique poses.
Look for something unusual within these categories – whether it’s a combinations of colours you love, a friend with an interesting face that would make a great portrait, or food you’ve never tried before.
Location.
The biggest difference when choosing where to shoot your Instagram images is whether to take photos inside or outside. Inside usually provides more control over lighting and subject arrangement.
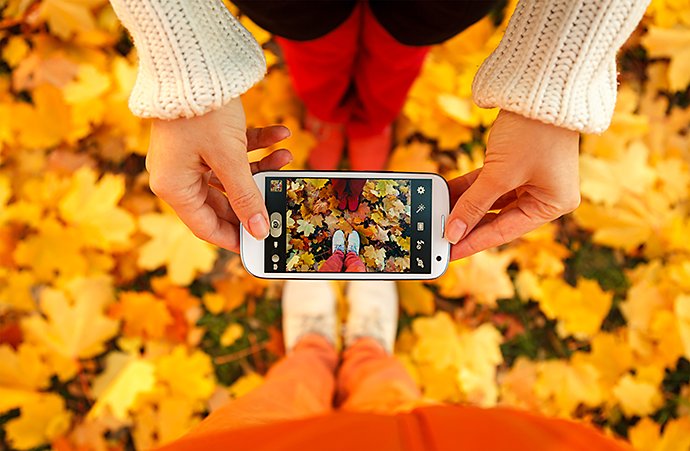
But if you venture outside, you can capture some truly amazing images, using nature as your background for great animal or people shots, or as your main focus. Autumn colours, bright blue summer seas or stark winter landscapes can all add an extra element to your Instagram feed.
The best camera settings for Instagram.
A camera is only as good as the photographer holding it. Yes, there are things that high-quality DSLRs can do that smartphones might struggle with – but with post-production tools and image enhancers, you can create almost any shot you can imagine on any camera type.
iPhone and Android.
Most new smartphones offer a range of options when taking photographs – both when shooting and when editing.
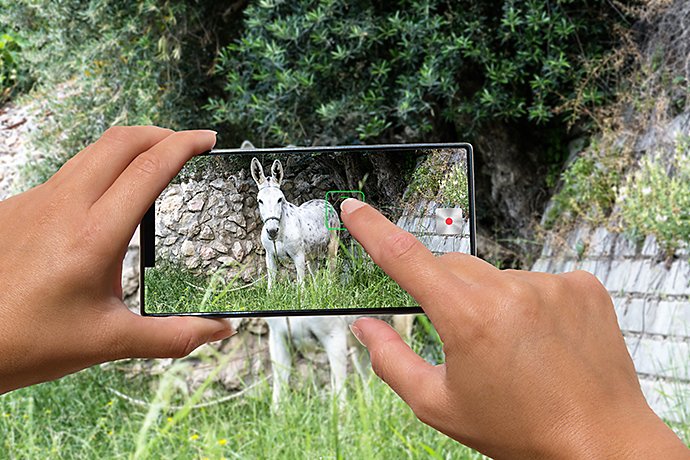
Options like image bursts allow you to choose the best image from a selection taken quickly – great for moving subjects.
Plus, there are all the standard smartphone camera features like adjusting focus, changing exposure levels and turning HDR on and off. Many phones now auto-suggest settings based on what you’re taking photos of. Elsewhere, you can add a bokeh effect if you’re taking portraits or bring up grid lines to make sure your composition is balanced.
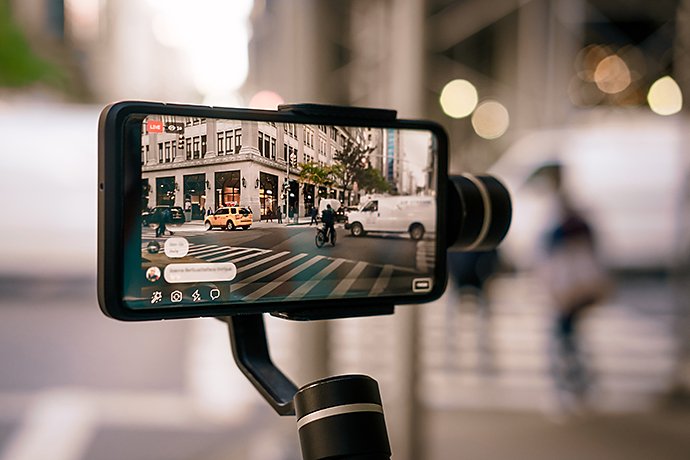
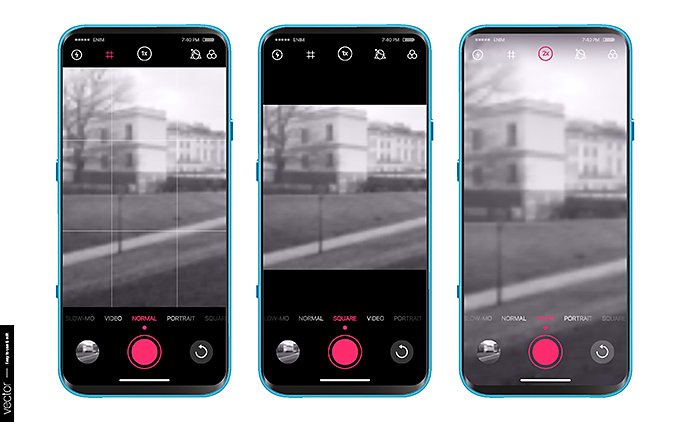
A good option to look out for is to shoot in square mode. This provides an image more in line with the dimensions people are used to on Instagram. Some more recent phones also have a special Instagram shooting mode that allows you to shoot, edit and upload in one process.
Alternatively, you can choose to shoot directly through the Instagram app itself. Again this usually allows you to shoot in the dimension most commonly used on Instagram.
DSLR
While smartphones might be the easy option for editing and uploading Instagram photos, DSLR cameras still provide a higher quality image. They also offer more options when it comes to creating a perfect shot – from additional lenses to greater control over exposure through ISO, shutter speed and aperture settings.
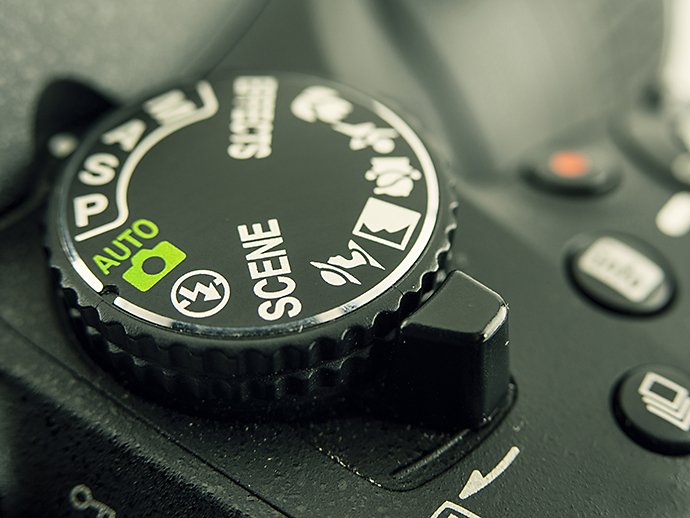
Whether you choose the automatic settings to capture images on the go or delve deep into settings menu to take more staged compositions is up to you. Both will give you amazing images for your feed.
If your DSLR camera comes with Wi-Fi or Bluetooth, you can upload your photos straight to your phone using an app. Alternatively, you can upload them to your laptop first and then in to cloud storage like Dropbox or Google Drive. From there, you can then access them on the relevant app on your phone ready to share with your Instagram followers.
Using HDR to get better results.

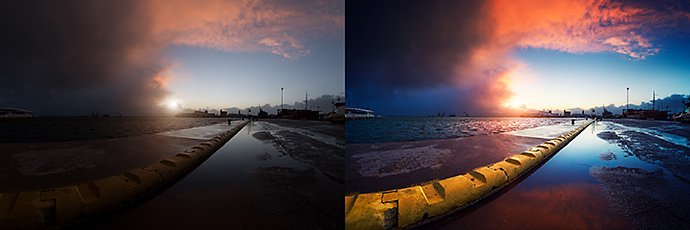
Many smartphones will allow you to shoot your images for Instagram with HDR – or high dynamic range. The dynamic range is essentially the difference in brightness between dark and light areas of a single image.
The HDR setting – sometimes also called ‘rich tone’ – is not to everyone’s taste, but used correctly can make colours and details pop. It does this by combining three exposure settings in three images – over-exposed, under-exposed and normal exposure. It then stitches these three photos together into a single image.
HDR is really useful for:
- Taking selfies against bright backgrounds.
- Nature and landscape photography where there’s a mix of shadows and bright sunlight.
- Any low light or backlit shot where the subject come out too dark.
Avoid it when:
- There’s movement, as it can create blurred images while it takes the three photos required.
- You want a high contrast as an artistic choice, as HDR will reduce this.
- There are vivid colours. While HDR can make colours more vibrant, if the subject is already bright it can have the opposite effect and wash them out.
Many phones have it turned on automatically – and you’ll sometimes see a ‘HDR’ pop up on screen when taking an image. You can also turn it on and off in the settings, while some phones allow you to shoot with it on then turn it off when editing.
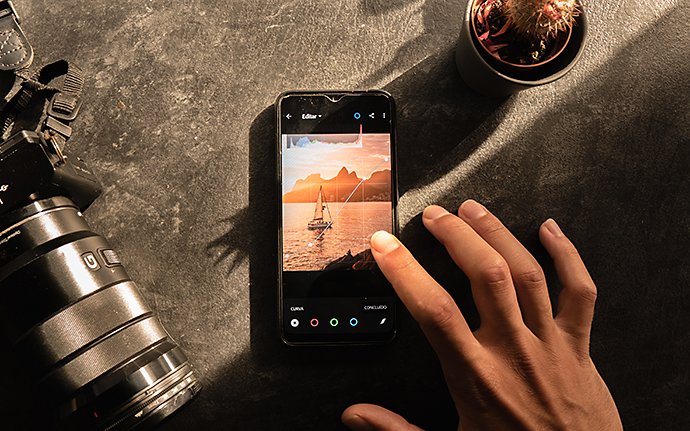
Editing Instagram photos step-by-step.
Once you’ve taken your Instagram photo, you’ll need to edit it to make sure you’re giving your feed and followers the best possible image. You can edit your Instagram photo using your phone’s own image editor, but the app also provides plenty of fun and functional editing options.
Here’s how to do it:
1. Choose your image.
First up, you need to choose the best picture. Assuming you’ve been snapping away, it’s time to narrow it down to the most impactful shot. Choose from your photo gallery or, by clicking on the top left, choose from other locations on your phone. In the bottom right of the image, you can choose to combine multiple photos into one post or choose more than one photo to upload.

2. Pick a filter.
Instagram was one of the first apps to go big with their filters. Today, they have 25 different choices:
- Normal / no filter – just the image you shot.
- Clarendon – adding brightness, highlights and darker shadows to make colours really pop.
- Gingham – gives images a vintage, washed out feel, toning down colours.
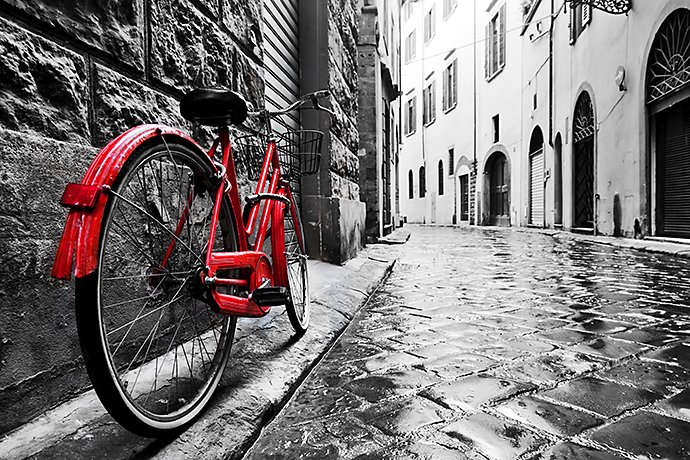
- Moon – one of the black and white filters, providing high contrast between dark and light.
- Lark – brightens all colours apart from red, making it useful for outdoor shots.
- Reyes – brightens while giving desaturated colours, giving a retro feel.
- Juno – makes reds and yellows pop, adding richness to shots.
- Slumber – adds a slight sepia tone while toning down colours for a real retro look.
- Crema – adds warmth to shots and, as the name suggests, is great for shooting inside cafes.
- Ludwig – makes warm tones like reds more intense, while picking out shadows.
- Aden – another filter that lowers the colour saturation while adding some warmth to cooler blues.
- Perpetua – brings blues and greens out, so is great for nature shots.
- Amaro – adds a vintage look with a brighter centre and desaturated colours.
- Mayfair – great for making skin tones look tanned, adding warmth and a slight vignette to the outside edge.
- Rise – adds warmth while giving images a slightly brownish tinge.
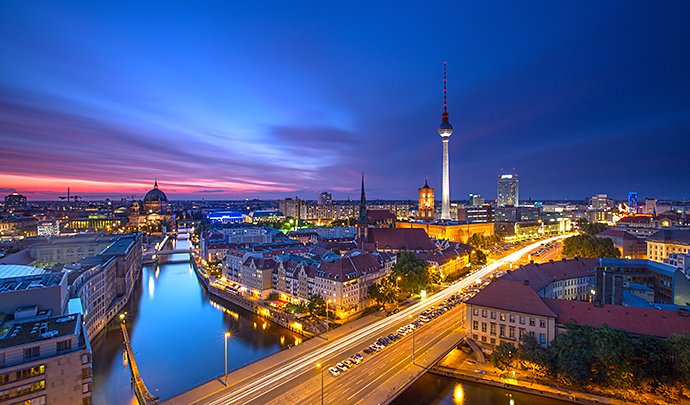
- Hudson – brings out cold blues, so not ideal for faces. Use it with shots of modern skylines.
- Valencia – gives your photos a yellow hue, making them feel bright and breezy.
- X-Pro II – high contrast, strong vignette and warm colours make this an intense filter.
- Sierra – lowers the contrast while adding some warmth. Good for nature shots.
- Willow – black and white with low contrast for a softer image than Moon or Inkwell.
- Lo-Fi – as the name suggests, a retro filter boosting up the saturation, contrast and warm colours.
- Inkwell – a fairly high-contrast black and white filter that works as well outside as inside.
- Hefe – bright, warm colours with a high saturation level. Great for your autumn foliage shots.
- Nashville – provides a creamy, vintage effect with low contrasts.
Using Instagram filters.
How you use your filters can be based on a variety of factors. Some people use the same filter each time to give their feed a unified theme. Others tailor each photo using the right filter for the right job.
Many Instagrammers have a handful of select filters they go to time and again, choosing a specific filter for people, another for food and a third for exterior shots.
If you’ve got a few favourites, you can shuffle them along to the front of the queue by clicking on the ‘Manage’ button towards the end of the filters. You can even hide ones you don’t use.
3. Adjust the Lux setting.
While you’re selecting your filter you can also change the Lux level. This is located at the top of the image – look for the little sun. It’s a sliding scale from 0 to 100. Basically, it’s Instagram’s version of HDR. When ramped up to 100, it’ll make the shadows lighter, add darkness and depth to highlights and increases contrast.
4. Edit your image.
Once you’ve sorted your filter, and adjusted your Lux levels, you can edit the image by clicking on the Edit tab to the bottom right.
The first option you’re presented with is Adjust. This allows you to crop, straighten and rotate your picture so you’ve got the perfect composition. You can even tip it on the vertical and horizontal axis here.
5. Further enhance your image.
After this you’ve got a number of options:
- Brightness – brightens or darkens your image.
- Contrast – increases contrast between colours.
- Structure – adds focus and structure to blurry shots.
- Warmth – brings out (or reduces) the warm colours like reds and yellows.
- Saturation – makes the colours more or less vibrant.
- Colour – adds a gentle colour filter in either the shadows or the highlights.
- Fade – desaturates colours, making it more washed out.
- Highlights – makes the brighter areas even more or less bright.
- Shadows – increases darkness of shadows or makes them lighter.
- Vignette – adds a darker area to the outside of the image.
- Tilt Shift – blurs either the top and bottom or the area outside a central circle.
- Sharpen – makes the image sharper.
6. Post now or save for later.
Once you’ve got your image ready and fine-tuned you can choose to post it right away and watch those likes roll in, or you can save it for later.
If you’ve got a number of images from a day out, you might want to bunch them into one post or stagger them across a few days. By editing your Instagram pictures in one go, you get make sure they all have the same aesthetic, then save them for later.
To do this, you need to turn on ‘Save Original Photos’ in the settings. Next, put your phone into Airplane Mode. This stops Instagram from accessing the internet and publishing your images right away. Then simply edit your images, and click share. It’ll say that posting it has failed – but the edited image will be saved in your phone’s gallery for use later.
Tags and hashtags.
If you want your image to be seen by likeminded people, it’s a good idea to start tagging. You can:
- Tag a person directly in the image. This could be someone who appears in the image or a friend or follower you think would love this picture. Simply click on Tag People and find your friends.
- Add a hashtag. For public accounts these allow people with similar interests to find your photos easier. Simply type # and start writing – suggestions with the number of similar tags will pop up. Choose a handful to cover various topics.
- Add location. Make sure everyone knows where your favourite meal was served or where you got that amazing tan by adding a location tag to your image.

Image sizes and resolution for Instagram.
Depending on where on Instagram your image is going, there are a variety of pre-set image dimensions that are
worth knowing – especially if you’re editing your Instagram photos on editing software:
- Profile picture: 110 x 110 pixels.
- Feed image sizes:
o Square: 1:1 ratio – 1080 x 1080 pixels.
o Landscape: No wider than 1080 pixels with aspect ratio of 1.91:1.
o Portrait: 1080 x 1350 pixels (ratio of 8:10), giving you the most image real estate of the three options. Bear in mind on your profile page it will be seen as a square.
- Instagram Stories: If you’re using images and not videos for your stories, go for 1080 x 1920 pixels. The maximum image size is 4GB.
Enhancing photos in Adobe Photoshop and Lightroom.
An alternative to editing via the Instagram app is to give your photos the sheen and finish they deserve by editing them in Adobe Photoshop or Lightroom.
As well as all the usual features, you can choose some that are only available through Photoshop and Lightroom. These include their own set of filters, which can be found in the Presets section of Lightroom and the Filter section of Photoshop.

With both you can also add layers, which could range from vignettes to colour effects, or shift focus to create more depth. You can also select specific areas of an image to edit, and create profiles and pre-sets to give all your Instagram images that unified look.
Photoshop also includes new features that allow you to quickly enhance portrait shots, include Adobe specific fonts, rotate and overlay patterns, and more.
On top of all this, you can easily choose the right image size and resolution for Instagram using these tools.
You might also be interested in…

Cara untuk menggunakan dan tidak menggunakan Aturan Sepertiga.
Tingkatkan keterampilan komposisi foto Anda untuk mengabadikan foto yang lebih memukau.

Understanding shallow depth of field.
Explore how shallow depth of field can add dimension to your photographs.
Discover how adjusting shutter speed can help you capture clean shots or motion-filled moments.
Kiat untuk mengabadikan semua jenis foto alam.
Jelajahi segala kemungkinan fotografi alam, dari hewan yang berlarian hingga bentang alam luas.