Build a background in Firefly, then composite in Photoshop
Sketch and label a scene, then bring the composite-ready background into Photoshop using Generation History.
Published
Introduction and meet Jesús Ramirez
[Jesús Ramirez]: When a text prompt isn't enough, draw the composition you want, label each piece, and let Firefly build the background you actually had in mind.
My name is Jesús Ramirez and I create TV and movie posters professionally.
In this video, I'll show you how to use the Firefly website to build custom backgrounds and composite them into your scene.
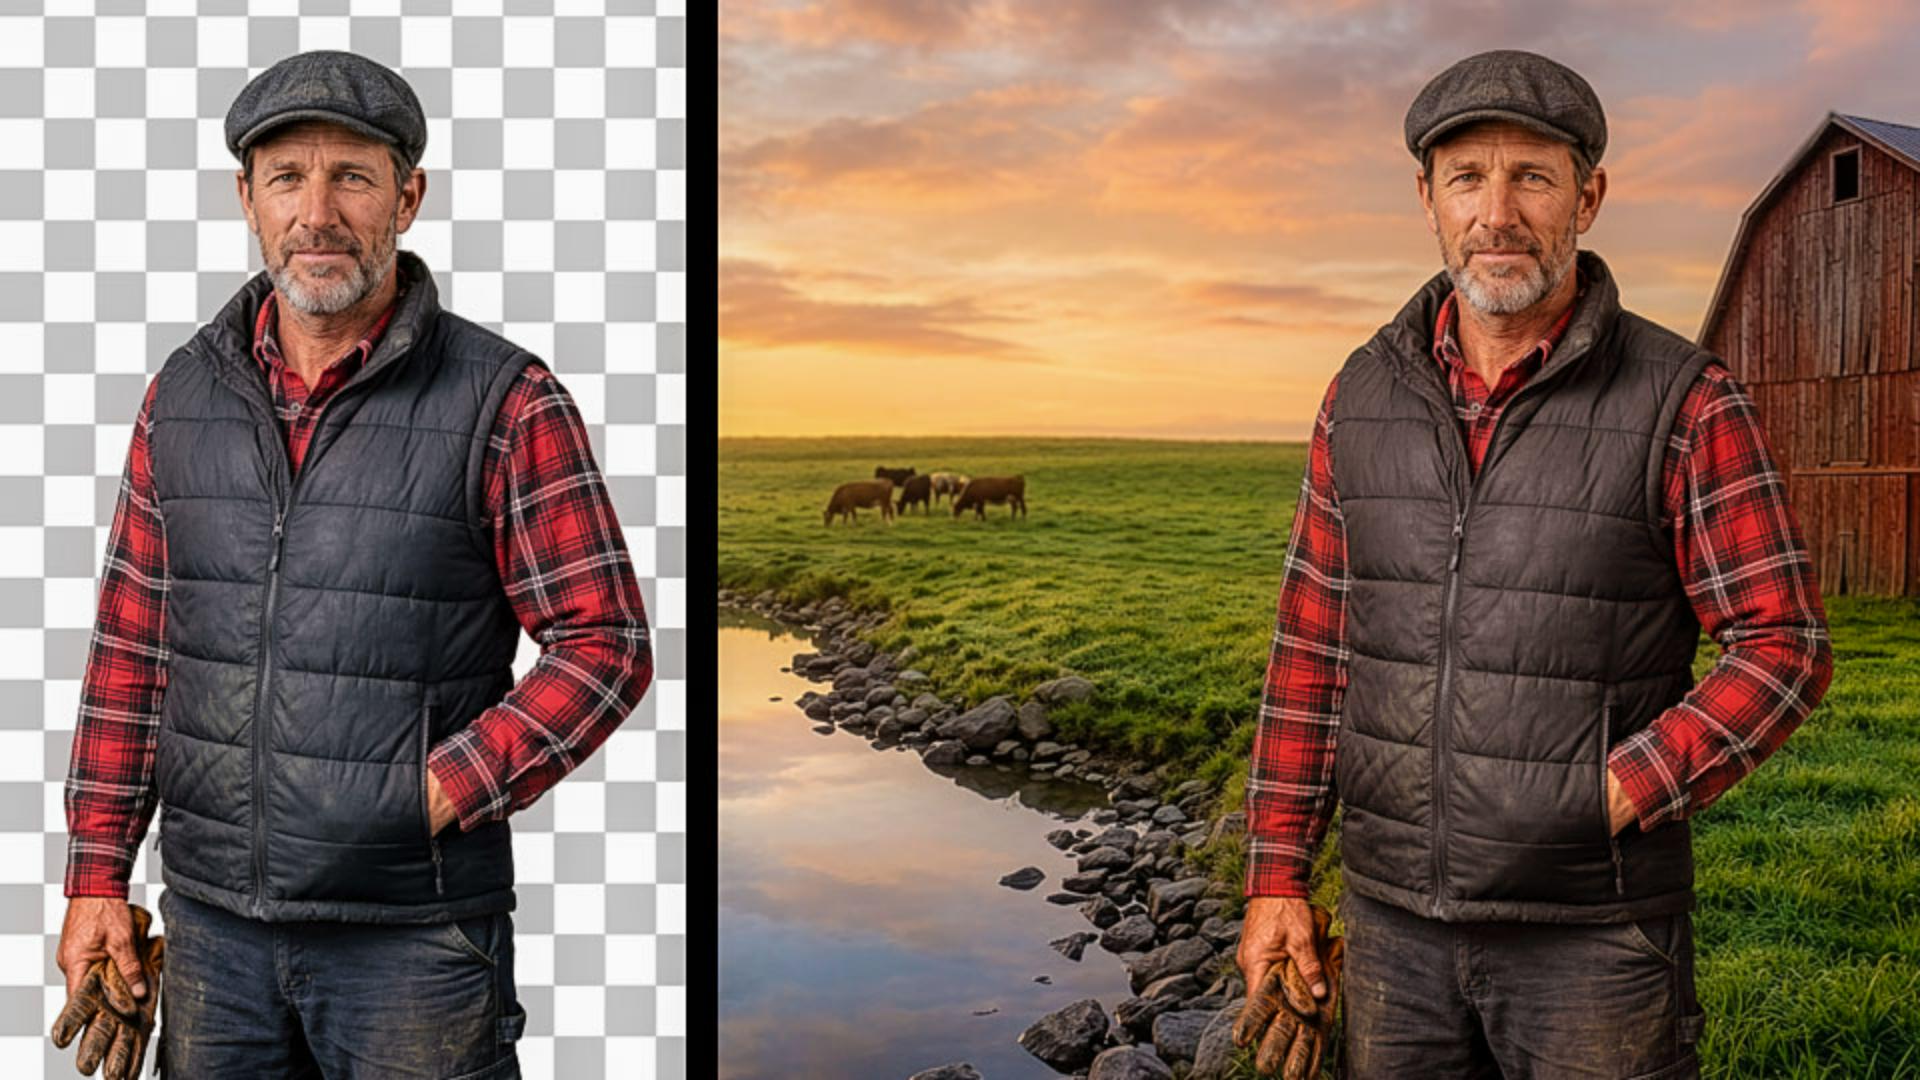
This is the document we'll build the composite in.
We have our client-provided assets and our goal is to create a background for him.
Before we start, let's click the Remove Background button to clear the background from our main subject.
Now let's generate the background.
In the past, I used Adobe Stock for most of my compositing assets, but now I use Adobe Firefly.
I get exactly what I need and can iterate multiple options to get the best result.
To start, go to the Firefly website at firefly.adobe.com.
Then, from the sidebar, go into Image and choose Edit image.
This opens the editing workspace where you can edit images or create a new canvas.
We'll create a new canvas and choose the 16 by 9 aspect ratio.
Then click Apply.
Sketch and label a composition to generate a background
Now we have a blank canvas where we can annotate and paint on.
Start by enabling the Brush tool.
Then click on the color swatch and choose green.
We'll set the horizon line by holding shift and dragging across the canvas from left to right.
Then change the color to yellow and paint a small circle on the far left of the canvas.
This will be the sun.
Now switch the color to blue and paint the shape on the left for a pond.
Then change the color to red and loosely paint a barn-like structure on the right side.
And finally, choose brown and add a few small dots in the background for cattle.
Color blocks alone won't tell Firefly exactly what each shape represents, so I recommend adding text labels.
To do so, click on the text button, then click on the sun, and type "morning sun with sunflare."
You can press Enter on Windows or Return on the Mac to apply the label or click on the checkmark.
Now continue labeling each element we painted over.
Keep the labels simple, but add any specifics you would like to see in the generation.
You can also add labels to things you didn't paint in.
Then for example, I'll add a label for a dramatic morning sky.
Now you can add a prompt to generate the image.
To save time, I'll paste the prompt and generate.
The prompt reinforces every element in the scene and asks Firefly to omit the annotations from the final image.
Firefly may occasionally bake the labels into the result.
And here's our generation.
The painted shapes gave Firefly the composition and the labels told it what each shape should become.
Firefly did take some liberties and it added a flock of birds we didn't ask for, but that's fine.
We're taking our result into Photoshop to complete our composite and we can fix any imperfection there.
But before we do so, we need to increase its resolution.
To do so, click on the Upscale button on the left side of the workspace.
Choose the Firefly Upscaler model at 2x, then click Upscale.
Now that we have a high resolution version of this image, we can continue working on it in Photoshop.
Composite and refine the background in Photoshop
To do so, bring up Photoshop once again.
From the home screen, click on Generation history, then double click on the image we just generated.
And the generation opens as a new Photoshop document.
Press the V key on the keyboard to enable the Move tool, then drag the new background into your working document.
In the Layers panel, drag the background layer down just below the foreground.
Then, use the transformation handles to scale it to fit the canvas.
To work non-destructively, right click on the background layer and choose Convert to Smart Object.
A Smart Object is a container that can hold one or more layers and it lets you apply editable adjustments.
You'll see how this feature will come in handy a little later.
With the background in place, the next step is to clean up imperfections.
Double click on the Smart Object thumbnail to open it in a new tab.
Then create a new blank layer so any edits stay non-destructive.
Choose the Remove tool from the toolbar and paint over the flock of birds in the sky.
You can either remove one at a time or you can paint across the group with a single stroke.
Notice that there's also a dark patch on the sun that doesn't look natural.
To fix it enable the Brush tool from the toolbar.
Set the foreground color to white and paint over the dark area on the sun.
Now press Ctrl+S on Windows, that's Cmd+S on the Mac to save the Smart Object.
Switch back to your working document and you'll see the changes applied to the background.
Next, let's add a bit of depth to the scene.
Go into the Filter menu and choose Camera Raw Filter.
Then, under Lens Blur, click the Apply checkbox.
This will apply a realistic blur, helping create a more realistic background.
Drag the Focus Range slider to the left to bring the focus to the front and blur the back.
Now, increase the Focus Range to soften the falloff between the focus area and the blurred background.
Then, set the blur to about 20.
And you can click on OK to apply the blur.
Next, we'll apply an adjustment layer to the man to match the background's morning warmth.
From the Layers panel, select the man layer.
Then create a Color Balance adjustment layer.
Click the Clipping Mask icon at the bottom of the Properties panel to apply the adjustment only to the layer below.
In the Properties panel, enable Midtones, then add yellow and red to match the warm tone of the morning scene.
Generate an alternate version and create Layer Comps
Clients almost always want options.
Let's generate a second background for our client.
Back at the Firefly website, you should still see our generation in the Edit workspace.
From here, click on Tune from the sidebar.
Then type "winter snow" in the prompt box and click Generate.
In just a few moments, Firefly will generate a progressive adjustment.
The slider at the bottom will control the intensity.
The snow increases and decreases in the scene.
I like level 1 and level 2.
I'll go with level 2, so I'll click on Apply.
Now upscale the generation just like you did before.
When it's done, go back into Photoshop and from Generation history, click on the image we just generated.
Then you can enable the Move Tool from the toolbar and drag the winter image into the existing Smart Object, not into the working document.
You will need to scale the winter image slightly to cover the entire canvas.
Now repeat the cleanup process on this snow image.
Create a new layer.
Then, using the Remove Tool, remove the birds, and remove the darkness in the sun.
The next step is to make the backgrounds easy to switch between for client review.
To do so, place the corresponding layers into groups.
Call the group in the bottom, Summer, and the one on top, Winter.
Now we need to get the document ready for client review.
Go into the Window Menu and choose Layer Comps.
A Layer Comp saves the visibility, position, and appearance of every layer as a name snapshot.
To do so, disable the Summer group so only the Winter version is visible.
Click on the New Layer Comp button, then name the Comp "Winter."
Now do the opposite, disable the Winter group and enable the Summer group.
Create a new Layer Comp and name it "Summer."
Then, save the Smart Object and switch back to the working document.
Select the background Smart Object layer from the Layers panel.
And from the Properties panel, you'll see a Layer Comp dropdown.
From here, you can toggle between Summer and Winter without ever leaving the document.
We now have two background options for the same poster ready to present to the client and switch between with a single dropdown.
Now that you know how to build multiple custom backgrounds using Adobe Firefly and Photoshop, try it with your next composite.
Again, my name is Jesús Ramirez.
Thank you for watching.
What you’ll learn
Sketch and label a composition to generate a background
In Firefly’s Edit image workspace, paint simple color shapes and add text labels to describe each one. Then generate a background that follows your composition.
Composite and refine the background in Photoshop
Bring the background into your document as a Smart Object, then clean up artifacts with the Remove tool. Add blur and color adjustments to match the scene.
Generate an alternate version and create Layer Comps
Prompt a new seasonal version of the same background. Save each option as a Layer Comp so you can switch between them from a single dropdown.
Instruction by

