


Relight images in Photoshop for realistic composites
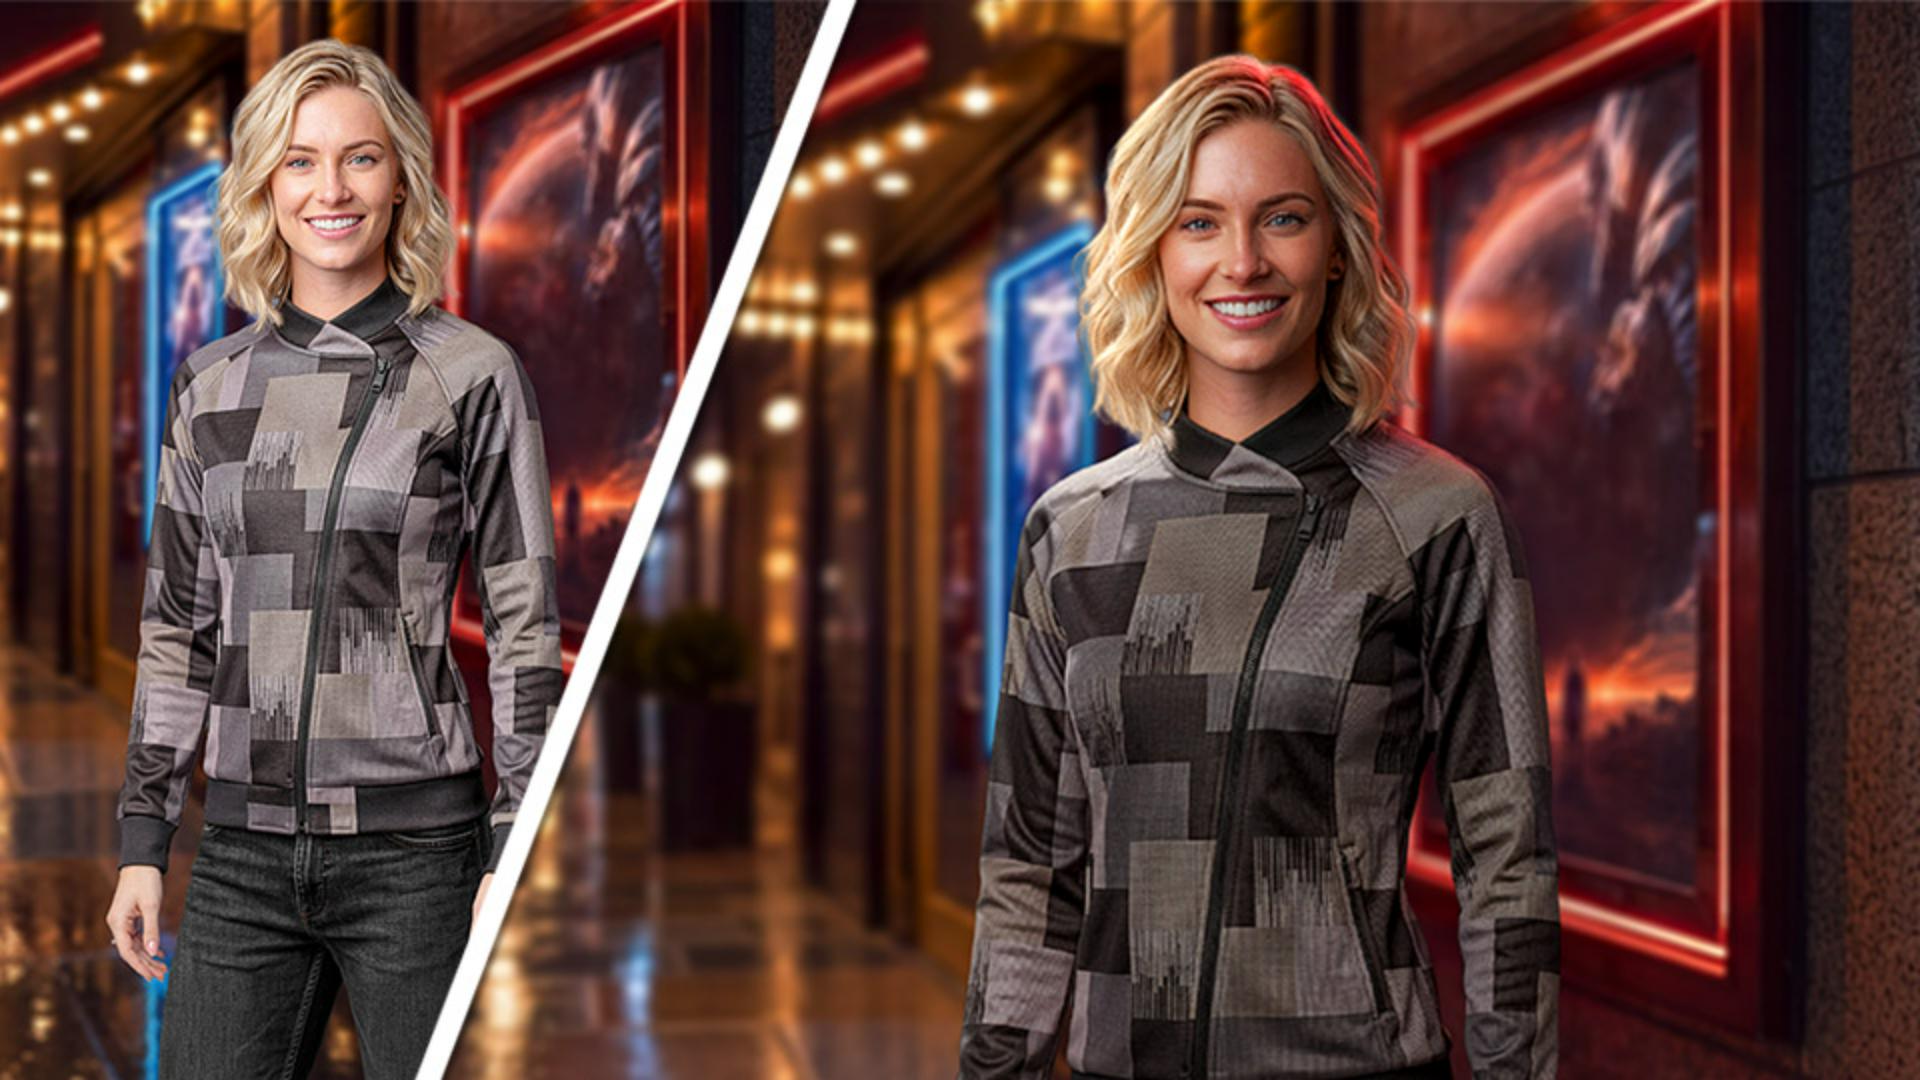
Note: Sample files provided are for practice purposes only. See terms.
What you’ll learn
Combine layers into a Smart Object
A Relight layer works on one layer at a time, so a composite element made up of more than one layer, such as the model and the adjustment layers, must be combined. Select those layers and convert them to a Smart Object, so the Relight layer can reference all of them. The Smart Object keeps its contents editable, so you can work nondestructively.
Create a Relight layer and set the light’s intensity and position
From the Layer menu or the Layers panel menu, choose New Relight Layer, and a single white light is added to the image. Drag Original Lighting to 0% so only your new light affects the photo, then set Intensity to about 20% to see the light clearly. Drag the light on the canvas or use the Left/Right position slider to change how the light affects the subject.
Set the light’s distance, softness, and color to match your scene
Matching the light to the background scene is what makes a subject look like it belongs there. Use Close/Far to move the light in front of or behind your subject and set Diffusion higher for softer shadows or lower for sharper ones. Choose a color temperature preset or a custom color, such as red to match a neon sign.
Add a second light to separate the subject from the background
In a Relight layer you can add up to three lights, each with its own settings. Add a second light high and to the left, push it to the back with Close/Far, set Intensity near 60%, and drag Diffusion to the left for a sharp rim light. Then raise Original Lighting to about 80% to match the background’s brightness.
Restore sharpness and fine detail in the finished image
After applying a Relight layer, the image may look smoother than the original. Duplicate the original Smart Object layer, move it to the top of the stack, and choose Filter > Other > High Pass and use a setting of about 0.5 pixels. Set the blending mode for that layer to Overlay to bring back some sharpness and detail from the original image.
Instruction and AI-generated composite image by


