Animate graphics with data
Create data-driven animations of charts or graphs in Adobe After Effects without coding any graphics yourself. Import JSON data files to create a motion graphic, and then edit the data to update the graphic automatically.
Published
Introduction
As a visual effects artist, you may have encountered some of the challenges that come along with animating a graphic with data.
I want to show you how you can import a data file directly into Adobe After Effects CC, and use their data set to control what happens in your animation.
Importing and understanding JSON data
The data file that After Effects CC imports, is the JSON data interchange format.
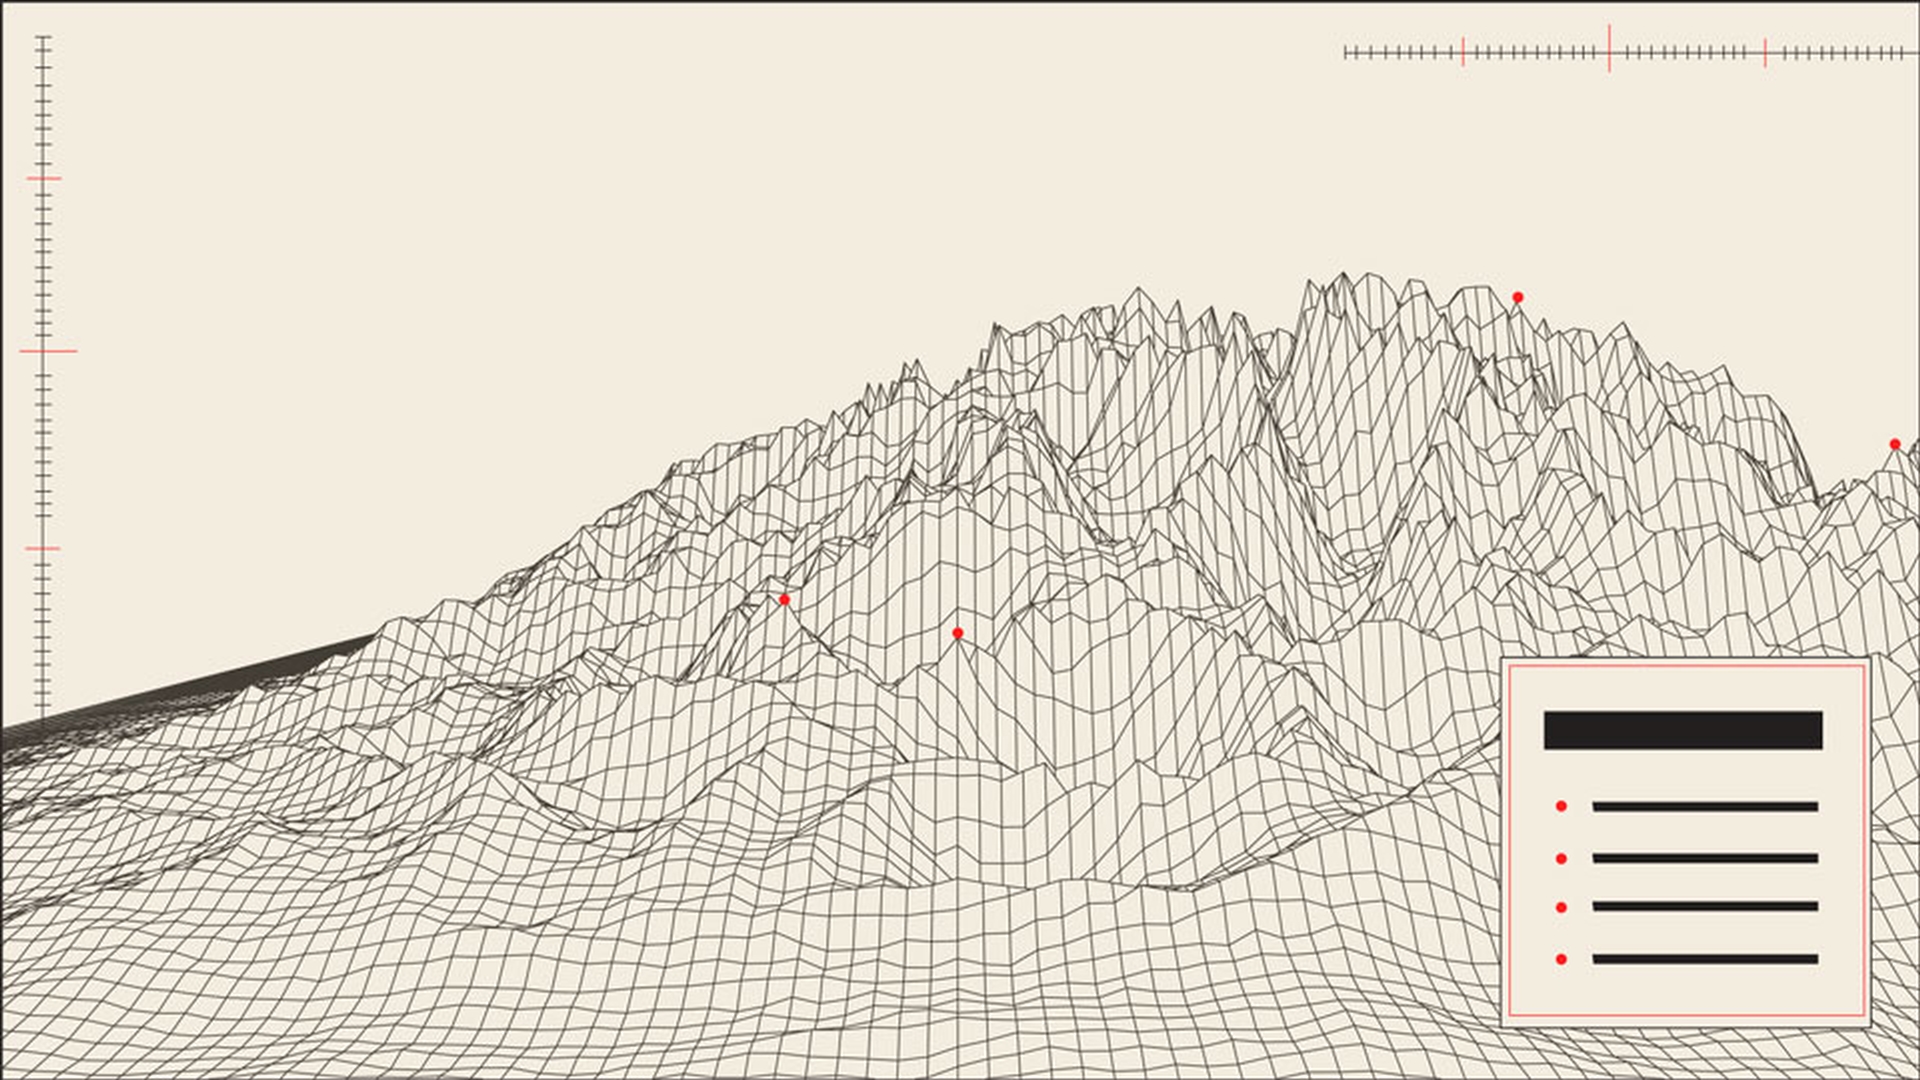
JSON makes it easy to bring in a complex set of data into After Effects CC, and connect it to your project, like we've got here, with this Median Home Prices example.
Now, if you want to follow along with this tutorial, you can download the assets that accompany this tutorial.
Now, we'll work with a small part of that initial animation, just to explore how JSON is connected to your project.
And use that to drive our animation.
First up, we'll need to import our JSON file, like we do with any other footage.
Now, if you're not starting with a JSON file, you can easily convert many data files, say an SVG, into JSON using an online conversion tool.
Let's take a quick look at this file before we start working with it.
What I really like about JSON files, is the fact that they're really human friendly.
They're easy to look at and easy to understand.
Now, JSON files have two main ingredients: Keys and values.
This is the key here which is "Name", and this is its value "California".
Same here, the year "1996", this is the key, and its value here is the median house price.
We'll use "California" in this example.
It's got loads of movement during this period.
So, here's my California layer, and you can see, I've turned it into a 3D layer.
And I want to move "California"
Setting up 3D layers and building expressions
up and down here using this Z position, up to maybe about -50.0.
This will be the mx extrusion depth we'll use.
Now, I'm using the Cinema 4D Renderer here, just to give this state some 3D sides.
I'll switch it back to 0.0.
OK, so we'll start our expression by holding Option and clicking the Stopwatch on my Mac.
If you're on a PC, you hold down the Alt and click.
Let's drag this out, so it's a little easier to see.
Now, our goal here is to set the values for X, Y and Z.
So, for this first value X, we'll leave it at 0.
And the next value Y, we'll also leave it as default which is 1.
And for my last value here, I'll replace it with the variable Z, so that's what we're trying to find.
So, X won't change, Y won't change, but Z here is what we're gonna calculate using our JSON file.
Connecting JSON values to animation variables
So, first up, where I want to bring in my JSON file.
So, at the top here, let's put in a few Returns.
I'll bring it in, I'll use my pick whip, and I'll set this as my sourceData; I'll load all of its data here into my variable prices.
So, that's how we connect to our JSON file.
So, in my simplified example here, I'm going to run my animation from 1996, directly to the 2016 price.
So, I want to look inside my prices variable, add the fifth value which is "California", and I want this 1996 price here.
And I'll load it all into my variable price1.
We'll do the same for 2016.
So, I've pulled the prices for 1996 and 2016, and now I want to animate between the two.
So, remember, we thought our extrusion depth should be no more than -50.
And I want to know what the minimum and maximum house prices were for that entire file.
So that, when we move on to the rest of the states, we'll get something constant to compare themselves against.
So, the lowest here was 42683; and the highest was 522180.
So, now I'm ready to work on my starting height for California.
Mapping data ranges to animated extrusion depth
So my starting value is my price1 minus the minimum all divided by the maximum, that'll give me my percentage.
Now, five times all of that by my extrusion depth, we should get the starting for my Z height; So, now let's work out the end value.
So, my end value is my price2 divided by the maximum.
All times by my extrusion depth; Great.
So, we know my start and ending height now, let's animate between them using an "ease".
We'll use the expression drop down here, Interpolation, we'll use ease(t, tMin, tMax, value1, value2) and T is for Time.
We'll start it at one second and finish here at four seconds.
And we're going to go between our start and end values; Just put our "ease" inside our variable Z, and Z is already here ready to receive our animation.
And we're ready now to preview it.
California is moving up from 1996 through to 2016.
All driven from our external JSON file.
Now, I've worked here with just two dates from California only, to hopefully give you an understanding and a peek at the amazing potential of connecting JSON files to After Effects CC.
I'll show you this more complete example here.
Expanding to full datasets and creating reusable data‑driven visuals
And you can see now, we're using all of the years with all of the states.
You can see the colors update depending on the data in the JSON file.
We've also created this handy Control panel.
So, we can make easy sweeping changes to say our hot and cold colors, our extrusion depth and how long this animation runs for.
Let's look at this other example here for weather.
This animation is driven again from our JSON file, which is great because it means it can be easily updated to say another city here, simply by replacing out JSON file.
I'll pick "Shanghai".
So, we have this same visual style, but the temperatures are now unique to this other city.
Amazingly quick.
And also, if you make a change to the data file, After Effects CC will update automatically whenever you save the project.
So, I hope you can see now the power of importing a JSON file to develop a motion graphic.
We've just looked at two examples here, but I'm sure you can use your imagination and see how great this would be for say automating charts, graphs, infographics, creating show promos, communicating schedule changes, presenting motion captured data or to potentially create the same graphic but to deliver that graphic in multiple languages, all using data-driven animations in Adobe After Effects CC.
Contributor