Add life to Adobe Stock graphics in Animate
Browse vector graphics from Adobe Stock directly within Animate. Add motion to them and export your animations to multiple formats.
Published
Introduction
Using Adobe Animate CC, formerly known as Flash Professional, we can easily access and license millions of stock photos, graphics, and artwork for animation across multiple formats.
Let's go ahead and create a new HTML5 Canvas document
Creating an HTML5 Canvas document and accessing Adobe Stock
and go over to the CC Libraries panel where we can access Adobe Stock.
I'll now search for an asset to animate through Adobe Stock.
Searching, licensing, and using stock images
We can perform a search directly within Animate CC through the CC Libraries panel and download the assets directly to the library of our choice.
So for instance, I'm typing in here, "underwater ocean sea deep Arctic water," and I get a number of different stock images that you can see here are all watermarked.
This particular one I already have licensed, so we get this little check mark here.
However, if I wanted to license any of these, I can either just download the preview and use that in my document.
And if I like it, I can then license it directly within the CC Libraries panel here by clicking on this icon.
I'm going to go ahead and clear out my search results since I already have this right here, and all I need to do is right-click and choose use in document.
All right.
So there is my bitmap image, and right now you can see it's much larger than my stage.
So I'm going to resize it.
My stage is 550 x 400.
All I need to do is type that in there for my bitmap image to be the same size as my stage.
Let's go ahead and rename this layer to Ocean and lock it down.
And we'll create a new layer directly above it.
Going back into Adobe Stock, we can do another search.
I'll paste in some more keywords here—
Importing vector artwork for animation
things like dolphin, porpoise, blue cartoon— and we can see a number of additional things come up.
Now these are mostly pieces of vector artwork.
We're looking for vector artwork since this will allow us to easily manipulate and animate distinct portions of the asset.
Besides that, vector art can scale infinitely with no pixelization.
So again, we can save a bitmap preview if we want to, or we can license it directly from here.
And once again, I already have one that I have licensed that we can use, and it's inside this library right here.
All I need to do is right-click and choose use in document.
Since this is a piece of vector art, I have to make some choices on how the vector art will come into Animate CC.
So I want to maintain the editable paths, and I also want it to come in as a single Animate layer.
So just hit okay.
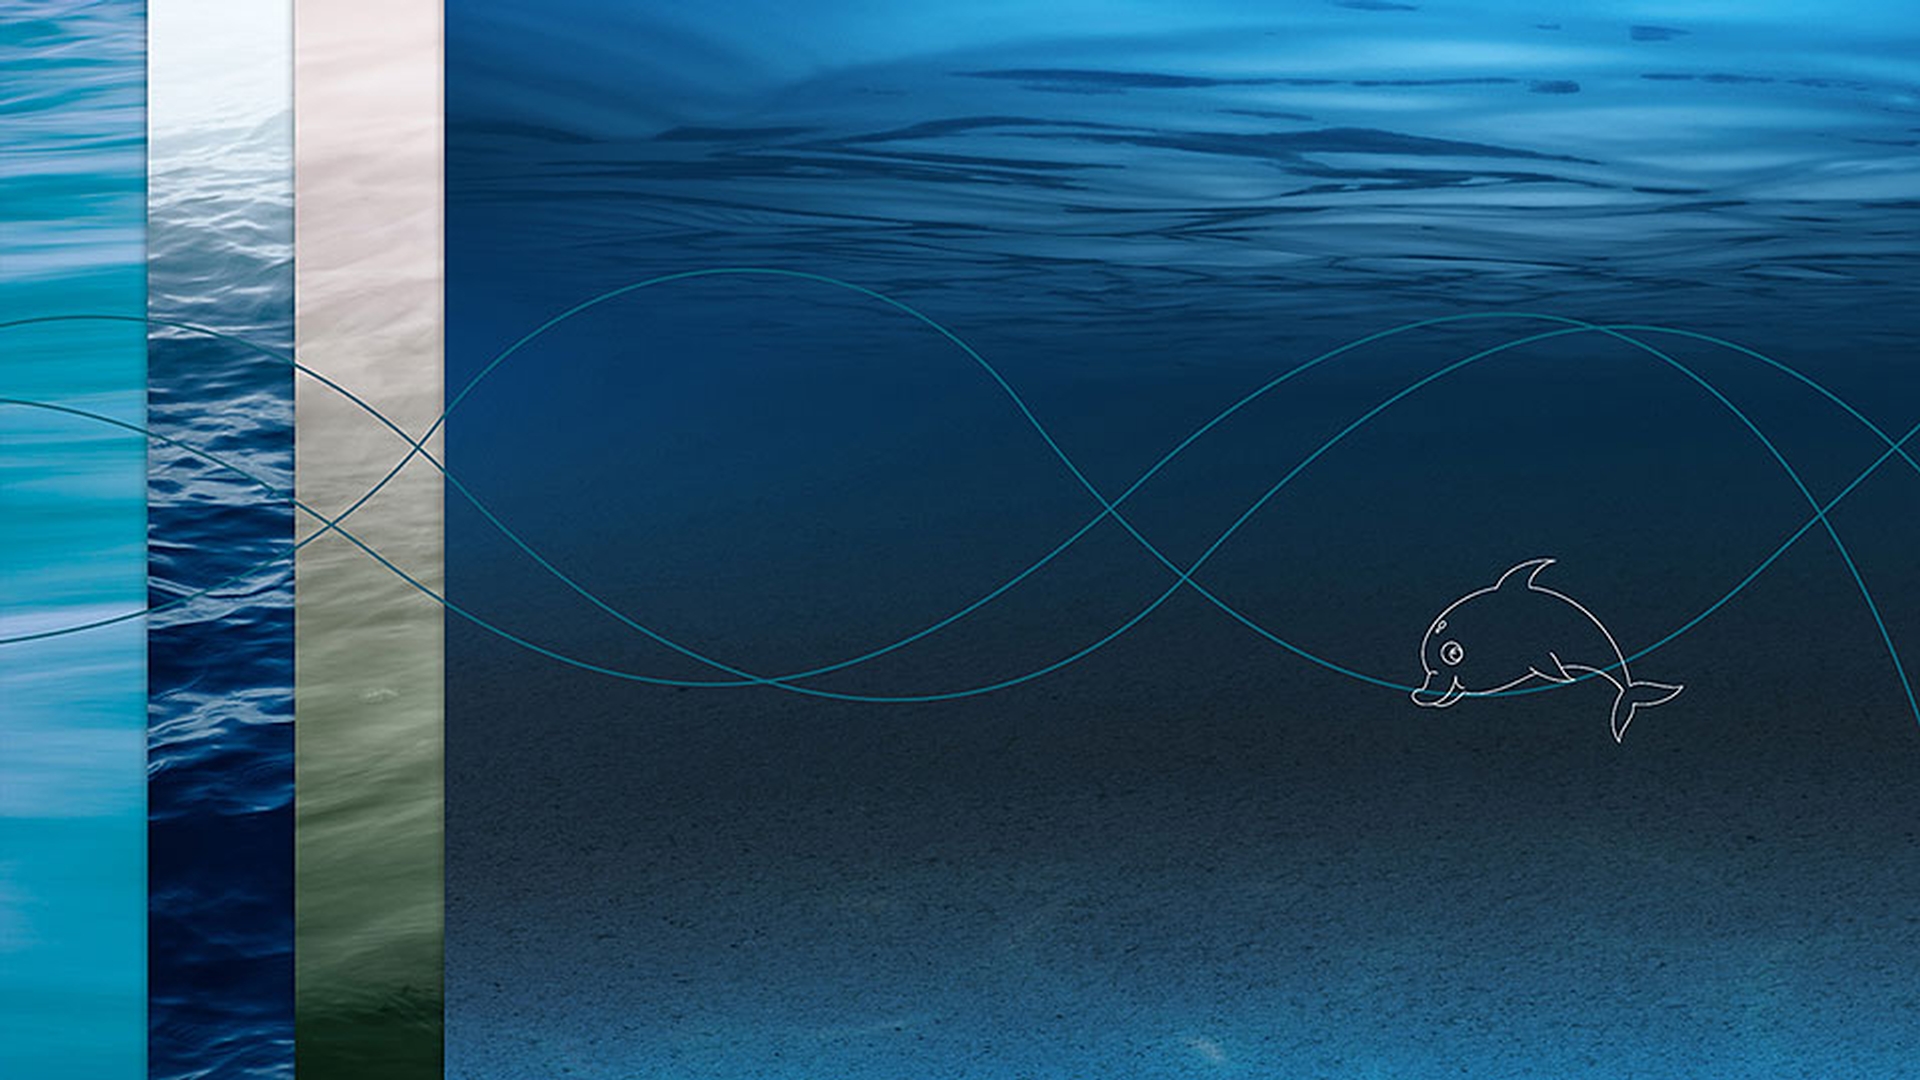
And there is my dolphin.
Note that unlicensed vector assets will be rendered with a white background instead of transparency.
However, once you license the image, it will be a full vector with a transparent background.
Let's rename this layer to dolphin.
And then I'm going to resize this using the free transform tool.
So once I select that I get these little handles here, and I can bring that down to a size like that.
When transforming the vector like this, use the shift key to constrain the proportions of the dolphin so he doesn't get squeezed or stretched.
Maybe make it a little bit smaller.
And then choosing my selection tool once again making sure that that is selected,
Converting artwork to symbols and setting up motion tweens
I can choose modify, convert to symbol.
Creating a movie clip symbol allows us to easily animate complex vector art like this.
I'll simply name it dolphin and hit okay.
Now I'll go ahead and extend my frames out to frame 80.
So I'm just clicking and dragging across both layers on frame 80 to select them both.
I'll choose insert, timeline, frame.
And that extends my framespan all the way out to frame 80.
We're not going to animate the ocean layer, so we can keep that locked.
However, on the dolphin layer, if we right-click on there, we can choose to create a motion tween.
Back on frame one, I want to start my dolphin off to the side, like this, and then going to about frame 40, let's move him into position over here.
And notice we get this nice motion guide.
I can actually hover over the motion guide, and notice that my cursor turns into a shape modifier cursor.
So we have that little arc near the cursor.
That means that I can click and drag in order to manipulate the motion path.
And we can do that along the sides here as much as we want.
Let's go ahead down to frame 80 now and have the dolphin go offscreen.
Once again, I can choose to click and drag in order to adjust this particular motion guide.
Now we can go ahead and make further adjustments if we want.
So if we preview this, we can see that the dolphin comes in and goes out in a nice circle.
However, there are some improvements we can make to this simply by choosing orient path with the motion tween selected.
Now as he goes up, he does a nice little flip and then goes out.
We can, of course, preview this by going over to frame one and hitting play right here.
Exporting and testing the HTML5 Canvas animation
And to publish this for Canvas, all we need to do is control test.
And there we have it.
Note that everything we accomplished in this video including the integration of Adobe Stock assets, animating those assets, and finally the export of functional HTML5 Canvas document has all been accomplished within Animate CC itself.
Contributor