Animating with the Camera tool
Animate shots with the Camera tool to complete a kinetic type animation.
Published
Introduction
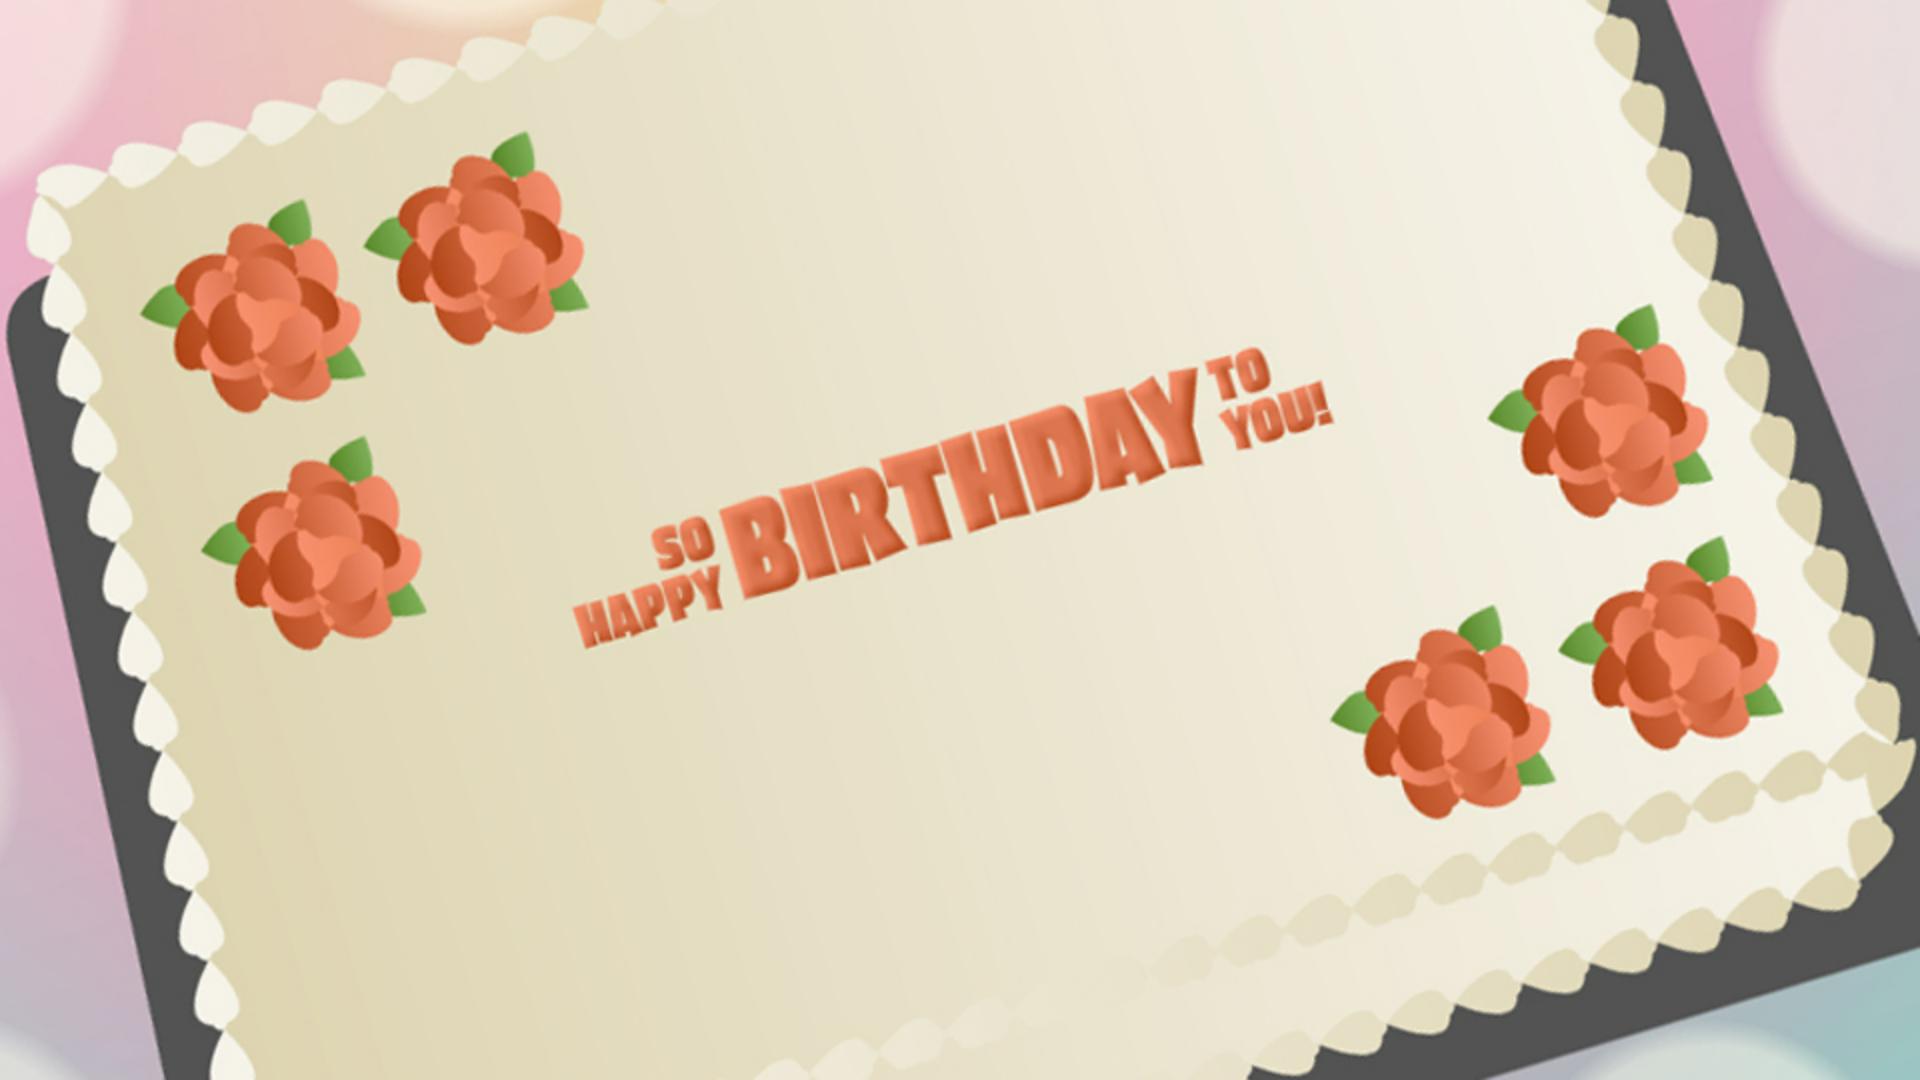
We've got an animated birthday greeting synced to lyrics modified motion presets animate the text over the cake.
Now let's use the camera to zoom in for a tight shot of each text animation and have the camera zoom out at the end.
Here we have multiple lines of text animated and synced up with the song, but all of the animation happens in the same shot.
It will be much more interesting to be zoomed in to the animation of each group of text cut to each animated grouping and zoom out at the end to show that the text was all on the frosted cake with the festive background.
Using the camera tool for cuts and zooms
We can make the cuts and the zoom with Animates camera.
Click on the Camera Tool, Animate adds a special Camera layer to the top of the Timeline.
Let's add a keyframe on the Camera layer for each animated group of text.
Framing each text animation with camera keyframes
Click on the first span and scrub the Timeline to see the group of text when it's all on screen.
The camera controls that appear over the stage let you adjust the rotation and the zoom.
Make sure Zoom which is the icon of the camera in the magnifying glass is selected then drag the Slider all the way to the right dragging the Slider once only zoomed in part of the way to our text.
Look in the Properties panel on the Tool tab you'll see that we increased the zoom to 200%.
We can enter the amount of the zoom here or continue to drag to the right until we get the text where we want it.
At about 350% we’re zoomed in enough, but the text is above the viewable area.
Click and drag upward to move the text into view.
You can move it side to side to help position it too.
That's our first shot.
Select a frame at the end of the next animated text sequence.
We see that the zoom is back to what it was originally.
Zoom in and position the camera for this shot like we did the first one.
Continue setting the zoom and position the camera for all the shots except for the last one We want the last shot to animate zooming out from the close up to a full view of the cake.
Animating the final zoom-out with motion tween and easing
First, let's click on this span right click and in the Context menu select Create Motion Tween to let Animate know we want to animate it.
The camera is currently set to the original zoom of 100%.
That's the zoom we want for the end so click on the last frame, right click and Insert Keyframe.
Go back to the frame in the span where all the text is on screen zoom in to a close up of the text.
When we make a change on a motion tween Animate automatically makes a keyframe for us.
If we want this keyframe to be the start of a motion tween we can drag it to the beginning of the span scrub the Timeline to see what it looks like.
We can also double click on the cameras motion tween to open up the Motion Editor and add ease to how it zooms out.
Select Scale, which is the camera zoom.
The curve represents how the zoom, or whatever other property you select is being animated.
Below the graph is the Add Ease button, click it to see the presets.
Twirl open Simple and select Medium.
The ease keeps the zoom on screen for a shorter period of time and transitions over a longer period of time to the final zoom.
Play it to see the final kinetic type animation with the added camera moves.
Exporting the finished animation
When we're ready to export our video go to File, Export, Export Video/Media...
Animate uses Adobe Media Encoder to render your video so you can set it to render immediately or have it added to the queue.
Then click Export.
With Animate we have made an animated birthday greeting in which we created effects with decorative strokes gradients, symbols, and advanced layers animated with motion tweens and motion presets and added sound and camera moves.
What you learned:
Camera tool
Onscreen controls for the Camera tool
Setting keyframes on the Camera layer
Setting the zoom
Adjusting the placement of the content on the Camera layer
Animating the Camera
Moving keyframes in a motion tween
Accessing the Motion Editor
Adding ease
An attribute’s curve in the Motion Editor