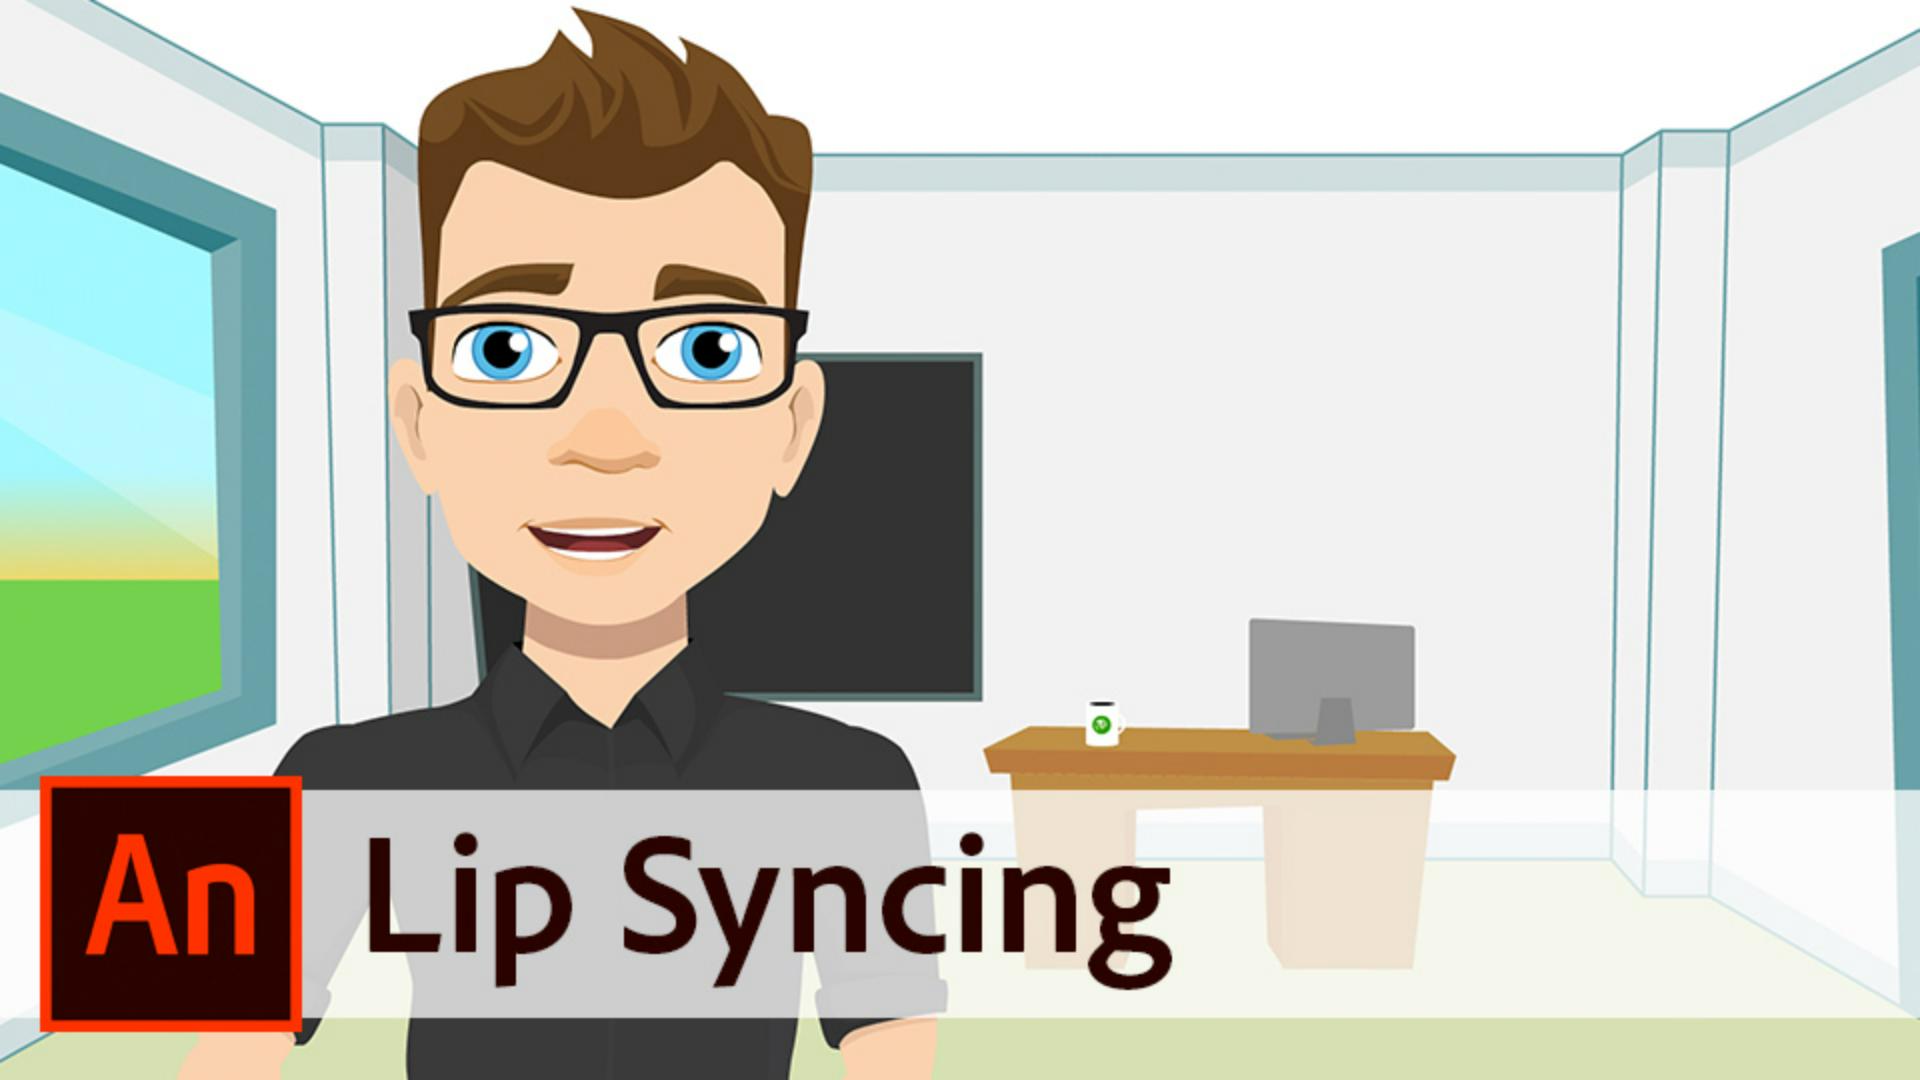
Getting to know Auto Lip Sync in Adobe Animate
Learn to easily create Lip Syncing with Adobe Animate using a graphic symbol and an audio clip.
Published
Introduction
In the third and final video, we will add audio and lip syncing to the file we've been working on in the previous two tutorials.
Let's import the audio file.
Importing audio and placing it on the timeline
Because we you wouldn't see the audio on the Stage, I'm importing it directly into the Library.
This gives me control on which layer and in which keyframe the audio will be placed.
When we take a look at the Library panel, we will see the audio file.
I want the character to start talking in frame 15.
So we need to have a keyframe at that moment in time in the Audio layer.
Create a keyframe with the Insert Keyframe button.
With this keyframe selected, we can drag the audio file from the Library onto the Stage.
The Waveform in the Layer panel shows us that the audio file was placed correctly.
It's always a good idea to have a separate layer for the audio to keep things clean.
Now play the animation from frame 1 and listen to the audio.
Hi, my name is Matt and I'm really, I mean really...
This sounds amazing, it's starting to come together.
But what happens when we stop the animation at frame 30 and hit Play again?
Then we hear the sound of silence.
And that's not something we can work with at all.
We want to have full control of the audio at all times in this animation.
Select the audio in the Audio layer again,
Setting audio sync to stream and adjusting timeline length
to get the Properties, you will see the Audio Sync option.
At this moment, the audio waits for an Event to start playing.
And this Event can be a click action, or the moment in time where we play the animation, and it passes this particular keyframe.
And that's the situation right now.
But if you want to hear the audio every single time, no matter where we are in the Timeline, then we need the option Stream.
Let's check if that works.
Hi, my name is Matt and I'm really, I mean really...
Yes, it does.
Only, it's not long enough.
Grid frames for all layers until frame number 235.
That's where the text comes to an end in this case.
Preparing mouth shapes and frame labels for lip syncing
Now let's start the lip syncing process.
Create a keyframe in frame 15 in the Mouths layer.
Open the graphic symbol on the Stage with a double click.
To keep things organized, it's best to name the keyframes, it's best to label each mouth position so we can easily work with it, with all the positions in the lip syncing process later on.
It's also a good idea to use frame labels when you're using the Frame Picker.
The first mouth position is Surprised.
Select the first keyframe in the layer named Labels.
Go to the Properties for that particular keyframe.
And in the Label area, you are able to give the name.
Type Surprised.
In this case, I don't see the legenda anymore and I think it's very useful.
So I'm going to make a frame in frame number 14 to keep the legenda visible.
In frame number two, we will need to create a keyframe and label it with Uh.
Number three with Woo.
And I think you get the idea.
Make sure you name them all correctly.
When you're done, you don't need the legenda anymore, please delete that layer.
Go back to Scene 1 in the main Timeline.
Applying lip syncing with the frame picker and audio analysis
Set the Playhead to frame 15 and select the mouth on the Stage again.
That way, you will get the Object properties of the mouth symbol on the right-hand side of the screen.
Click on the Lip Syncing button in the Properties, select a neutral mouth and then select the corresponding mouth from the pop-up panel.
Do the same for Ah, D, Ee, M, N, Oh, R, S, Uh and Woo.
Make sure that Adobe Animate uses the correct layer, the layer that contains the audio, in order to let it create keyframes for the different mouth positions.
Hit Done and let Adobe Animate CC calculate the mouth positions.
Now play the animation and see what it does.
Hi, my name is Matt and I'm really, I mean really, enthusiastic about working with Adobe Animate CC.
This is how you can use graphic symbols, make use of the Frame Picker and lip syncing and create a beautiful lip syncing animation.
Enjoy working with Adobe Animate CC.
What you learned: Getting to know Auto Lip Sync in Adobe Animate
Import an audio file in the library
Add audio to the stage
Create labels for every mouth position.
Perform Auto Lip Sync
Presenter