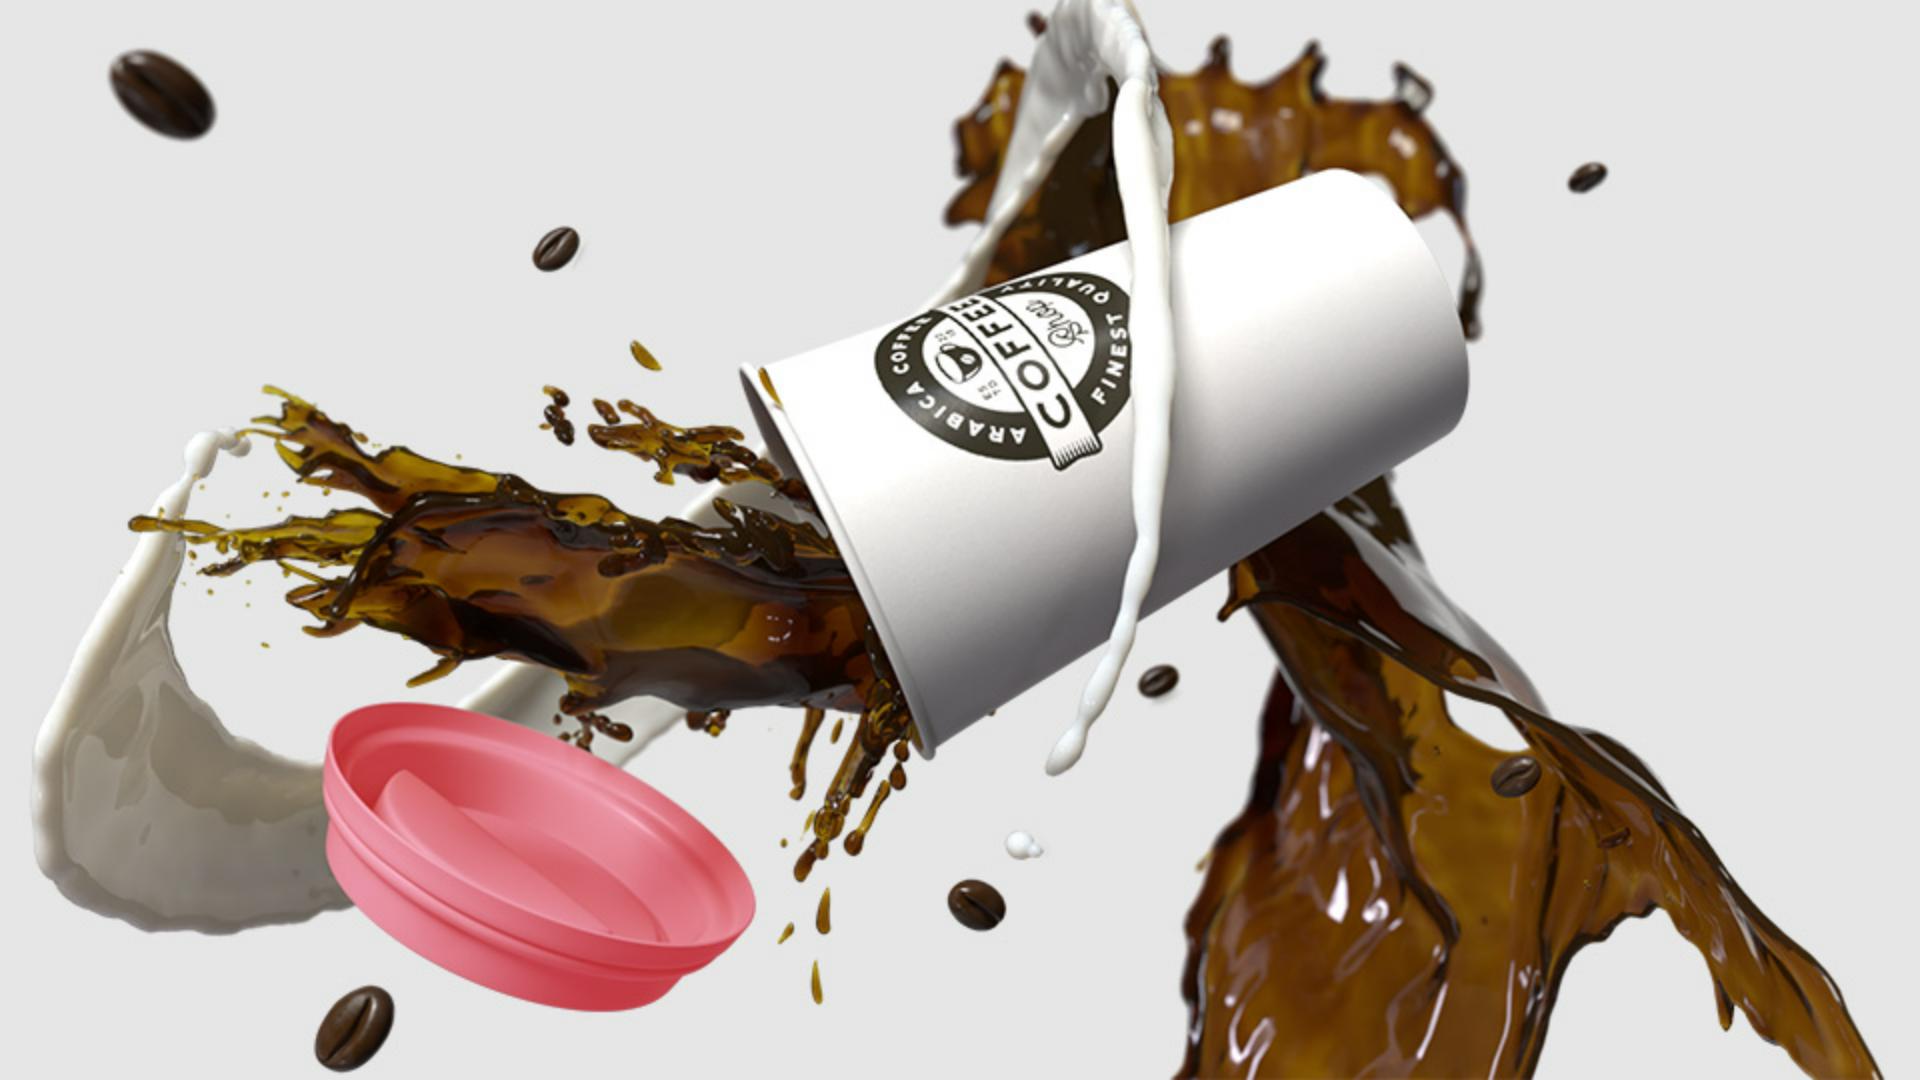
Render and export photorealistic images
Export images from any camera angle with real-time or ray-trace rendering, to get the speed and level of photorealism you need.
Published

In this video we will cover how to render and export images in Adobe Dimension.
Once you have set up your scene you can move from the Design tab to the Render tab.
Here you see a selection of settings you can adjust to get your desired output.
Dimension has helpful presets for quality, so you don’t have to change each setting individually.
The higher the quality and resolution of the output image, the longer the render will take.
You can also set a maximum time Dimension will spend rendering your scene in these settings, this is great for getting the best render you can within set time constraints.
If your computer supports it, you can choose between CPU rendering or GPU rendering.
Dimension does not support GPU rendering on Apple Silicon.
GPU rendering is usually faster, but there is no visual or quality difference between them.
After that, you can go to the left panel and select which cameras you want to render with and make some override adjustments if needed.
You then give your image a name and pick where to save it.
You can also select what format to export your render as.
PNGs are great but what is unique about Dimension is that it can export your renders as a 16 bit PSD.
This Photoshop file then contains multiple layers.
Let’s switch to Photoshop to look at our PSD render.
You can see that not only do you get the final rendered image, but you also get multiple layers that help you with making post-process adjustments.
These include the rendered image without a background so background colour can be changed easily.
A depth pass and a selection of masks that mask out components by object or material.
This can be helpful when wanting to adjust a specific part of the image, but not the rest.
Now you know how to get the best out of your renders in Dimension, have fun creating images!

