Introduction
Hi there.
In this video we're going to look at defining a site in Dreamweaver.
Now this is the first thing you should do whenever you start a project in Dreamweaver.
The files for any website should be managed
Understanding site definitions and the Files panel
from a central location.
Let's look at this existing site definition here as an example.
Now depending on which view you're in: I'm in Standard.
But if you're in Developer, there is the Files menu there and in Standard it's over here in the right.
And if you can't find it anywhere else: Go to Window and come down to Files and turn it on.
Great, so this is an existing site definition that I've created earlier.
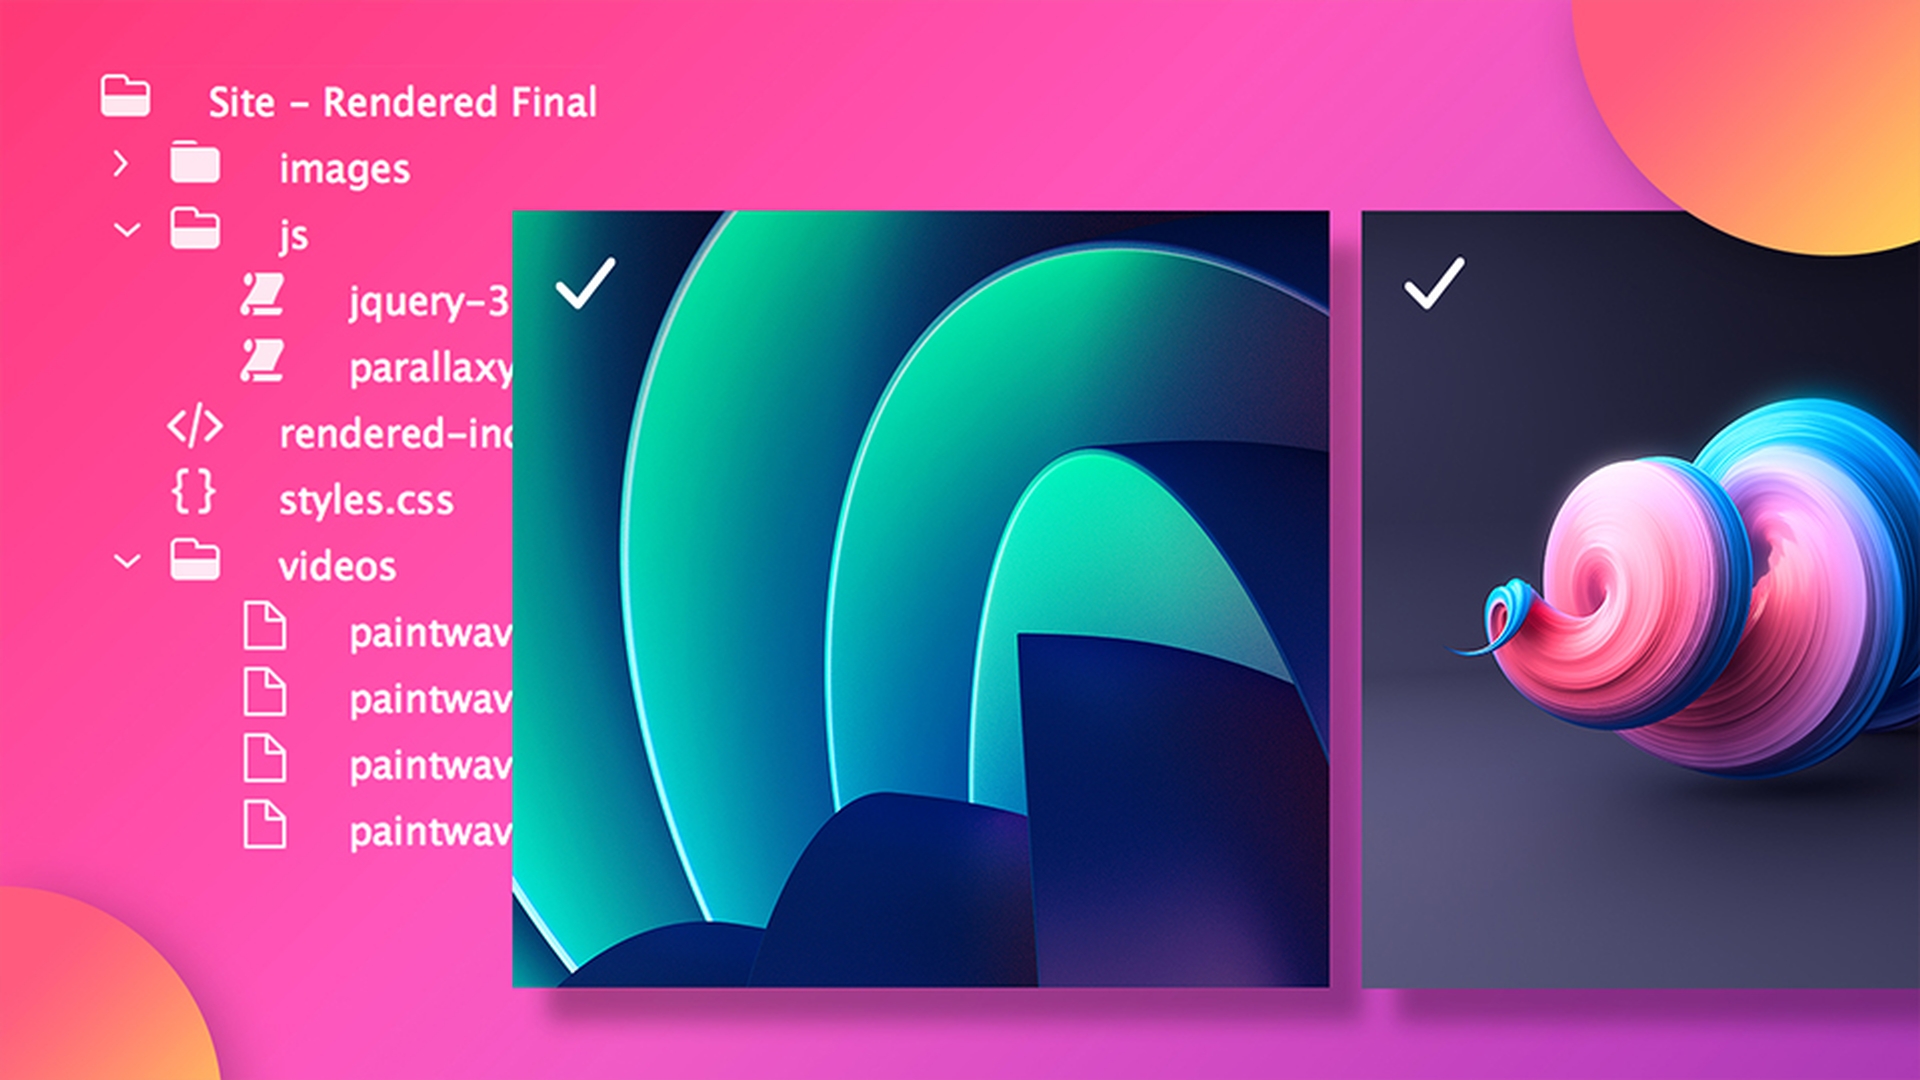
And basically it's just peering into a folder that happens to be on my desktop called Rendered and inside that folder there's an HTML-file, there's a CSS-file, there's some folders with Javascript and images and some videos.
And let's check it out on the desktop.
Here it is on the desktop, And you can see: It's the exact same thing here.
There's my HTML, my CSS, my images folder.
So all our site definition is, is to link those two together.
So let's go and make our own site definition.
Creating a new site and setting up folders
So inside Dreamweaver let's go up the top here to Site and let's go to New Site.
Now where it says Site Name here, this is where you get to name your site.
And this is just a reference for yourself, so you can type anything in here.
Let's say I'm going to call this one my_portfolio.
Now spaces between the words here are fine.
An important bit here is this Local Site Folder.
This is just to tell Dreamweaver "We're going to keep this website."
In this case I'm going to click on the Browse button and I'm going to find my Desktop; I'm going to make a new folder on my Desktop.
I'm going to call this one my_portfolio.
Just make sure you don't use any spaces when you're naming your folder name.
You use hyphens or underscores instead.
Click Create.
And then I'm going to click Choose.
Great, so now Dreamweaver knows, where I'm going to put all my files.
The next thing I'm going to do is: Tell it, where I'm going to put all my images.
To do that let's go to Advanced Settings, Local Info and then up to Default Image Settings.
And let's click Browse, let's click New Folder, let's type in images.
And let's click Create.
Click Choose.
And that's going to help us when we start putting in images into our website.
And say we start pulling them from various places on our harddrive, Dreamweaver is going to be clever and it's going to pick those images up and put them into that images folder.
Because remember: Everything has to be in that one folder for this to work.
Great, so we have defined a site.
Let's click on Save.
Let's have a little quick look at the folder that is created on the desktop, just so that we're clear about what's going on.
Alright and there he is, my_portfolio.
Open him up and there's an images folder in there.
There's nothing going on much, it's not particularly exciting.
But that's the folder that everything from my website needs to go in now.
So let's jump back into Dreamweaver and create just an example file.
Great, so you can see on the right hand side here is my local Site and there's the images folder.
And then I create an HTML-document here.
We're going to leave the page empty.
Let's hit Save.
And we're going to call this one index.html.
Click Save.
And you can see: Dreamweaver puts it into that folder and if I check on my desktop: There's my lovely index file.
So that's the reason we create a site definition: Just so that everything goes into the right place.
Let's go and look now at some of the perks
Managing files and avoiding broken links
of using a site definition in Dreamweaver.
So here in Dreamweaver, I've got an existing site definition here, there's an HTML, there's already images going on in here and there's a CSS-sheet - lots of things going on.
So what we're going to do is: We're going to open it up by double-clicking index.html.
It opens up on this left hand side here.
I'm in Code view, you might be in Split or Live or you might be switched to this Developer mode.
I've got my index.html and I've got this images folder.
And this images folder gets referenced quite a bit in this site.
You can see here where I find...
You can see here it says images/menu-hamburger.png.
And you can see there would be images used throughout the site.
So there's images there, images there, there's images there.
It gets used quite a bit, because there's quite a few images in this site.
So let's preview in a browser to see what it looks like.
Let's go to File, Real-time Preview and go to Google Chrome.app.
Great, here's the site and it's got a beautiful video going on in the background.
We've got this image up here.
This is a little image.
There's lots of images.
Images, images, images, so a lot is going on.
So it's being referenced quite a bit.
Now back in Dreamweaver.
Let's say that you have to change the name of any of your files.
So if I do it on the desktop, so in here, and let's say that we've changed it to images.
Or img is quite a common way of calling it as well.
But if I do it outside of Dreamweaver, I've kind of snuck around the back and change the folder name.
And Dreamweaver is still referencing this thing called images.
So when I preview it you can see: All the images here have all failed to load.
So whenever you're making any sort of file changes or file name changes of folders - make sure you do it through the Files panel.
So I'm going to change this back to the way it was.
And back in Dreamweaver.
If I do the exact same thing in here and I say I'd like to rename you, so I've right-clicked, I'm going to go to Edit and I'm going to go to Rename.
I'm going to call this img.
Okay.
This lovely thing pops up and it says "Would you like to update all of the code to reference this new folder?"
And I'd say "Yes, please, update all."
And what will happen is: Can you see the word img here?
It's being changed over and over again.
It just means: If I preview now... - hey! - all my images are just fine even though I went and changed the images folder name.
Now this is true when you rename anything.
Say you need to rename your Styles menu or any other pages - just do it through this Files panel and Dreamweaver will update your code to kind of match things up and it makes life really easy.
So we've now discussed the basics of getting a site started.
Managing site settings and connecting to servers
Let's look at it a little bit more in depth.
Let's say that I need to adjust my site definition.
So let's go to Site and instead of going to New Site let's go to Manage Sites.
Here are all my site definitions and we're going to open up this one we created earlier, called My Portfolio.
Let's double-click it.
This is where you can change the Site Name or change your Local Site Folder, in case you've moved it.
Another important tab in here is under Servers.
Servers is where you connect to either your remote hosting site or your testing site.
Basically it's how you're going to put your site on the Internet.
We then go and click the Plus-button.
And this is where you'd fill in your hosting details.
Typically these are e-mailed to you from your hosting company and you'll fill them in here.
Now we're not going through all of these steps right now, as there's a separate video that will take you through how to set up your server definition.
So let's just click Save.
Let's click Save again.
Let's click OK.
And another one of the features that I like about Manage Sites is: We've made this site definition here for My Portfolio, I've created the local folder for it, I've defined the remote site, connected it to my hosting account.
Let's say I need to share it with somebody else.
They need to connect to the same website, or let's say I'm just changing computers from my laptop to my desktop.
What you can do: Instead of having to enter those details again you can click on it and click Export.
And I can click OK and I have this STE-file.
And the cool thing about this is that it's e-mailable, sharable and it just means the other person on the other end - if I cancel - they just need to come to the same place - Site, Manage Sites - and click Import and it will bring it in and it will have the details already for them to start working.
You can also delete it in here by clicking this minus.
I've got them selected, I click minus.
One of the things that happens is: So I click minus and I delete this site definition, I say "Copy Undone", I'm going to click "Yes" anyway.
Don't worry, if I click Okay and Done and I come to my desktop.
There's my portfolio site and there's all the files that I created.
So it doesn't actually delete the file from my machine, it's just the definition that gets deleted.
Great, so we've defined our local site, we've connected it to a server, we've worked out some of the perks of using this Files panel.
And the last thing we do before we go
Using index.html and refreshing site files
- and I guess when you're setting up your very first site - is how your first pages work.
We've created this page called index.html.
You just need to know that whenever you're creating your very first page on your very first site you need at least one page called index.html.
Why?
That's the page that the browser is going to go and have a look for.
It doesn't display it, but it's the home page and every website needs at least one.
Other pages you can call what you like, but in terms of this index it needs to be spelled this way.
Let's quickly check it out in the browser.
So if I access say Adobe.com and I put in index.html and click Return you can see the browser is displaying that page but it's not showing it.
It keeps it in there nice and hidden.
So if you create a site and it has 1000 pages, but you don't have one index page, the plot isn't going to load, it's going to come up with a nice big error.
So one last thing to know when dealing with your site and its files is that when you add files outside of Dreamweaver that you might need to update it.
Let's look at the images folder over here.
So it got a bunch of images and say I'm going to add a new one and I do it outside of Dreamweaver.
So in my finder there's my images folder that I'm looking at and this is a file I want to add.
I drag it into here.
Often it can update pretty quickly and you won't need to hit Refresh, it's done it there.
It's pretty quick and gone, done it.
But if it doesn't you can go down here and hit Refresh.
And that will force it to go and double-check for you.
Nice.
Okay my friends we have learned what a site definition is.
We've learned that we use it to connect it to a folder on our desktop and that all of our files for this particular website needs to go into that one folder.
We also use a site definition to connect to our remote server, often our hosting company.
And if we're clever: When we rename things we use this Files menu so that Dreamweaver knows to update the code.
And last of all: Make sure that you have an index.html page.
Otherwise the world will end and your page won't load.
Both of that.
Alright, that is site definition in Dreamweaver.