Introduction
Hi there!
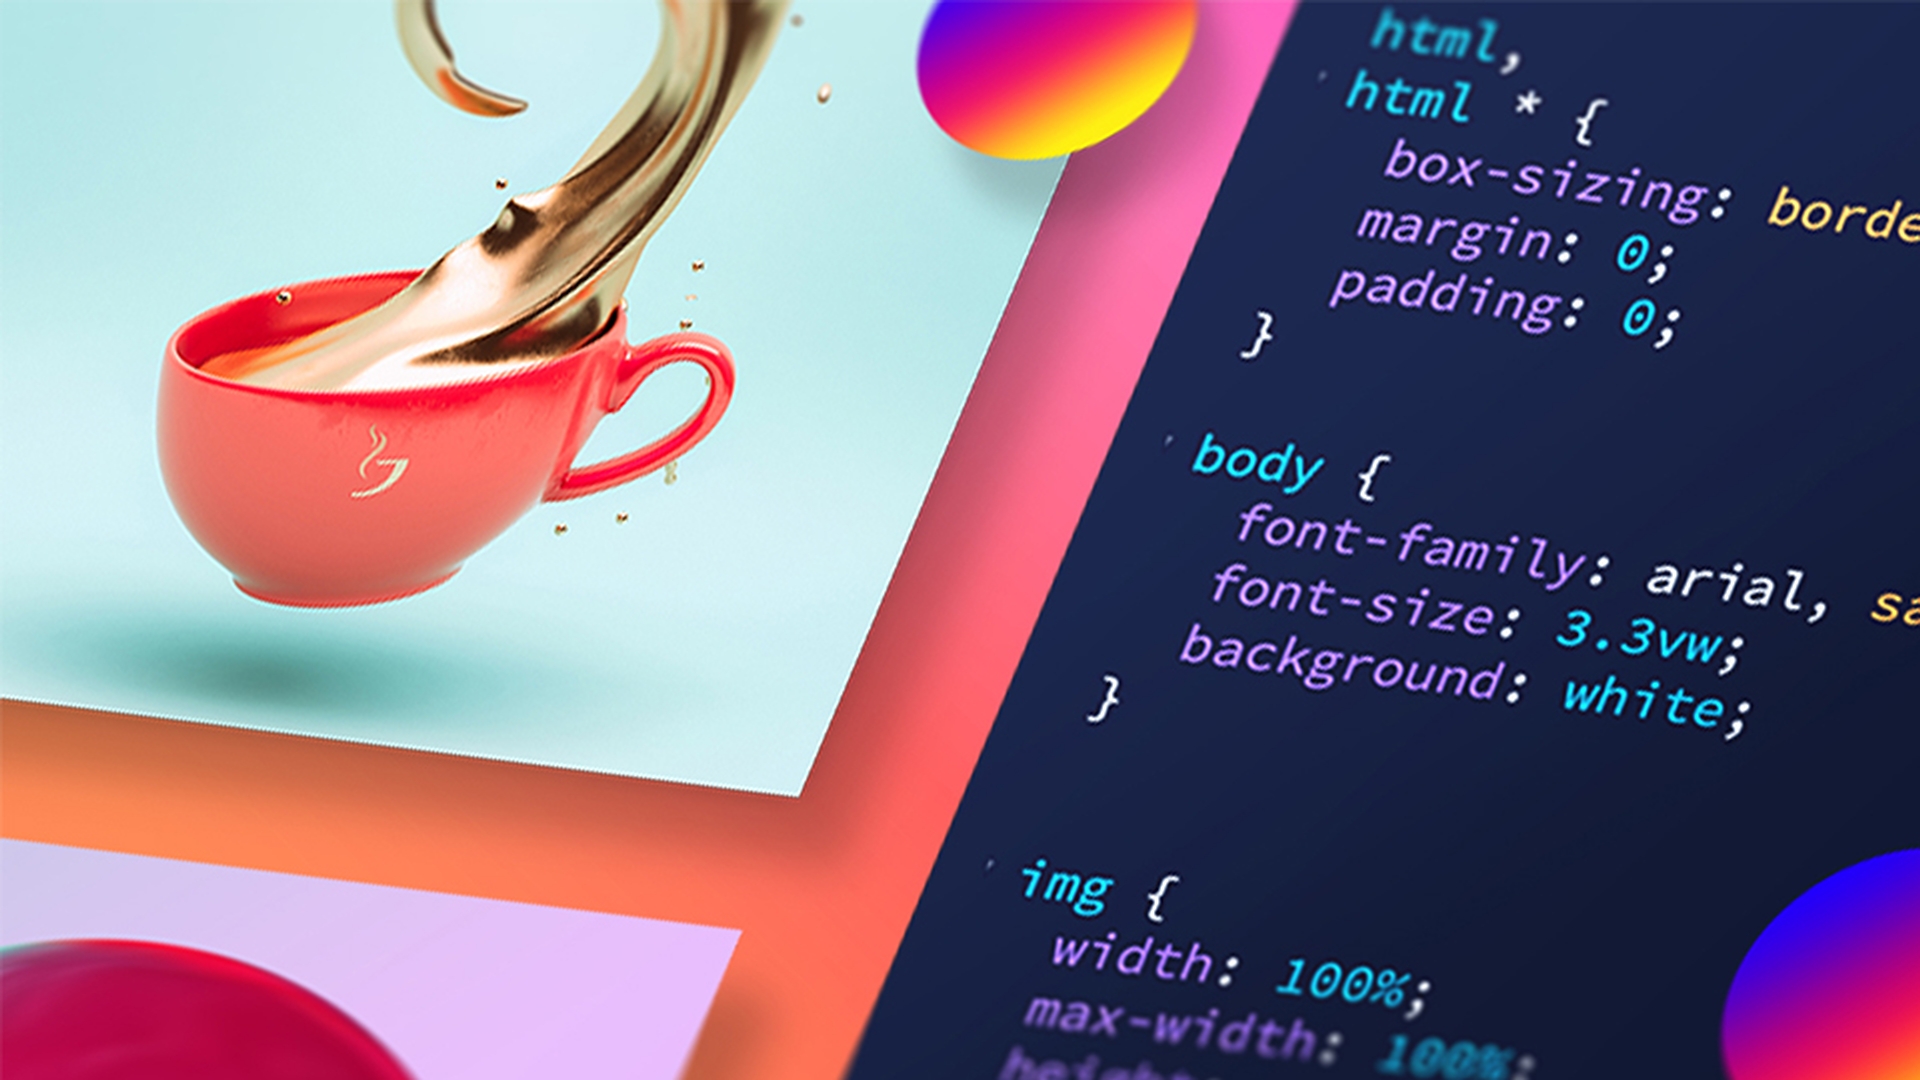
In this video we are going to look at using CSS to lay out a webpage.
Right now we have this page.
You can see it already has some basic HTML, things like this, navigation list here, it has a couple of headings and some images.
We are not going to cover how to add HTML text in this video.
There is another video here that covers that in more detail.
Now, to make this video interesting and to make sure that it's not a million hours long, I've created the first few CSS layout elements already, just to get us started.
So, let's jump into Dreamweaver and add that predefined CSS sheet to our web page, just to get us going.
So, I've got my file here opened in Dreamweaver now for this tutorial what I'm going to do is, instead of working on "Standard", often that's what it defaults to, we are going to switch it from "Standard" to "Developer".
I've also defined the site here in Dreamweaver to manage the files for this project.
To follow along, you will have to do the same; you can do it up here in "Site"; "New Site", and there is another tutorial video teaching you site definition if you need a bit of help with that.
Linking a CSS stylesheet and previewing changes
Let's add that CSS sheet.
So I'm going to put it up here - the CSS sheet always gets listed in the Head.
So, in anywhere between, the opening of the Head and the closing of the Head, that has the forward slash I guess anywhere in here.
And I tab along just so it looks nice.
Now to add the syntax for the CSS sheet, it's quite long, so there is a nice and easy trick in Dreamweaver to get it going, you type in "link" and hit Tab not Return and it pre-fills in all of the syntaxes needed to link to our CSS Style Sheet.
Remember, I have already got one created and this is going to help us to get started.
And type in "s", you can see there because I already have it; you see it there, there's my sneaky Style Sheet, it has pre-filled it in and Dreamweaver is quite helpful that way, it goes off and tries to find files you might need.
I'm going to click "Return", check it in the browser, cool!
So that is a really big change right, from what we had before, but it's the exact same HTML5 elements here.
There's that list that we had, it was just like a blue bullet pointed list before, here's the text, but it has been styled.
Lower down, there's the intro text that hasn't been styled - we will do that - the images have been moved around and resized, and there is those social icons.
Now, remember we have just added this stuff here, just to jump start the course, we are going to go in now, adjust some of this existing CSS and after that, we'll go and create our own stuff.
Back to Dreamweaver.
Now, I'm back here at my HTML page,
Modifying layout with header and positioning styles
I know that, because I'm on this one called "Source Code".
And the first bit of styling that we are going to do is going to be to our header and then we are going to do it to our "h1".
Now, the header element here is a tag that adds structure to HTML, it's predefined in the HTML5 language and it's designed to be the header area.
Basically just the box that is at the top of your page and normally things like your logo and your navigation live in there.
Now, it's listed here in my HTML, if I want to style it, say maybe add a background color or give it a height, I need to match his name exactly in my CSS sheet and then style it there.
So, that's the header, we are going to do this "h1" as well and the "h1" tag is used to describe your heading one, which is just the most important heading on your page we'll style him at the same time.
So, let's jump to that CSS sheet that I have already made, we do it in the related documents' bar on the top, so I'm going to click: style-start; Great!
You can see, the names are exactly the same, the "header" matches and the "h1" matches, and inside these curly braces, these are the CSS properties and that's the stuff I've already made.
But, what we want to do now is go and change it.
Now we're working in Code View, but I want to see what is going to look like in a browser as I make my changes.
And a great way to do that is to use the "Real Time Browser Preview" and you can check this out in the bottom here in Dreamweaver.
Bottom right.
And you can see this one here and I'm going to preview it in Google Chrome.app.
Great, so this is the page that I had in Dreamweaver, opened up in Chrome.app and the cool thing about a "Real Time Browser Preview" is that when I make adjustments in Dreamweaver, it's going to automatically adjust in the browser here.
Now, working on my desk, what I do is to have two monitors, and I kind of grab this other one and drag to my other monitor, but because we have got a video tutorial, what I'm going to do is I just sneakily have Dreamweaver opened, and I'm just going to tuck it in here so we can kind of see it in the background there.
So, first thing that I want to change is my header.
It is only matching to about 50% of the screen.
You can see here, here is my header and you can see this is the width is 50%, so I'm going to switch this up to 100, 100 even.
And you can see it's pushing out all the way to this side.
Perfect!
The next thing I want to do is I want to play around with this top because there is some padding at the top here. 100 pixels, which I don't want.
I want to switch this down to 0 pixels, you can see it jump into the top in terms of the padding.
We are going to change it from 0 to 1.5 and we are going to use "em" in terms of the measurement.
Now, you can use an absolute size like pixels, but "em" as a measurement is relative to other things on the page and can give you easier adjustments to varying screen sizes.
And the last thing we'll change here is position is set to "absolute".
And absolute is one of the fun ones, where at the moment, you can see if I scroll down, he is absolutely positioned so he is stuck to the top and scrolls and disappears at the top, and at the moment now it's super trendy to switch him to "fixed".
And you can see now when I start scrolling, it's stuck to the top - he is fixed.
Great.
Next up is let's go and use CSS to style this font here.
Styling headings with CSS font properties
So, up until now we have used CSS to do the layout, we did the width and we fixed it to the top.
Now what we want to do is to use CSS, but to style a font, things like size and colors.
Let's go and do that.
So, in Dreamweaver, here's my existing "h1" and you can see here's the color, I'm going through it and change this to "#fff" which is white, you can see the little color window pops up, thanks Dreamweaver.
You can drag this around to any color hit Return - I'm just going to use #fff for white.
In terms of the text-transformation, I want to make it uppercase; you can see as I typed the word "up", - or the letters UP- it prefilled it out for us so I'm just going to hit Return on my keyboard, just saved the time and make sure the syntax is correct.
In terms of the font-sizing, is set to 2em's and we are going to set this to a lot bigger - 8.5em.
Letter-spacing, what we are going to do is we are going to make it to 0.85 em's, to really separate these out to match our mock up.
So, that's styling some existing CSS.
Let's go and create our own now where there wasn't any before.
Creating classes and applying padding for layout
So first up, what we are going to style?
We are going to style this guy here - the intro-text.
It is just plain old text setting in here so, let's style that.
First thing we need to do is figure out what it's called.
So, let's jump back into our HTML which is Source Code here.
Let's click on this.
And I can find it... there it is here.
So, there is the text and he's got a class name of something called "intro", so I'm going to style this thing called intro.
Let's jump to our CSS.
Now to create a class, what we need to do is it needs to start off with a period, that's the rule of the class, you can see these tags up here don't have that period in front.
So it's easy to see in a CSS sheet what is a class and what is a tag.
And we get to name it.
And we've called ours "intro".
You can call it anything you like, you can´t use spaces, make sure you use hyphens or underscores if you want to use 2 words.
We are just going to call ours intro to match what we have got in the HTML Now the rest of the syntax is similar to the tags above; we are going to put in our curly braces.
Dreamweaver fills out the second curly brace for us.
Great.
Now I put a return in.
Now we get to tell the class what to do and all of the parts inside these curly braces are considered CSS properties.
And the first thing I want to do is I want to position it using "padding".
So, you can see I started typing padding and it has prefilled it out and I'm going to hit Return.
Great.
And you can see it has put the colon in.
And in terms of the sizings I'm going to use 12 em's and for the top, so it works top and then goes around clockwise so we are going to use 12 em's, then 6 em's, then 12 em's for the bottom and then 6 em's for the left.
And whenever you're writing CSS properties, you got to end it with a semicolon.
Now let's check this in the browser: There we go!
Look at that, we have done some CSS, we've created ourselves, we have matched the class name in our CSS file and we have added padding, Lots to the top and bottom and little bit less to the left and right.
So what we can do would be a little bit cleverer.
What happens is if I only state the top and the right, the box model jumps in and assumes you probably will use the same measurements for the bottom and left.
And that is some handsome CSS right there.
So that's our first bit of new CSS and it's called a "class".
Now what I'd like to do is I'd like to style the text that isinside this.
Using compound selectors and advanced text styling
So, let's go back to my Source Code.
This is my HTML and you can see my "p" tags up here, we've styled this class called "intro".
What I'd like to do is I'd like to style the text that is inside it as well; we like to change the font, and colors and sizes and things.
Now I could go into my CSS and just style the "p", but what you'll find is the "p" tag is a really commonly used tag and gets used over and over on pages.
So if we style this first "p" tag, the other "p" tags on the pages will end up changing too.
It's not what we want.
What we want to do is be a bit more specific.
So, we are going to use something called a compound selector.
So let's go and do that.
I would like to style a "p" tag, but only the "p" tag that is inside intro.
And what do I want it to look like?
Let's check out our Photoshop mock up here.
You can see that I need to match the font here, change the color, and change the size and I need to add some space between the lines and in the text there needs to be some space between each of these letters.
So let's go and see how to write these properties in CSS.
So, I want to style "p" tags they are inside intro and that is called a compound selector.
So now what I want to do is add my curly braces, I'll start with the font, you can see I have typed in the font - f and it prefilled into family, thank you.
I'm going to use this font here and make sure you close out any CSS property with a semicolon.
Let's check in the browser.
You can see it there.
It's my new font.
Let's go and finish styling it.
We'll use color...
If you use color by itself, it assumes you mean the font.
We put a little hash there, we can use the Color Picker, I have got a predefined color value, so I've got #343144, remember, end with a semicolon, text-align, text-align right there at the top, I'm going to get it to center remember, semicolon.
We'll do text-transform.
We did him earlier - remember.
And we are going to use uppercase.
You can see there I'm just using my cursor.
I kind of half styled it and Dreamweaver tries to help me out by giving me lots of options and it's just so much quicker than writing everything out, you can just use your arrow keys, just to scroll down the list and choose uppercase and then hit Return.
The thing you cannot forget is the semicolon at the end.
Next is font-size.
So if the font size is - great, I'm going to use "em's" again.
We are going to go 2.5 em's, semicolon.
What else have we got?
We got line height.
Let's make that 1.8 em's and we will do some letter-spacing - 0.325 em.
Nice work!
Let's go and check him out in the browser.
Hey, look at that!
Pretty!
And the cool thing about it is because we're quite specific using this compound selector, it means that only the "p" tag within this intro section is going to be effected.
Nothing else.
And you my friend now are getting the hang of some CSS.
We have adjusted some existenting stuff, and then we have created our own easy class.
Remember had a period at the front.
Now, we have created a compound selector, super advanced, but not that hard, right?
So, we have created our own CSS for this page, but you'll notice there is already some existing CSS made earlier for this project.
It's just so that we don't have to start from the complete beginning.
Let me show you the existing stuff here in Dreamweaver.
You see, this is the stuff we have been working on, but you can see down the bottom here sneaky I've got a bunch of other stuff already going to start the rest of the site.
So there are some other things going on and if like this you inherit a site and you're working on it and you're really just not too sure about some of these CSS properties, say you're not sure what "display: block" means, you can right click it and you can go down to something called "Quick Docs".
This is new in Dreamweaver, you can see here it tells you what the display element is and the various properties that you can use with it.
Display here along with float are fundamental concepts for a CSS layout and a good understanding of these are super important.
So, if you are new and you are unsure what some of these CSS properties are, you just have to right click and use "Quick Docs".
Nice!
Now my favorite new feature is something called "Quick Edit".
So, let's go into Source Code here and we are going to work with the footer.
So, let's preview it in the browser.
The footer here has everything left aligned.
Let's check the mock up.
You can see the mock up here has part of it to the left and part of it to the right.
So, let's go and do that, we are going to look at something called float along with "Quick Edit".
So here's my footer and there's my credit, that's the thing I want to float to the right where it says web design by.
I could now just note like we did for our intro box at the top, as we said - ok intro, we went over to here and we typed in "period" and then "intro" and filled it in.
But, there is a quicker way.
Watch this: I can right click this thing called footer-credit, and I go into "Quick Edit", and it says to me there is no rule, styling it and it says: would you like to make a New Rule?
Yes, I would.
And you can see, this is actually my CSS sheet, it has kind of opened up a little gateway to it and it has prefilled in my period, my footer-credit, the curly braces.
So I can get started super quick.
It's the "Quick Edit" Feature for Dreamweaver.
And what I'd like to do is to get him to go to the right and use something called "float".
And I'm going to get it to float to the right.
The Dreamweaver is filling it in remember put your semicolon in.
And while I'm also there, I get it to do the width.
40%.
And whenever you're playing around with the float, if you're floating something to the right, often you have to change the position to relative.
Just use relative to his body as random.
Check him in the browser.
Hey, there he is on the right!
So, he has floated to the right, which is awesome and it's a cool thing to know.
The other thing we learned was "Quick Edit".
So you can see here in Source Code, I am looking at my HTML, but actually working on my style sheet.
So, let's switch over here to my CSS styles, you can see right down the bottom here is my footer - credit.
So, I use Quick Edit a lot just to stop having to jump between these two separate files here.
Let's look at our browser.
Nice, there he is.
So, we have learned to float, we have learned how to use the wonderful Quick Edit.
We have also used CSS to style not just the footer, but we used it for the layout at the top with the navigation.
We fixed him to the top and did padding; we also did, along the top here, we did our "h1's" and we did our paragraph text here and used CSS to format the text.
Now, before we finish, let's remove that CSS style sheet completely.
So, we can see it as it was, when we started this video remember, when it was all just plain HTML.
So here's my HTML, I'm going to find my style sheet, select that all and delete it, check it on the browser and here it is again.
It's pretty amazing what you can do with CSS right?
We haven't changed the HTML one little bit during this video.
It's still exactly how it was when it began, we have got a navigation, our headings, my images...
But we have been able to significantly change it and alter it using the lovely old CSS.
Now this is just a brief introduction to CSS.
There are more videos available here that go into a little bit more depth, but for now my friends, it's time to start using your great new CSS web skills to make your own beautiful web pages.