I'm Maynard, co-founder of Kanin Films, a Filipino-owned video production company based in London.
We work with global brands and leading companies like Adidas, Lee Jeans, and the Mayor of London.
Over the years, these principles have shaped how I shoot with confidence.
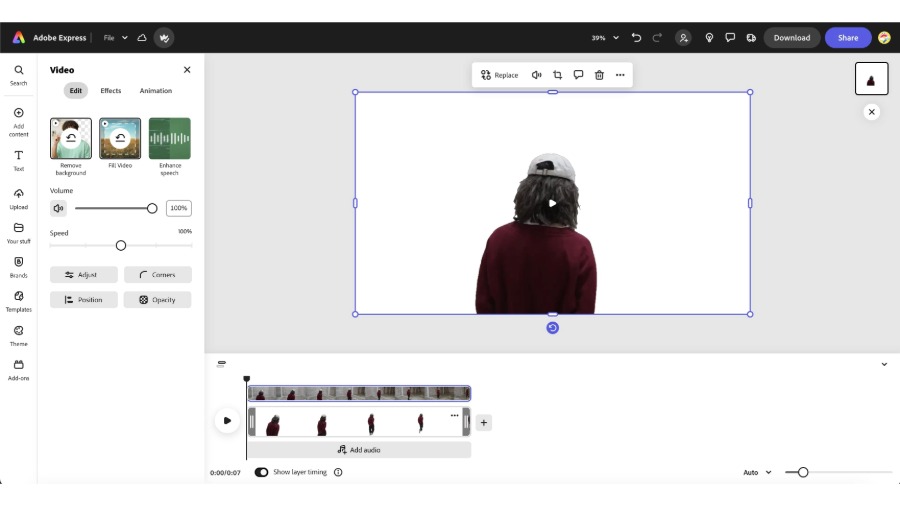
Number one: Shoot freely.
You can always perfect it in post.
Creativity flows better when you don't overthink it, but in most shoots, there are some aspects that require spontaneity.
I was in New York and needed to film in the subway, and we only had ten minutes to get the shot, so I set my camera down on another platform and hit record.
It wasn't a perfect shot, but it was good enough in the moment.
I had the confidence to work like this because I knew I could refine it later in post-production, and it frees you up to focus on what really matters - directing and storytelling.
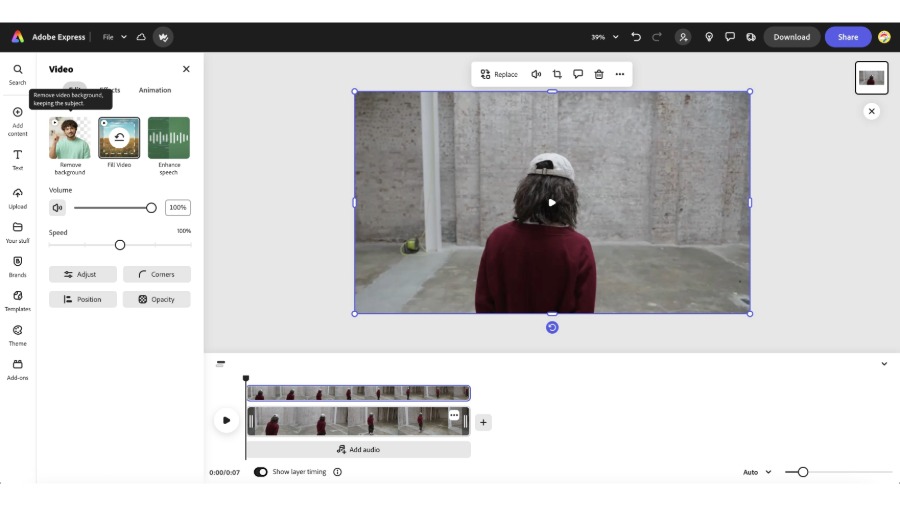
My second principle is: Negative space is confidence.
When I first started, I tried to pack every frame with text, movement, and making sure there's always something happening in the background and foreground.
But I learned that some of my most powerful shots came from embracing the negative space.
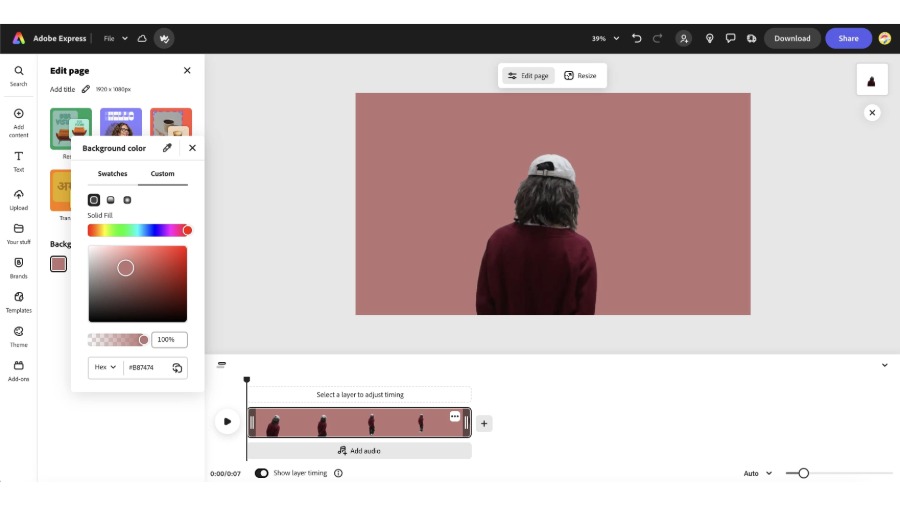
On a shoot in Japan, we filmed in wide open spaces.
Letting the subject stand out against that simplicity instantly feels cleaner and more confident.
It's saying what's in the frame is powerful and intriguing.
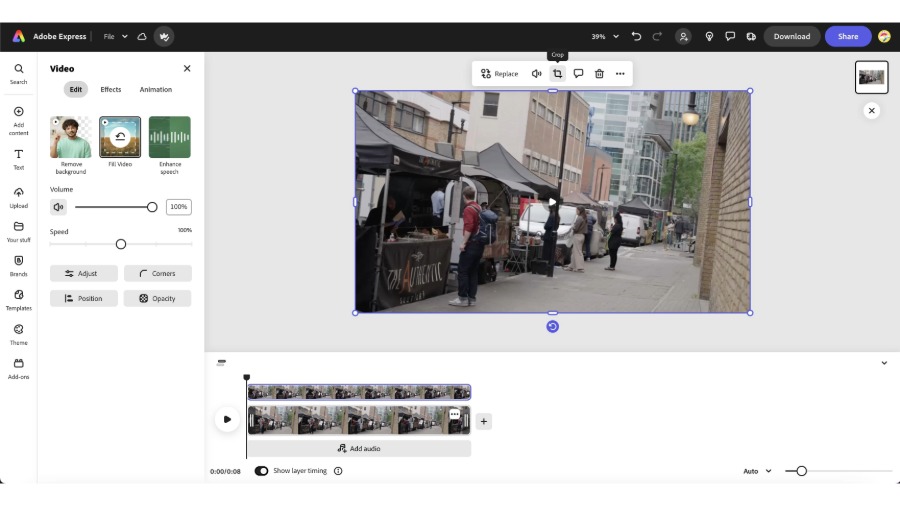
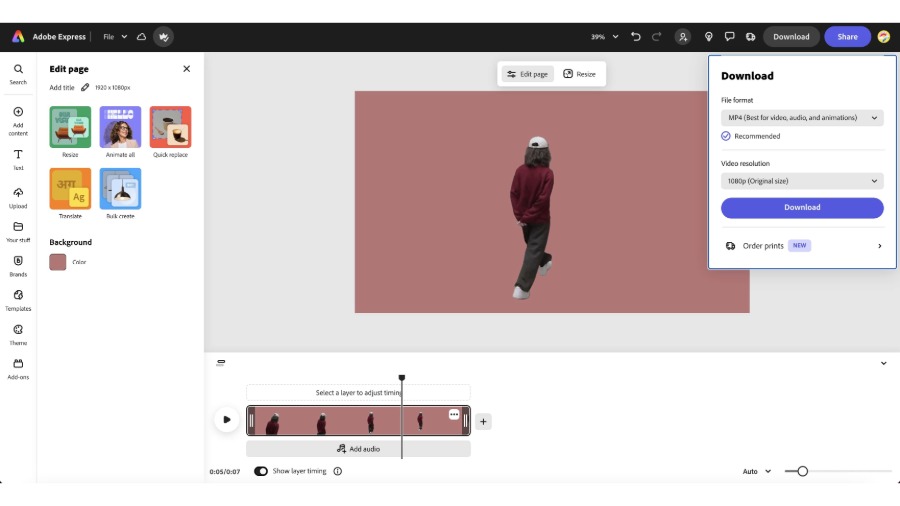
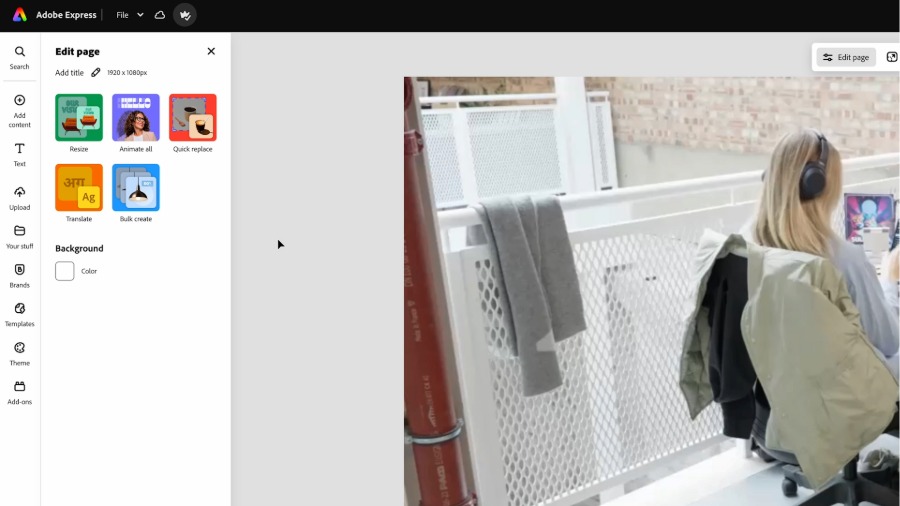
And my third principle is: Shoot wider than you need.
Nowadays, content has to work in so many places, from horizontal on a website to vertical in social media.
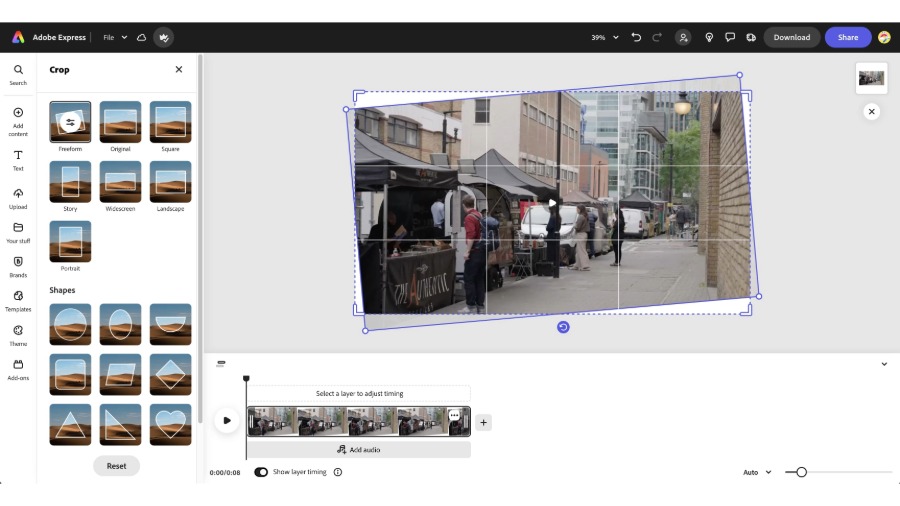
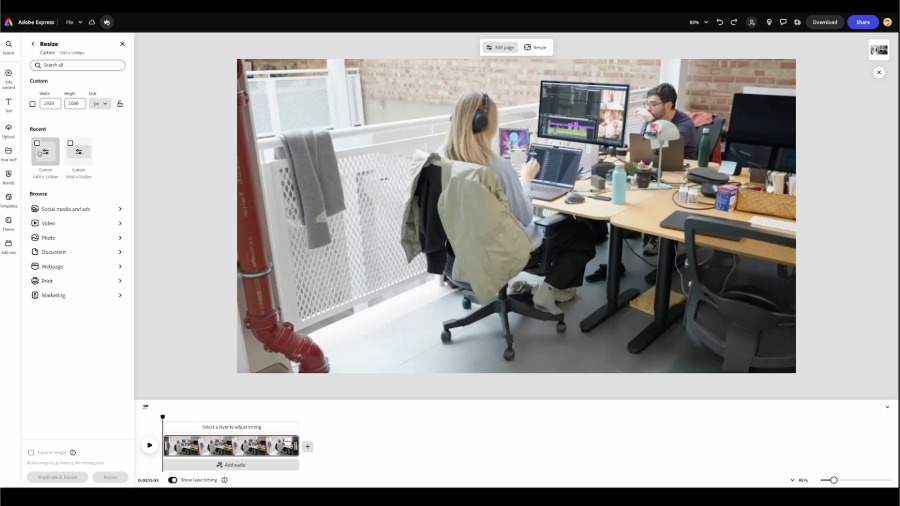
I learned to shoot a little wider than necessary, so I have the flexibility to reframe later.
That extra space has saved projects time and time again.
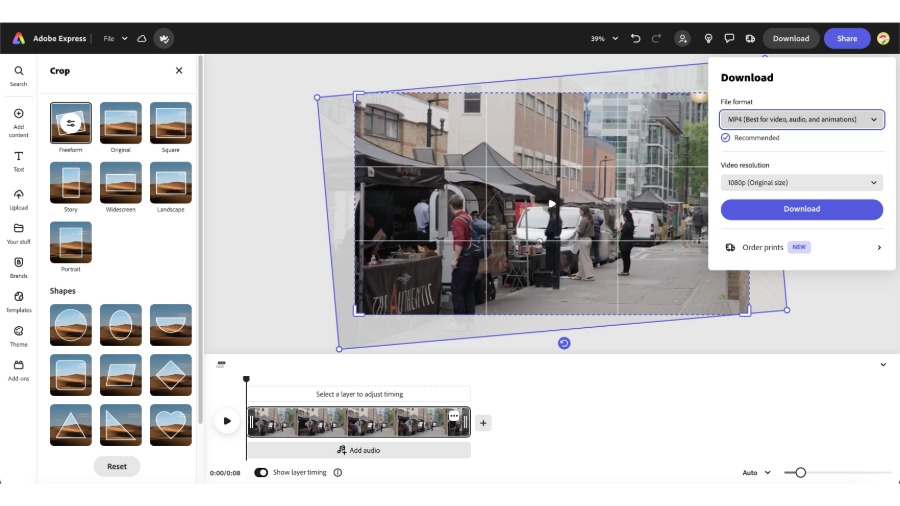
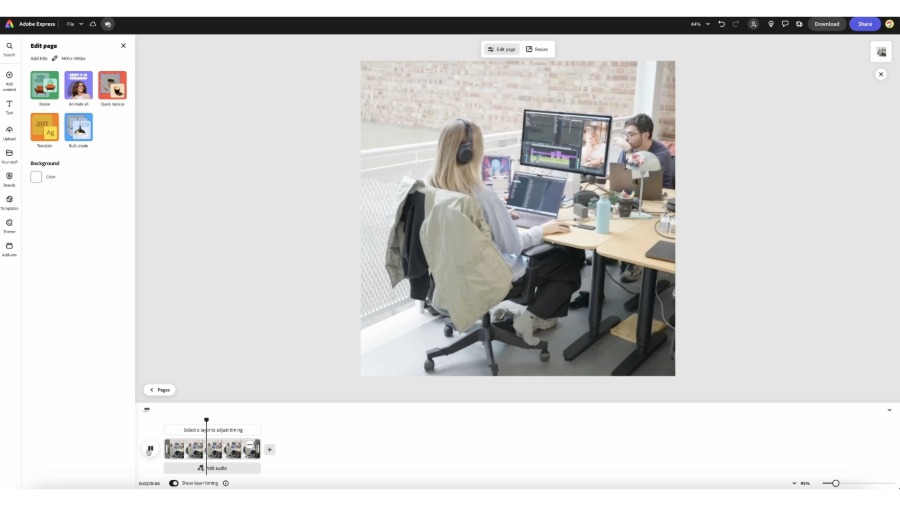
Whether it's reframing for vertical, making a tighter crop, or even completely finding a new angle, it saves you time and it gives clients confidence knowing they're covered across every platform.
For me, the real difference comes from shooting freer and a little wider, and leaving space keeps the message clear.
That freedom lets the work live anywhere and still feel strong.