Storyboard a commercial concept video in Firefly Boards
Generate consistent styles and characters with reference images, then animate a frame to demo camera movement.
Published
Note: Stock assets provided are for practice purposes only. See terms.
What you’ll learn
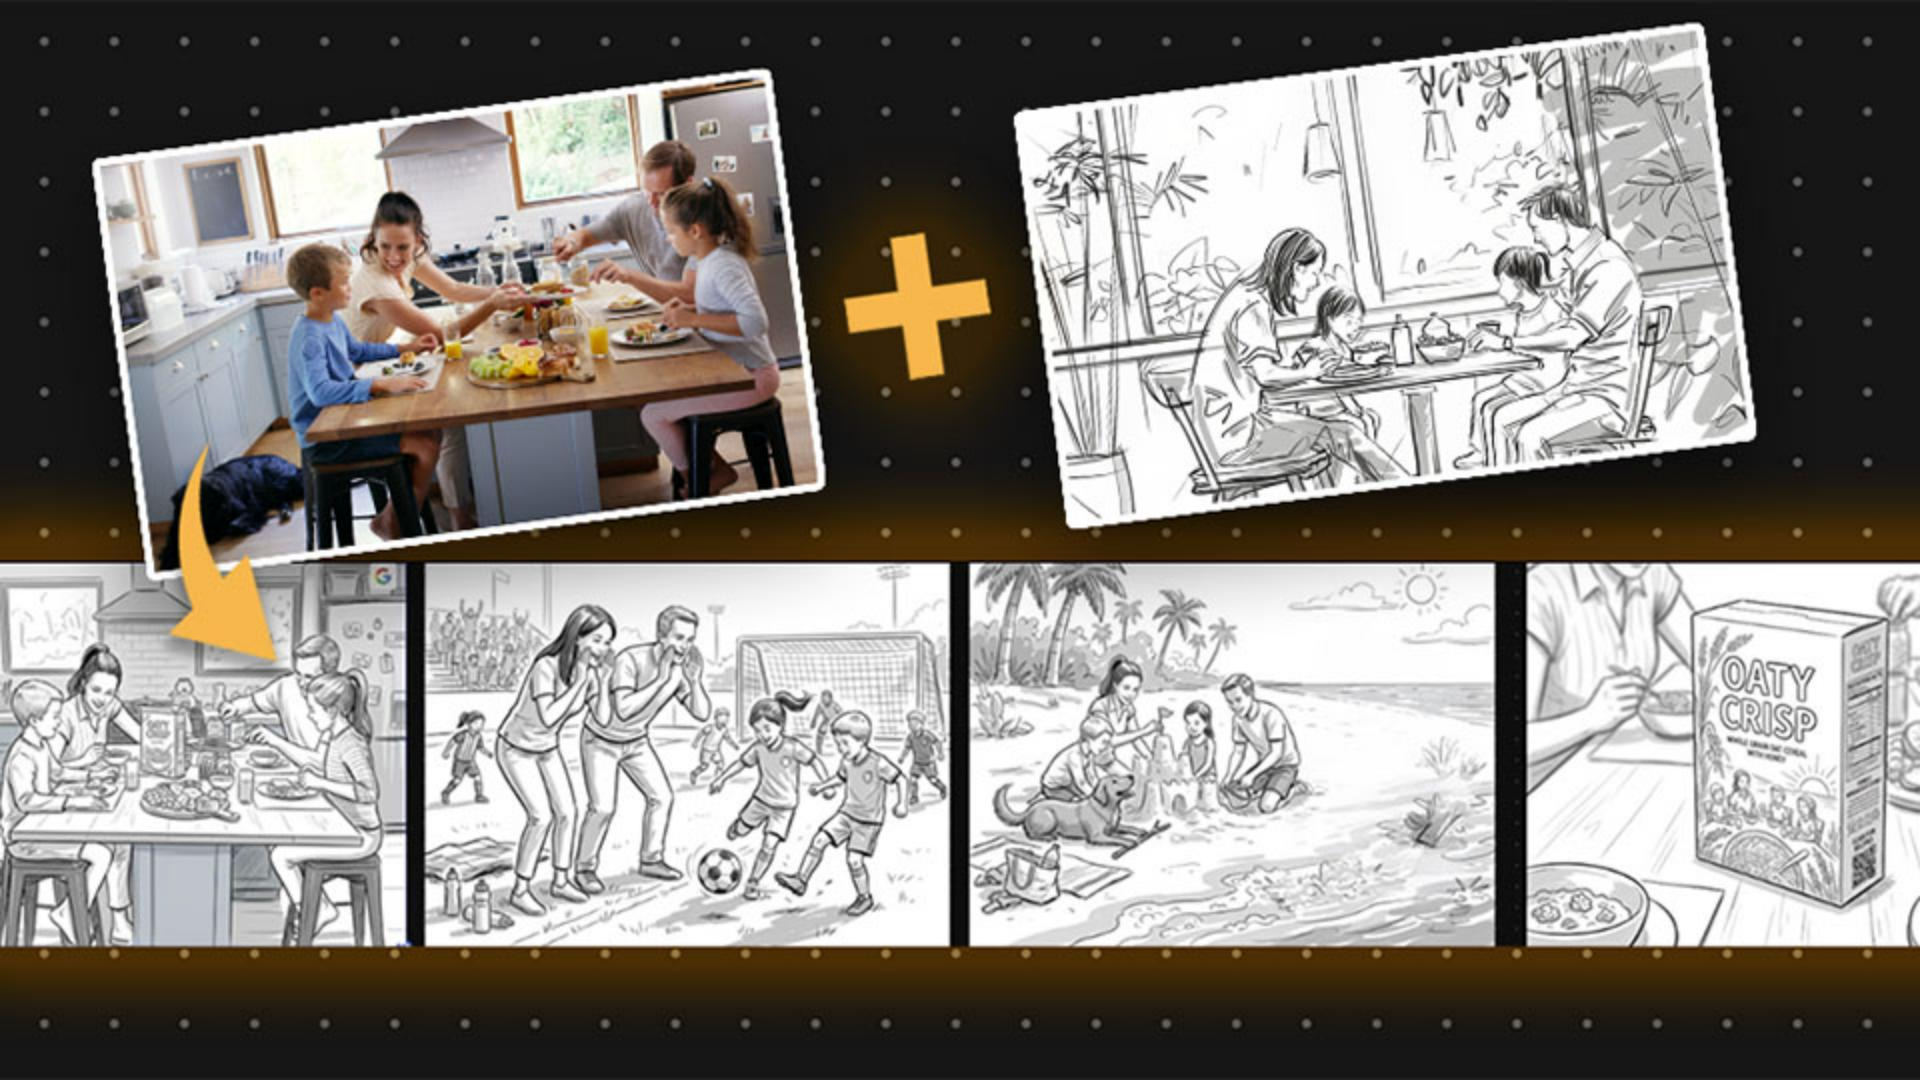
Set up your style source and starting panel
Bring in two images from your device or the Creative Cloud: one to define your sketch style, and one to inspire your opening scene. These anchor every panel that follows.
Generate consistent storyboard panels
Choose a generative model that holds style and characters across generations, then prompt frame-by-frame using your sketch as the style reference. Each new panel builds on the last for a cohesive board.
Bonus Tip: Try animating a panel to show camera movement. Convert a frame to video, add a prompt with camera direction, and preview the motion right on your board for a more dynamic client pitch.
Instruction and design by