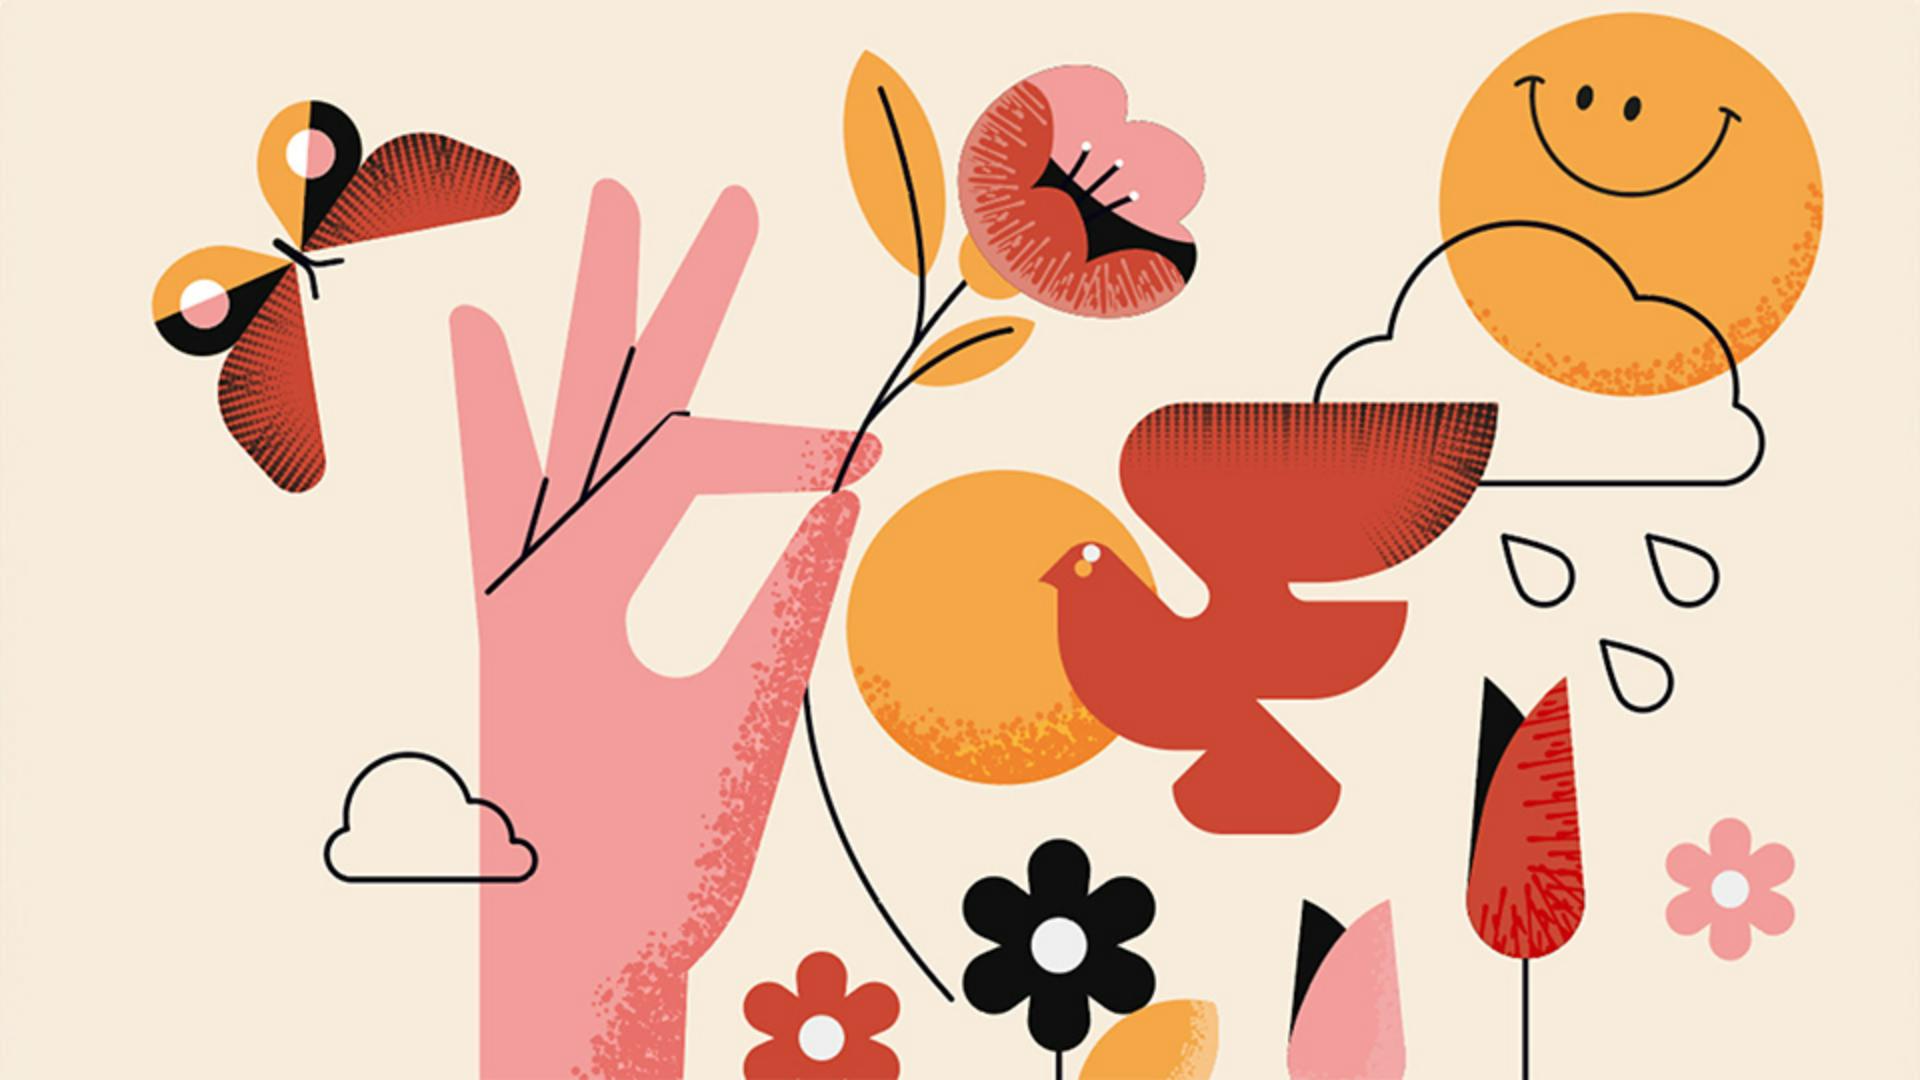
Have you ever wanted to add some stippling texture to your flat illustrations, maybe to give them some depth and interest?
I'm Brian Wood, I'm a Creative and a Content Strategist for the Adobe MAX team.
Let me show you how to add some serious interest to your artwork and text using Scatter Brushes in Illustrator.
A Scatter Brush is a brush that actually takes your artwork and scatters it along a path.
To make a Scatter Brush, you need to start with some artwork.
You can use any vector artwork, simple dots, scattered shapes, and more.
We'll start with artwork that looks like this.
To make this, I'll make a simple dot, then make a copy, blend them together using the Blend options, so you can edit the individual circles, expand the artwork, make some more copies, and then transform them to give them a scattered appearance.
I usually adjust things like the Scale and select Random, so it transforms them randomly.
I Move them, maybe Rotate them, and you can do whatever you want here, and click OK.
To make the brush, open the Brushes panel, make sure the artwork is selected and click to make a brush choose Scatter Brush, so it makes the right kind and click OK.
There are tons of options you can set for a Scatter Brush.
We're going to adjust these later after we apply the brush to a path, so you can see those changes in real-time.
Click OK.
Now draw a path to apply your scatter brush to.
Remove the fill if the path has one.
You can always adjust the path later, don't worry.
In the Brushes panel, click to apply the brush and you can see how it scatters that artwork along the path.
Now we're going to take this path and we're going to apply it to this shape.
With this shape selected, choose Draw Inside.
That way you can add something inside of the shape, but basically make a mask.
Cut the path and paste it, move it around and adjust the endpoints to follow the curve however you want.
I want the scattered artwork to look a little more like this, so we'll adjust the brush using the options we first saw when we made it.
In the Brushes panel, double click that brush you made.
With Preview selected, let's orient the artwork to the curve of the Path.
Now we're going to make the artwork bigger or smaller.
You can change the Spacing between each instance of the artwork, Scatter actually moves it closer or further from the path, and Rotation just rotates the artwork.
For any of these, you can actually choose Random and set a range.
This can be really helpful if you want it to look a little more organic, like the Size can be from this size to this size.
I'm going to refine my settings.
So, why don't you experiment?
If you want to change the color of the artwork in the Scatter Brush, you want to choose a Colorization method here.
I typically choose Tints or Tints and Shades.
That way when you set the stroke color of the path, it'll be that color.
Otherwise it stays black, the original artwork color.
If you want to learn more about it, click on this little Light Bulb.
Click OK and you'll want to apply these new brush changes to that path.
You can also refine the look by changing the Stroke Weight or the Stroke Color now that I chose Tints by changing the Opacity and even the Blend mode and a lot more.
Make sure to choose Draw Normal so you stop editing that artwork.
By creating Scatter Brushes, you can add all kinds of textures to your projects like this or this or this.
These were all made with Scatter Brushes.
We've supplied some artwork, so go ahead and try to make your own and apply it to the rest of the shapes and see what you come up with.


