Understanding fill, stroke, and basic color application
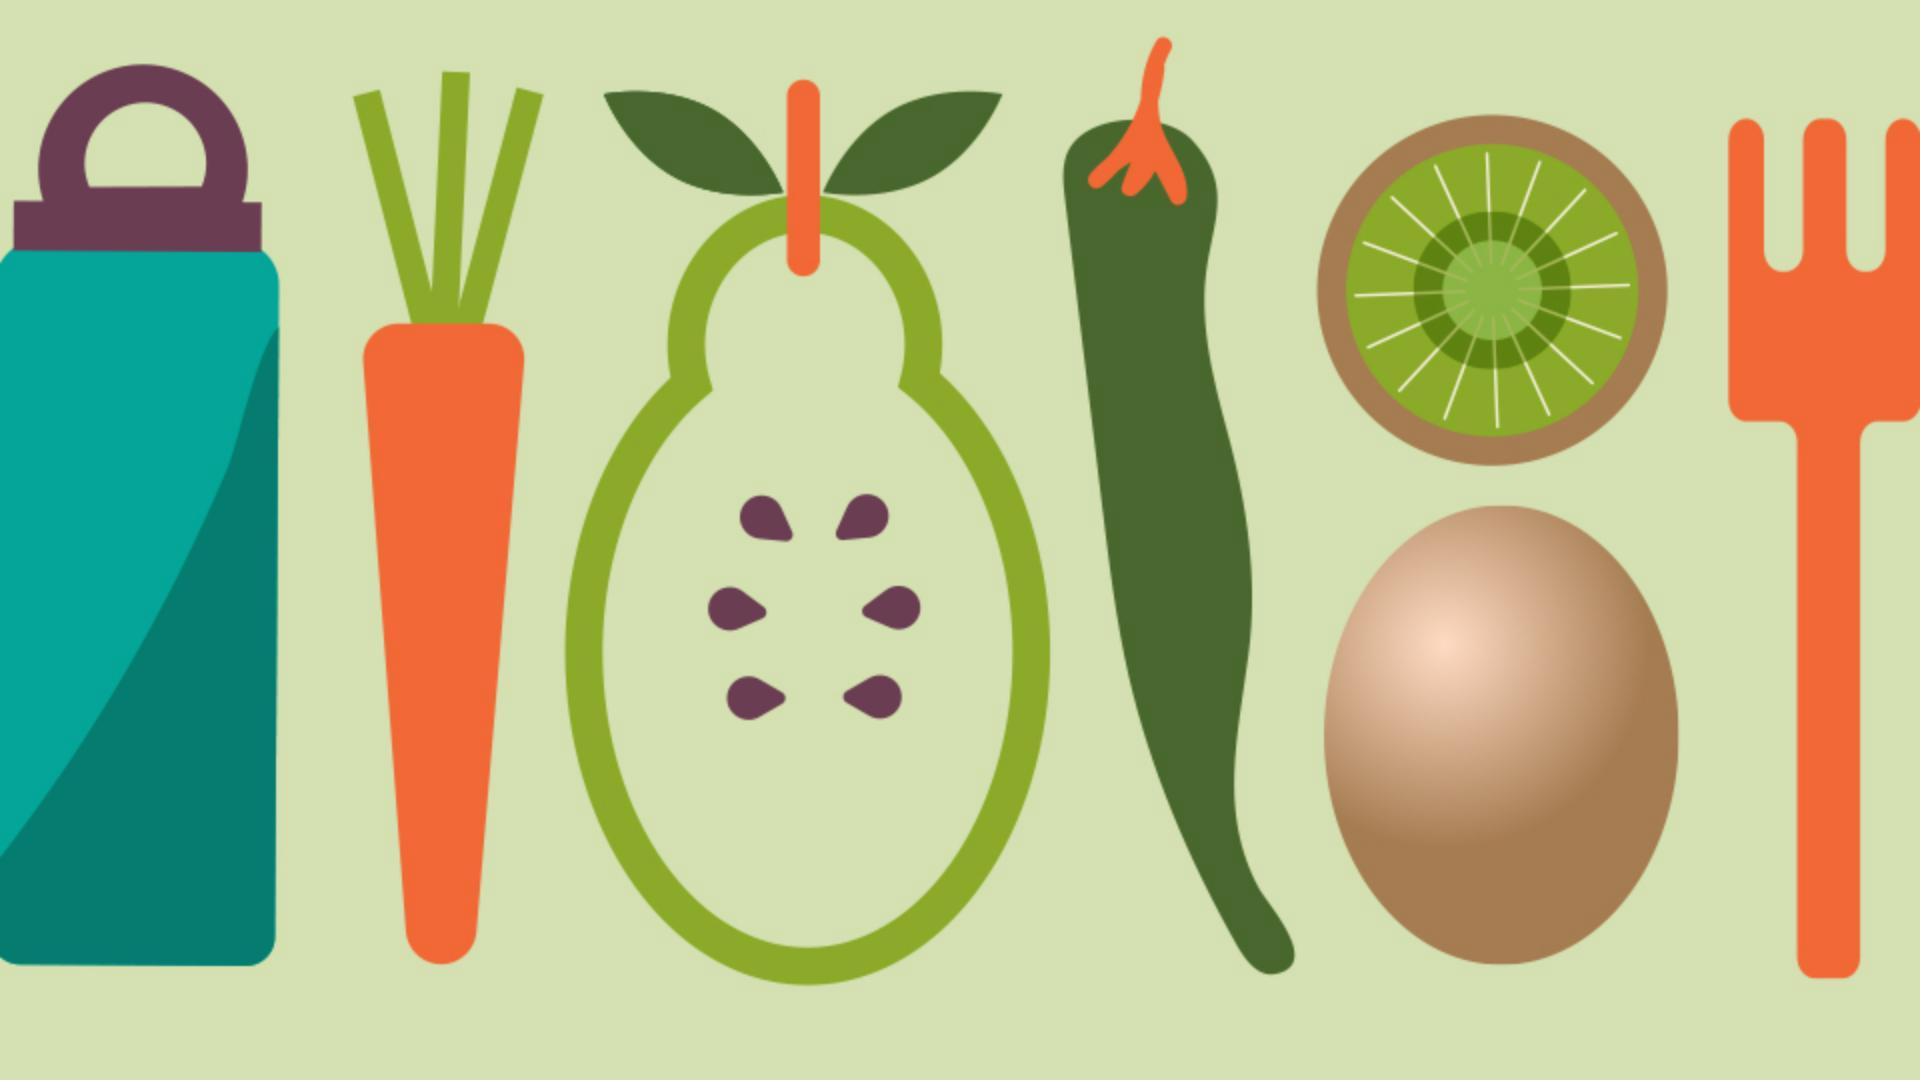
Starting with this fork, go ahead and select it with the Selection Tool.
I'll zoom in a little.
To change the color, look in the Properties panel over here, and the Toolbar here, and even in the Taskbar you'll see one of those icons.
You're going to see these two icons all over the place.
When it comes to shapes, this icon is the Fill of the shape or the inside color of the shape, and this icon is the border or what they call a Stroke in Illustrator.
You can select which one you want to edit and make that change.
Come to the Taskbar and click the Fill box.
With the Swatches selected here, you can see saved colors, called Swatches.
You can select any of these to apply them.
Say you want to make your own color, the Color Mixer here is where you can sample a color, trying to get close to what you want.
Or if you want to get to a specific color or maybe refine this color, you can drag these sliders or enter values.
By default, shapes you make have a white fill and a black border on them.
We're going to remove that border from the fork.
To remove the border, you can set this Stroke value to 0 pt, or you can apply a color to the Stroke of None.
So, go ahead and remove it.
For a little practice, change the fill color and border of the carrot and the pepper, and see what you come up with.
If you've already got color in a project and you want to use that color, you can just sample it.
Come to the spoon shape and select it.
To sample, you need the Eyedropper Tool, so you can either press the letter I on your keyboard to get there or go select it in the Toolbar.
Then click on the fork to sample and apply the same color.
It's that easy.
Notice that it did the same fill and border, or stroke.
We've got basic color changes,