Enhance your slide presentations with custom patterns using Illustrator
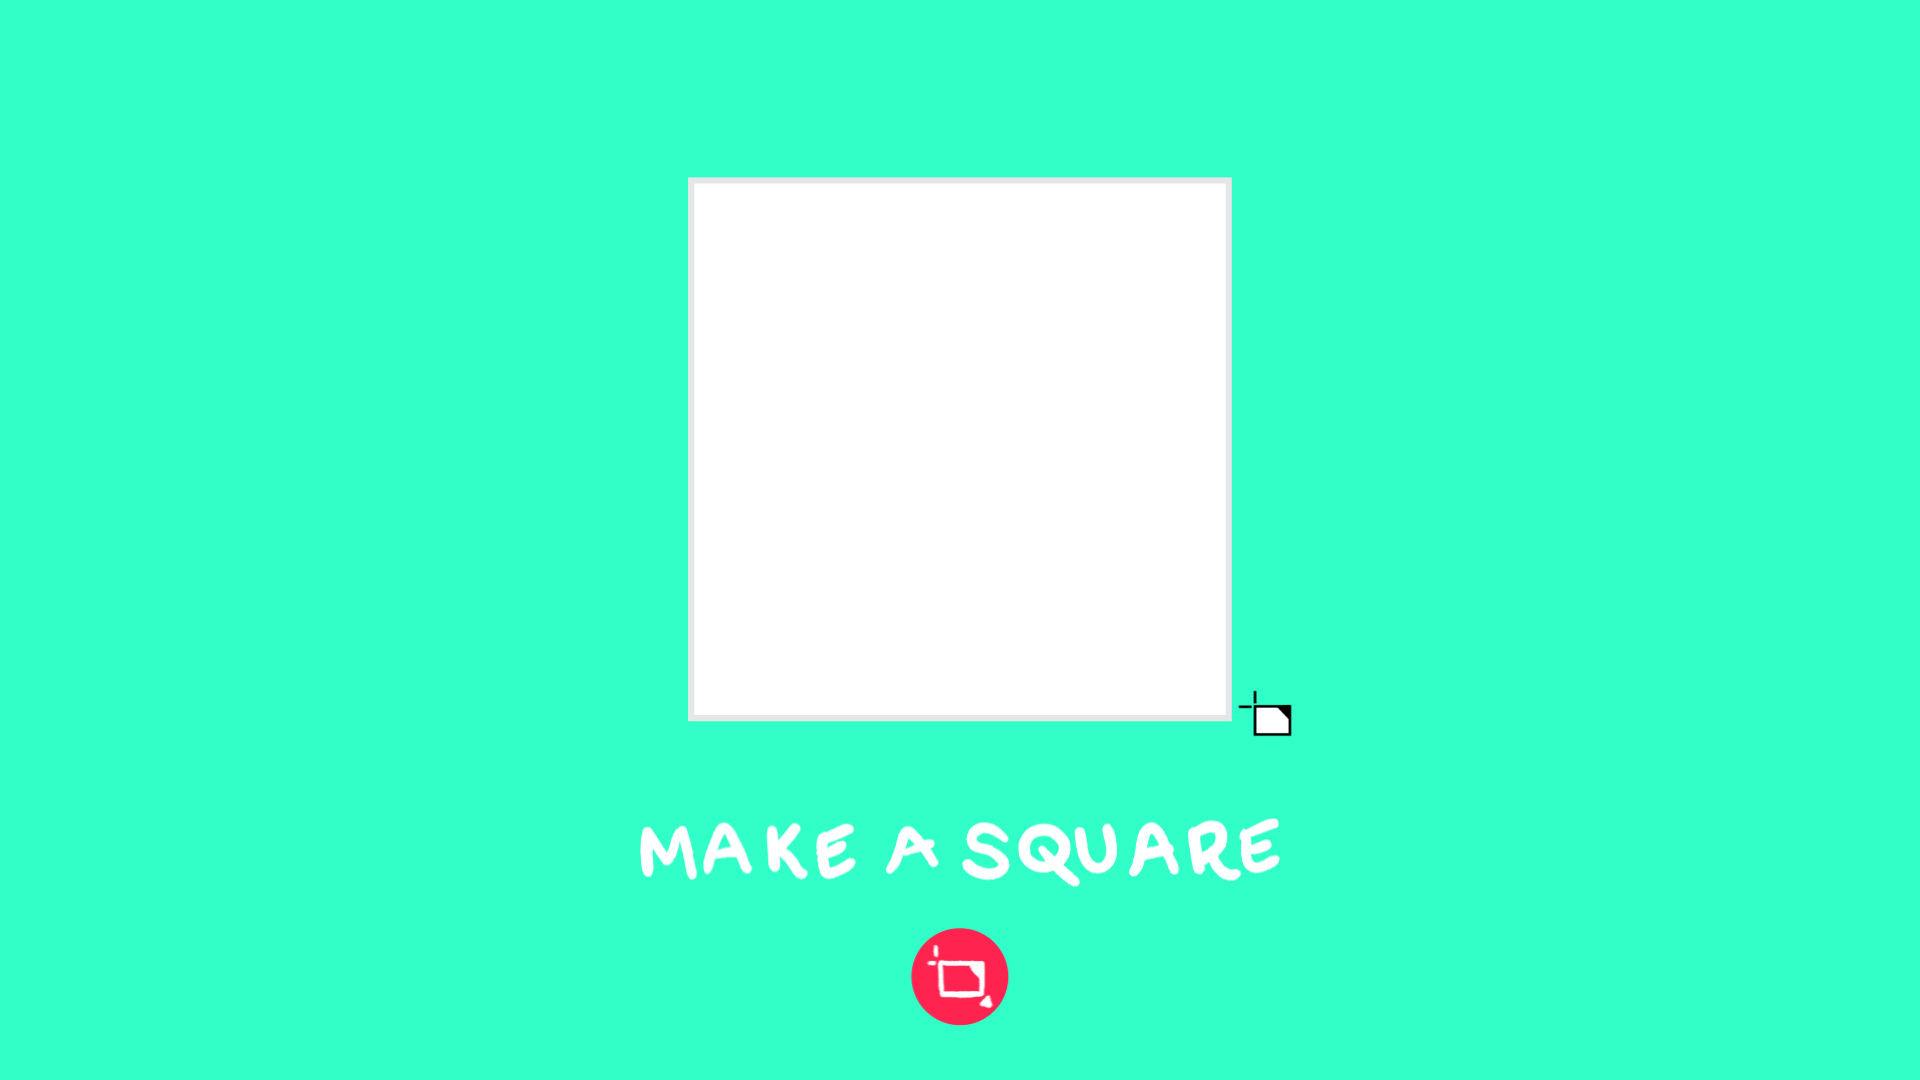
1 Get started
This part’s easy: make a square. That means you’ll create your artboard to a 1:1 ratio; ours is 1080px x 1080px.
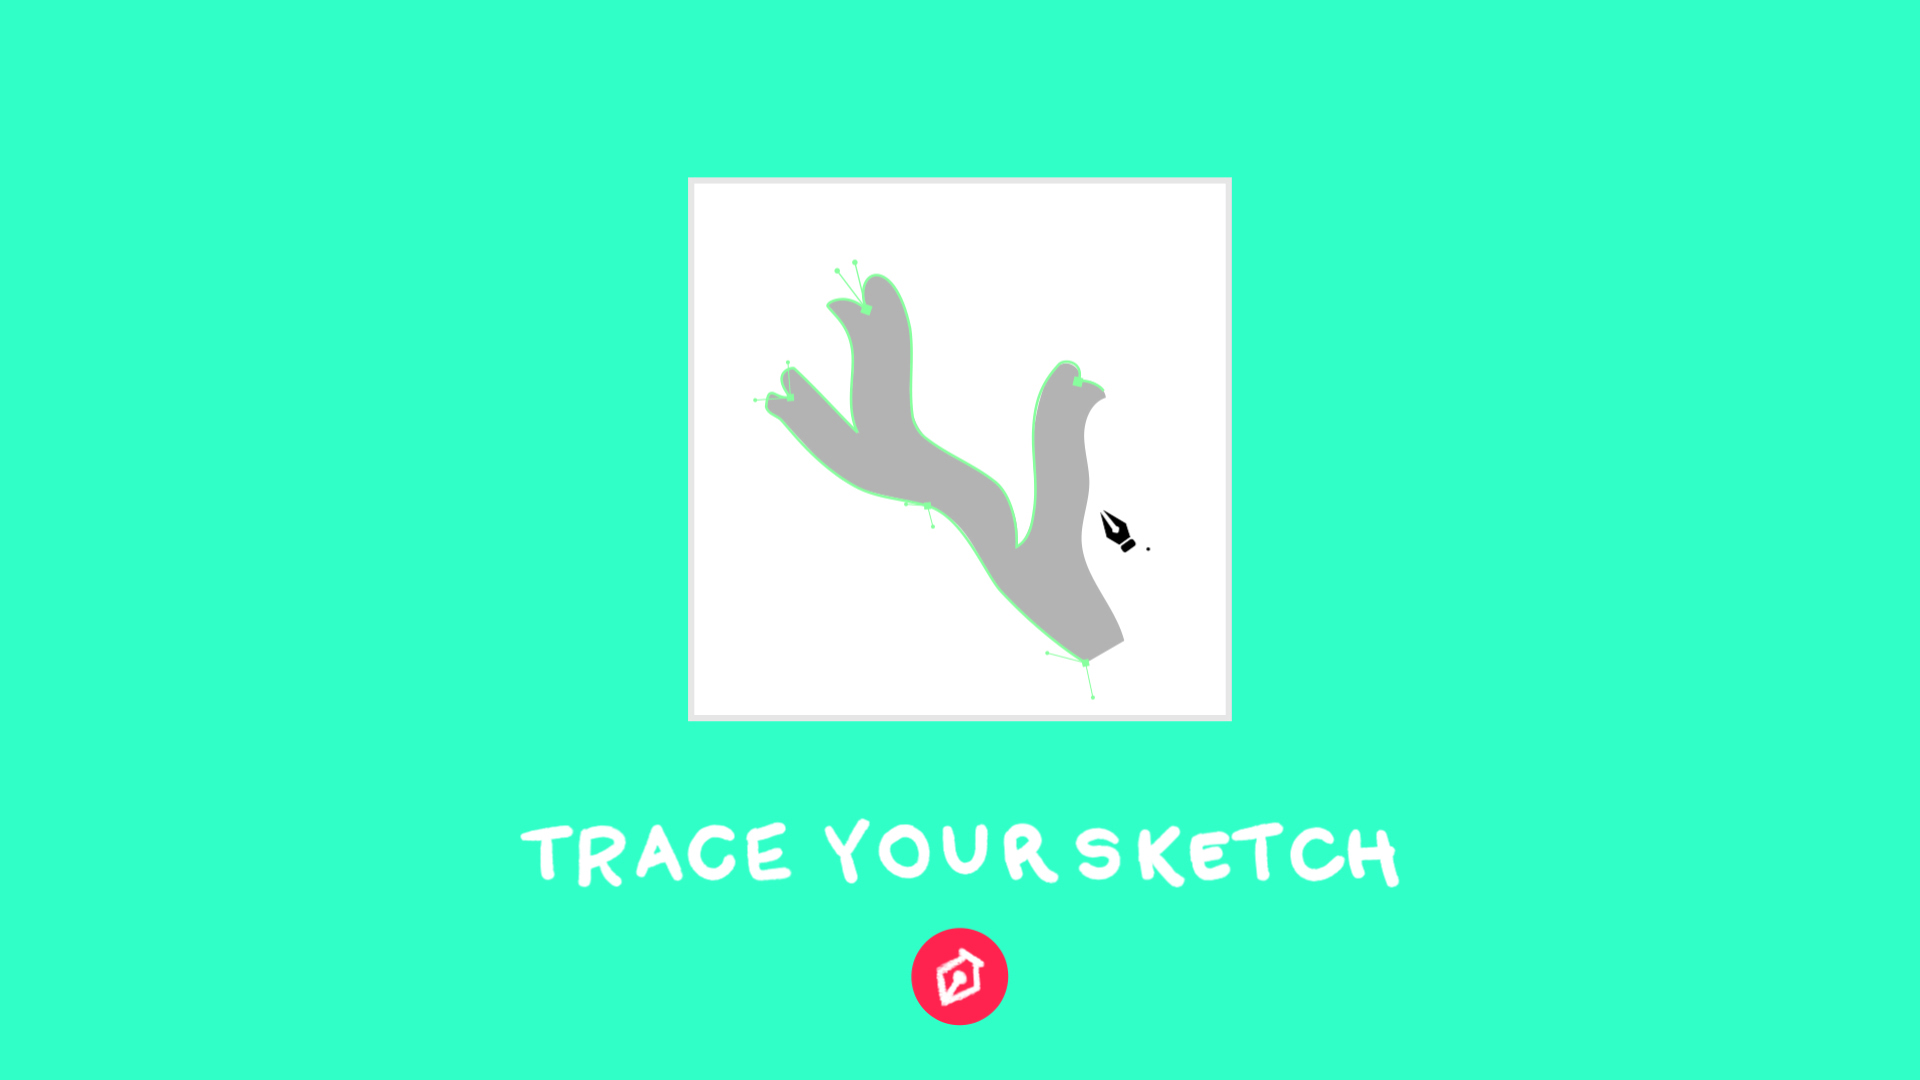
2 The fun part: make a pattern!
Use the pen tool to create shapes. Then, move them outside the bounds of the artboard.
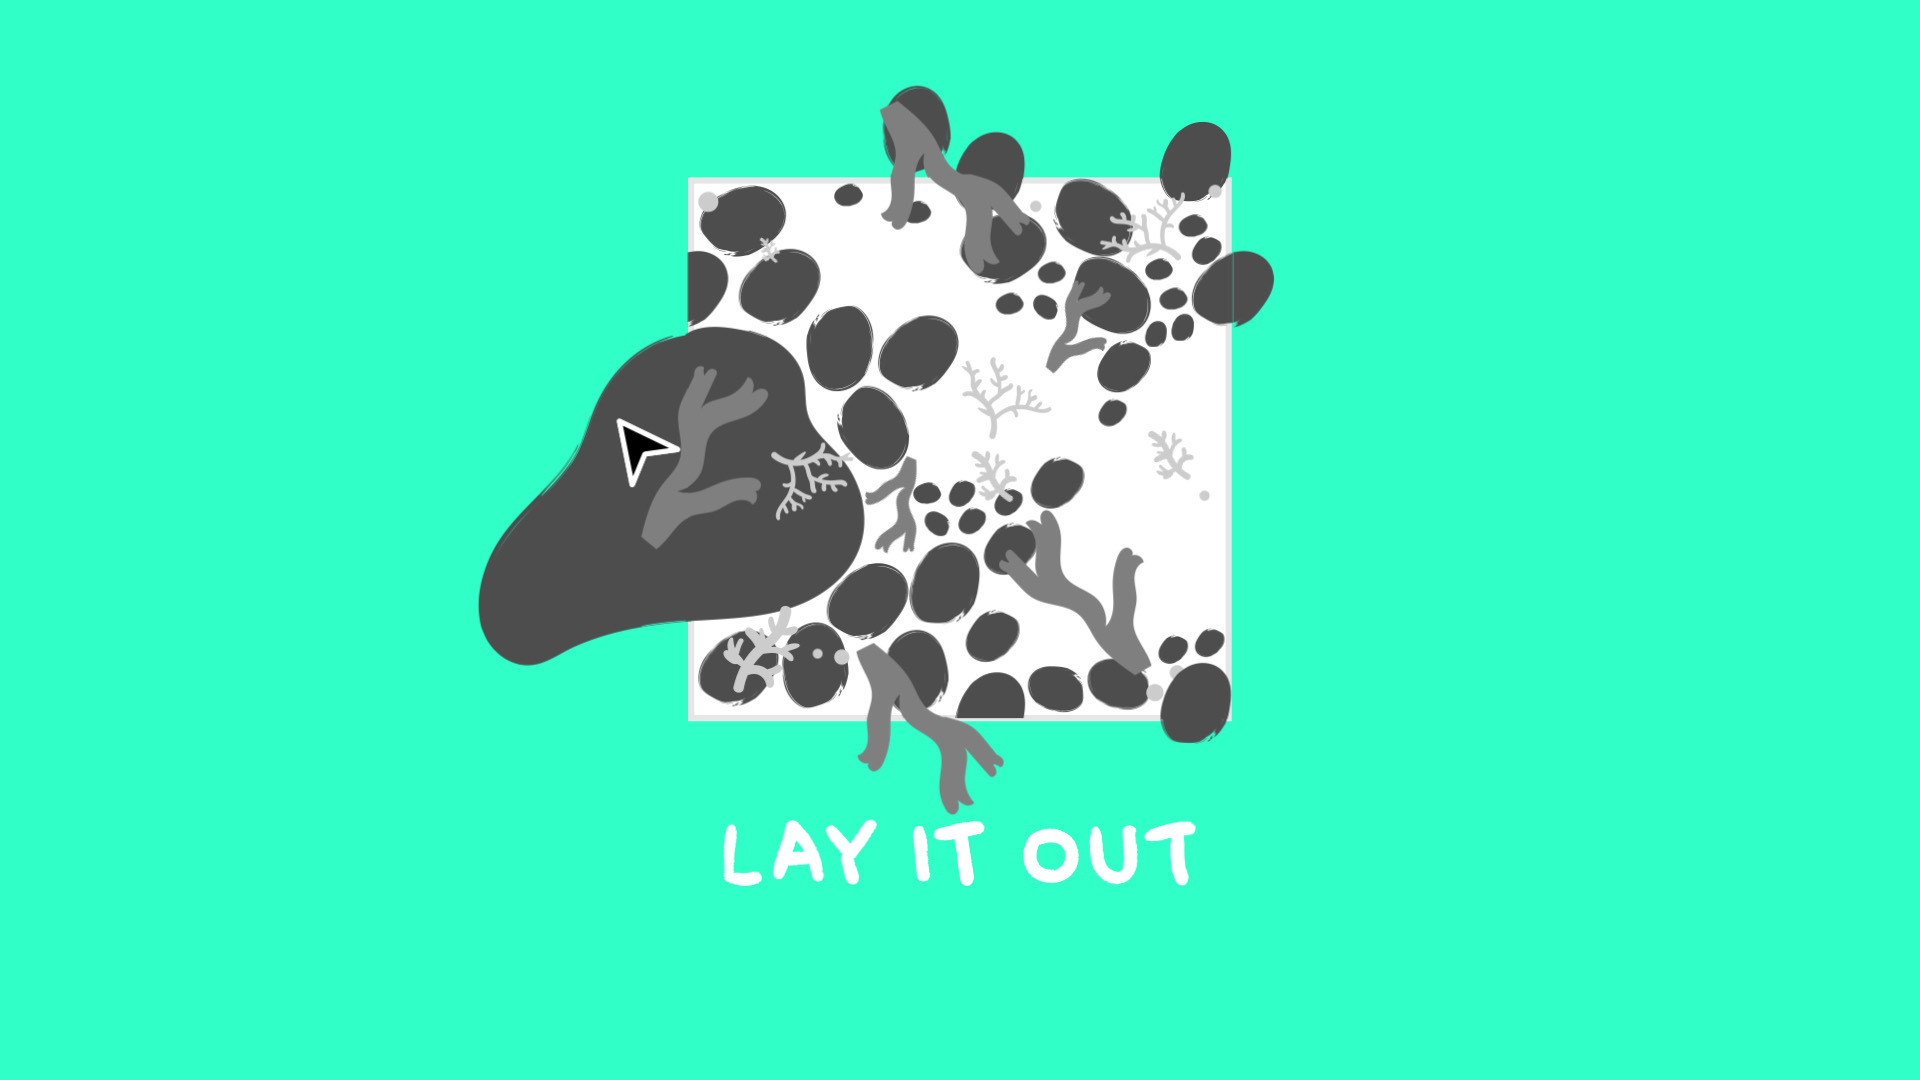
3 Layout time
Seamless patterns need seamless edges. It’s like laying tile; you should be able to add a duplicate of your shape on any side and have it look seamless.
Now you can start laying out your pattern. For now, let’s keep it neat and tidy; don’t place anything over the bounds of the edges.
4 Okay, okay. Get those edges under control.
Start to design your edges by making them all match. To keep things organized, start on one side and design both top and bottom.
Make sure the left and right sides line up so that when you repeat your pattern it’s totally seamless.
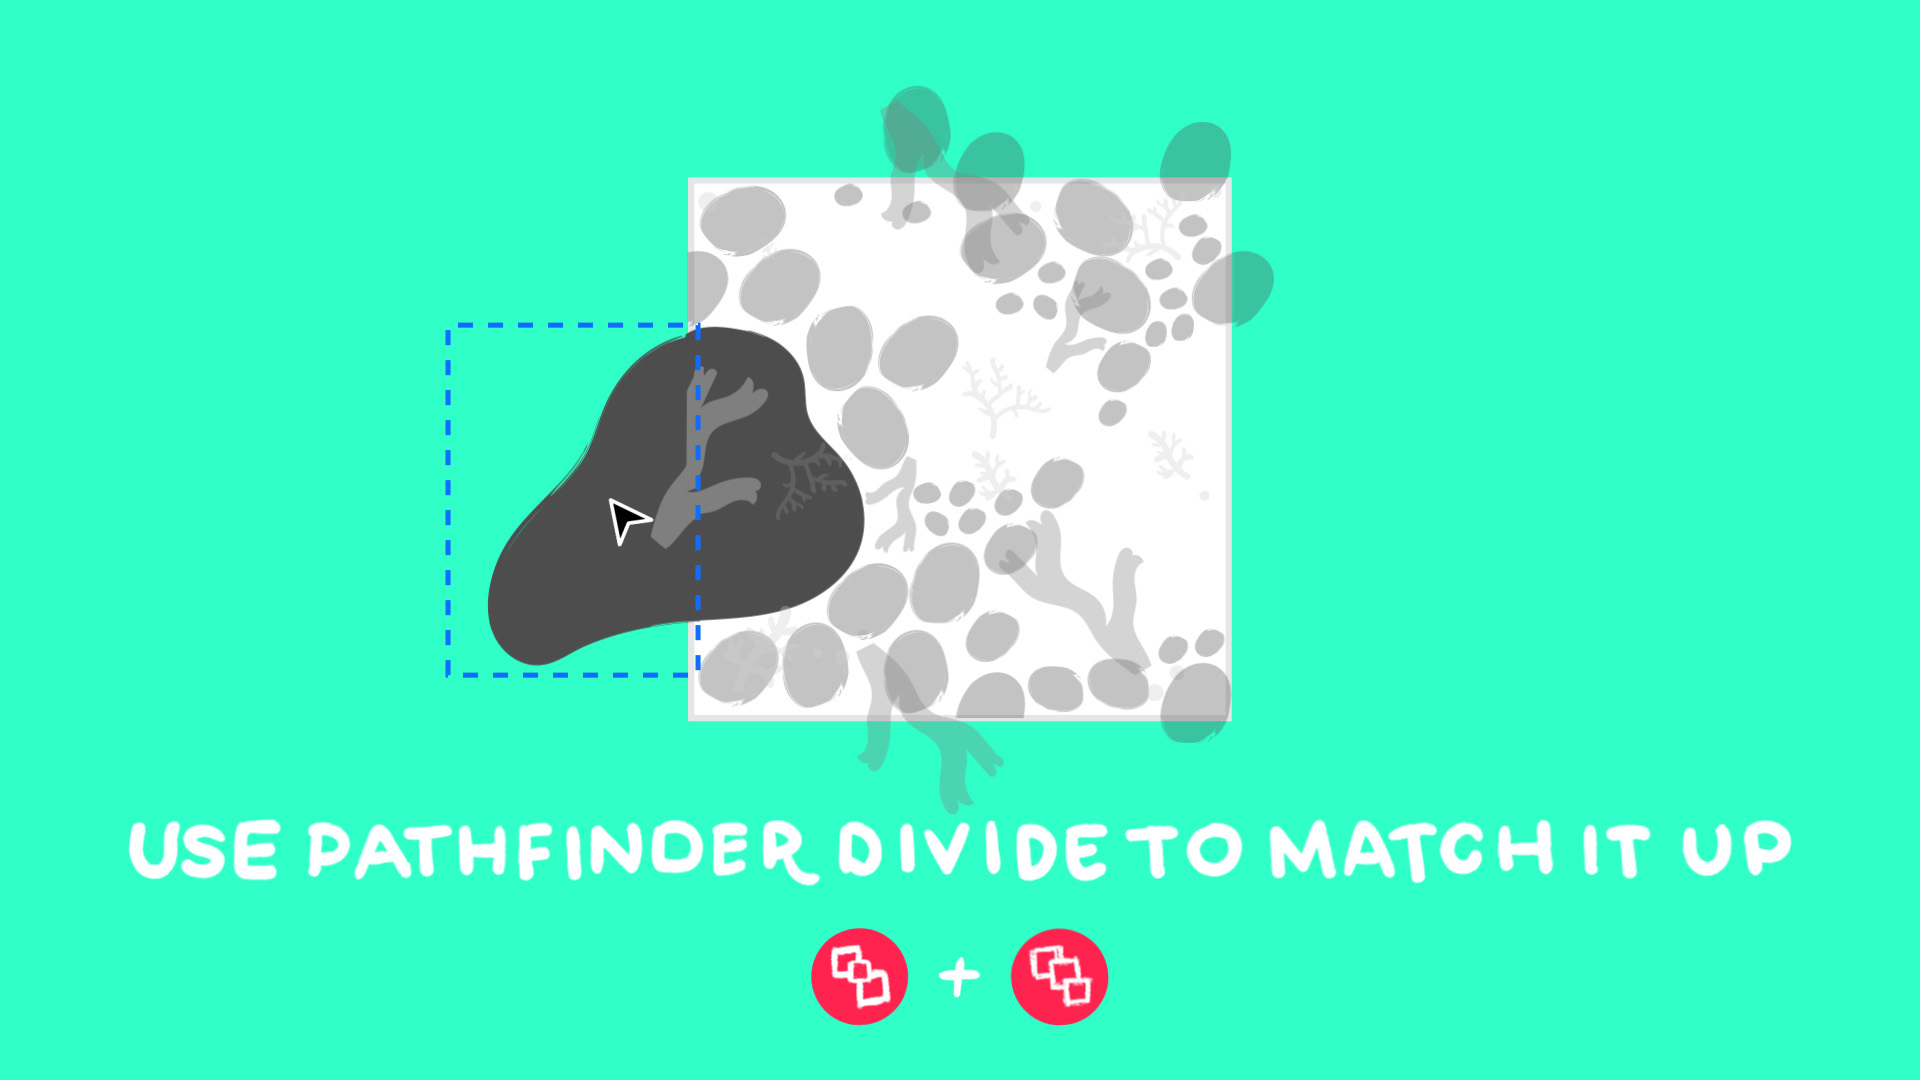
Next use Pathfinder (Window > Pathfinder) and the Pathfinder Divide tool (Window > Pathfinder > Pathfinder Divide) to divide your shape in half.
Pro tip: To create a successful pathfinder, create another shape on top of the part of the shape you are trying to separate. Example: on the left edge, take the left half of your shape (the one on the outside of the artboard) and create a square over it that lines up perfectly with the edge of the artboard.
Click the divide tool to separate it.
Ungroup it.
Transform the position by holding shift to keep the same x-coordinate and move it to the right edge of your shape.
Don’t want to do it that way? You can also use the position coordinates and clipping masks.
Don’t freak out, you’ll need to do some math here. If you want to move something left to right: shift over your shape the exact number of pixels of the x-axis width.
If you want to move something up and down: shift your shape over the exact number of pixels of the y-axis height.
You did it, you math-ed! Once you have everything laid out and matched up, use a square (with no fill or stroke!) over your art board.
Now select everything on your artboard and beyond the bounds. Make sure the clipping mask is on top.
Right click “Create a Clipping Mask” or use the shortcut command + 7 to create a clipping mask.
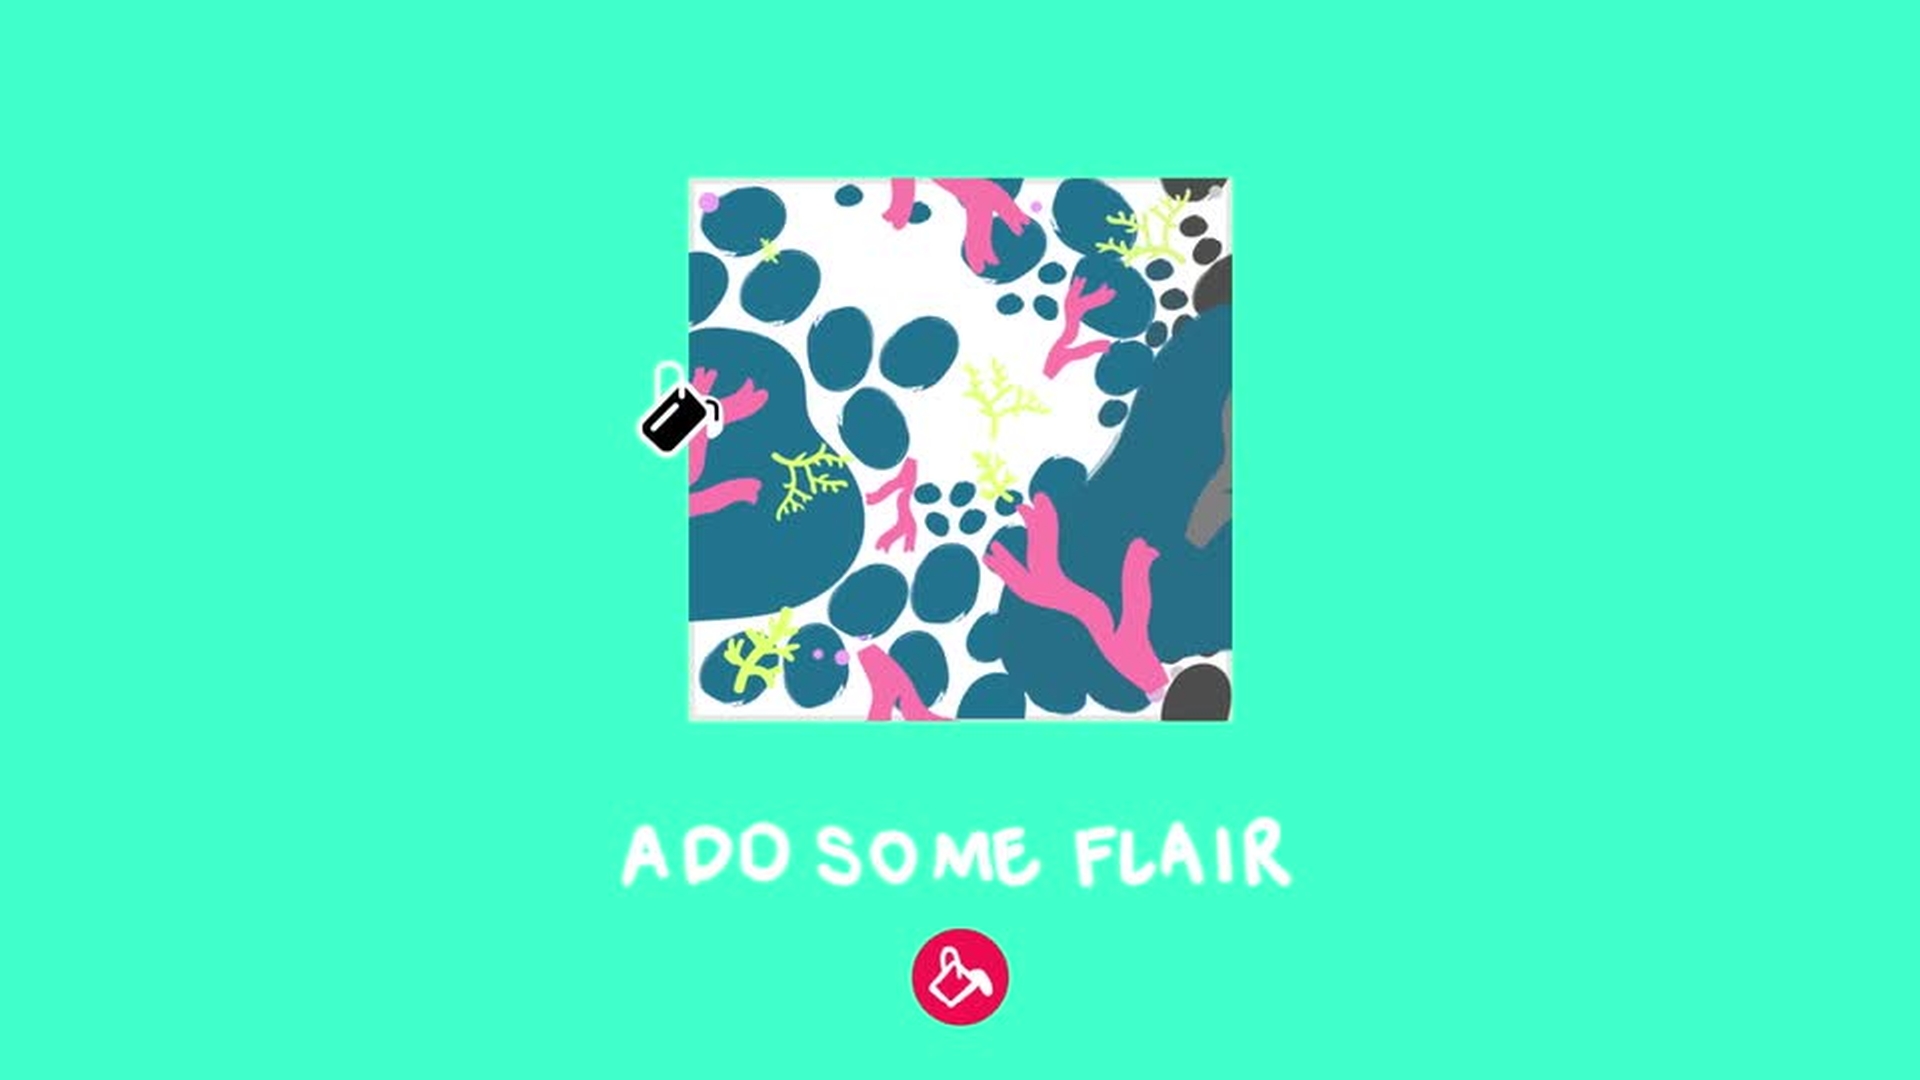
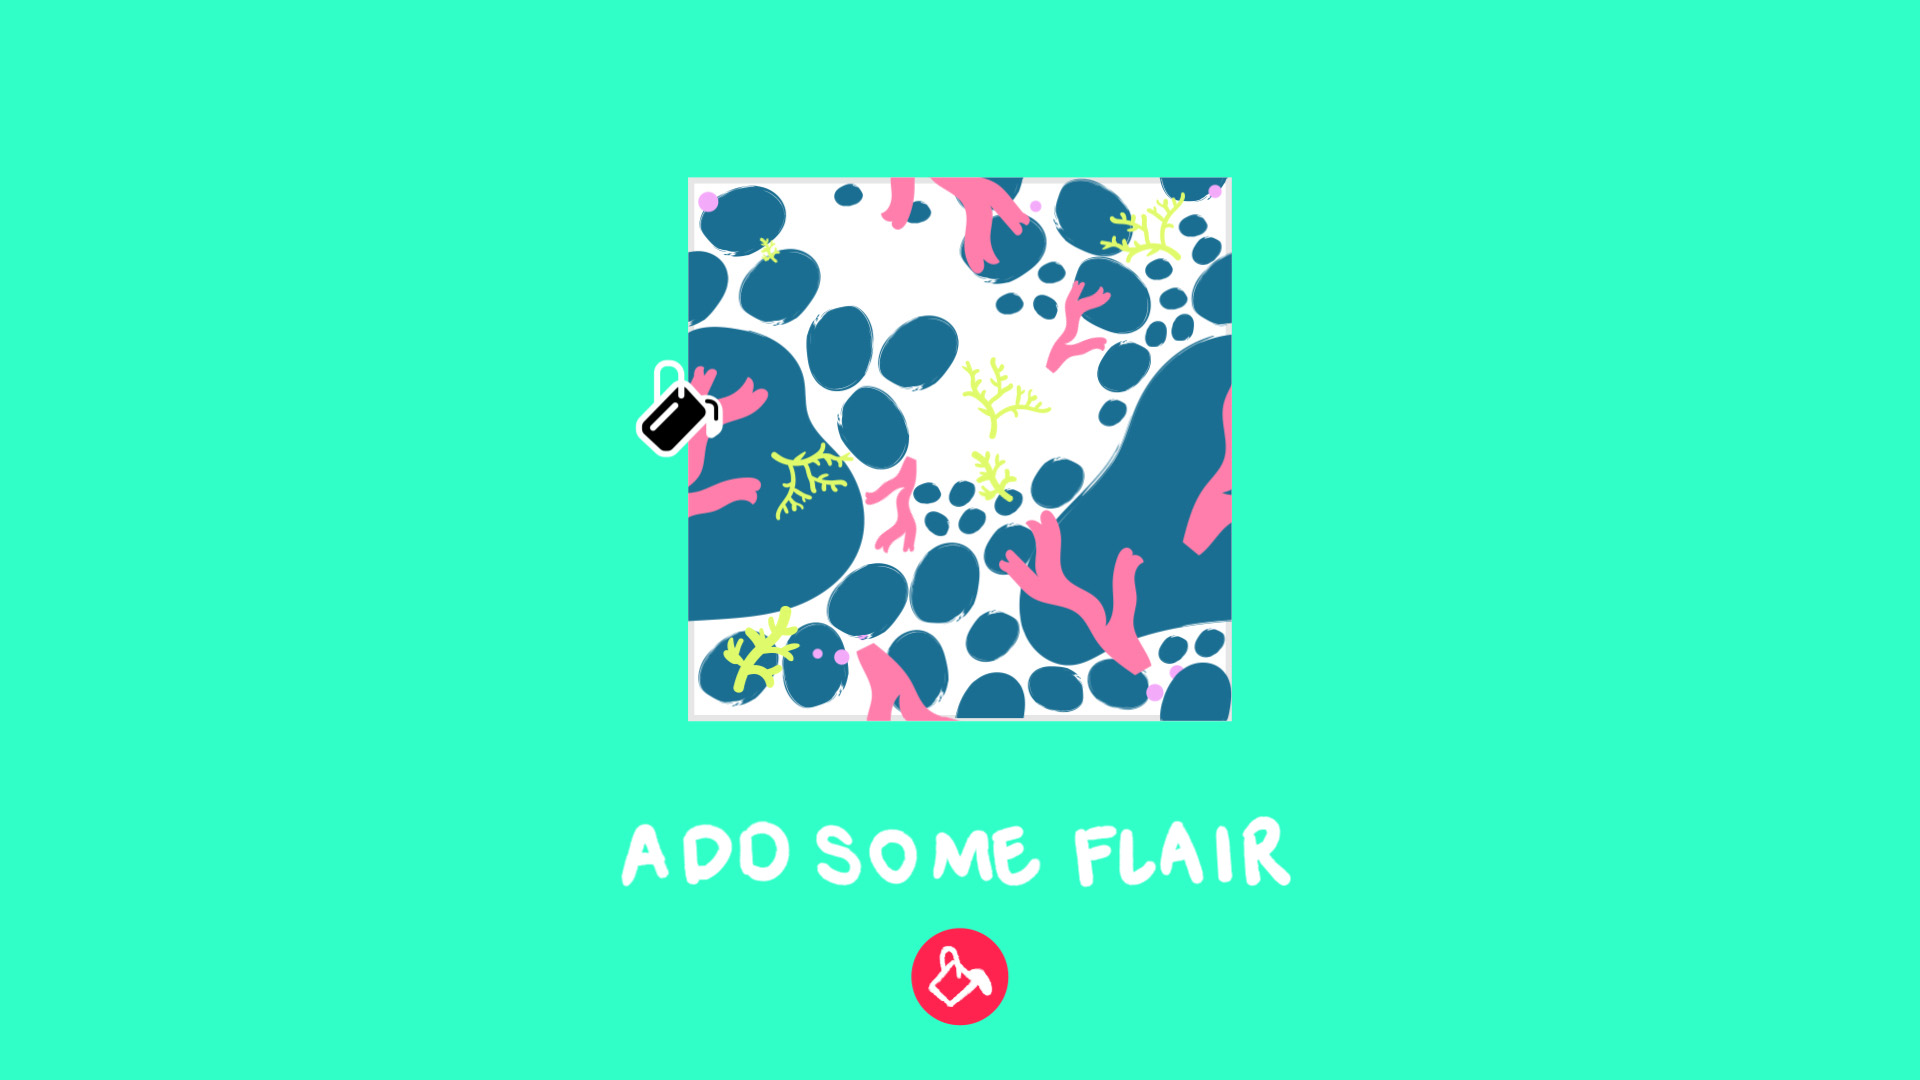
5 The easy part: add color!
Select 1. Your clipping mask or 2. Your grouped artwork. Then go to Object Window > Recolor Artwork > Edit Colors.
Pro tip: you can even use predetermined color coordinations from the Theme panel in the lower right hand corner. Just don’t get lost in all the options. Or do.
6 The pattern you’ve been waiting for
Select your artwork, go to the Object drop down menu, select Pattern > Make
A pop up menu will appear. Choose the grid option.
Double check to make sure the pattern’s height and width match the original dimensions of your artboard.
Name your swatch! Save! Celebrate!

7 Show the world what you’ve made
Your pattern will now appear as a swatch in your colors and swatches menu. You can place it in any object or image you want for the rest of forever.