Create with drawing tools
1 Understand paths and curves
Discover what shapes and paths are composed of.

What you learned: Paths and curves
Paths are made of anchor points that connect with line segments.
You select paths for editing with the Selection tool in the Tools panel. A bounding box appears around the entire path for transforming.
The Direct Selection tool in the Tools panel is used to select anchor points and paths.
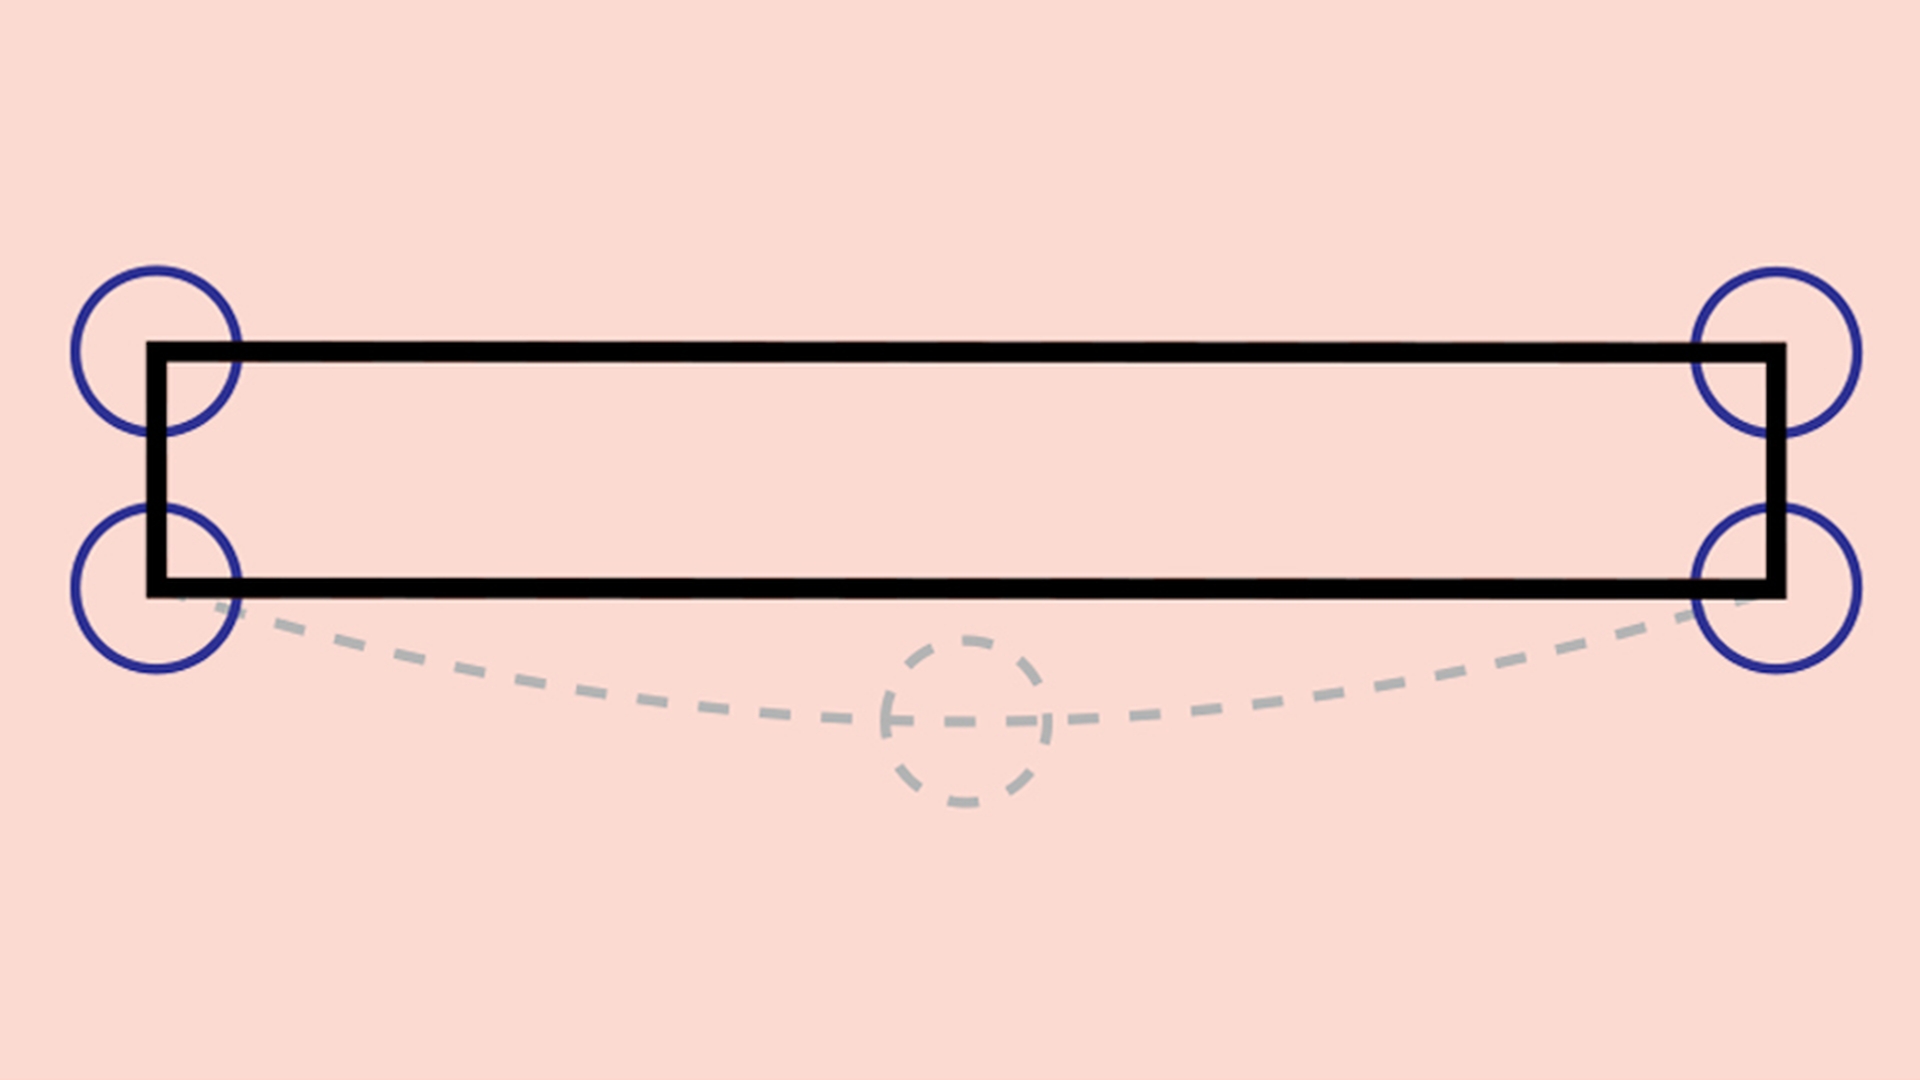
A curved path is controlled by an anchor point with direction handles. The direction handles control the shape of the curve.
Shapes are closed paths because all the anchor points on the path are connected.
2 Draw with the Pencil tool
Learn how to draw freeform and straight paths with the Pencil tool.

What you learned: Draw with the Pencil tool
Click and hold the Paintbrush tool in the Tools panel and select the Pencil tool in the menu that appears.
Double-click the Pencil tool to set tool options.
Drag in the document to create a path with the Pencil tool.
As you draw, return to the beginning of the path to close it and make a shape.
Position the Pencil tool on the path to redraw part of it. Drag to redraw, ending back on the path.
To draw a straight path with the Pencil tool, Alt-drag (Windows) or Option-drag (macOS).
3 Draw with the Curvature tool
Discover how to draw different types of paths using the Curvature tool.
What you learned: Draw with the Curvature tool
Select the Curvature tool in the Tools panel.
Click to set anchor points in a path. The anchor points create curved paths by default.
To create a straight path with the Curvature tool, double-click to set an anchor point, or double-click an existing anchor point to make the path straight.
To add points to a path, move the pointer over the path. When a plus (+) appears next to the pointer, click to set a point.
To move anchor points, drag them.
4 Edit paths and shapes
Discover how to edit paths with the Curvature and Direct Selection tools.

What you learned: Edit paths
Select the Selection tool in the Tools panel. Click or drag across a shape to select it.
Select the Direct Selection tool in the Tools panel to edit the anchor points of a path. Click the edge of a path to show its anchor points. Drag an anchor point to see its effect on the shape. Drag a path to adjust the curve if it’s part of a curved path. Drag a path to move the path if it’s part of a straight path.
Select the Curvature tool in the Tools panel to edit existing paths. Double-click an anchor point to convert from a straight path to a curved path and back. Move the pointer over a path and click when a plus (+) appears next to the pointer to add an anchor point.
5 Join artwork together to combine paths
Explore joining paths together using the Join command.

What you learned: Join paths
Select two paths and choose Object > Path > Join to join the ends closest to each other.
Presenter