Use rulers and guides to align artwork precisely
Keep your drawings sharp and layouts consistent with rulers, custom guides, and Smart Guides in Illustrator.
Published
What you’ll learn
Show rulers and create drawing guides
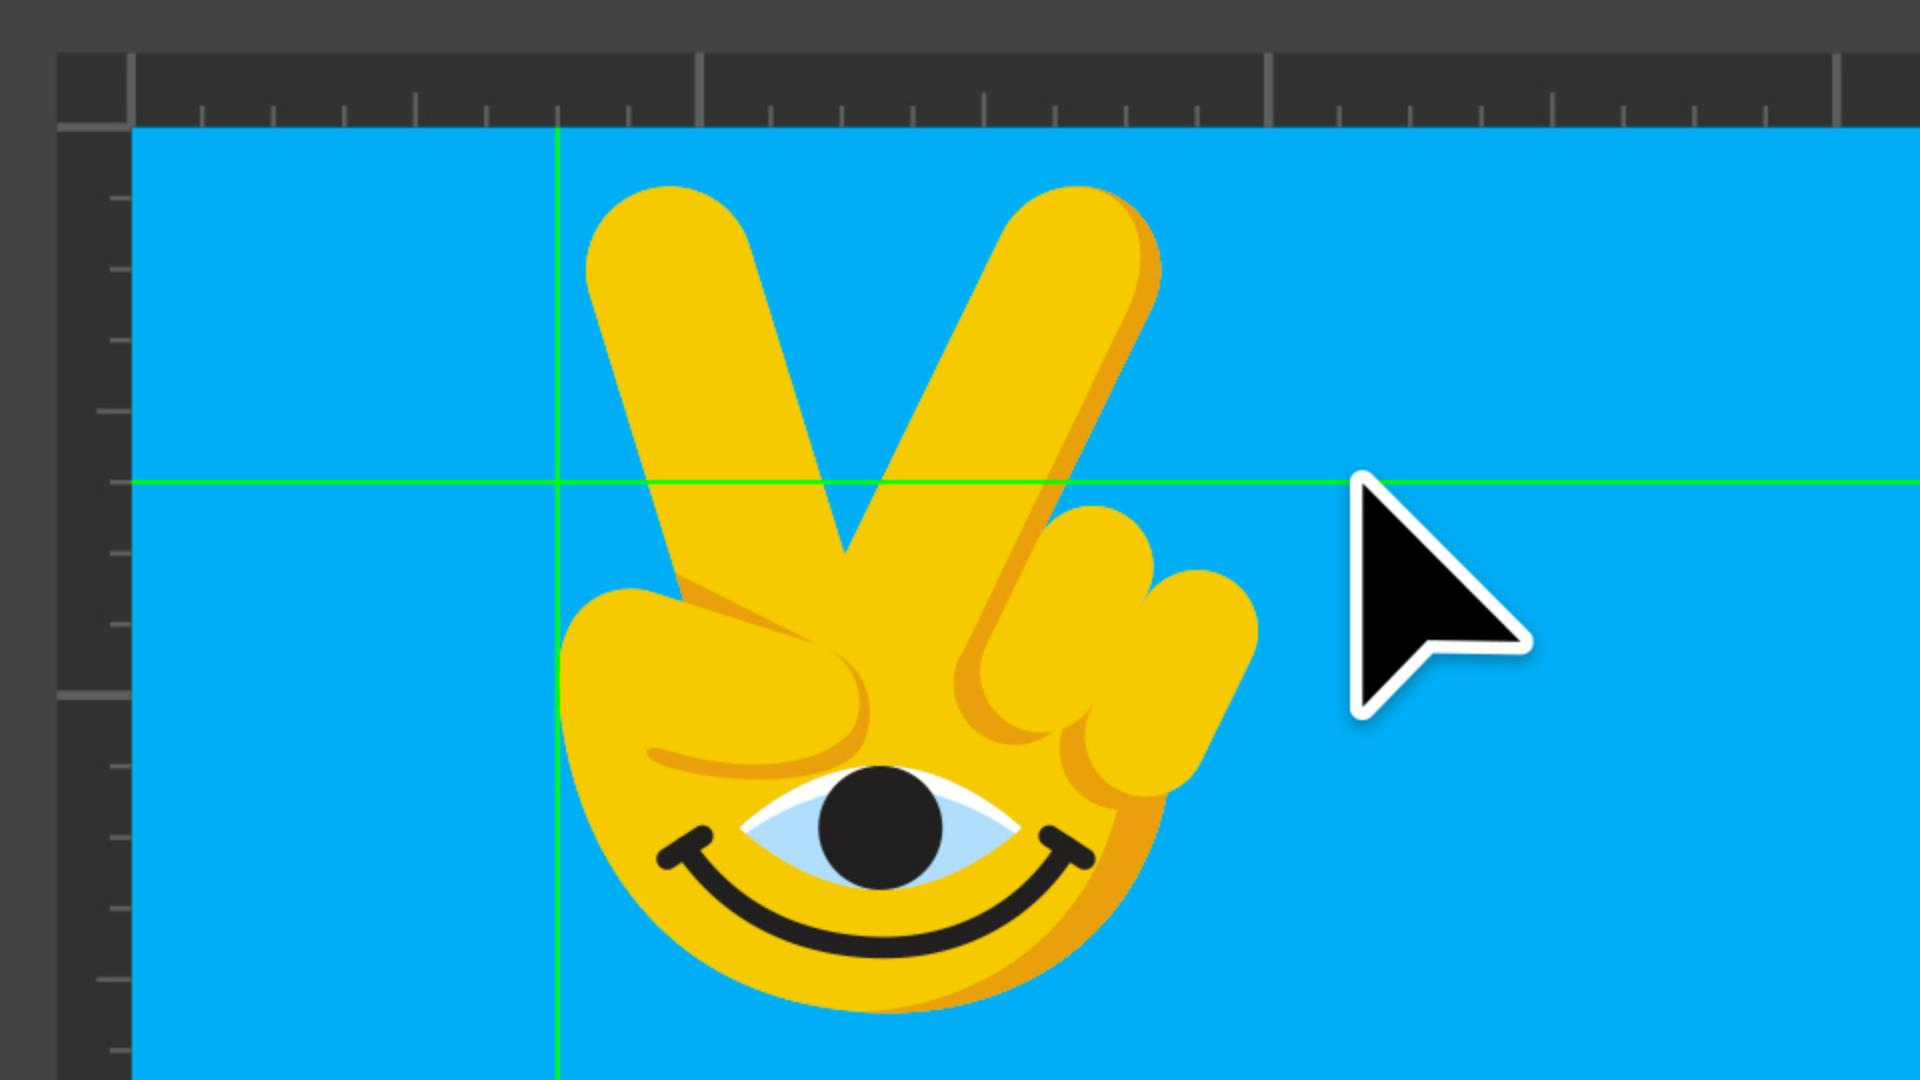
Use rulers to measure, set origins, and drag out guides that keep your drawings aligned. Lock, hide, or clear guides anytime.
Convert any shape into a custom guide
Right-click any shape and choose Make Guides to turn it into a custom alignment tool for your artwork.
Employ Smart Guides to align objects
Turn on Smart Guides to align drawings and space elements intuitively. Customize them for edges, midpoints, and unique angles such as those used in isometric artwork or angled grids.
Instruction by
Design by