My name is Tyler Pate, also known as The Creative Pain, and today we're going to focus on snapping behaviors to help give your work more precision across your design.
Stick around to the end for a bonus tip for making snapping more efficient and error-free.
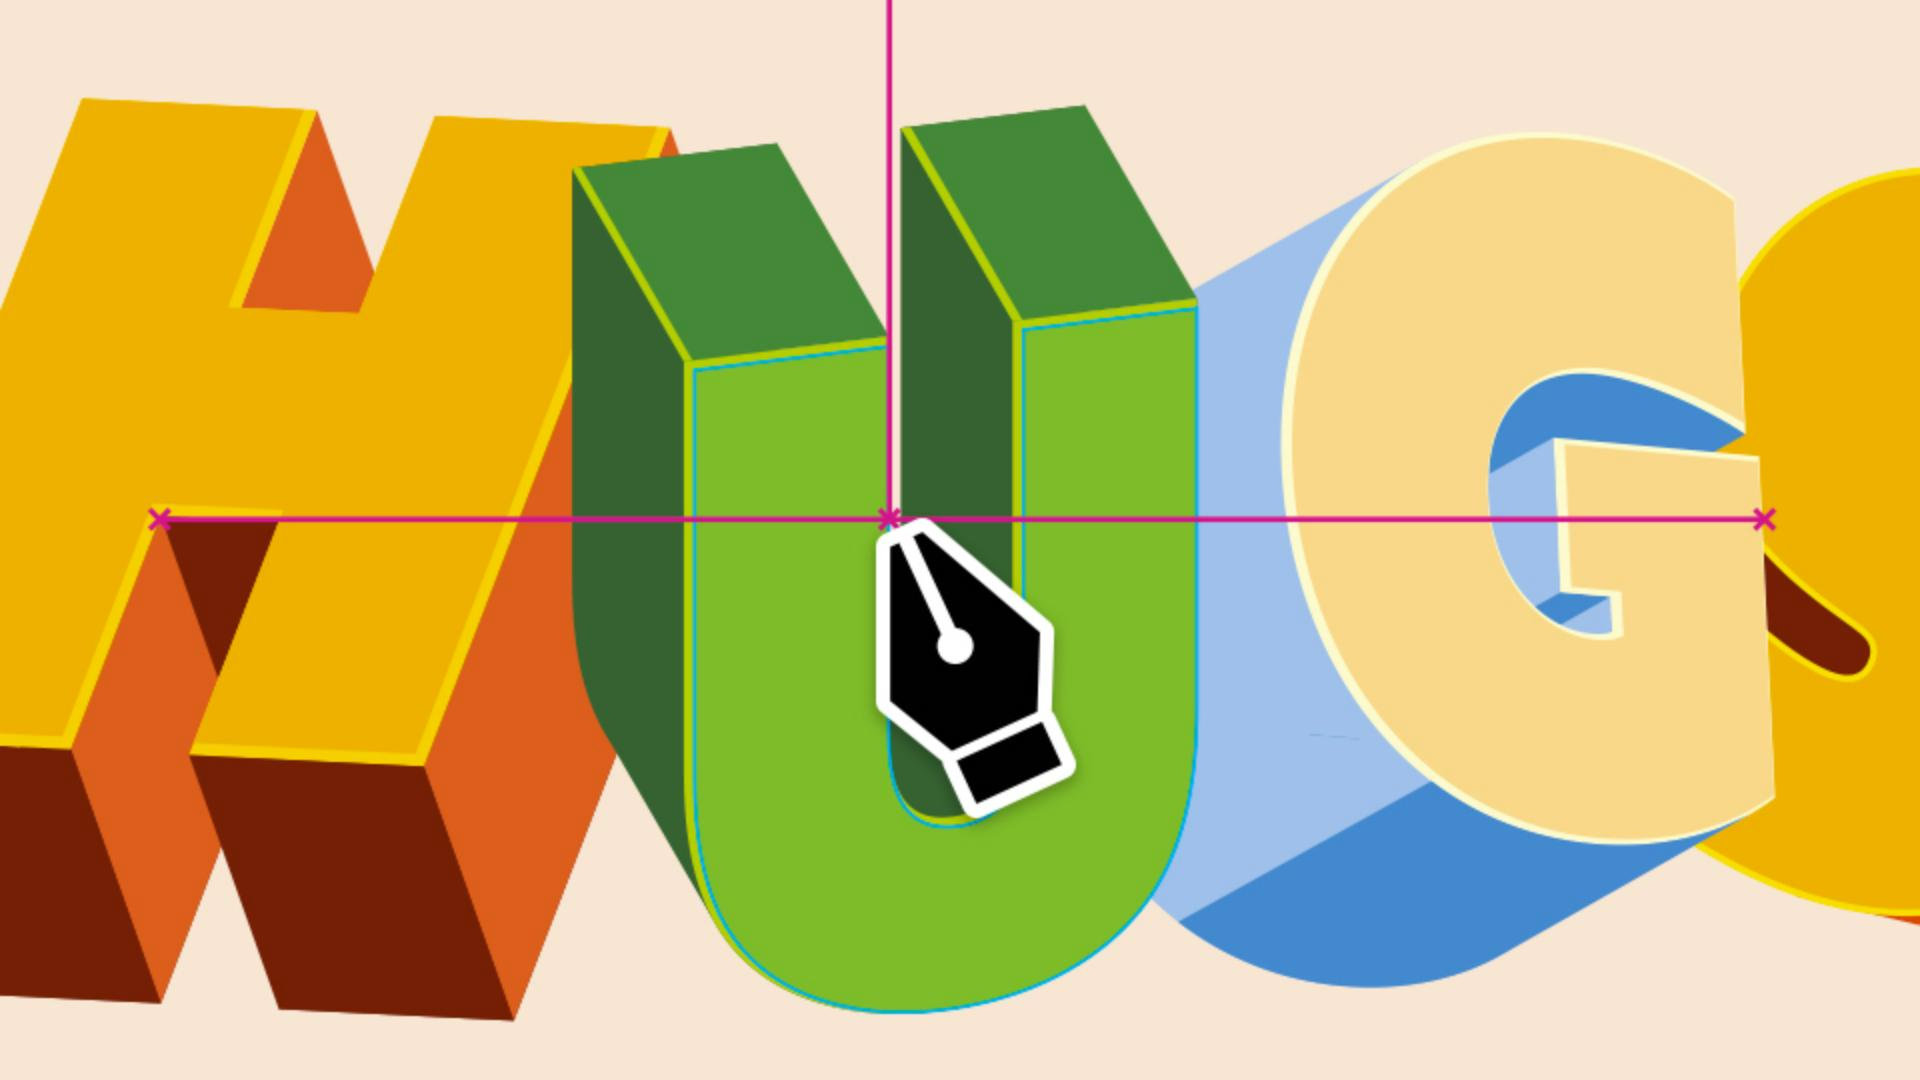
I'm working on a simple 3D-style illustration; I need all of my shapes to be perfectly aligned - no overlaps, no tiny gaps.
Normally, I'd spend a lot of time adjusting everything by hand, but that can be tedious.
With Illustrator's snapping features turned on, the program handles the precision for me.
Under the View menu, you'll find all of your Illustrator snapping features.
Here you can choose from Snap to Grid, Snap to Pixel, Snap to Point, Smart Guides, and even Snap to Glyph.
Each option has its own unique snapping behavior, giving you different levels of precision and control.
Let's start with Snap to Grid.
Order layouts precisely using grids
This is especially helpful if you're working with custom grids inside your Illustrator file.
To make the grid visible, go to View, Show Grid.
Now you'll notice that everywhere you click or place a point, it automatically snaps to the grid line or the edge of each grid square.
This makes it really easy to place objects with precision and keep everything aligned to a clear structure.
We can also hide the grid by going to View, Hide Grid.
And if you need to customize the grid, just go to the Illustrator menu, choose Settings..., and Guides & Grid...
Now let's look at Snap to Pixel.
Very similar to the way Snap to Grid functions, but tailored to pixels.
Your shapes will lock right to the pixel grid, which makes it perfect for building crisp, pixel-perfect designs for screens or websites.
Align objects and points accurately
Now on to one of my favorites: Snap to Point.
This allows you to snap objects directly to other anchor points like endpoints, midpoints, or even the center of other objects.
This makes aligning elements faster and more consistent across your design.
We can even adjust the snapping tolerance for more control.
Simply go to Settings..., Smart Guides..., to adjust a Snap to Point Tolerance.
This controls how close your cursor needs to be before one anchor point snaps to another.
A higher value makes snapping more magnetic, so you don't need to get as close for it to lock in place.
Which brings us to Smart Guides.
In the past, I used to struggle with aligning points to tangents or rotated shapes.
I'd have to zoom way in and carefully adjust everything by hand.
But with the recent improvements to Smart Guides, Illustrator makes the process so much easier.
Now points snap right to the tangent with precision, and the best part is that Smart Guides give you visual feedback to guide your alignments.
Achieve perfect text alignment with Snap to Glyphs
Now let's move the Snap to Glyphs.
Aligning objects to live text used to be one of the most frustrating parts of my workflows.
It always felt slightly off and usually came down to guesswork, but with the Snap to Glyphs, that's all fixed.
It lets you snap shapes directly to the edges, baselines, or the center of your text for perfect alignment every time.
Consistency is key.
Snapping keeps your anchor points, midpoints, and objects perfectly aligned.
You can fine-tune how this works by opening the Settings menu and choose Smart Guides...
Here you'll see labels that help with aligning, like showing if you're snapping to an object center or endpoint.
You can also turn on the little pop-up gray measurement labels to see how far you moved an object.
Play with these settings and see how much faster you can build your vector designs.
Bonus tip: Limit snapping to a single artboard.
Here's a bonus tip I use all the time when working on multiple artboards: You can limit snapping to just the artboard you're on, so it doesn't try to align to objects on nearby artboards.
To do this, go to Preferences, Smart Guides..., Limit Snapping to Active Artboard.
And that's it.
Pretty simple, right?
I hope you enjoyed this quick look at some of Illustrator's best snapping features.
They're perfect for keeping your workflow precise and your designs aligned with zero stress.
Thank you so much for tuning in.
My name is Tyler Pate, and I'll catch you at the next one.
What you’ll learn
Order layouts precisely using grids
Use Snap to Grid or Snap to Pixel to align artwork cleanly to grids or pixel boundaries for structured, polished results.
Align objects and points accurately
Snap to Point and Smart Guides help you align anchor points and tangents precisely — no more manual tweaks.
Achieve perfect text alignment with Snap to Glyphs
Snap shapes to text baselines, centers, or edges for consistent layouts, then fine-tune snapping in Smart Guides preferences.
Bonus tip: Limit snapping to the active artboard to avoid interference from nearby artboards and work with more control.
You can control how Adobe websites use cookies and similar technologies by making choices below. But note that if you disable cookies and similar technologies entirely, Adobe websites may not function properly.
Cookies are small text files stored by your web browser when you use websites. There are also other technologies that can be used for similar purposes like HTML5 Local Storage and local shared objects, web beacons, and embedded scripts. These technologies help us do things like remembering you and your preferences when you return to our sites, measure how you use the website, conduct market research, and gather information about the ads you see and interact with.
You can make choices in the menu below about what cookies and other technologies you want us to use on Adobe sites when you visit them from this browser. You can always change those choices later by clicking on the Cookie Preferences link at the bottom of the page.
If enabled:
We can improve your experience by tailoring the site and the content to things we think might be of interest
We can better keep track of your preferences — like what language you prefer to use
We will better understand your likely interests so we can provide you more relevant Adobe ads and content on non-Adobe websites and in non-Adobe apps
It will help us improve the performance of our website and those of our partners who use the Adobe Experience Cloud
If disabled:
We won’t be able to remember you from session to session so the experience may not be tailored to your interests
You’ll still have access to the content of the site but certain features that depend on cookies may not function
You’ll still see ads, they just may not be as relevant to you
General information
You can control how Adobe websites use cookies and similar technologies by making choices below. But note that if you disable cookies and similar technologies entirely, Adobe websites may not function properly.
Cookies are small text files stored by your web browser when you use websites. There are also other technologies that can be used for similar purposes like HTML5 Local Storage, web beacons, and embedded scripts. These technologies help us do things like remembering you and your preferences when you return to our sites, measure how you use the website, conduct market research, and gather information about the ads you see and interact with.
You can make choices in the menu below about what cookies and other technologies you want us to use on Adobe sites when you visit them from this browser. You can always change those choices later by clicking on the Cookie Preferences link at the bottom of the page.
If enabled:
We can improve your experience by tailoring the site and the content to things we think might be of interest
We can better keep track of your preferences — like what language you prefer to use
We will better understand your likely interests so we can provide you more relevant Adobe ads and content on non-Adobe websites and in non-Adobe apps
It will help us improve the performance of our website and those of our partners who use the Adobe Experience Cloud
If disabled:
We won’t be able to remember you from session to session so the experience may not be tailored to your interests
We’ll still count your use of our site and services
You’ll still have access to the content of the site but certain features that depend on cookies may not function
You’ll still see ads, they just may not be as relevant to you
Operate the site and core servicesOperate site and measure engagement
Always active
These cookies are required, and they are used to enable the site and related services core functionality. Without them the site could not operate, so they cannot be disabled.
These cookies enable the site and related services’ core functionality and collect statistics about user engagement, such as counting active use to help us understand trends. These cookies cannot be disabled.
Measure performance
These cookies are used to analyze site usage to measure and improve performance. Without them Adobe cannot know what content is most valued and how often unique visitors return to the site, making it hard to improve information we offer to you.
These cookies are used to analyze site usage to measure and improve performance. Without them Adobe cannot know what content is most valued, making it hard to improve information we offer to you.
Extend functionality
These cookies are used to enhance the functionality of Adobe sites such as remembering your settings and preferences to deliver a personalized experience; for example, your username, your repeated visits, preferred language, your country, or any other saved preference.
Personalize advertising
These cookies are used to enable Adobe and our partners to serve ads more relevant to your interests. Without them you will still see ads, but they might not be as relevant to you.
Personalize advertising
These cookies are used to enable Adobe and our partners to serve ads more relevant to your interests. Without them you will still see ads, but they might not be as relevant to you.