Create a postcard

1 Set up your document
Get to know the InDesign workspace and set parameters for your new project.
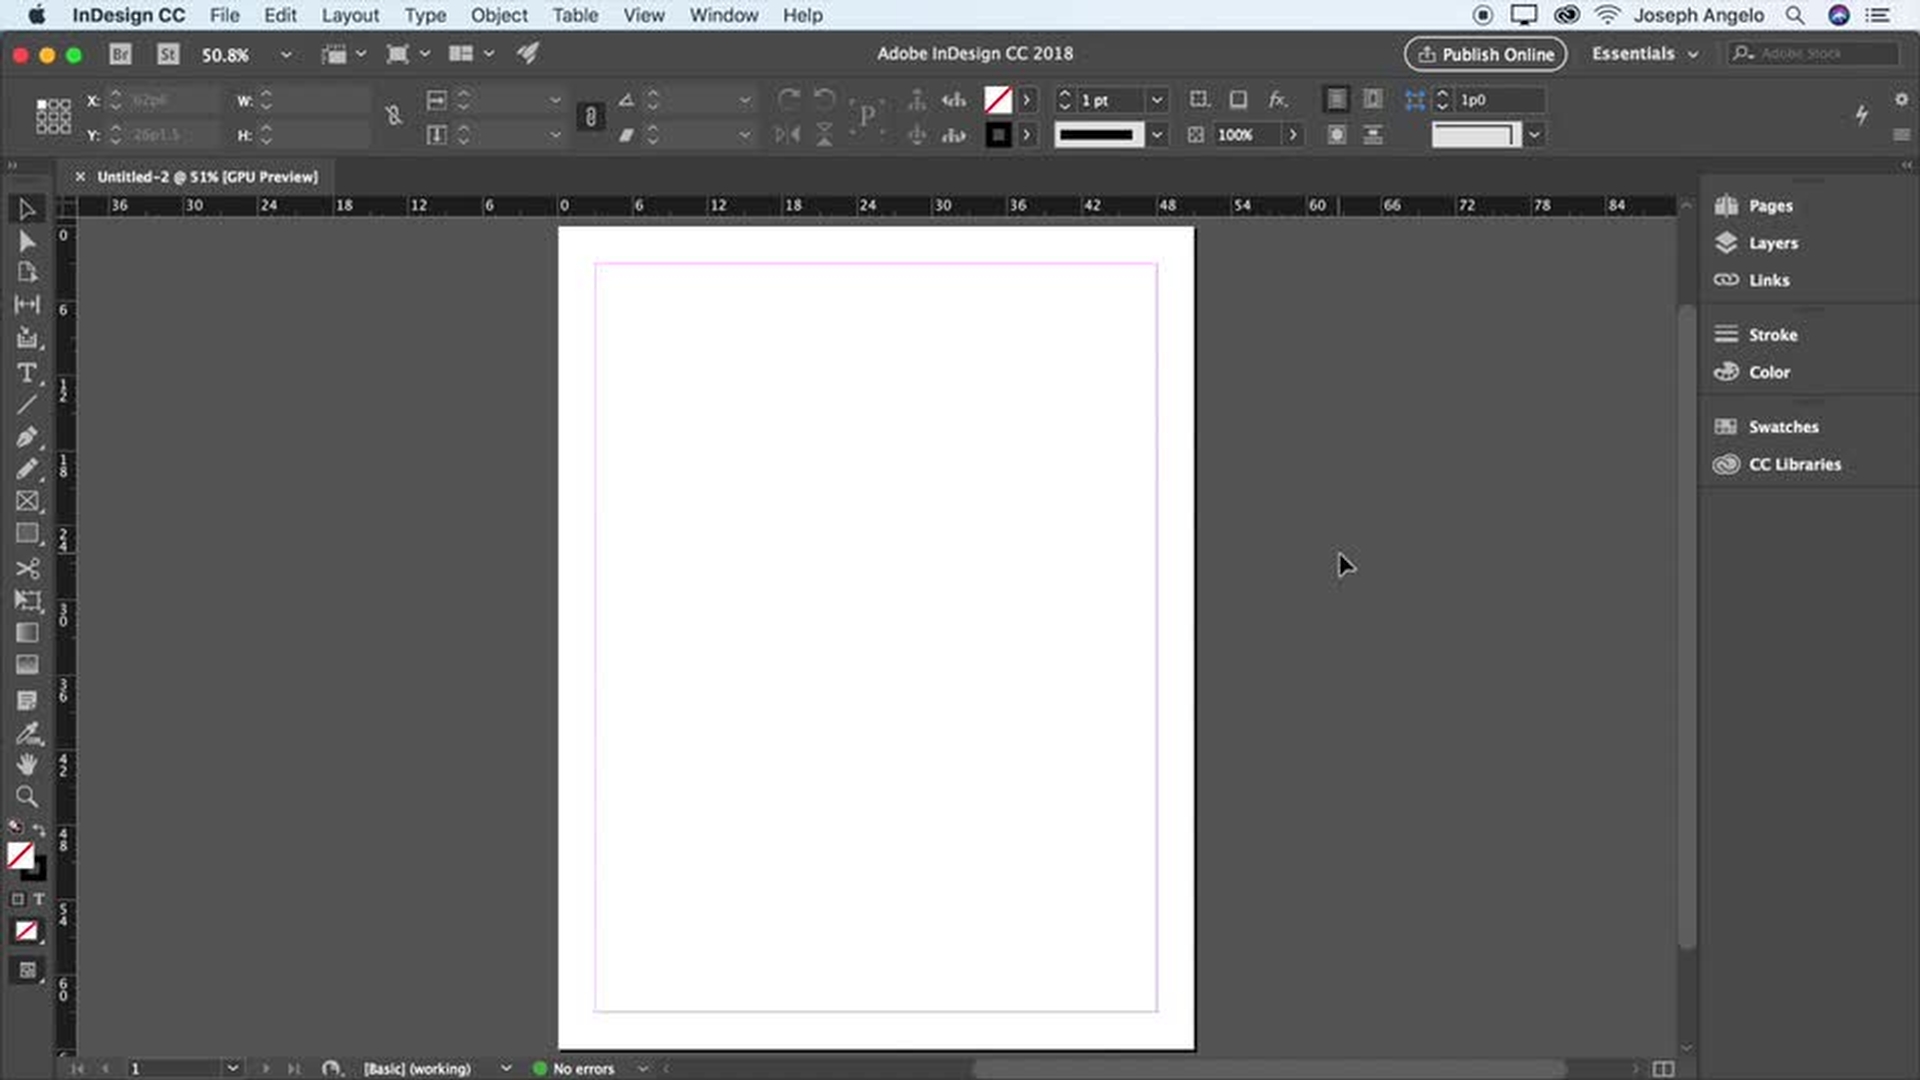
Reset workspace to Essentials
Create a new document
Set ruler units to inches
Learn how to reset to the Essentials workspace, create a new document, and set ruler units to inches.
2 Add images and text
Now comes the fun part — filling your blank page with images and text. Check out Adobe Stock for royalty-free images and illustrations. And use guides to precisely position elements on your page.
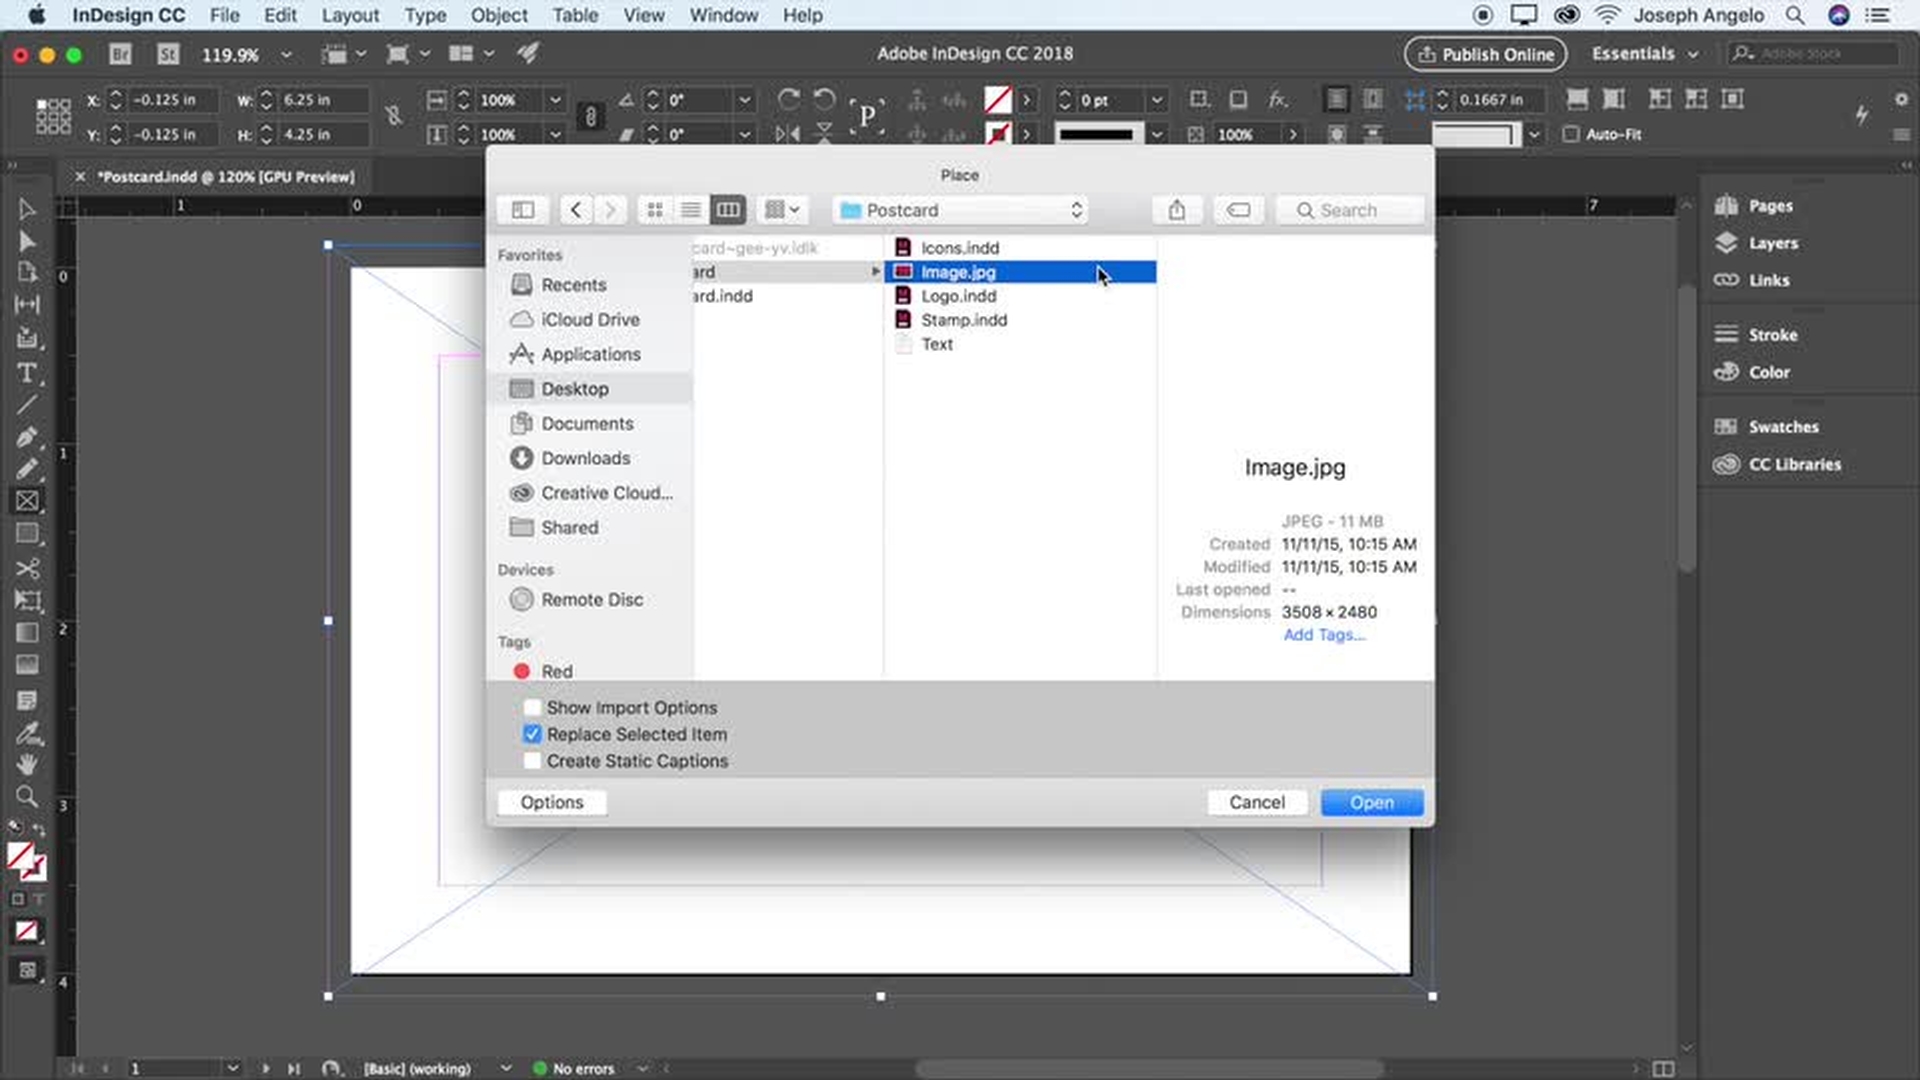
Place image
Open CC Libraries panel
Format text
Learn how to place an image, open the CC Libraries panel, and format text.
3 Fine-tune your design
Easily control the format of your text and specify color. Keep assets handy for other projects by adding images, logos, type styles, and colors to your Adobe Creative Cloud Libraries.
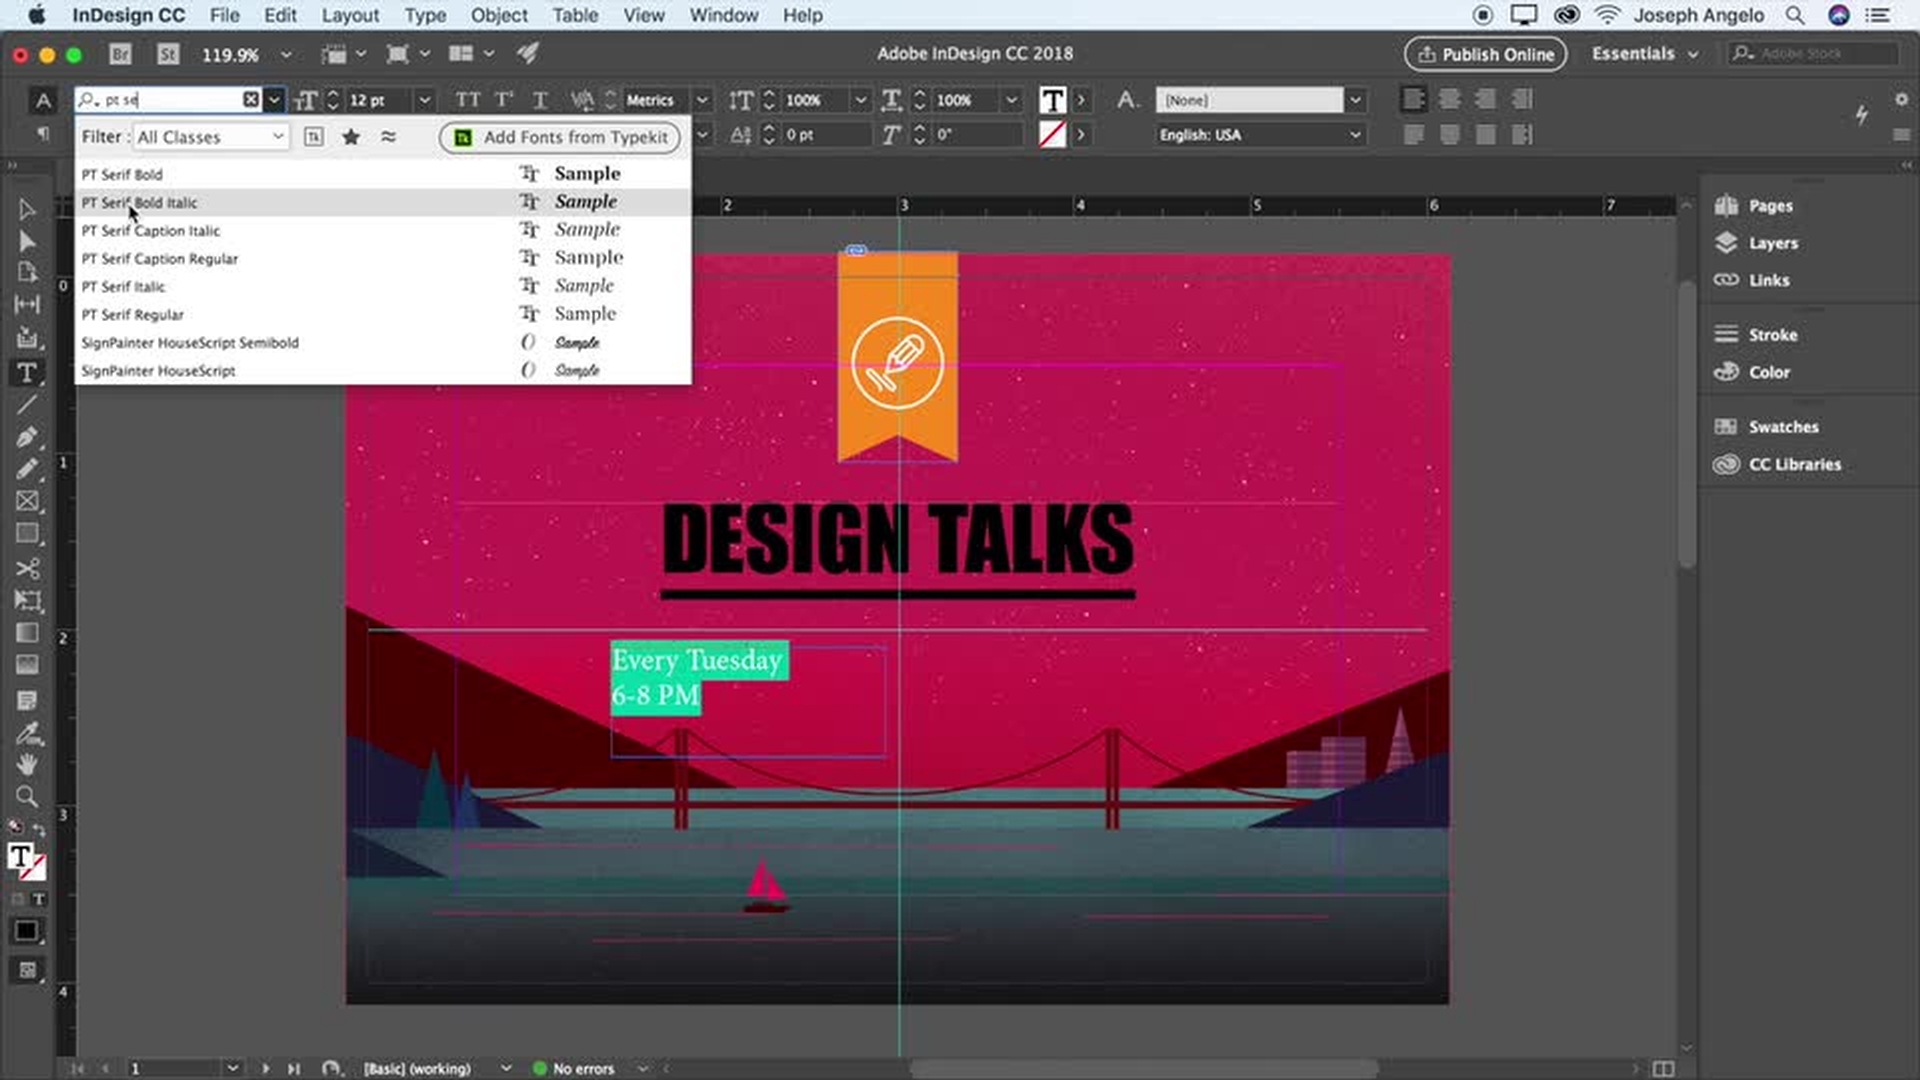
Create a CMYK color
Apply text color
Save a Character style
Learn how to create a CMYK color, apply a text color, and save a character style.
4 Position elements in the layout
Smart Guides offer “hints” to help you align the elements of your design as you draw and move around the page.
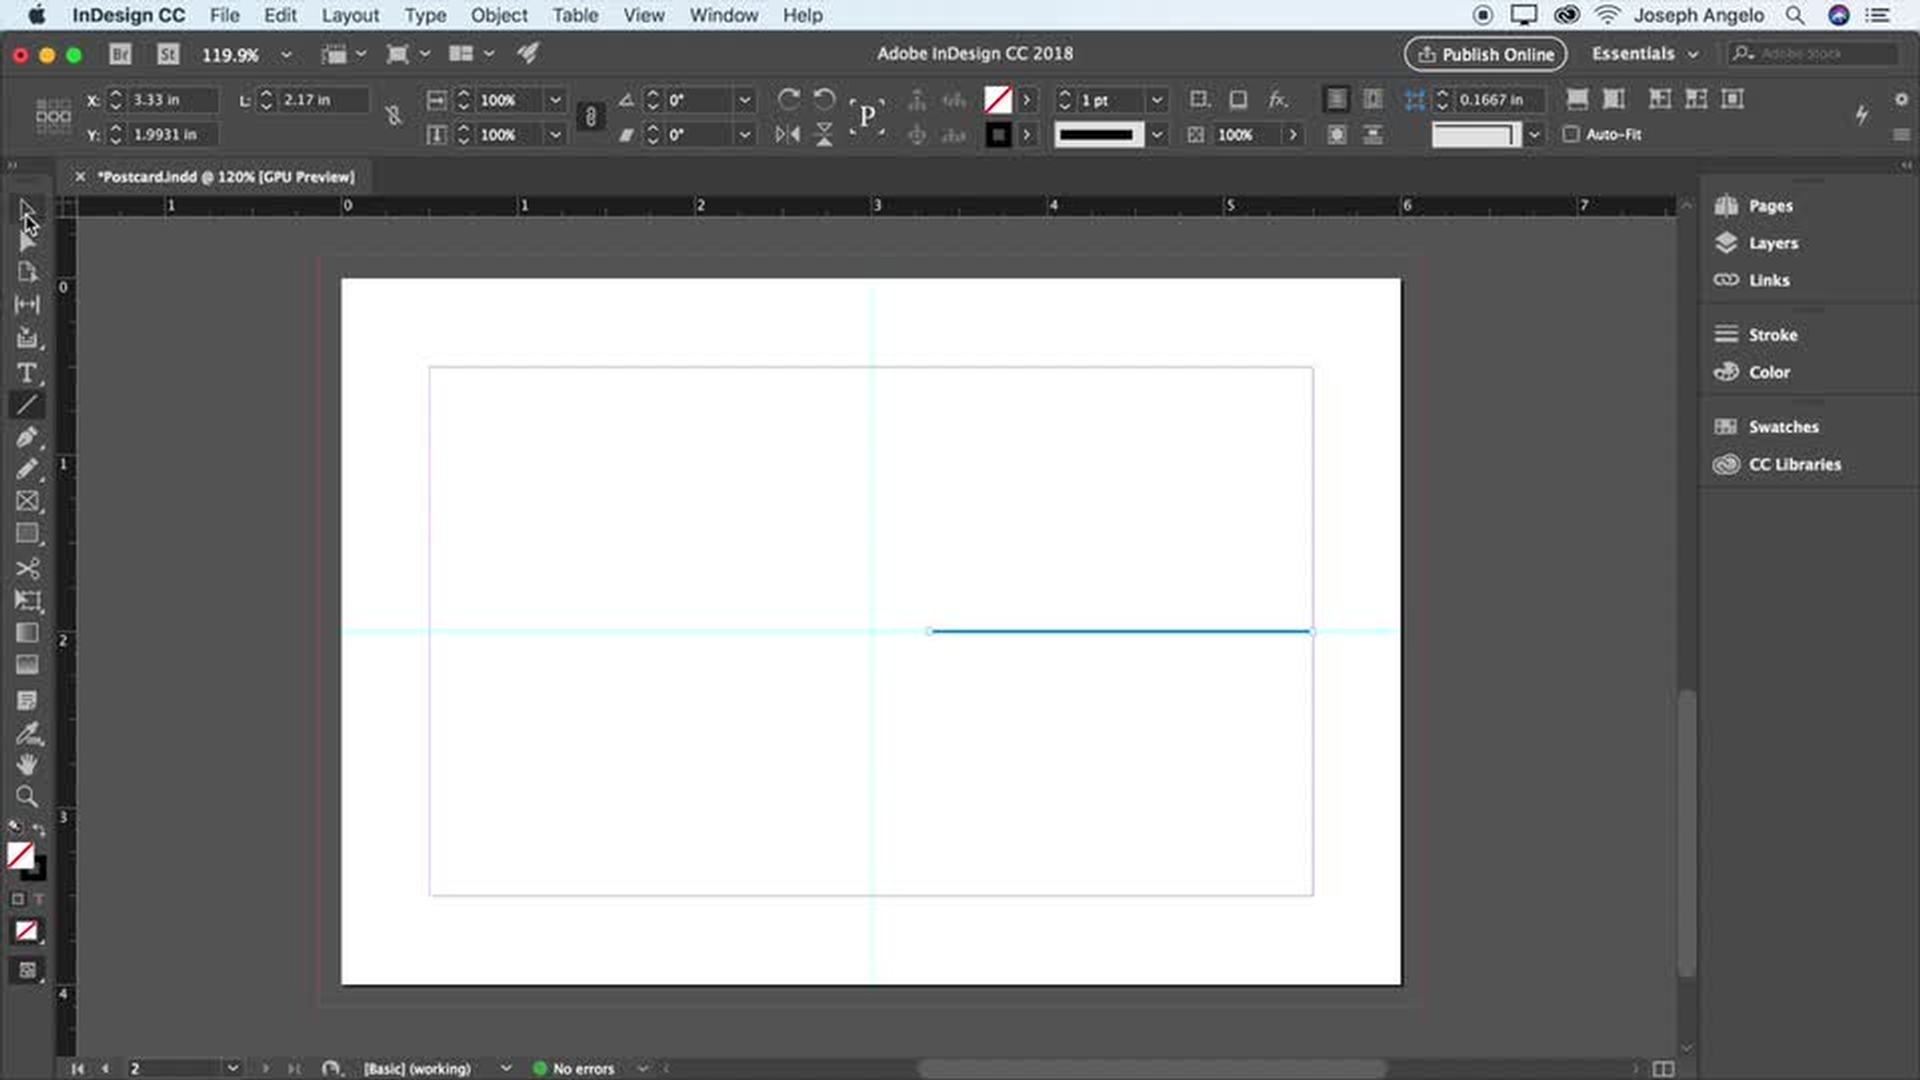
Create evenly spaced lines
Adjust spacing in a text frame
Place multiple graphics at once
Learn how to create evenly spaced lines, adjust spacing in a text frame, and place multiple graphics at once.
5 Share your postcard with the world
Save a PDF that you can email or upload to your print service provider. With the Publish Online feature, you can quickly create a link to your postcard that you can share online in a blog or website or on social media.
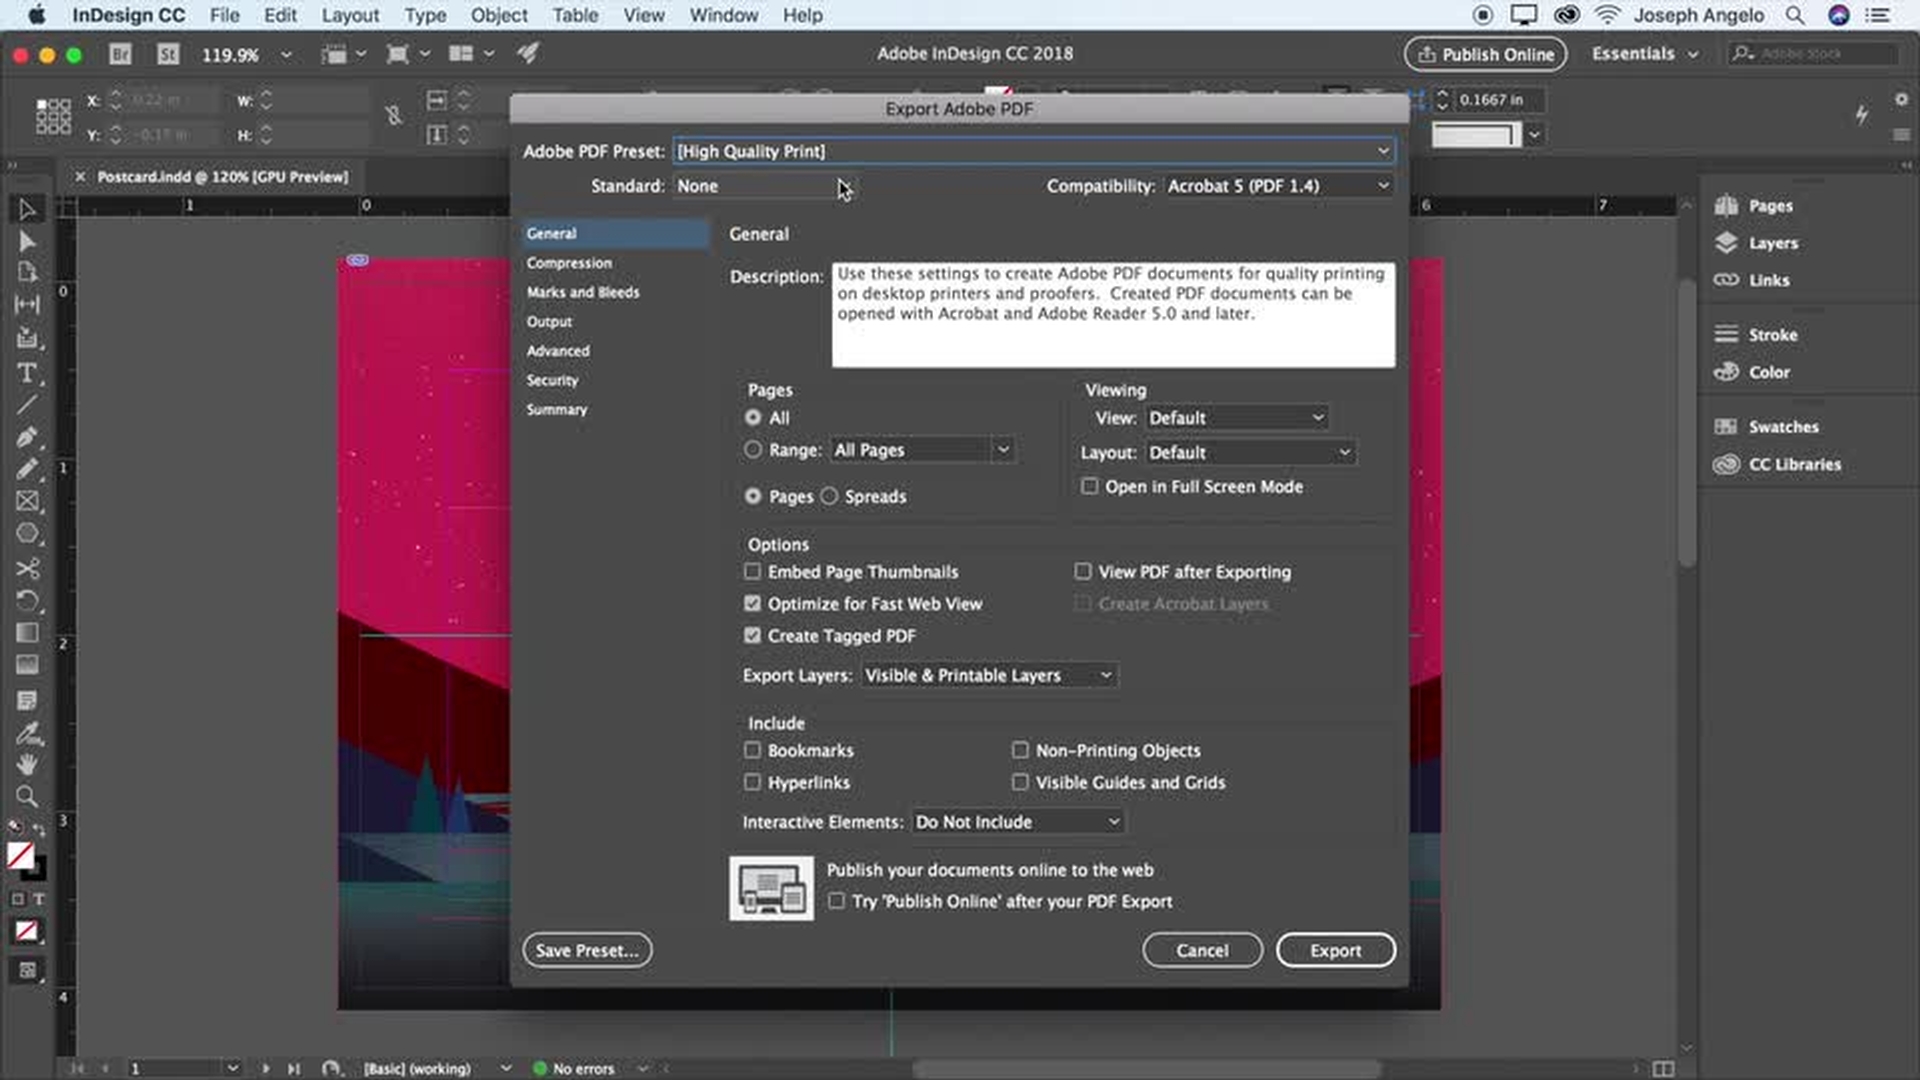
Export to PDF
Share with Publish Online
Learn how to export to PDF and share with Publish Online.