Set up a beautiful magazine layout
This sample file contains assets provided by Adobe Stock for your tutorial practice purposes only. Check out the ReadMe file in the folder for the terms of use for this file. Adobe Stock has millions of royalty-free images and videos for your commercial use. You can get 10 images with a free month trial.
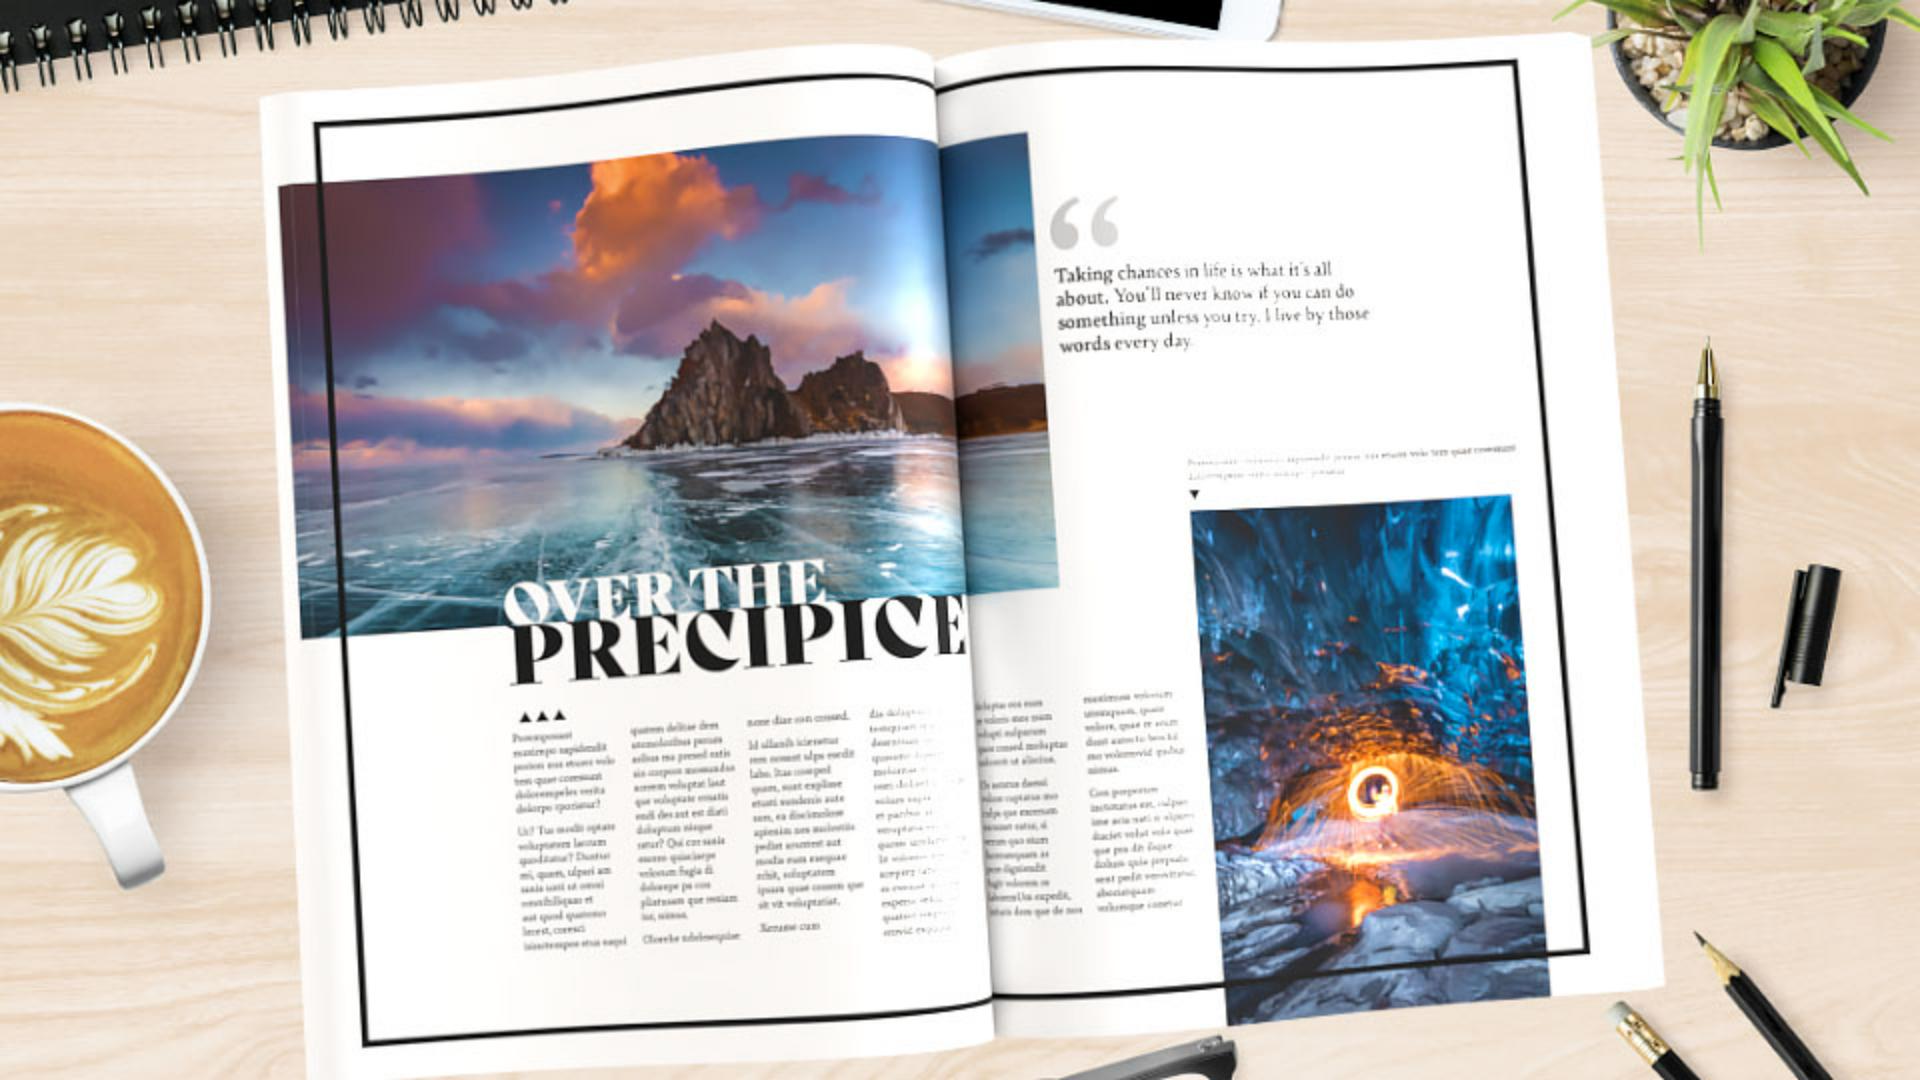
What you learned: Set up a document for a magazine, create column and row guides, and set up frames for content
Set up your document
When starting any project in InDesign, you need to create a document that is sized correctly for the project.
To start a new document, choose File > New > Document.
In the New Document dialog, set the following options:
Choose Print or Web, depending on your use.
Choose the correct page size
Add at least 3 pages so you have a spread to work with (2 pages next to each other).
Set bleed guides to .125 in.
Click Create.
Tip: When creating a complex magazine with multiple layouts, the following changes are best done on a master page so you can make those changes across the document.
Add a design element
With the document set up, you can start adding content.
Choose Layout > Margins And Columns. In the dialog box that opens, ensure that the link option is set in the Margins section, and adjust the margin guides to your preferred distance from the page edges. Click OK.
Select the Rectangle tool and draw a frame that snaps to the pink and purple margin guides.
Set a stroke color and stroke weight in the Properties panel.
Set column and margin guides
To make it easier to add design content to the layout, set up margin and column guides to frame where the content will go.
Choose Layout > Margins And Columns again.
Adjust the number of columns to make multiple columns.
Change the Column Gutter (the distance between the columns) to your desired value.
To adjust the outside margins only, deselect the link option in the Margins section. To multiply the Outside margin value by 2, insert the cursor after the outside margin value and type *2. Click in another field to see the change.
Click OK.
Add horizontal guides for visual alignment
To visually divide your layout into thirds or quarters, for instance, or to add a guide to the center of the layout vertically, use the Create Guides command. Adding guides like this can be useful for visualizing spacing and alignment.
Choose Layout > Create Guides.
In the dialog box that opens, change the Rows to what you need. To create single guides, change the gutter to 0. Click OK.
Add content
With the spread set up to receive content, you can now begin to add design elements you already have or insert placeholder frames.
To add frames for images, select the Rectangle Frame tool and draw your frames within the guides.
To add text frames, press the letter T to select the Type tool and draw text frames.
To divide frames into columns, select the frame and choose Object > Text Frame Options. You can set the number of columns, the distance between them and the gutter, and click OK.
To allow text to flow between text frames, you can thread them together. Click the first frame to select it. Click the out port in the lower-right corner and release. Click in the next text frame to allow the text to flow from the first frame to the second frame.
Designer
Presenter