Quickly transform landscape photos with Lightroom on mobile
Note: Stock assets provided are for practice purposes only. See terms.
What you’ll learn
Streamline the processing of your landscape images
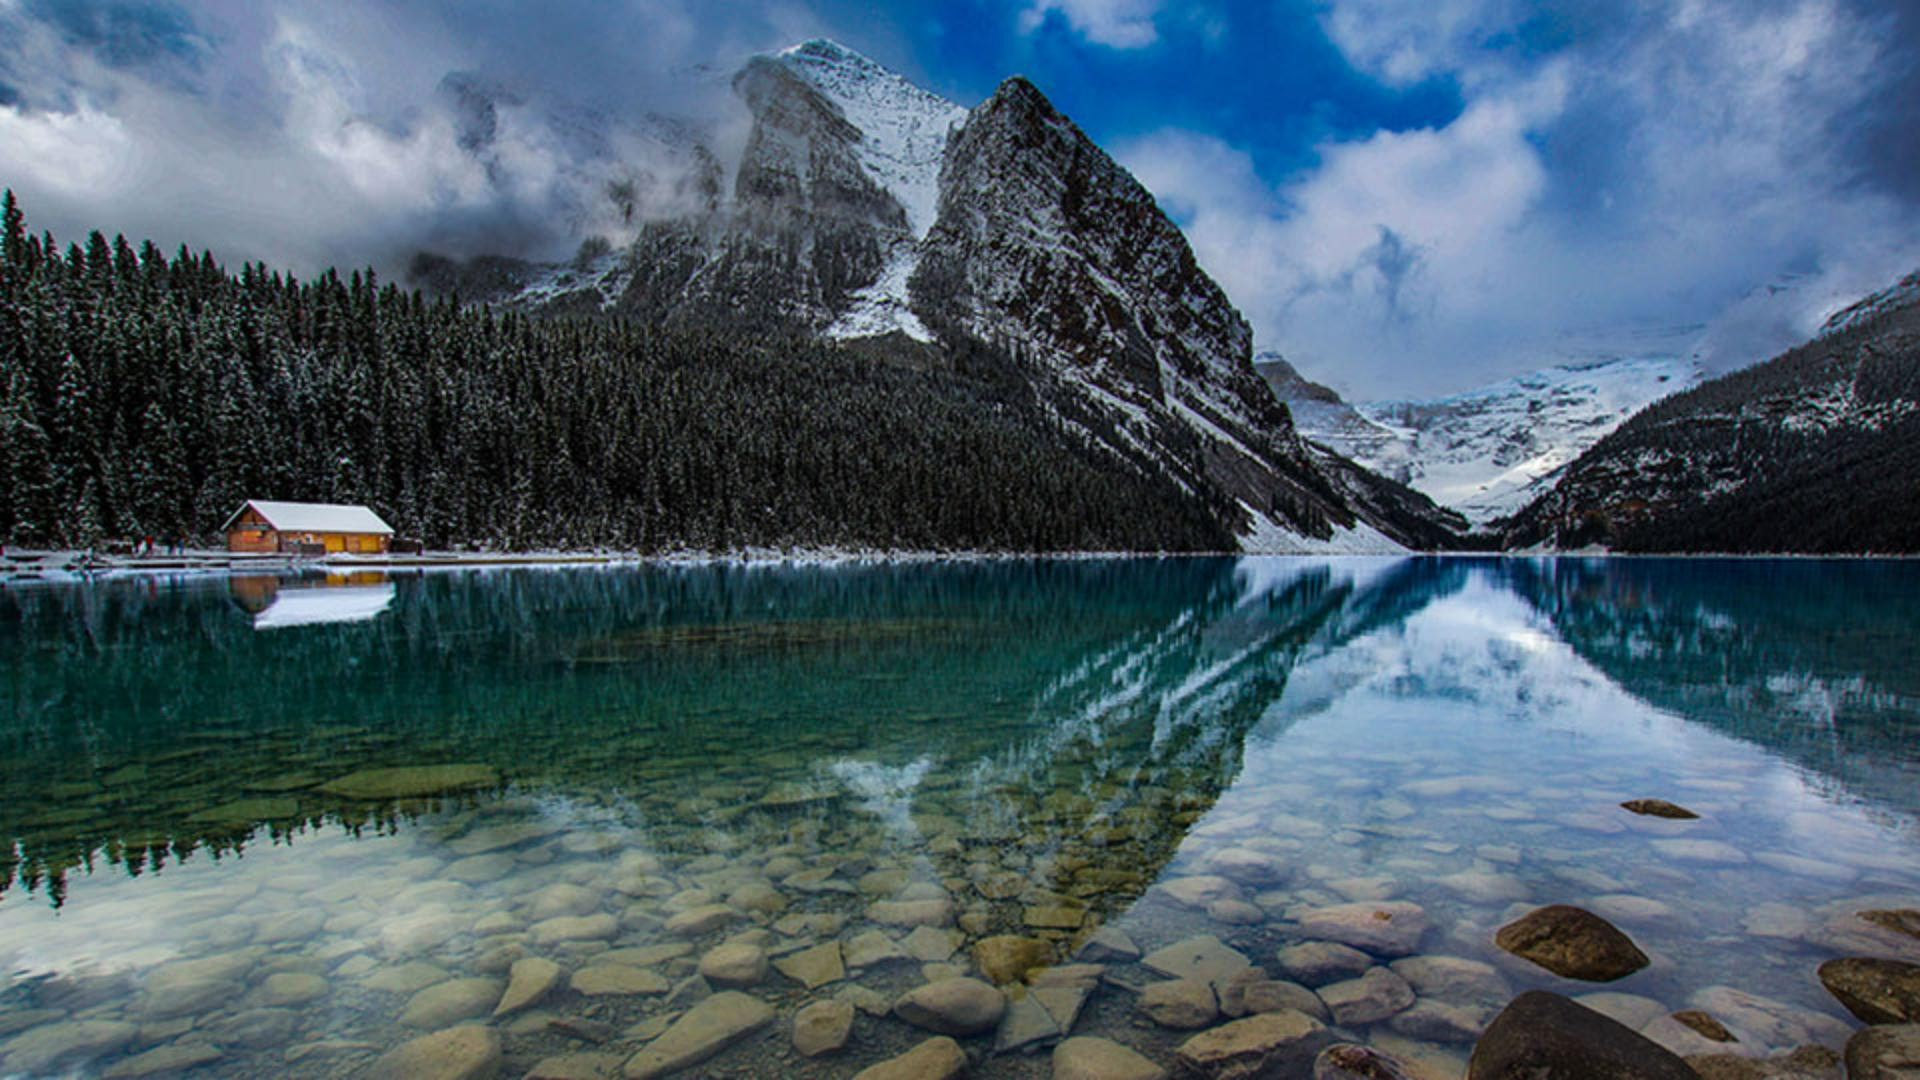
Adaptive Landscape Presets can significantly speed up the processing of your landscape photos by automatically analyzing the scene to create adjustments for key areas of the landscape.
Choose an Adaptive Landscape Preset
Lightroom on mobile offers many types of presets that you can use to improve and enhance your photos. The Adaptive Landscape Presets can be found with the other adaptive presets in the Premium section.
Adaptive presets are customized for a specific photo
When you open the Adaptive Landscape Presets, Lightroom will analyze the scene and identify up to eight different areas in the image, such as the sky, mountains, water, snow, vegetation, natural ground, artificial ground, and even architecture. The preset will then apply different adjustments to each area.
Apply and fine-tune a seasonal preset
There are two presets for each season of the year; only the winter presets include a separate adjustment for snow. After you apply a preset, tap the preset thumbnail again to display an Amount slider to modify the strength of the adaptive preset.
Customize adjustments for specific areas in the Masking Panel
When an adaptive preset is applied, Lightroom creates detailed masks for the different areas in the scene. Tap the circular Masking icon at the bottom of the screen to view the masks. Tap a mask thumbnail for a specific area to select it and then modify the different adjustments created by the preset.
Instruction by
Adobe Stock Contributors