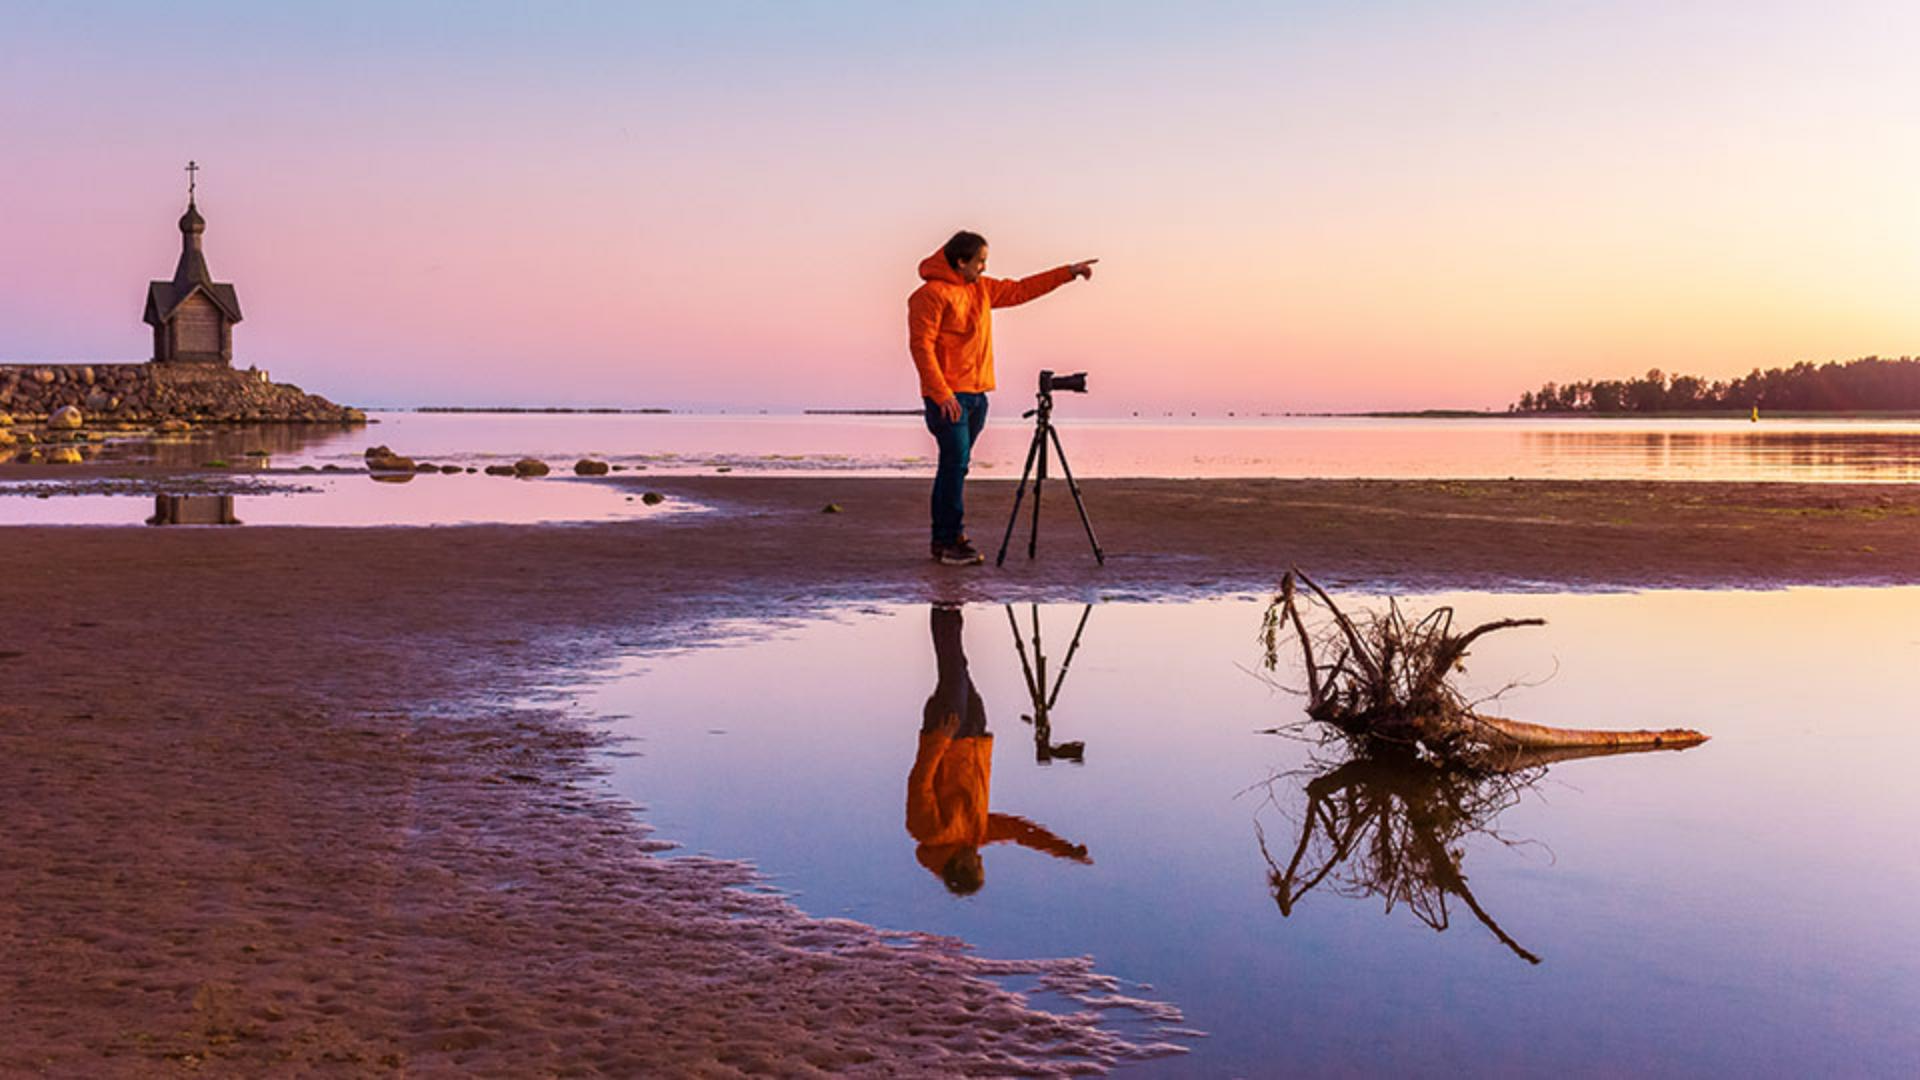
You may have used either Adobe Lightroom or Adobe Photoshop to edit your photos, but have you thought about using Lightroom and Photoshop together to take advantage of the best of both?
In this tutorial, we'll focus on a common situation for using Photoshop with Lightroom, which is removing unwanted content from a photo, like a large object or a person.
You usually start your Lightroom Photoshop workflows here in Lightroom because Lightroom is a central hub for managing and finding all your photos and because it has user-friendly editing controls.
So I'll select this photo to edit and then I'll go over to the right side of the photo grid and I'll choose Edit.
Here in the Edit workspace, there are lots of simple sliders that I can use to change the look of the image.
I'm just going to drag the Temperature slider over to the left to cool the look of the image down to give you an example.
Now let's say that I want to remove content from this image, maybe this little rock down here, there is a tool that I can try in Lightroom, and that is the Healing Brush Tool.
I'll select it on the right, and then I'll come into the image and I can either click or drag over unwanted content.
And you can see that rock is now gone.
That worked pretty well.
But this tool doesn't work as well on large objects.
For example, if I click and drag over the reflection of the photographer and his camera, and up onto the tripod, and the photographer, and then I move away, the result isn't exactly what I wanted.
And I don't have a lot of controls here in the Healing Brush panel to modify that result.
So I'm going to delete that by pressing Delete on my keyboard.
And let's try to accomplish the same thing in Photoshop, which has more sophisticated and a wider variety of content removal tools.
This is important.
When you're starting in Lightroom and you want to edit in Photoshop, you need to use a special command.
And that is the Edit in Photoshop command that you can access by right clicking on the photo and choosing Edit in Photoshop or going up to the File menu and choosing Edit in Photoshop..., or the shortcut that you see here.
In the Progress bar, you can see that the image is opening in Photoshop.
Photoshop launches, and in just a second, you can see the photo here in Photoshop.
And notice that it has the changes that we made in Lightroom.
It's a little cooler, and we don't have that rock down here in the water.
Also notice that even though we started with a JPEG in Lightroom, when we take a photo from Lightroom to Photoshop, it opens as a TIFF file.
So now let's see if we can remove the photographer, and his camera and his reflection.
There are lots of options for doing that, you can use any of these content removal tools, I'm going to use the powerful Content-Aware fill.
So first, I'm going to make a selection around the items that I want to remove, you can use any of the selection tools, I'll use the Lasso Tool, and I'm going to just quickly make a rough selection around the photographer and his reflection, his camera, and notice that I'm leaving a border of background inside of my selection.
Then I'll go up to the Edit menu, and I'll choose Content-Aware Fill...
That will open the Content-Aware workspace.
Over here on the right, you can see a preview of the result.
It's almost perfect.
There are some controls you can use to fine tune the result, but I don't think we have to here.
So I'll just press OK and that closes this workspace.
And back in Photoshop, I'll go to Select and Deselect to remove that selection.
Now I want to take this result back into Lightroom so that I can keep track of this version of the image too.
It's important to go to the File menu and choose Save, not Save As...
Notice that that adds the suffix "Edit" into the file name.
And then close the image and quit Photoshop.
Here we are back in Lightroom.
I'll click the Photo Grid icon so you can see that our image now is part of a stack, and there are two images in the stack.
If I click the number 2, you'll see both images down here at the bottom of the screen.
Over here on the right, is the photo with the changes that we made to it in Lightroom.
And then over here on the left, we have the version that includes both the changes from Lightroom and the changes that we made in Photoshop.


