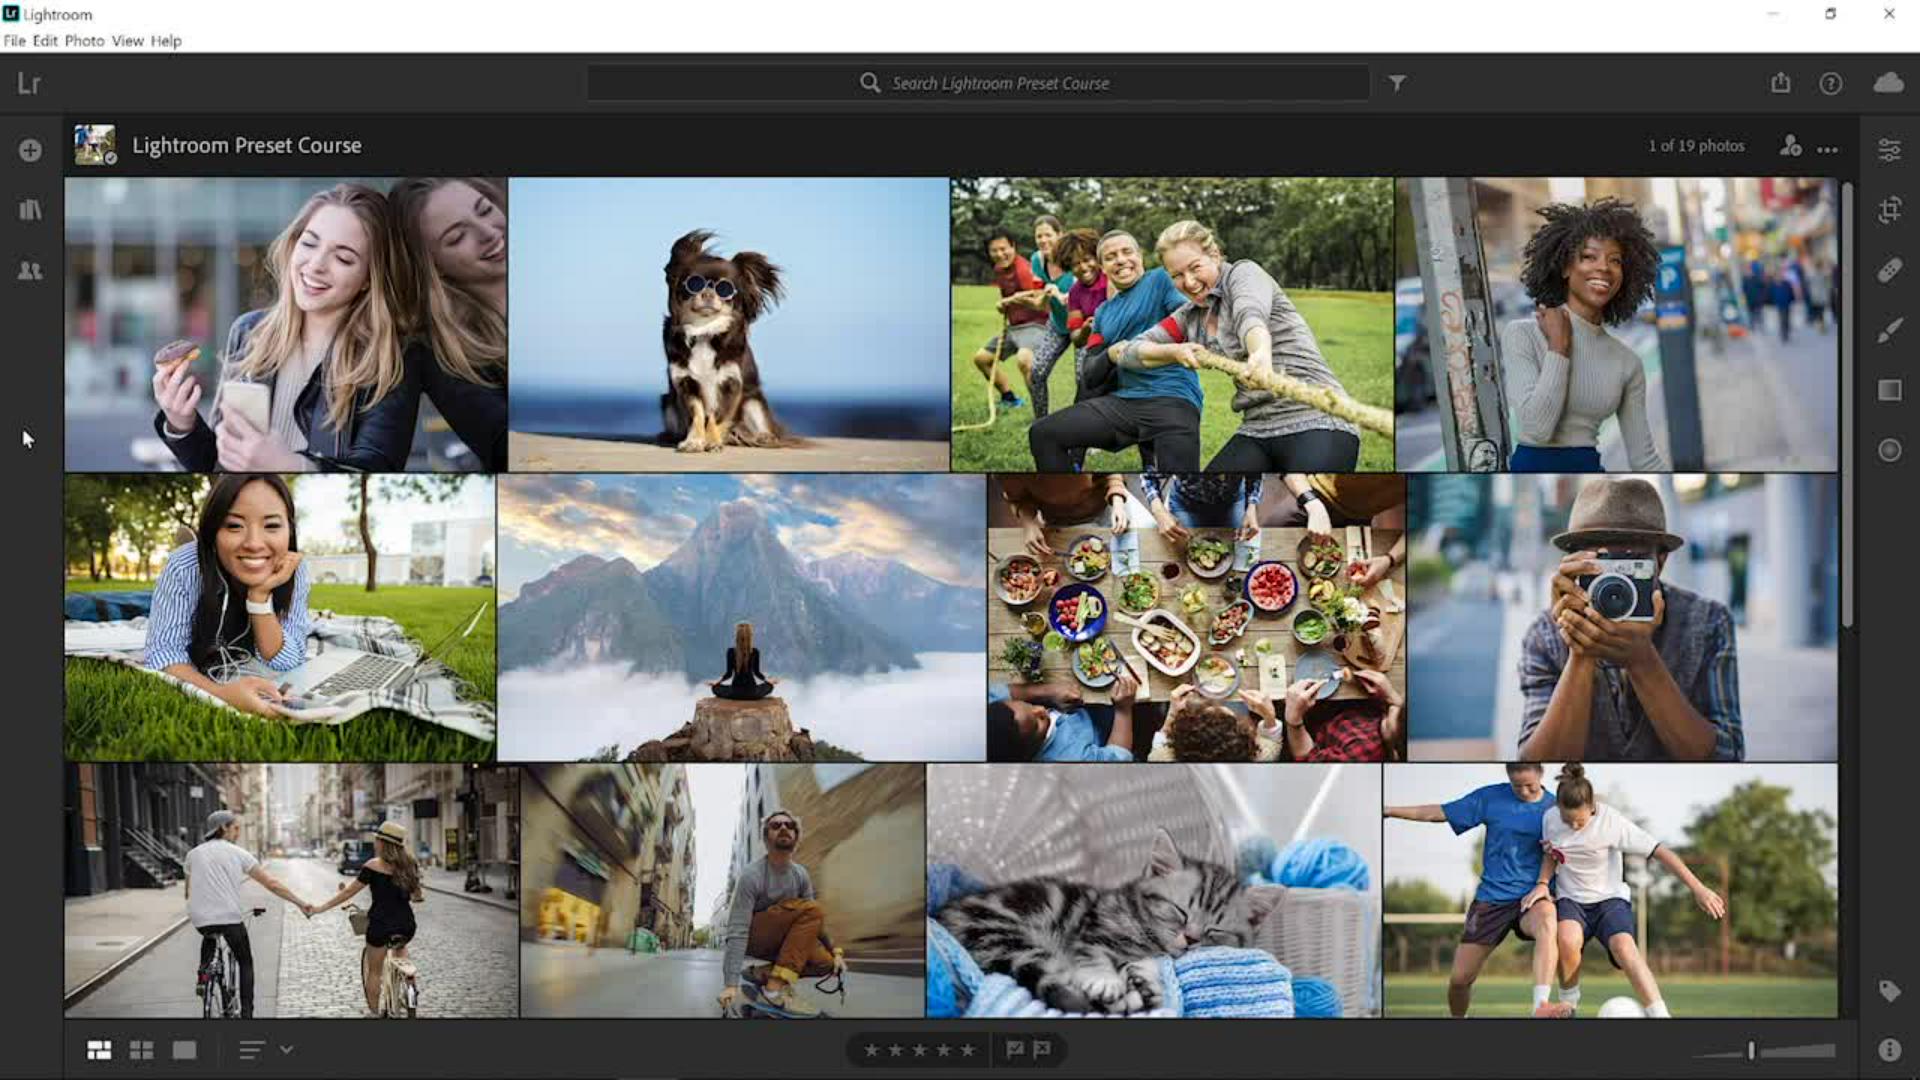
In this video, you will learn how to import presets from other creators into Lightroom.
To follow along download the sample files from the Adobe page for this tutorial.
You can use your own photo if you like, but make sure that you download the free preset pack, so that you can import the same presets that I will be using.
I'll start by double clicking on a sample photo from the photo grid then click on the Edit icon or press the E key on the keyboard to go into the Editing workspace.
Next, click on the Preset button under the Editing workspace.
To import a preset, click on the ... icon and select Import Presets...
This will bring up a window where you can navigate the files in your computer and find the preset files that you would like to import.
The supported files are lrtemplate which is the old preset file type, xmp which is the file type of the new version of Lightroom uses for storing presets.
If you import an old lrtemplate file, Lightroom will automatically convert it into an xmp file.
Zip files allow you to import multiple presets at the same time and dcp files which are not development presets, but instead are camera profiles.
In this case we're going to work with a zip file that contains multiple presets inside.
Click on the zip file to select it.
This zip file is available as a download from the page where you are watching this video from.
Then click on Import to load the presets.
The presets will appear in the Presets panel.
This new presets group is called Vintage Pack and it contains eight presets.
The three vintage presets give the image an old retro look and feel.
Hover over the presets to preview them.
This is Vintage - 1, Vintage - 2 and Vintage - 3.
Select the one that you like best.
I'll go for Vintage - 1.
The Vintage Pack also comes with five additional optional presets.
You can add a bright light to the top right of the photo or to the top left.
In this case the light source is on the left-hand side of the photo, so I'll apply the Top Left Highlight preset by clicking on it.
Applying this additional preset does not replace the effects of the first vintage preset that you applied, because this highlight preset uses different adjustments.
I can also add light leaks to this image to simulate the old film camera look and feel to further enhance the retro effect.
Light Leak - 01 adds a light leak to the bottom of the image, Light Leak - 02 adds a light leak to both the bottom and top of the photo and Light Leak - 03 adds a light leak to the left side of the photo.
In this case I'll go for that Light Leak - 02.
I'll click on it to apply it.
After you apply your preset you can make edits to your image if you like.
Close the Presets panel.
In the Light panel you can increase the Contrast of the image and from the Color panel you can decrease the Vibrance to reduce the saturation further.
Remember that these adjustments are subjective.
Feel free to make any adjustment that looks good to your eye.
I'll click on this icon so that you can see the original image and I'll click again so that you can see that edited version.
And as simple as that we were able to bring in a preset from another creator to expand our preset library and we applied it to our photo just with a few clicks.
Now that you know how to input presets into Lightroom, feel free to import the preset sample file and give these presets a try with your own images.


