Adjust brightness and contrast in a photo
Make a photo lighter or darker with a simple adjustment.
Published
Introduction
When you shoot with a camera or a phone, you don't always get a perfect exposure.
A photo may come out too dark or too light.
Or it may lack contrast and look dull.
Or it may be too contrasty and have really dark darks and bright brights.
Understanding exposure and brightness issues
The simplest way to correct exposure problems like those is with a Brightness/Contrast adjustment.
Let's try it out on this image from the practice files for this tutorial, or on a slightly dark, slightly dull photograph of your own.
First, take a quick look at the Layers panel and make sure that you have the layer with the photograph selected.
When you are working with photographs, often you'll have only one layer.
Applying the brightness and contrast adjustment
Then go up to the Image menu at the top of the screen.
And from there, go to the Adjustments category.
We're going to try the first adjustment: Brightness/Contrast...
That opens this Brightness/Contrast dialog box which I've moved over to the side, so we can see the image.
The fastest way to make a change here, is to click the Auto button.
That would move the Brightness and Contrast sliders here to where Photoshop CC thinks they should be.
But if you want more control, you can move the sliders yourself.
The Brightness slider is sometimes all you need.
It controls the overall lightness or darkness of an image.
For example, if I drag it to the right, notice that the photo is getting brighter.
If I would go to the left, the photo would be darker.
I'm going to take it to the right of where we started which was 0, brightening up the photo quite a bit.
By the way, don't feel that you have to use the same values I'm using, either in this video or anywhere in this tutorial.
The right amount is up to you and your taste.
Sometimes, as I said, increasing or decreasing brightness is all you have to do to improve a dark or light photo.
But there's another slider here too, the Contrast slider.
Refining contrast for better tonal balance
This slider controls the range of light and dark tones in an image.
If you increase contrast, I'll drag the Contrast slider way over, so you can see what it does.
The dark tones in the image get darker, and the bright tones get brighter.
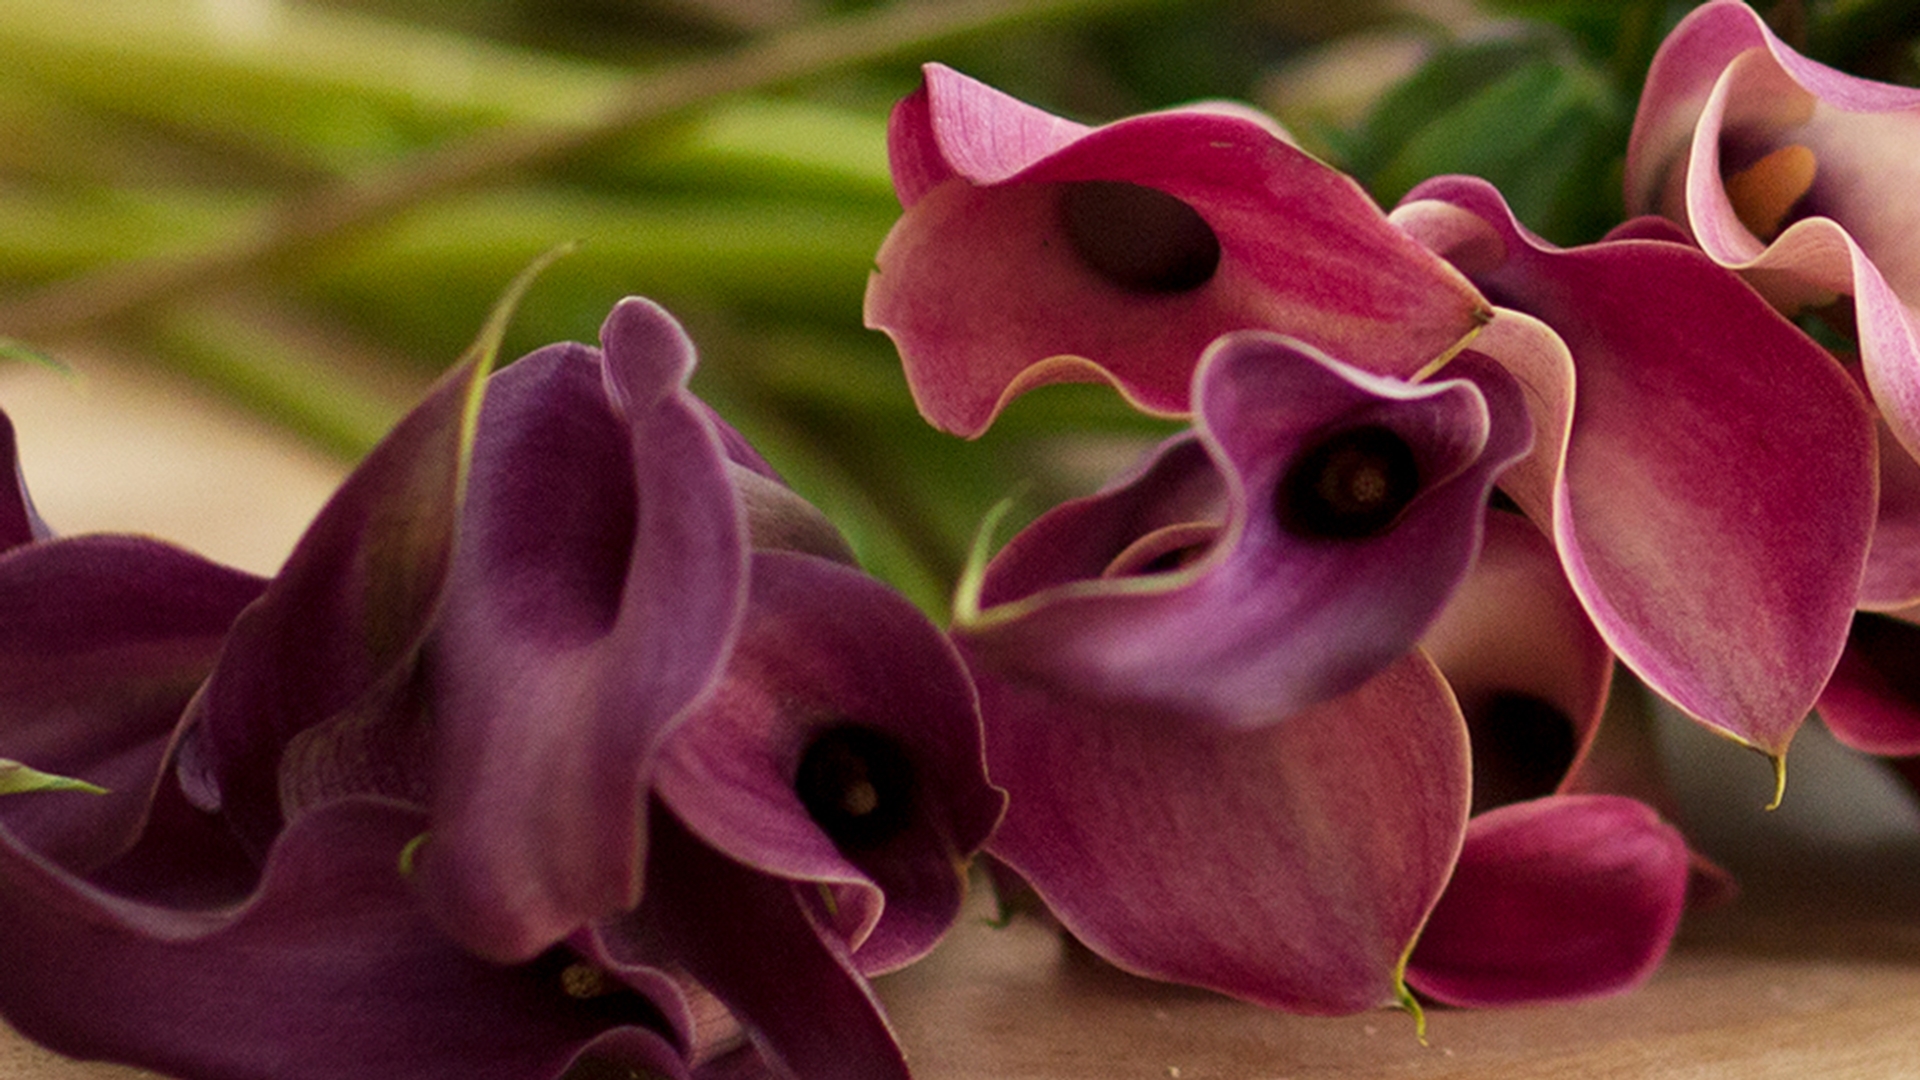
Too much contrast like this, can make it difficult to see detail in the shadow areas, like in these flowers here or over here, and can cause a loss of detail in bright highlight areas.
Like up here in the background.
So that's what high contrast looks like.
Let's go to the other extreme and pull this slider, all the way to the left.
And now you can see what a low contrast image might look like.
A little bit flat, a little bit dull.
I'm going to put Contrast back where I started, at 0 by typing 0 into the value field for the Contrast slider.
So, I think this image could use a little more pop.
Therefore, I'm going to drag the Contrast slider just slightly to the right.
And that will often do the trick.
Comparing before and after results and saving safely
One way to help you evaluate whether your changes have really improved the image, is to see it before and after view.
And you can do that by clicking the Check box next to Preview in this dialog.
So, there's how the image started.
And here's how it looks, with the increased brightness and contrast that we applied.
When you're satisfied, click OK.
And that applies your changes directly to the selected layer, in this case to the photograph.
If you don't like them, you still have a chance to undo or step backwards as we learned to do earlier in this series.
But just to make sure you can always get back to the original, I suggest that when you save an image you've adjusted, like this, you choose Save As... rather than Save.
And give the file a different name.
And then click the Save button.
Now a direct Brightness/Contrast adjustment, like the one we used, is not the only way to correct exposure problems.
Later in this tutorial, we'll learn how to apply an adjustment more flexibly, as a readable adjustment layer.
And there are other ways to tackle exposure too.
Like levels and curves adjustments, that you'll explore as you get more experienced with Photoshop CC.
But the Brightness/Contrast adjustment is a relatively simple solution, that can often improve the look of your photos.
What you learned: To adjust brightness and contrast
In the menu bar, select Image > Adjustments > Brightness/Contrast.
Adjust the Brightness slider to change the overall brightness of the image. Adjust the Contrast slider to increase or decrease image contrast.
Click OK. The adjustments will appear only on the selected layer.