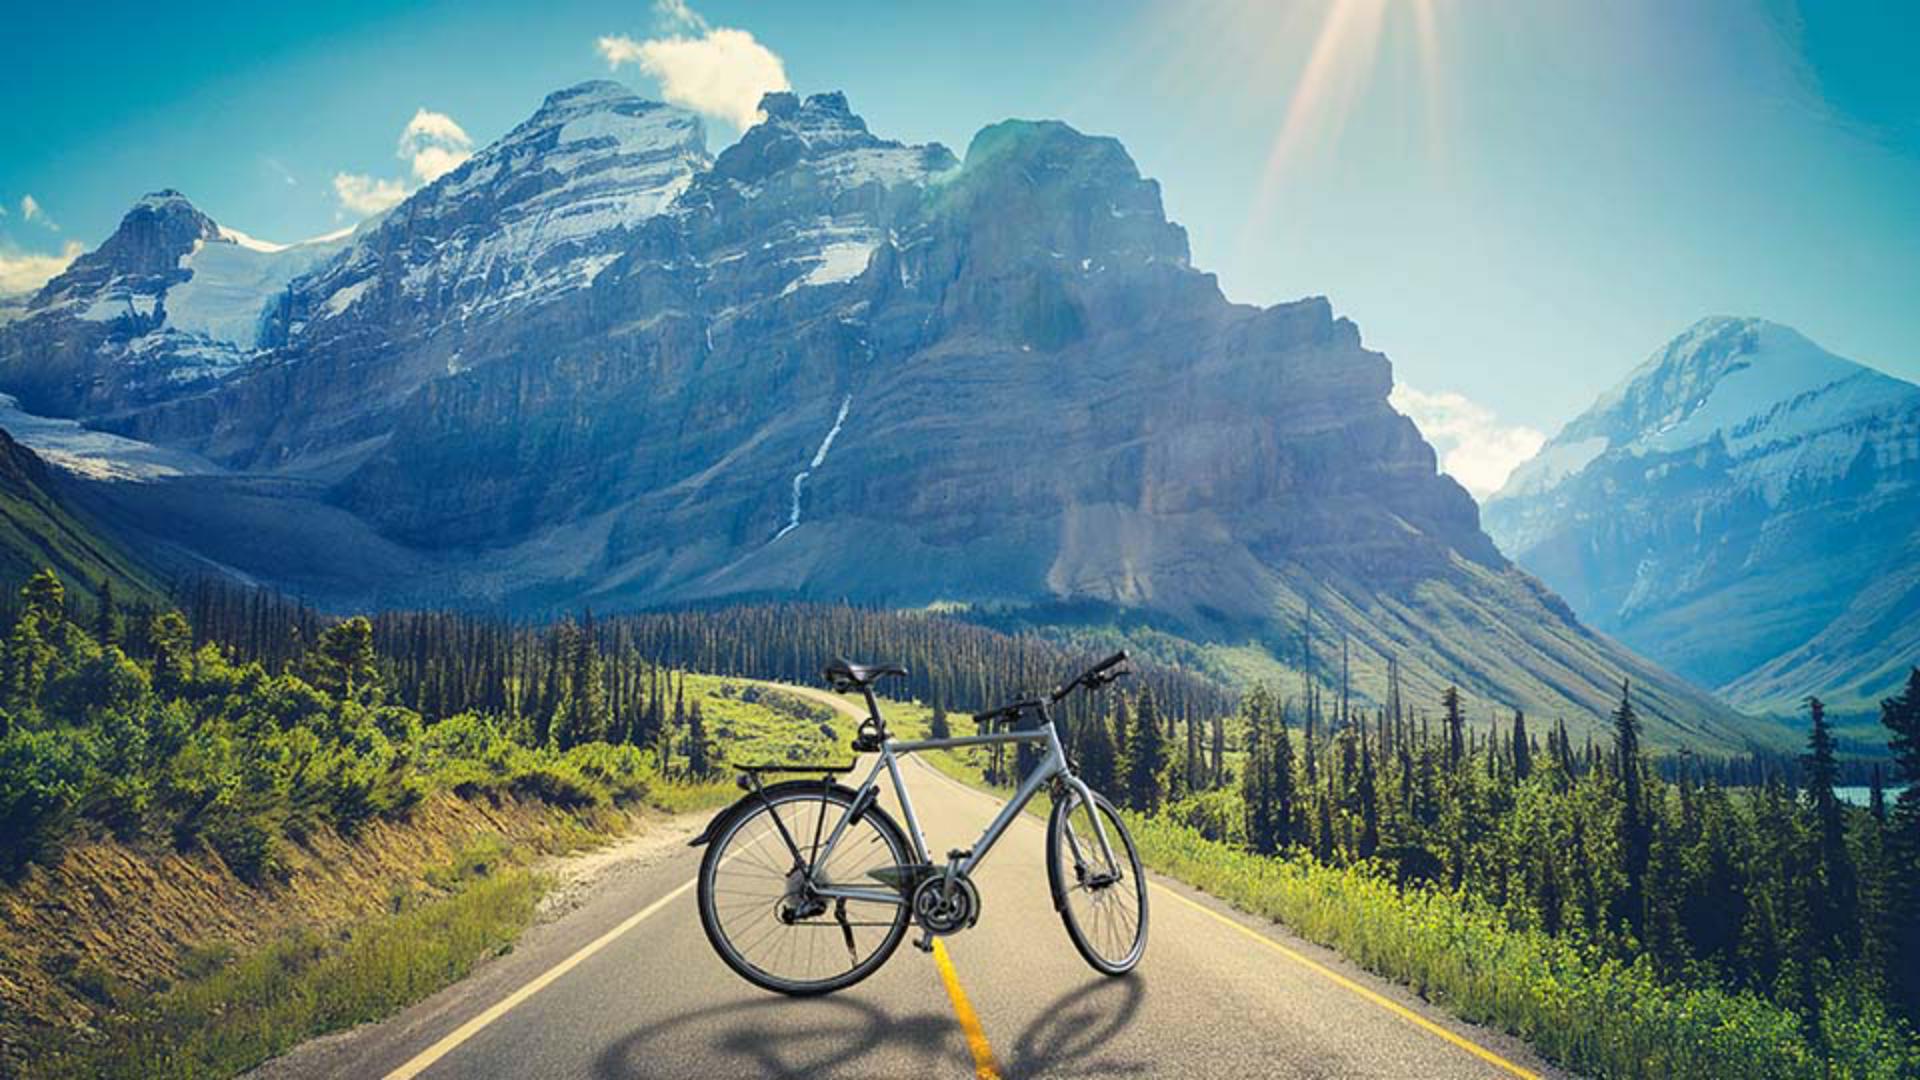
Photoshop's Generative image feature gives you a new way to create images that fit your vision, even if you only have a rough sketch or a photo to work with.
In this video, I'll show you how to place a difficult-to-select object in a brand-new scene and create a background that perfectly matches the right perspective.
My name is Rob de Winter.
I'm an Adobe Certified instructor, designer, and author based in the Netherlands, and in this tutorial, you'll learn how to use Generate image and Generative fill to blend your subject into a completely new environment.
I've opened a photo of my bicycle.
This is a very tricky object to select manually, so let's use the new updated Remove background (Cloud) feature to isolate it.
Just click Remove background in the Contextual Task Bar.
Imagine you want to place this bike in a new environment.
I already have a photo that shows the style I want, but the perspective isn't right.
So, instead of using that photo directly, I've made a new document, copied the bike into it, and created a quick drawing of a landscape that matches the perspective I need.
This sketch will serve as our composition reference.
I've already saved the sketch as a separate image file.
Click the Generate image button in the Toolbar.
In the Prompt field, type: 'green landscape with snowy mountains and a road, sunlight coming from behind the mountains'.
Set Content type to Photo.
In the Reference image section, click the Style button, then choose the landscape photo that reflects the style you want.
Then click Composition, and select the sketch you created to define the layout and perspective.
Drag the Strength slider all the way to the right to make sure the generated image closely follows your drawing.
Now click Generate.
Photoshop will generate three different versions of the background.
Choose the one that best fits your subject.
The new background now matches both the style and the perspective you need, but the bike still looks like it's floating.
It needs a shadow to blend in naturally, so let's create a shadow now.
Make sure the bike layer is selected.
This is important because Generative fill needs to see the bike to create a correct shadow.
Select the Selection Brush and paint the selection just beneath the bike.
Slightly touch the wheels to give Photoshop enough context.
Once your selection is complete, click Generative fill.
In the Prompt field, type: 'soft shadow' and then click Generate.
Now choose the shadow that looks most realistic.
You've now placed your object in a brand-new background that perfectly matches your sketch and your chosen style, all inside Photoshop.
Again, my name is Rob de Winter, and I hope this video helps you explore new creative workflows with Generate image and Generative fill.
Give it a try and I look forward to seeing you in more Adobe videos.


