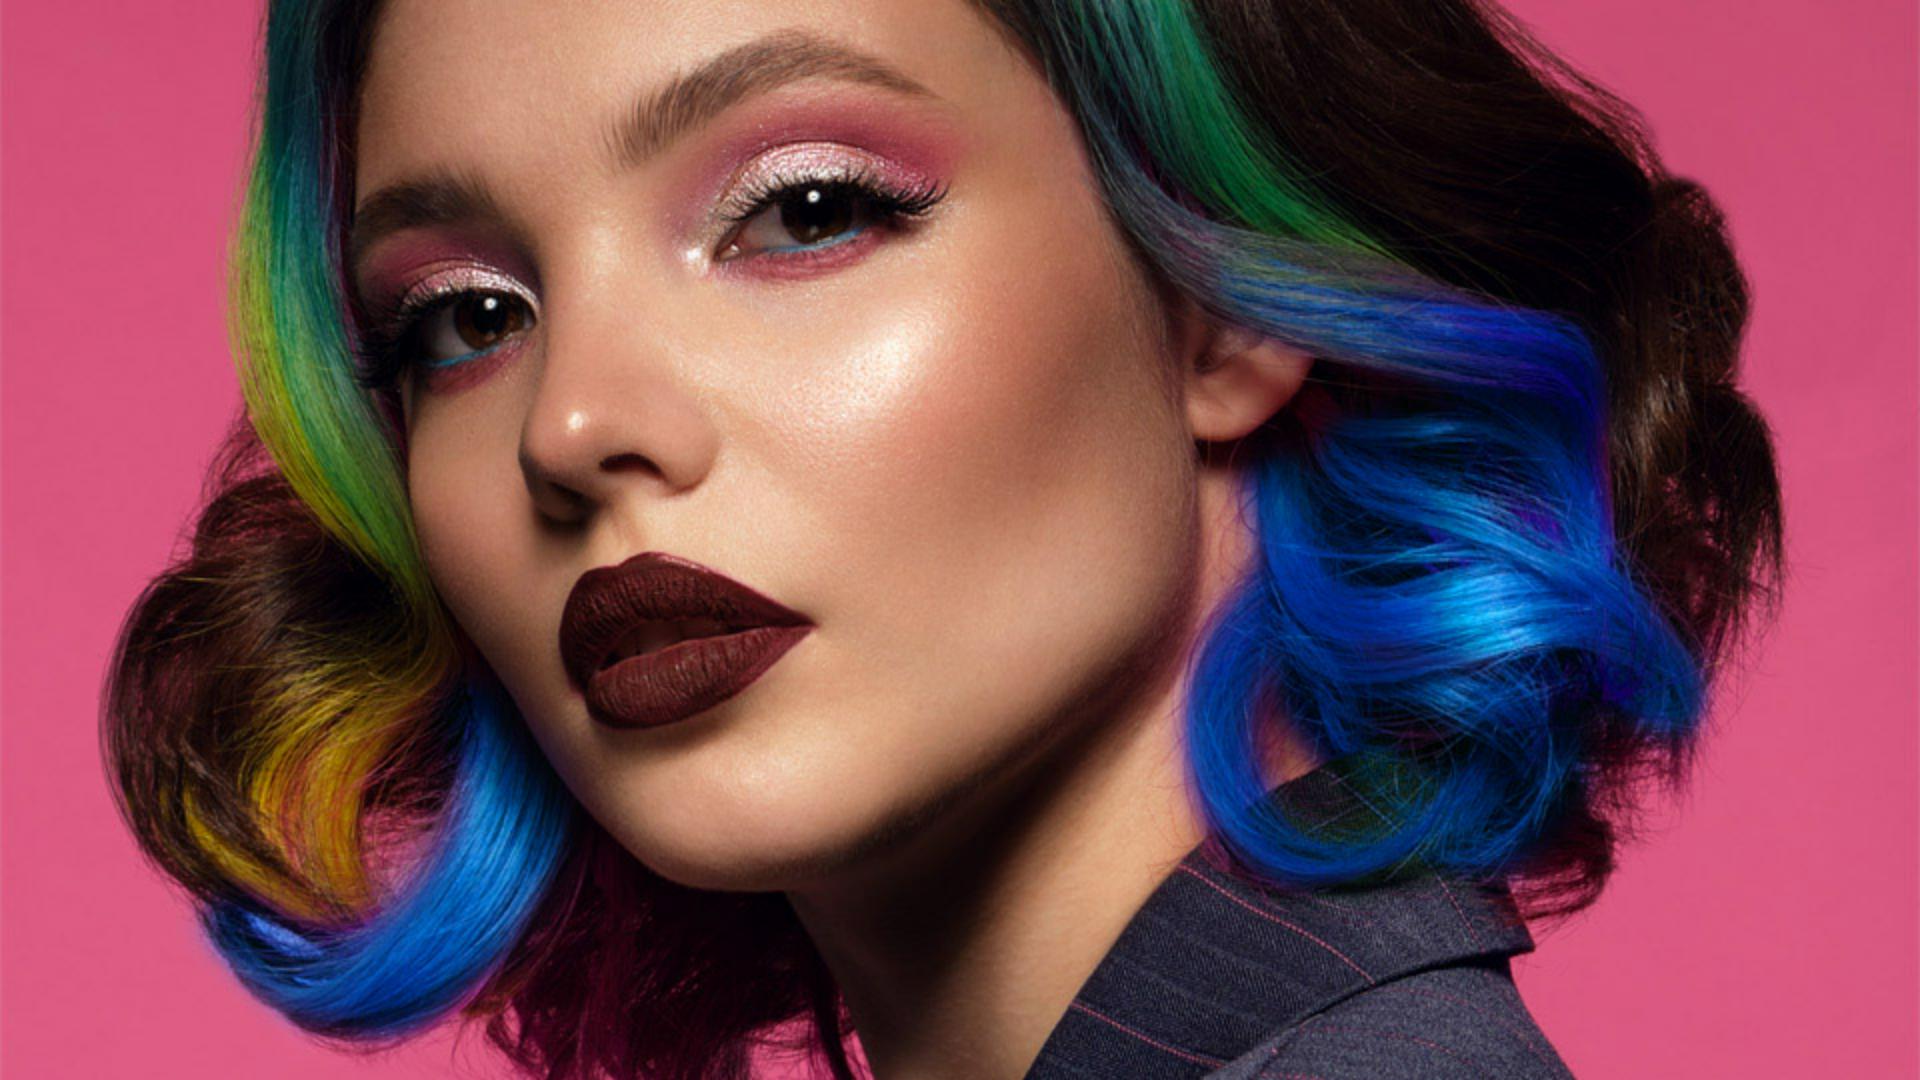
I'm going to show you how to apply creative adjustments to a photo by simply painting on the areas you want to change.
Hi, I'm Colin Smith from PhotoshopCAFE.
In this tutorial, you'll learn how to edit individual parts of a photo in a really intuitive way.
This easy-to-use tool allows anyone, even a complete beginner to Photoshop, to choose from a variety of adjustments and simply paint them onto your image.
You can even change the settings after you've applied these creative brushstrokes.
To start, let's change the pink color in her hair to blue.
We're going to go to the Toolbar and we're going to grab the Adjustment Brush.
So let's go up to the Contextual Task Bar.
If you don't see it go under Window, Contextual Task Bar, and we're going to choose Hue/Saturation, so we can change the color.
Now we can also change the Size of the brush and the Hardness of the brush.
To get a smoother blend, let's take the Hardness all the way down and we can adjust the Size.
If you want to be able to see the size of the brush while you're adjusting it, you can use the right bracket key or the left bracket key to make it bigger or smaller.
Let's turn on Overlay so we can see where we're painting.
And now we're going to paint over the pink part of the hair.
So let's just drag across there.
Notice as we do that a Hue/Saturation adjustment layer is created.
Now we can change the color by going to the Properties panel and adjusting the Hue.
And we're looking for kind of a bluish tint.
I think that looks quite nice, it's round about -124.
As I release, the overlay will come back on.
If we want, we can hide that overlay, and now we can continue painting.
Let's also change the right side.
Notice that adjustment just applies directly as we paint.
It looks like we've gone over a little bit.
So what we do is go to the Taskbar and change to the - Tool, and now we can clean that up.
It will remove the adjustment from that area.
Now we want to apply a second adjustment and brighten up her jacket a little bit.
The way to do that is to go up where it says Add new adjustment.
In the Taskbar, we're going to choose that, and now we're going to select the Brightness/Contrast as the adjustment we want to create.
Notice when we select it a second adjustment layer is created.
Let's change back to the + Tool.
Now we want to select her jacket, but we're going to use the Auto Selection Tools.
We're going to choose Apply to object.
As we roll over, you'll see the whole object appears highlighted.
We only want to select the jacket.
So click and drag a rough marquee around the jacket to tell Photoshop this is what we want to select.
If you look in the mask, notice there's a beautiful selection now of just the jacket.
If we go to Brightness and Contrast, we can increase the Brightness and reduce the Contrast.
And now we're able to lighten the jacket as well.
As you can see, the Adjustment Brush makes it really quick and easy to make powerful adjustments to your image.
And you can use the built in object selection to help you apply it exactly where you want to.
You can also change any of the settings afterwards and refine your brush strokes using the + and - Brushes.


