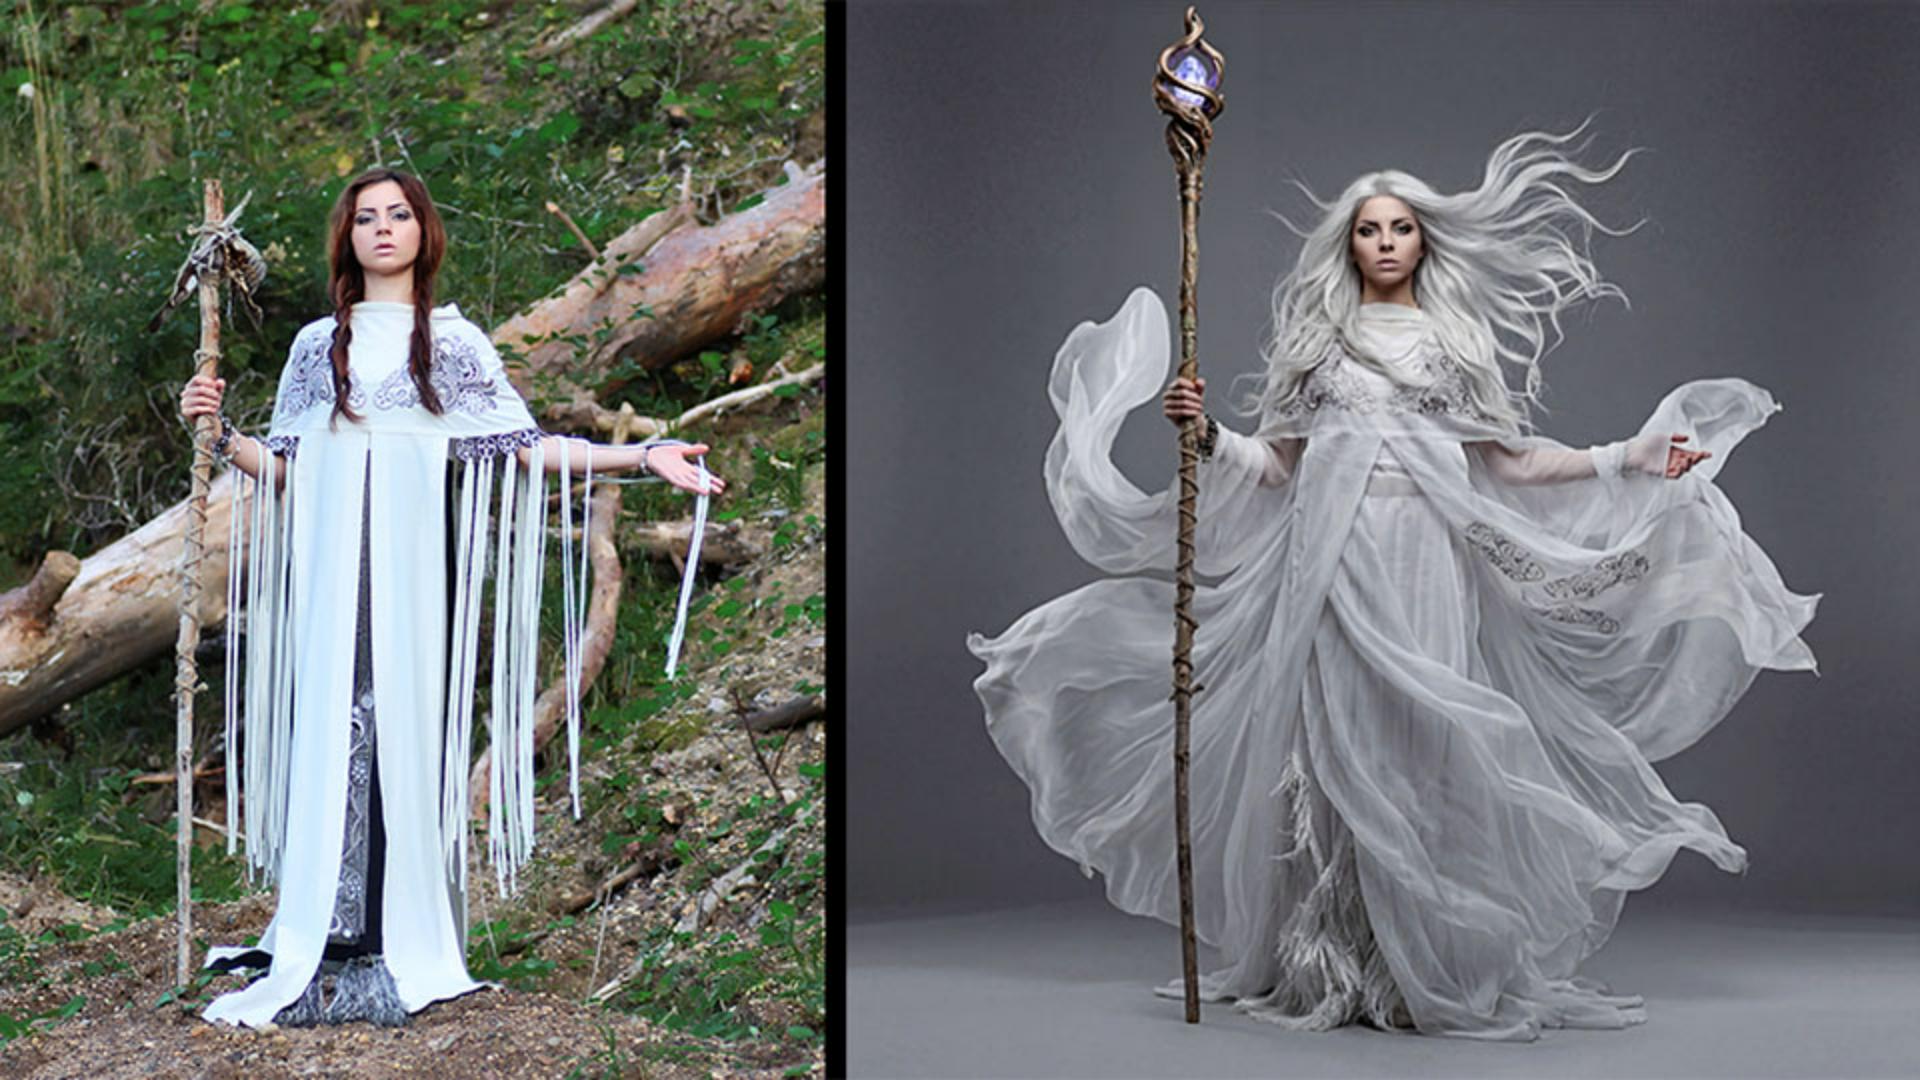
Refine and prep the character in Photoshop
Now we download it and open it in Photoshop.
The first thing I want to do is improve the image slightly using a few quick adjustments.
I'm going to increase Clarity and Dehaze to add more texture.
Then I'll lower the Brightness slightly, and increase the Contrast to give the character more depth and volume.
Look at the before and after.
Now I want to replace this part of the staff with something that feels more magical and jewel-like.
We select that area and inside Generative Fill type magic staff.
[In the model selection menu, Firefly Fill & Expand is chosen.]
We will also make sure this Firefly version is selected.
We can even use a Reference image.
And I'm going to use this one because I really like the design of the staff.
We hit Generate.
[The top of the staff transforms into an intricate, jeweled design.]
Look at that - it turned out almost exactly how I imagined it.
We get three different options, and in this case I'm going to choose the second one.
And now let's merge the layers and remove the background from the character.
For that, we'll use the Object Selection Tool and make sure that Select Subject in the Cloud option is enabled, because it usually gives much better results.
We click Select Subject and Photoshop automatically creates the selection.
The top part of the staff is missing, so while holding Shift, we click on that area to add it to the selection.
And now we simply create a mask.
[The background vanishes, isolating the character against a checkerboard transparency grid.]
At this point, our character is ready to be integrated into the scene.
The character is done.
[Cut back to Germán speaking in his studio.]
In the next video, we'll bring everything together and that's where the image really starts to work.
See you there.