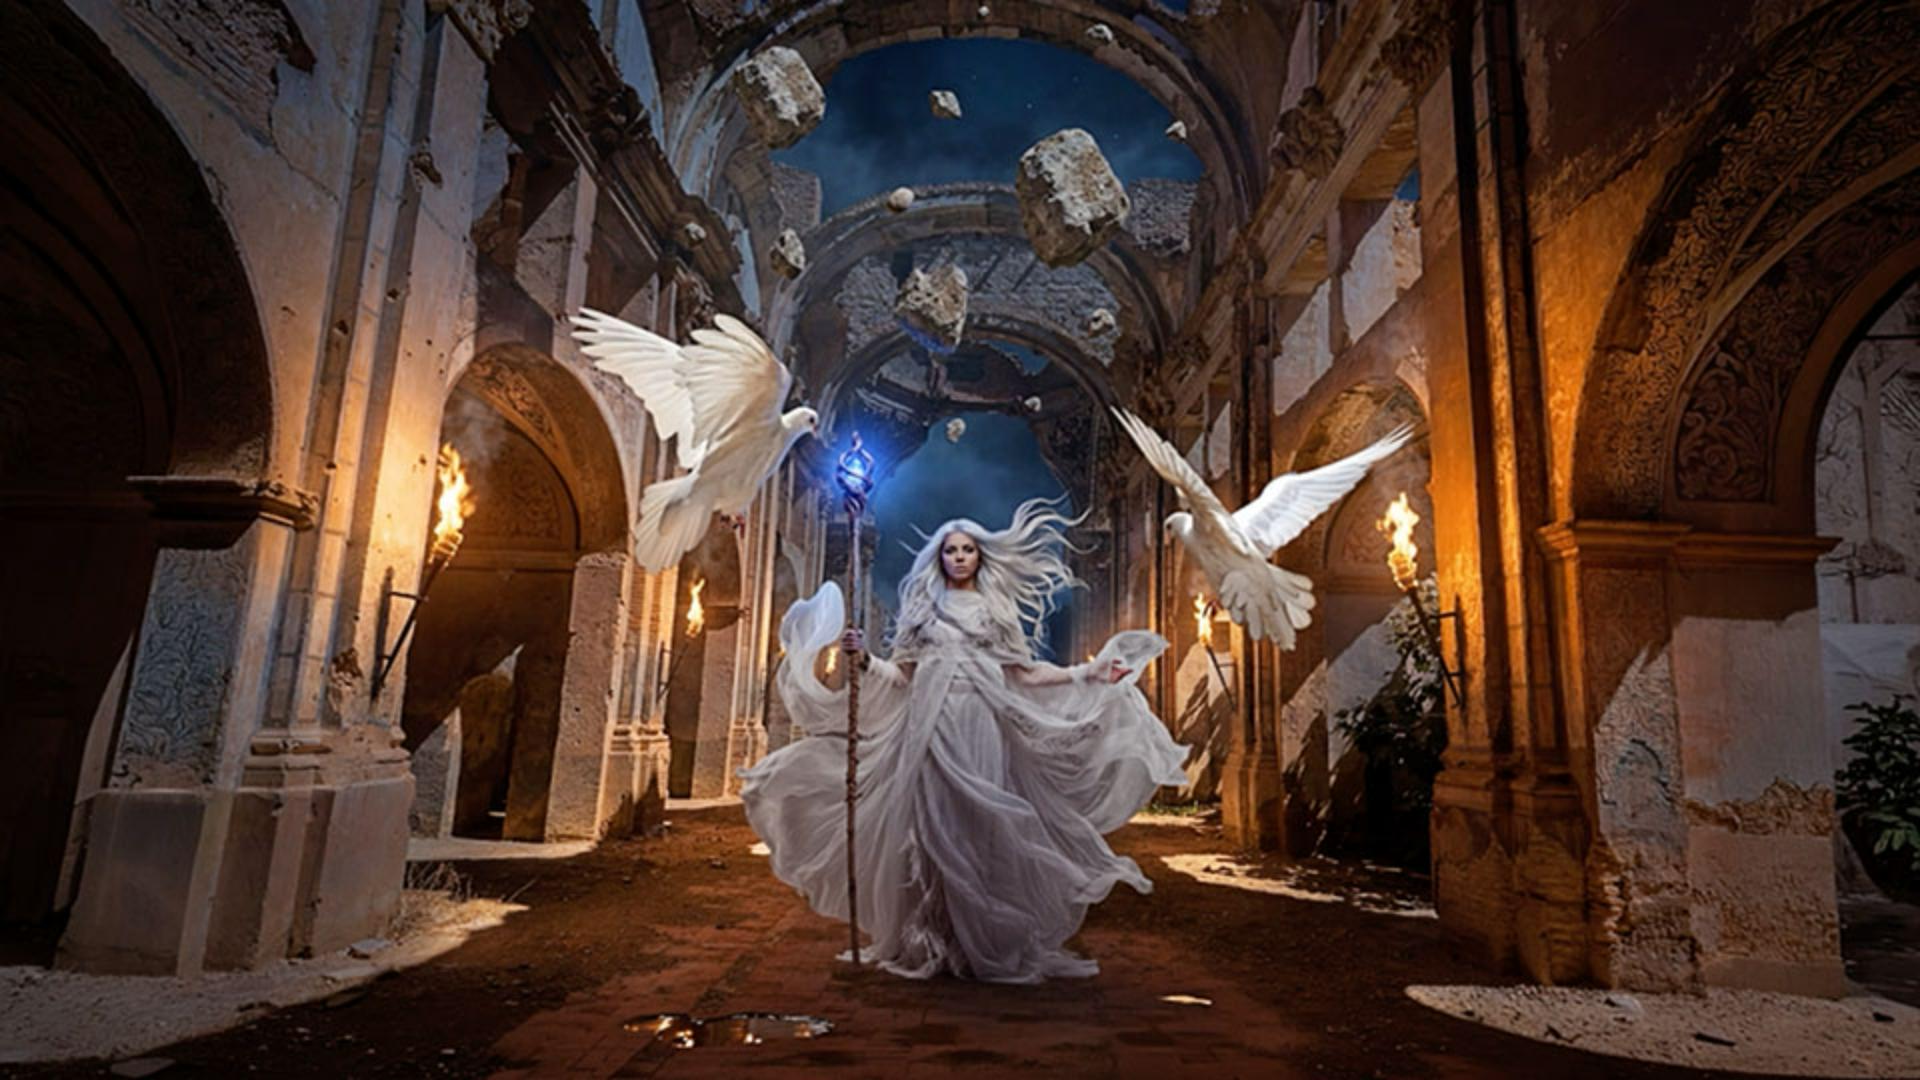
Generate floating rocks and magical light
Next we are going to add some floating rocks to reinforce the fantasy feel even more.
We create a new layer and using the Brush and a bright color, paint rough shapes where we want the rocks to appear [Bright pink painted marks are added across the upper background area.] - some larger, some smaller.
Once we're done, we make a selection containing all those painted shapes [A Photoshop menu opens while the pink marks remain visible.] and go into Generative Fill.
We type "floating rocks," make sure Nano Banana 2 is selected, and hit Generate.
[A progress bar appears.]
And look how well this works.
[The pink painted area is processed and replaced with floating rocks.]
Photoshop creates the floating rocks exactly where we painted those guides, which gives us a huge amount of control over the composition.
And finally, let's make the staff emit a magical blue light.
We create a selection around the staff, and using Nano banana 2 type that we want the staff to emit blue light.
We generate the result, [A progress bar appears.] and look at this.
[The final image is shown with the added doves and luminous blue effect from the staff.]
Not only does it create the light itself, but also the way the light affects the nearby environment, [The Photoshop Layers panel remains visible beside the completed composite.] something that would normally take a very long time to paint in manually.
[Germán Benito appears in his studio.]
Look how much the image changes just by adding these elements.
In the next video, we'll work on the atmosphere and that's where everything finally feels complete.