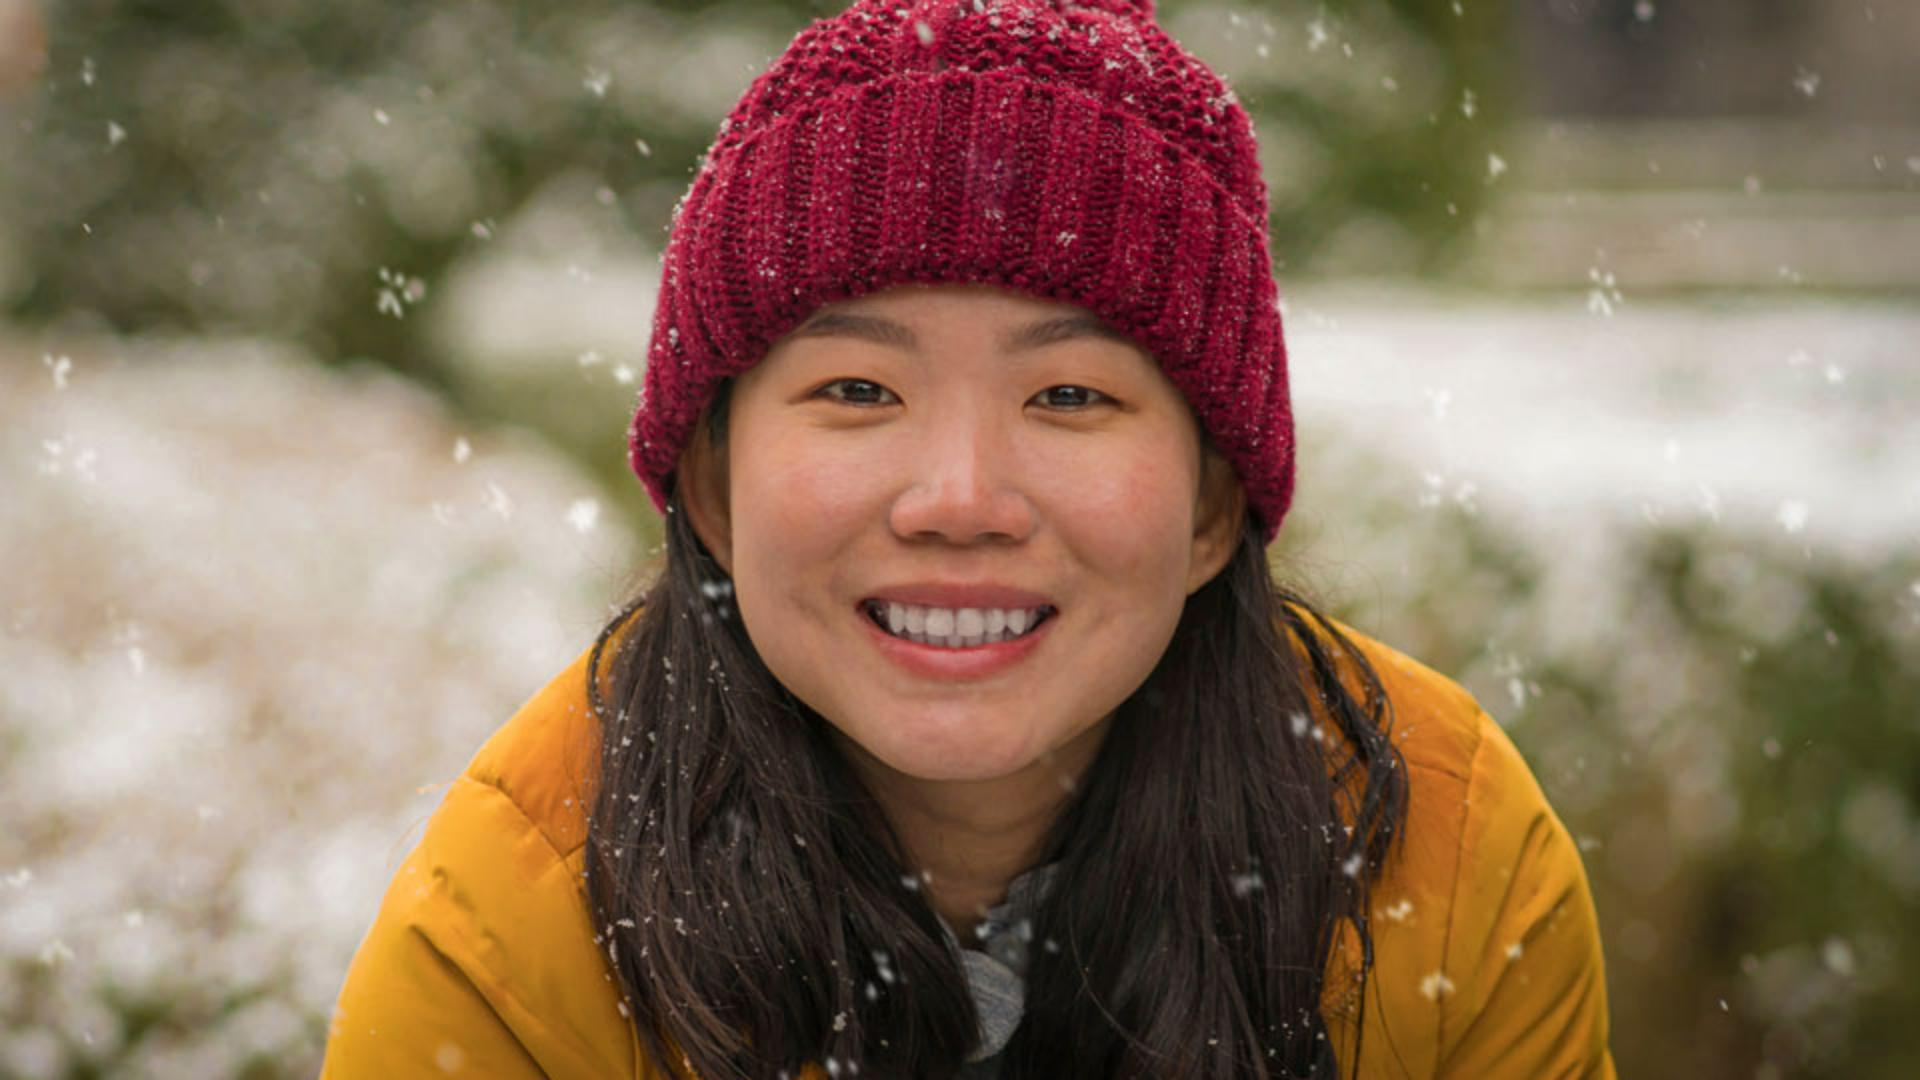
This is such an appealing portrait.
Unfortunately, the snow over her face is very distracting and forces your eye to it.
My name is Jesús Ramirez.
And in the next few minutes, I'll show you how to remove unwanted content from your photos with just a few clicks.
For this image, we will use the Healing Brush Tool, which allows you to remove small unwanted elements such as blemishes, dust and scratches.
Photoshop has several powerful tools to remove content from your photos, but they all work differently and have unique strengths.
In this image, we need a tool that can offer a high degree of control and precision.
We need to match texture, lighting, and color to create a seamless repair.
Although Content-Aware Fill could work, it's better suited for removing larger objects.
And the Clone Stamp Tool copies exact content from one area to another without blending it, which might leave noticeable edges in this case.
The advantage of the Healing Brush Tool is that it allows you to select a specific area to use as a source for the healing process.
This gives you more control and it allows for more precise adjustments.
To start, enable the Healing Brush Tool from the Toolbar.
It is nested under the Spot Healing Brush Tool.
Before you make any adjustments, click on the New Layer icon in the Layers panel to create a new layer.
This new layer will contain all your changes without permanently altering the original photo.
This non-destructive workflow allows you to edit an experiment without committing to the adjustments.
You can always return to the original image if you don't like the changes you've made.
To ensure the Healing Brush Tool works with content on multiple layers, go to the Options bar, and set the Sample drop down to All Layers.
Next, you need to sample an area to copy content from.
In this case, we'll start by removing the larger snowflake from her chin.
Remember, the Healing Brush Tool matches the texture, lighting, and shading of the sampled area to the area you're healing.
It is crucial you sample from an area similar to the area surrounding the distracting object.
The opposite side of her chin, near the crease below her lip will work great.
To sample, hold the Alt key on Windows, that's the Option key on the Mac. your cursor will switch over to a Target icon, then click to sample.
The cursor will now show an image preview of the sampled content.
If you can't see the preview, try making the brush larger by going into the Brush settings in the Options bar, and dragging the Size slider to the right.
However, I prefer to decrease or increase the brush size by tapping on the left or right bracket keys.
Those are the keys to the right of the letter P in North American keyboards.
Make the brush size large enough that you can paint over the distraction with one or two brush strokes.
Also, remember that you can always resize the brush tip as you heal.
I'll place my cursor just over the crease to match the sampled area and click and drag down to heal the snowflake away.
And the result looks fantastic.
Click on this layer's Eye icon from the Layers panel to compare the original photo against your edited version.
To better understand the difference between cloning and healing, I will sample the texture from her beanie, then I will paint over her face.
Notice how Photoshop is not copying and pasting the exact same content.
Instead, it takes the color, lighting, and texture and blends them with her skin.
I'll press Control Z on Windows, that's Command Z in the Mac to undo.
Next, let's remove the large snowflake from her beanie.
Sample from the beanie just above where the snowflake is to get a similar pattern.
Then paint over the snowflake.
Again, Photoshop does an amazing job.
Now that you know how the Healing Brush Tool works, try removing other distracting elements from this image.
This is what my final version looks like after removing all the other snowflakes from her face.


