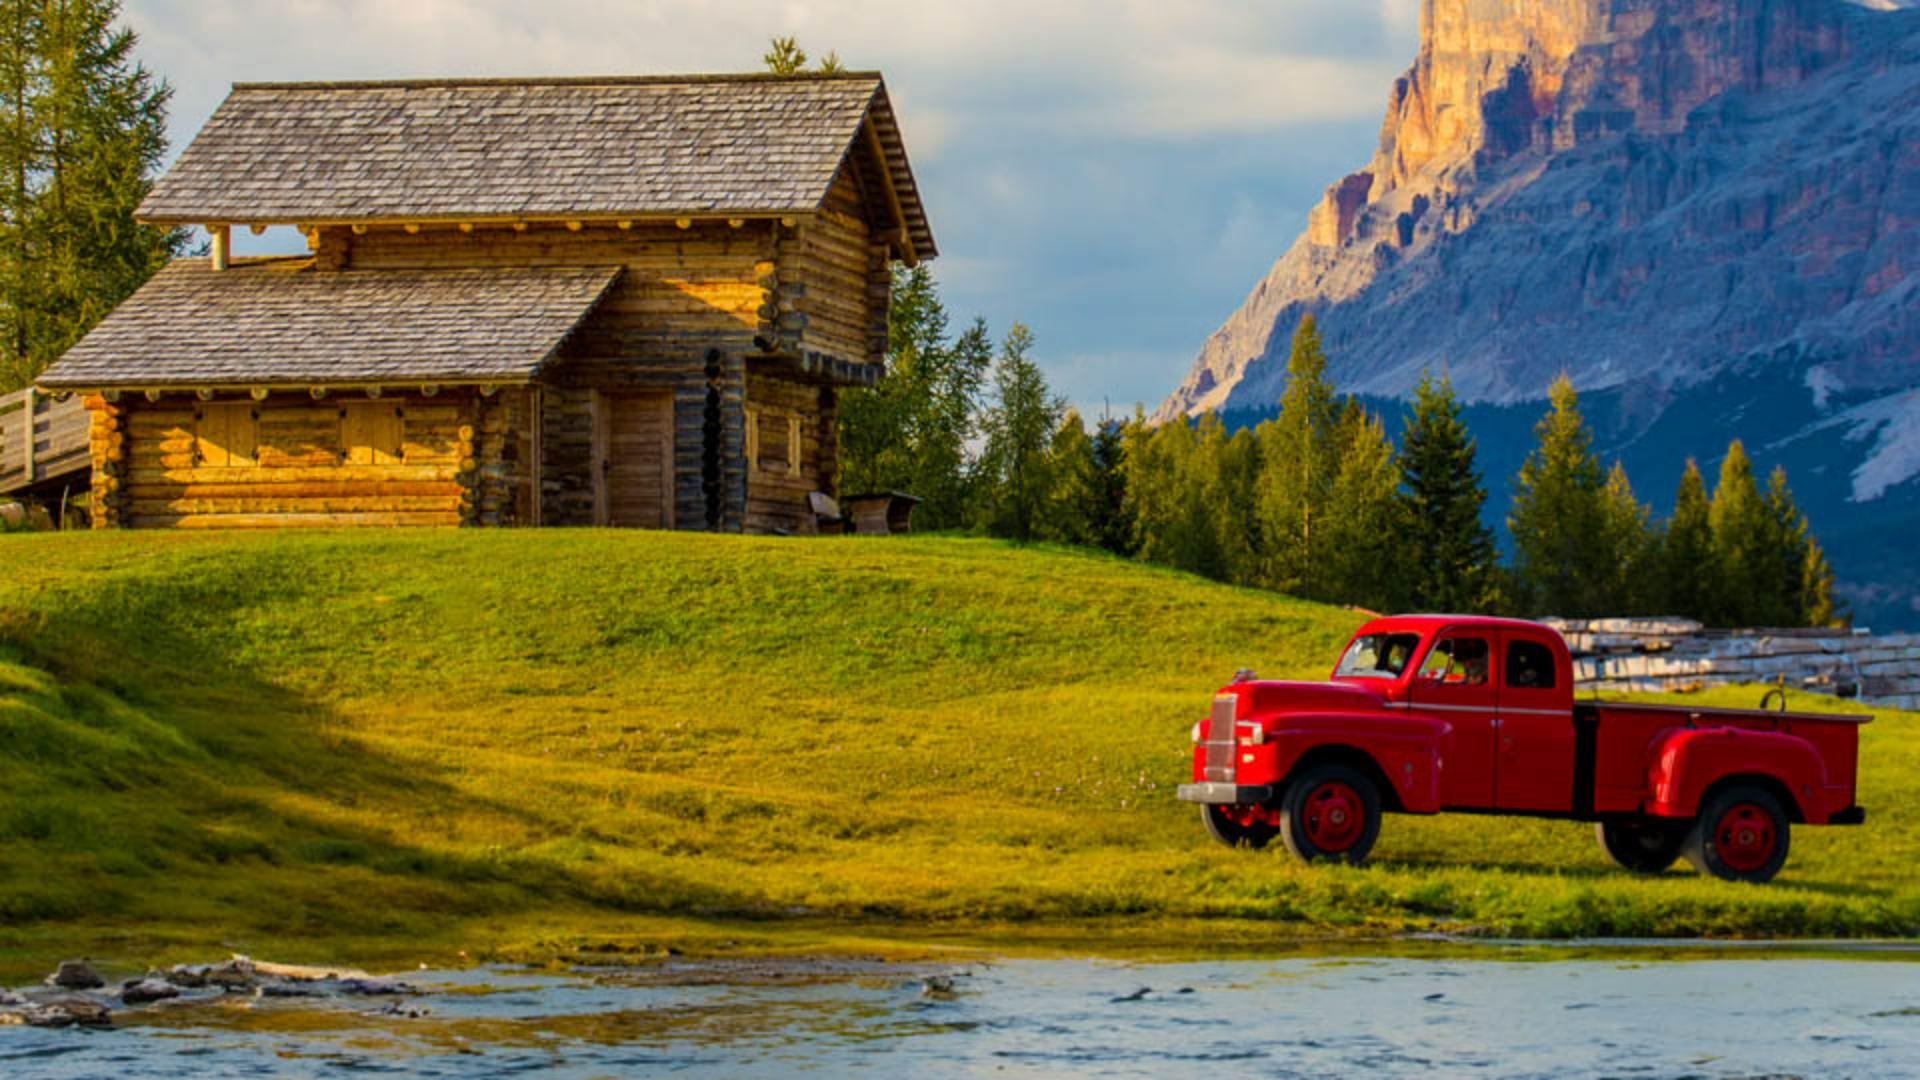
Tip: Move and regenerate an object made by Generative Fill
Move a generated object and generate it again in Adobe Photoshop.
Published

The Generative Fill can add realistic objects to your photos, but if you later decide to move that object, you'll need to take a few extra steps to make it blend with the background.
Let me show you how this works.
When you create a selection, you can use a Generative Fill to add content to your photos.
Just type a descriptive prompt like old classic red pickup truck, then hit Enter or Return to generate and the result looks great.
Lighting, color and perspective match.
But if you decide to move the truck to another part of the image, the background and perspective will no longer match.
To make the truck fit the new placement in the photo, go to the Properties panel and again click on the Generate button.
Photoshop will generate a new truck that will match the new background.
Unfortunately, the result will not be the same truck.
If you want to keep the same truck when moving it to a new position, you can try right clicking on the Generative Layer and converting it into a Smart Object, then clicking on the Remove background button from the Taskbar to add a layer mask to the Generative Fill layer to hide the truck's background.
The truck looks fantastic, but it will be better if we bring back some of the grass and shadows hidden by the mask.
To do so enable the Brush Tool and paint with white on the layer mask to reveal the grass and shadows below the truck.
So remember these techniques next time you want to move a generated object.
My name is Jesús Ramirez.
Thank you so much for watching.
Instruction by
Adobe Stock Contributors

