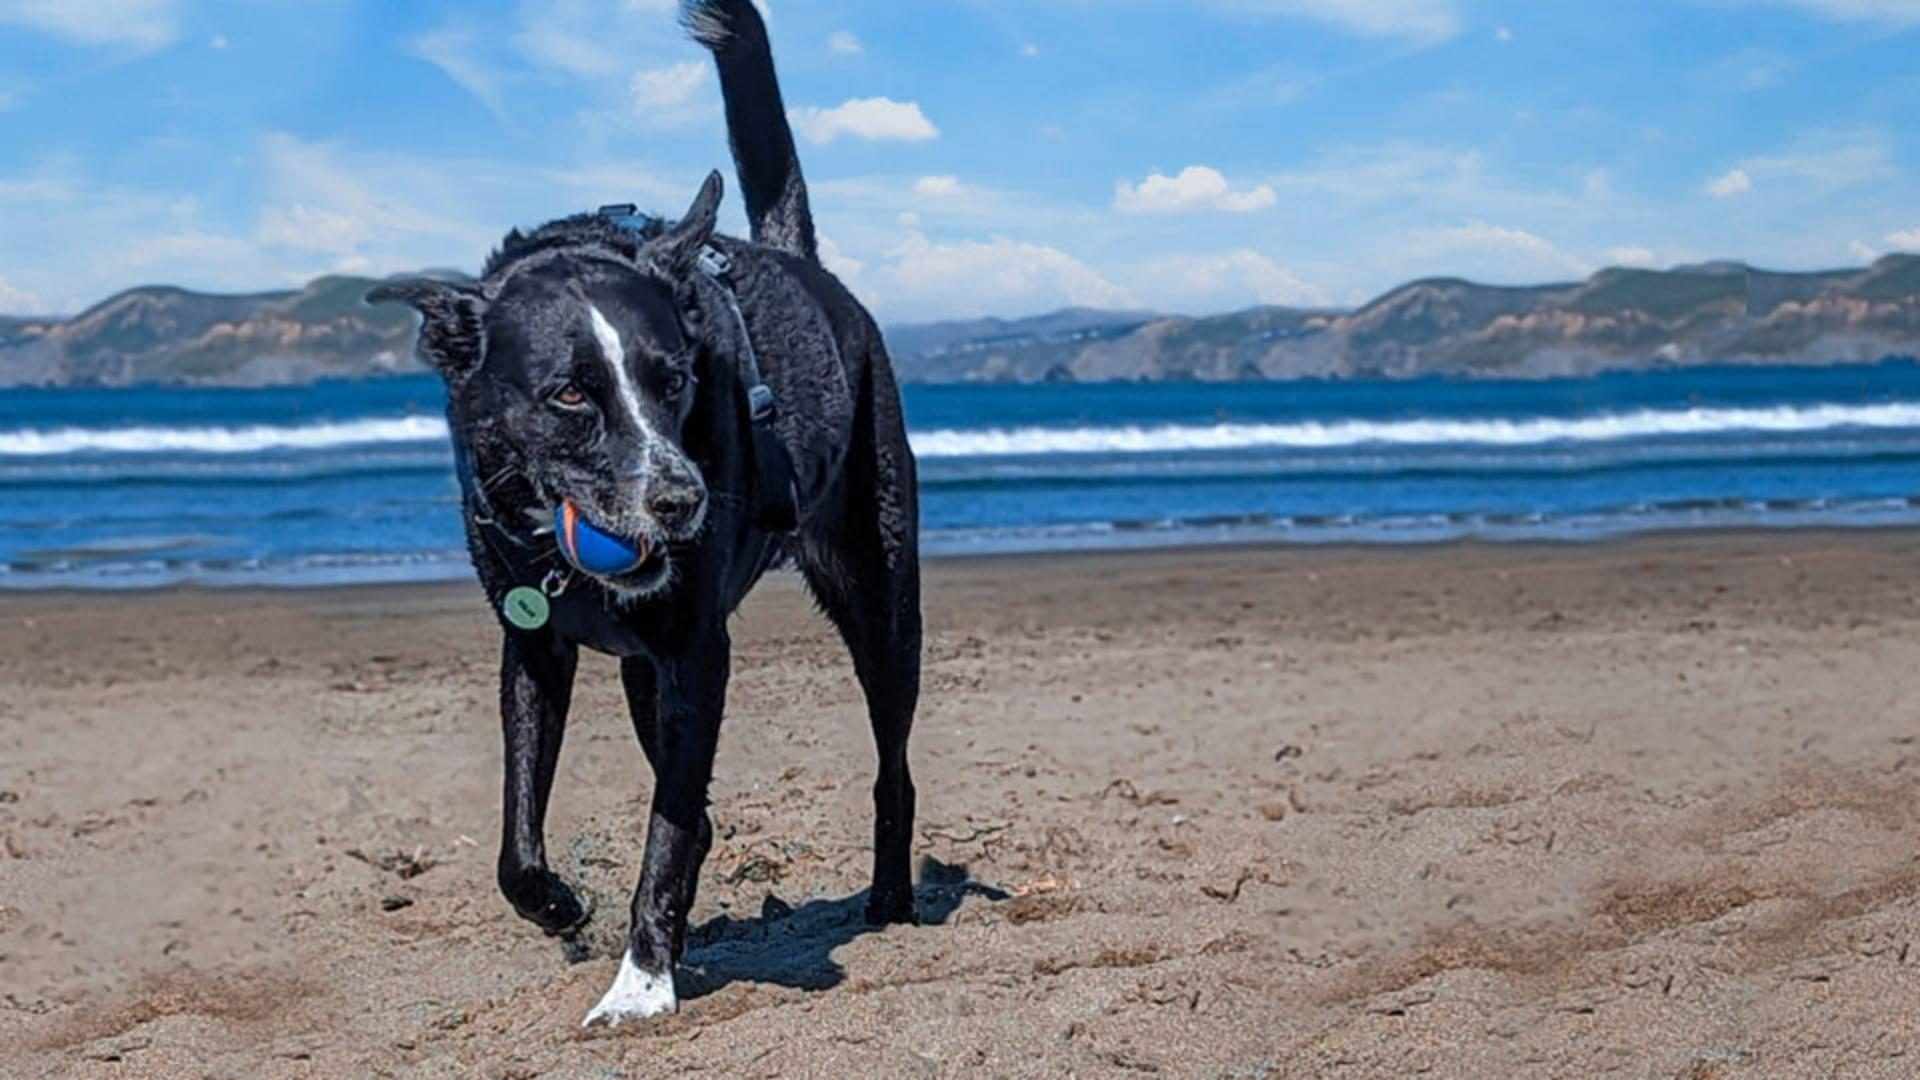
This is a great shot of a dog playing at the beach.
Unfortunately, the people in the background and the seaweed in the foreground are very distracting.
They take a lot away from an otherwise great shot.
My name is Jesús Ramirez.
And in the next few minutes, I'll show you how to remove unwanted content from your photos with just a few clicks.
For this image, we will use the Patch Tool, which allows you to select an area and move it to another while automatically blending it into the new surroundings.
In this image, there's a lot of content free of distractions similar to the areas with unwanted detail.
It will be easy to copy content from one location and place it into another, while letting Photoshop automatically blend it for us.
Other tools like the Content-Aware Fill could work, but it is more labor intensive and there is no need for extra work.
Start by enabling the Patch Tool from the Toolbar.
It is nested under the Spot Healing Brush Tool.
Before you make any adjustments, click on the New Layer icon in the Layers panel to create a new layer.
This layer will contain all your changes, leaving your original photo unaltered.
This non-destructive workflow allows you to edit an experiment without committing to the adjustments.
You can always return to the original image if you don't like the changes you've made.
Next, from the Options bar, select Content-Aware from the Patch dropdown menu.
The Content-Aware option will give you access to the Sample All Layers checkbox.
Without checking this box, you cannot place content on the new transparent layer.
Also, the Content-Aware option allows the Patch Tool to analyze the surrounding areas when placing content to create a more natural blend without seams.
The first step is to select the objects you would like to remove.
I prefer to break my job into smaller parts to get better results.
For example, you can divide the job into two parts with this group of people in the background.
First, select the man and the dog on the right.
The Patch Tool allows you to freehand selections just by dragging over the image.
Create a loose selection.
But try to keep as much of the original background as you can.
The results are always better when you keep more of the real background.
Then drag the selection to another area to sample that content.
Notice the preview as you drag over the image.
Find an area that matches the background as best as possible.
Try to align any noticeable repeating patterns or lines.
When you release the mouse button, Photoshop will blend the areas together and remove the man and the dog from the photo.
You can now disable the selection by going into the Select menu and choosing Deselect.
But the keyboard shortcut is much faster.
Press Control D on Windows or Command D on the Mac.
The results look fantastic.
Now, repeat this process with the two remaining people.
Create a loose selection, then drag it over the content you would like to sample.
And again, Photoshop does a fantastic job.
Now that you know how the Patch Tool works, try removing other distracting elements from this image.
This is my final image after spending some time removing other distracting objects.


