Edit your first photo

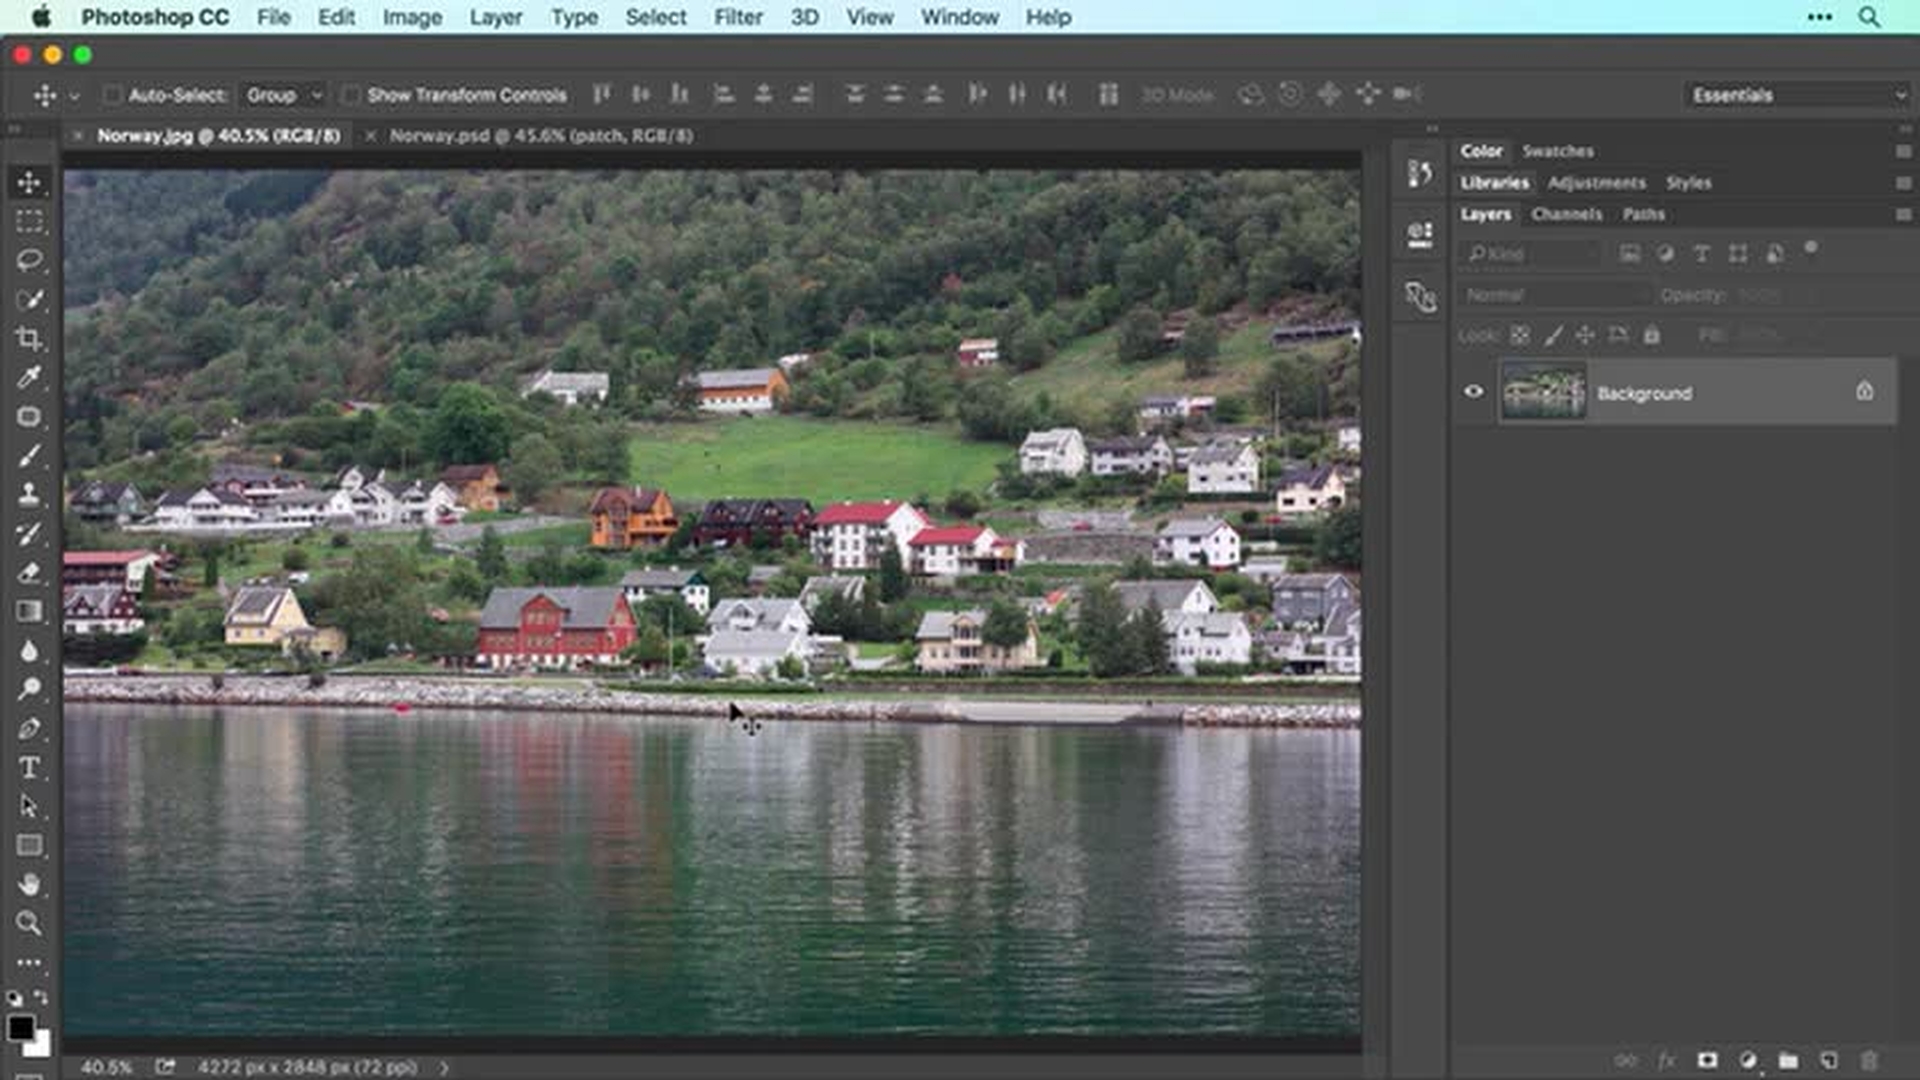
1 Crop and straighten
Using the Crop tool, you can trim edges, change the shape and size of a photo, and even straighten a crooked shoreline or horizon.
Introduction
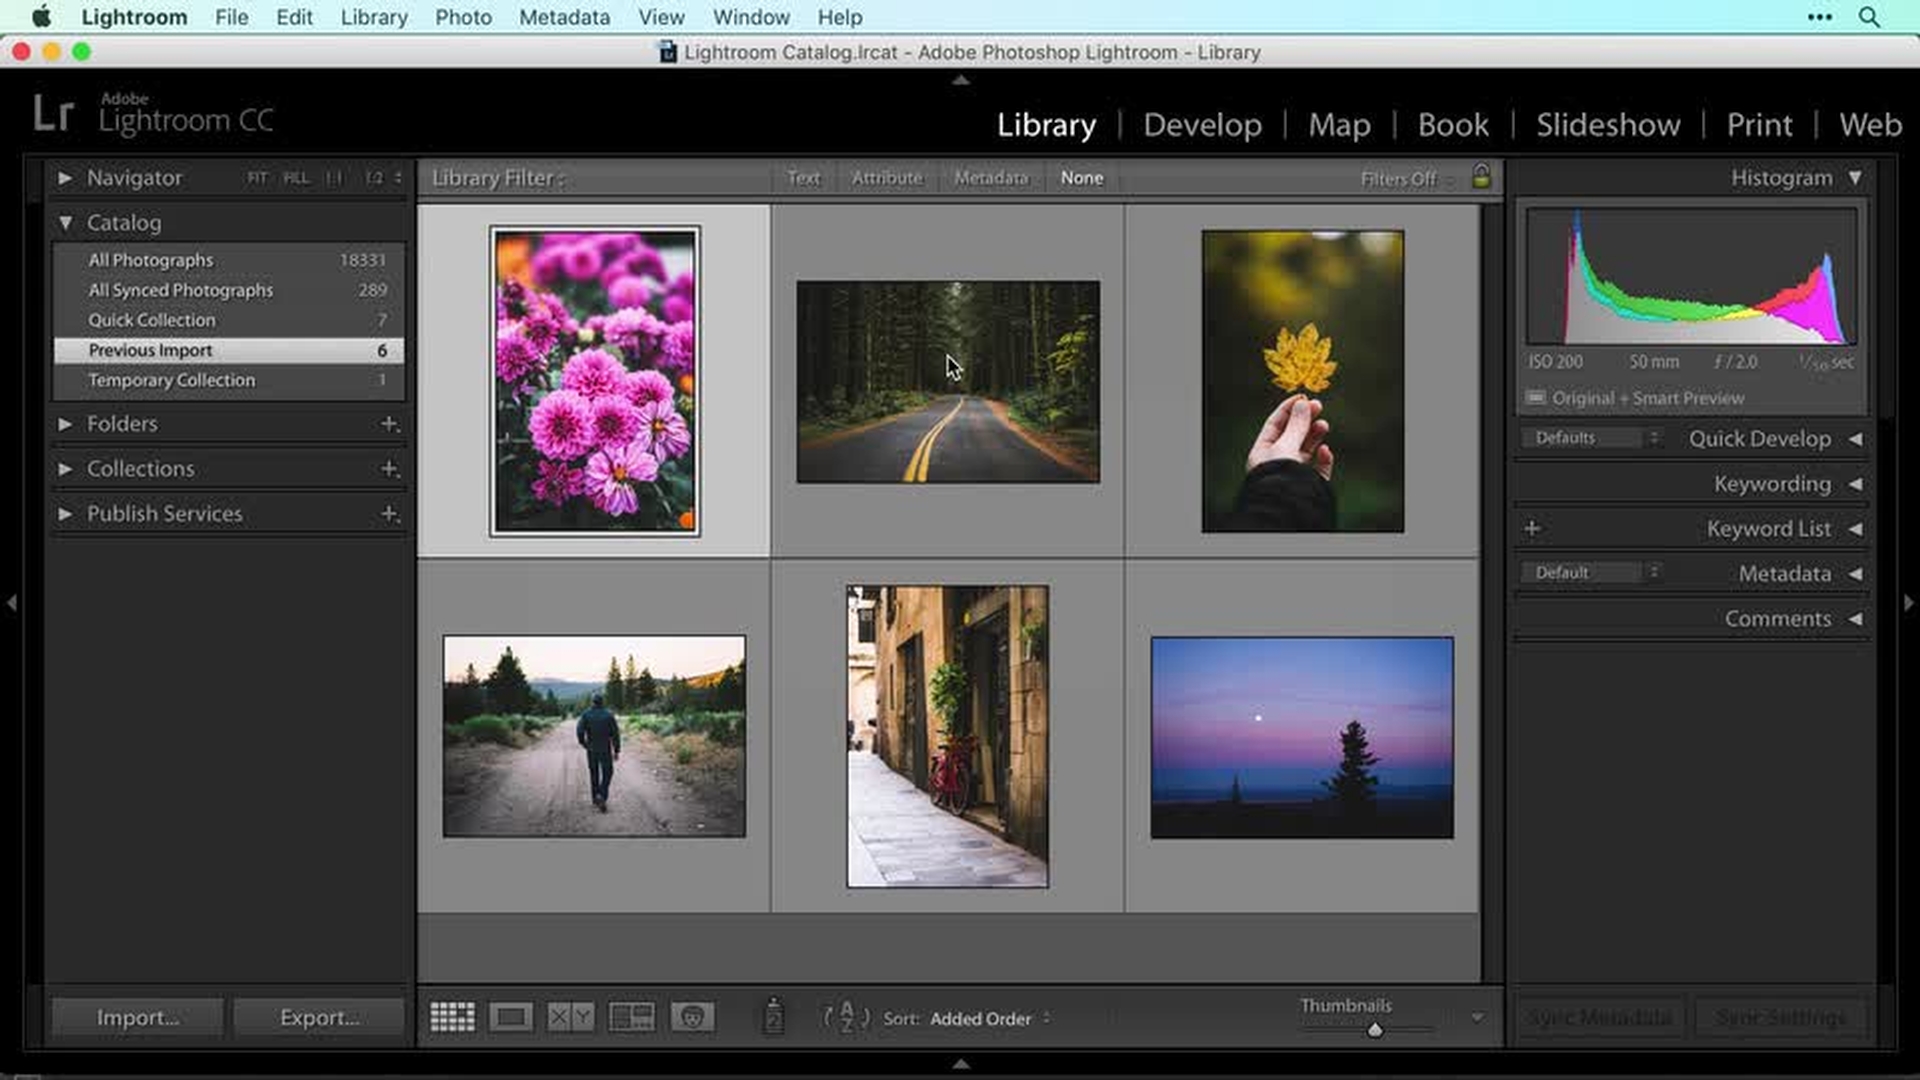
Opening photos in Photoshop
Cropping images with the crop tool
Straightening and non-destructive cropping
Saving your work in Photoshop format
Open a file (0:41); Crop (0:57); Straighten (2:04), Save (2:50)
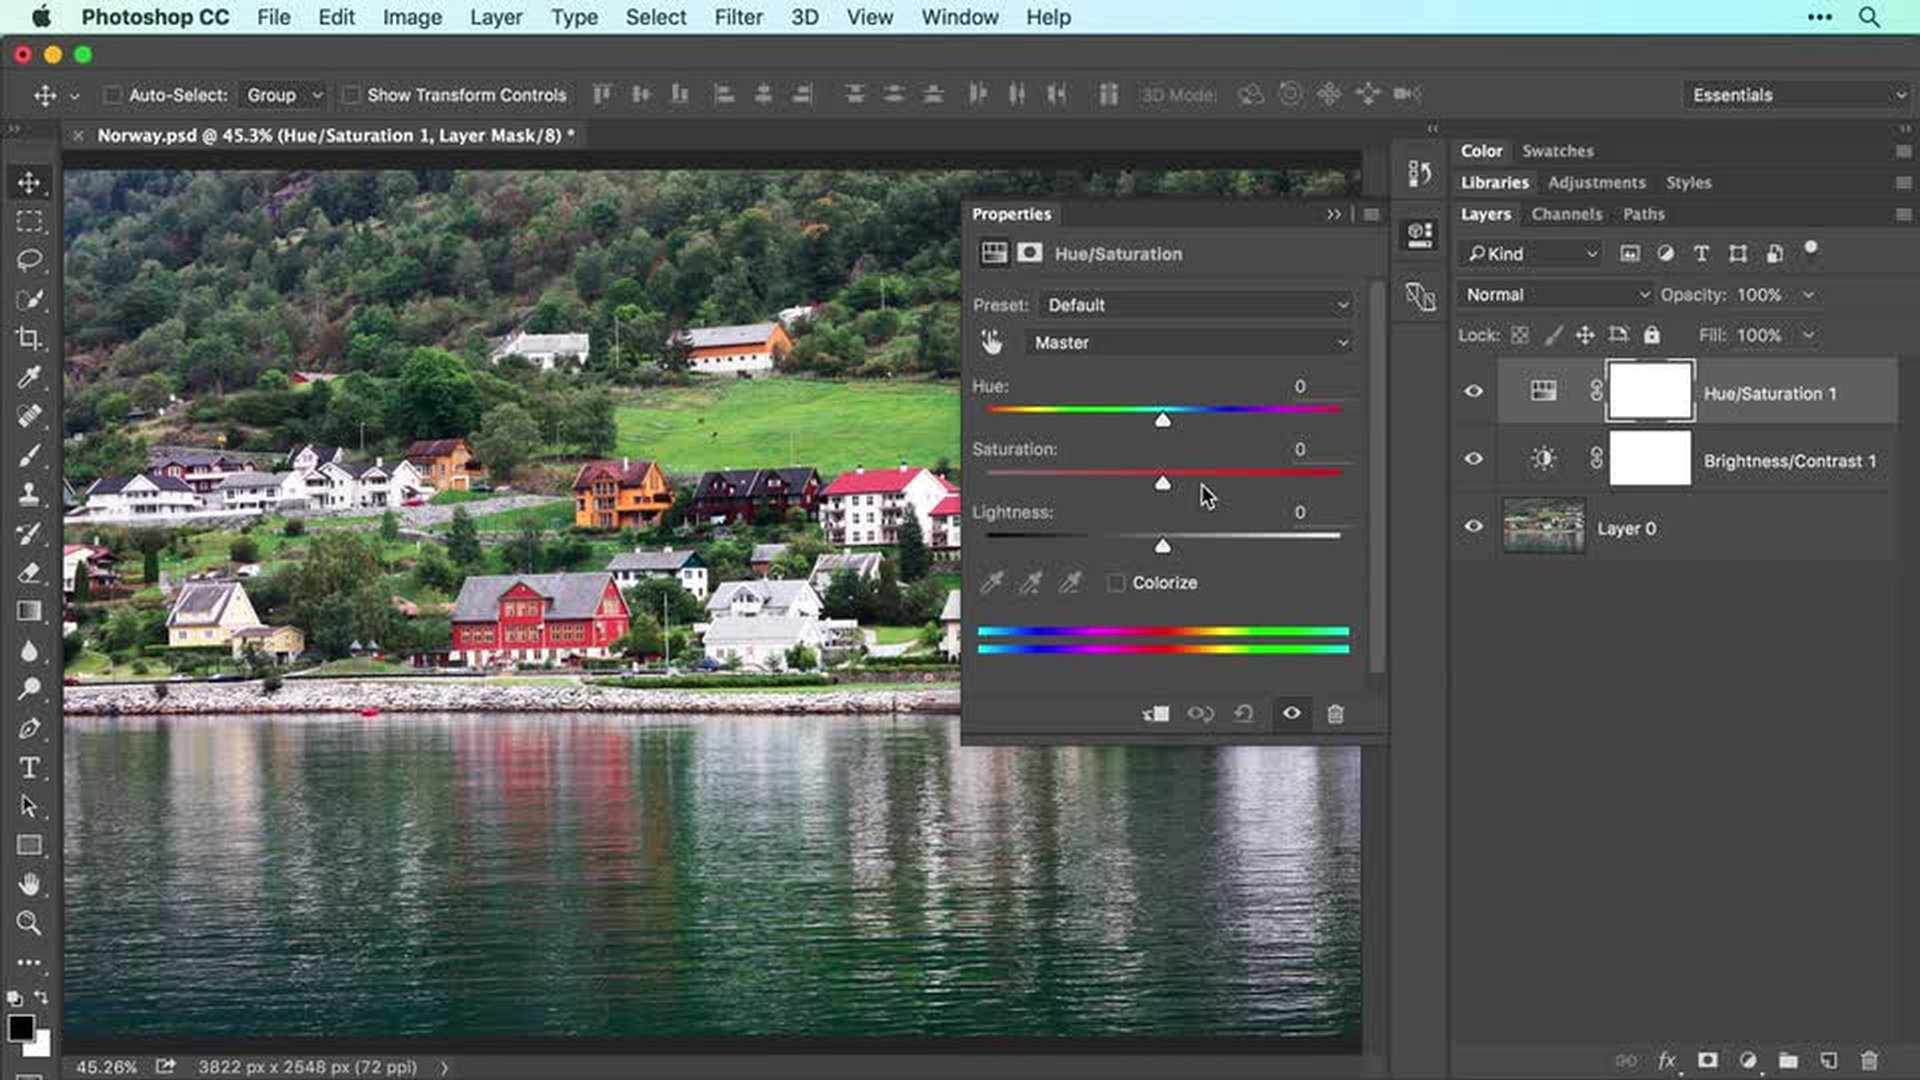
2 Improve lighting and color
Brighten a photo and make its colors pop using adjustment layers.
Introduction
Brightening images with adjustment layers
Enhancing color with hue and saturation
Refining adjustments using layer masks
Reviewing edits and saving non-destructive work
Brightness/Contrast (0:18); Hue/Saturation (1:20); Edit an adjustment (04:19)
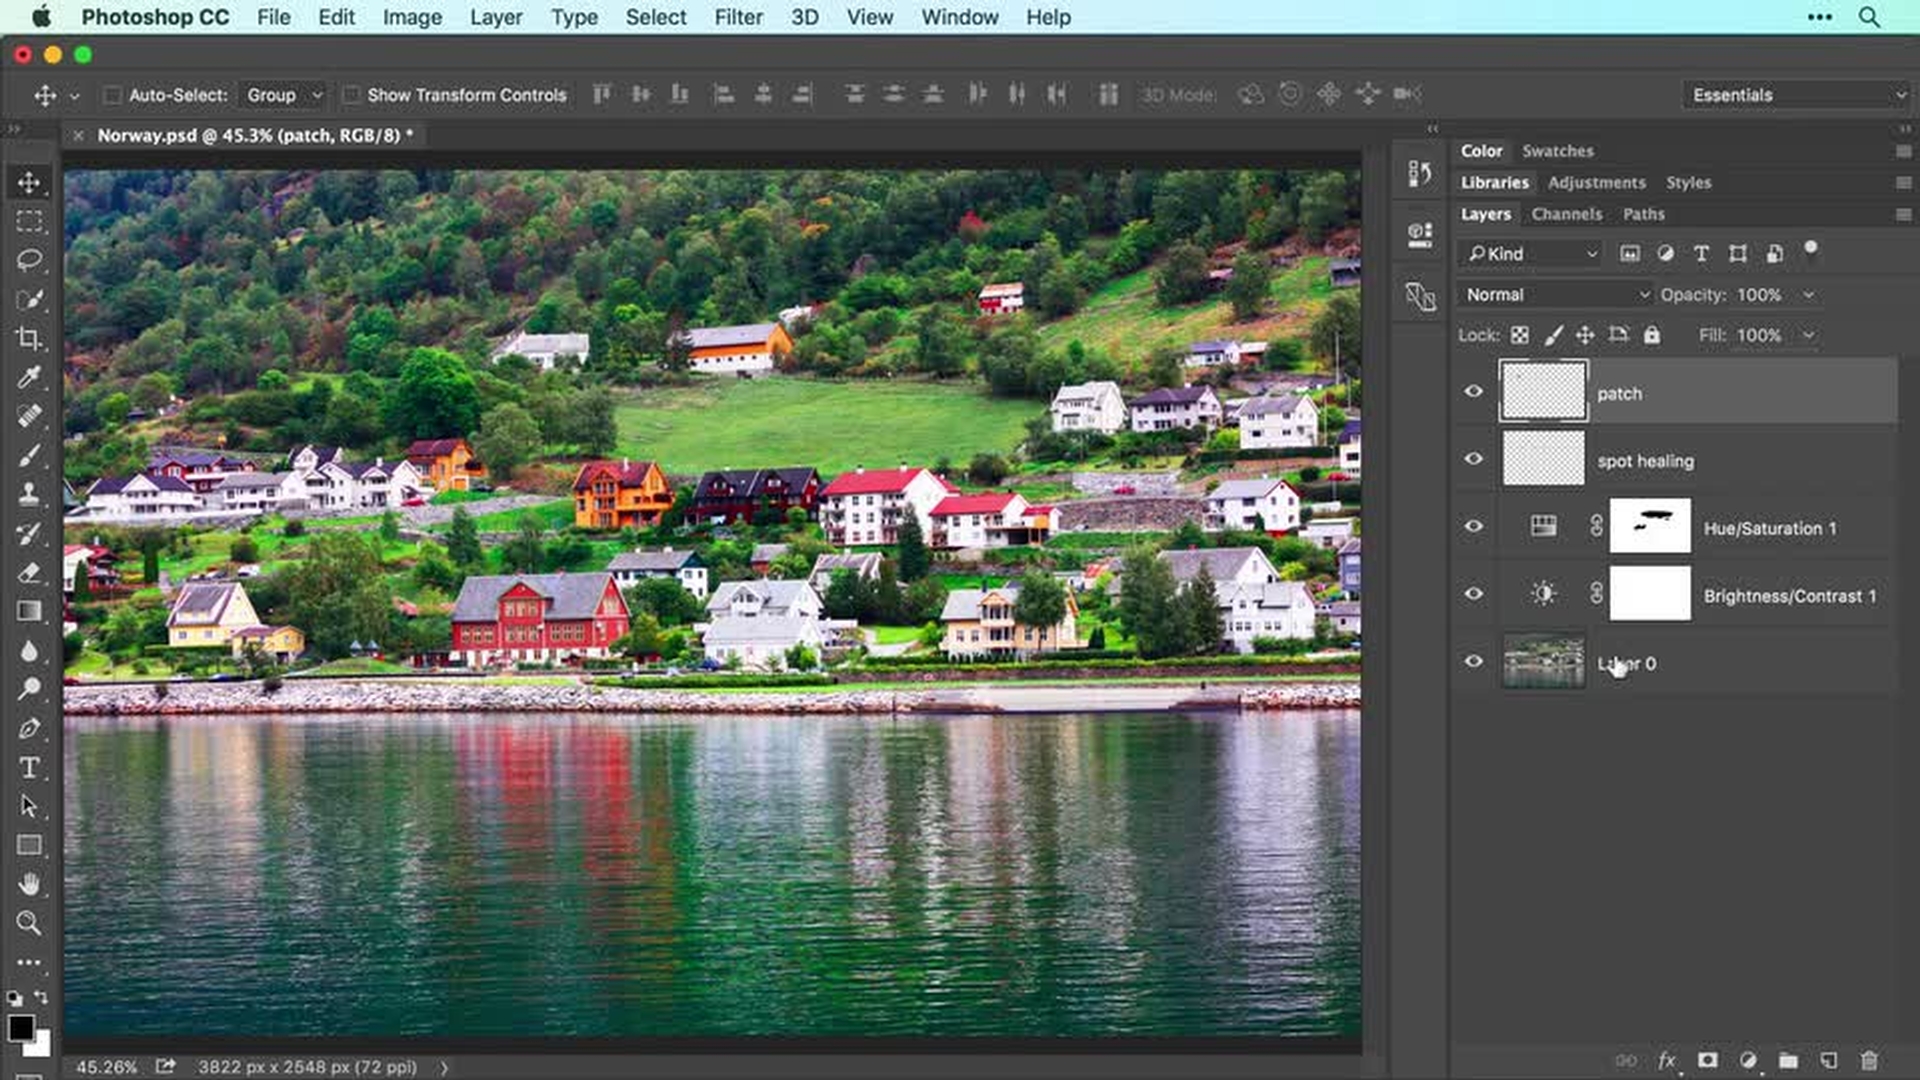
3 Remove unwanted content
Easily eliminate distracting elements with the Spot Healing Brush tool and the Patch tool.
Introduction
Removing small objects with the spot healing brush
Removing larger objects with the patch tool
Reviewing results and saving non-destructive edits
Spot Healing Brush tool (00:53); Patch tool (3:00)
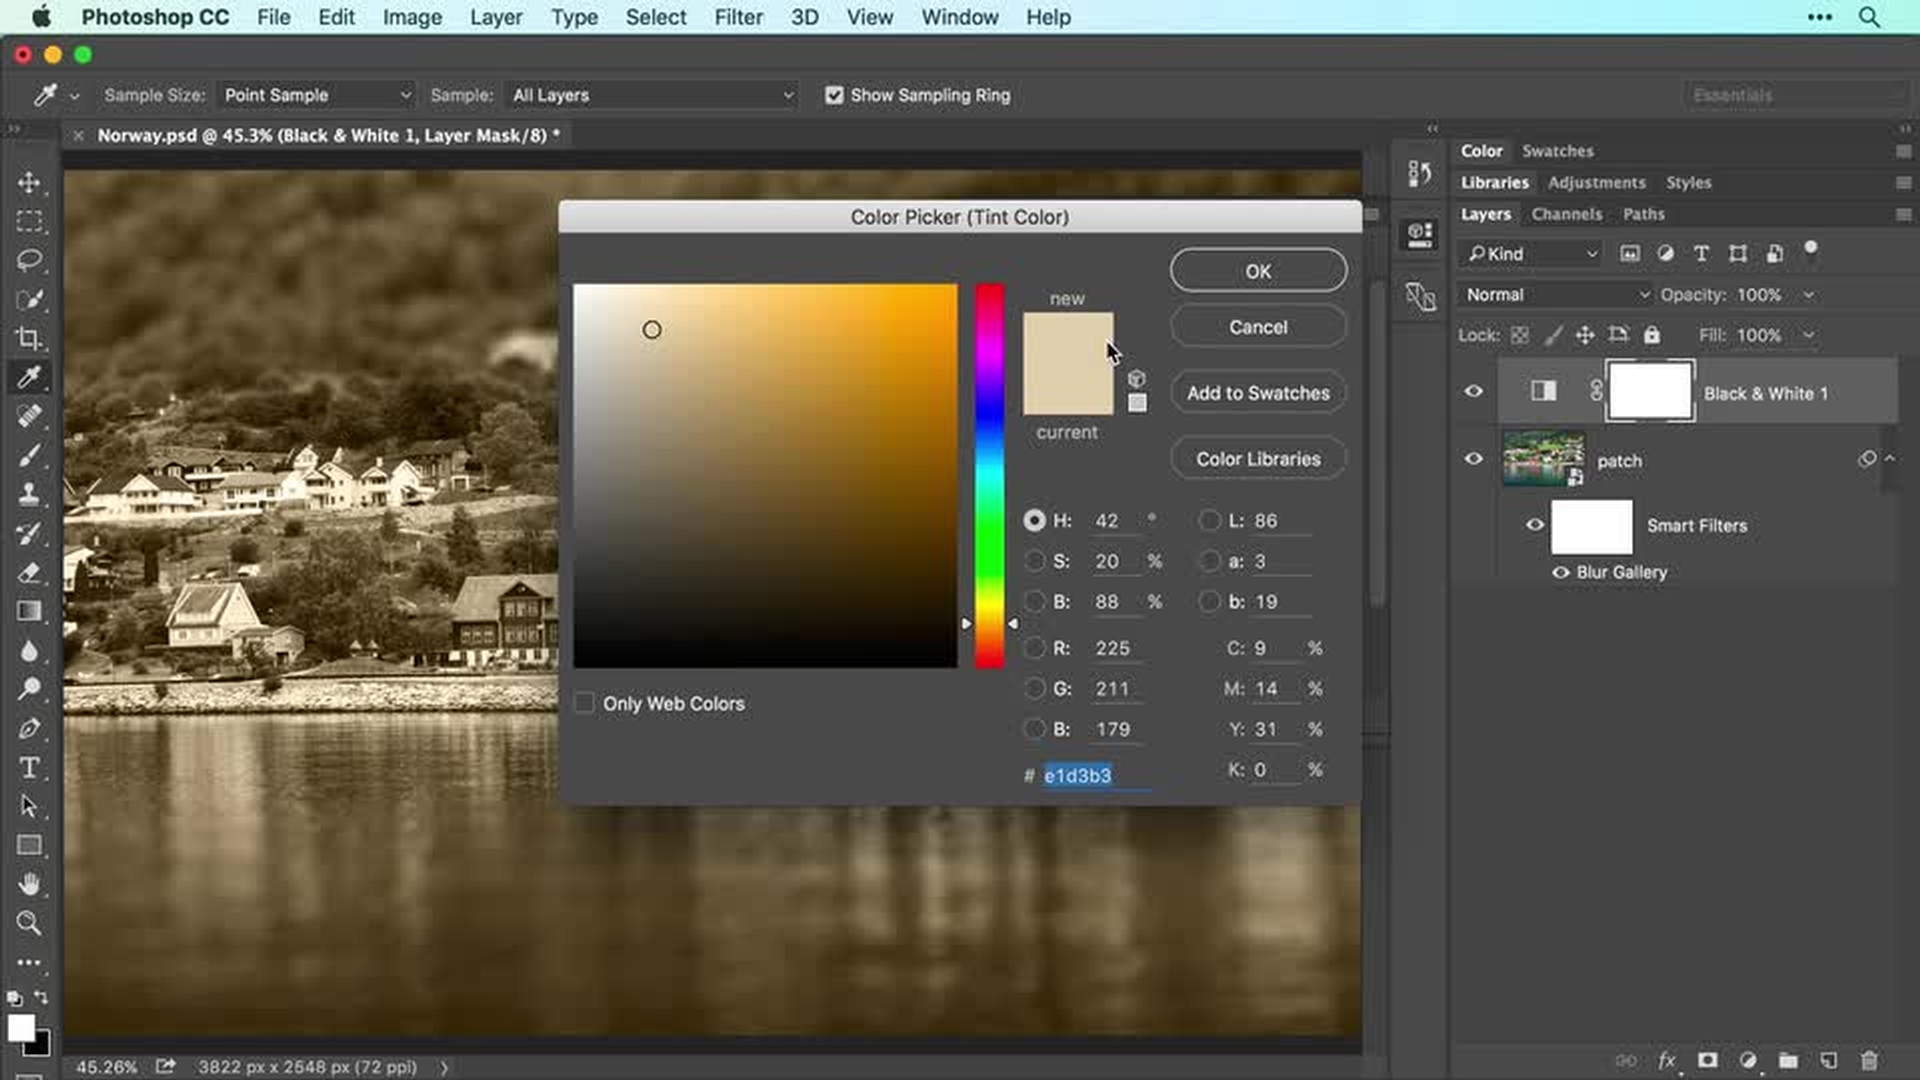
4 Add creative effects
Convert color to black and white, add an old-fashioned tinted look, and play with focus using the Tilt-Shift Blur filter.
Introduction
Preparing the image with smart objects and smart filters
Applying a tilt shift blur effect
Creating black and white images with color tinting
Saving edits and reviewing creative effects
Smart Filters (0:16); Tilt-Shift Blur filter (0:57); Black and white (02:26); Color tint (02:56)
5 Sharpen and save
Apply a sharpen filter to give your photo a finishing touch. Then save your edited file in PSD format to preserve your layers for future editing. To share your photo online or by email, save a copy as a JPEG.
Introduction
Understanding image sharpening concepts
Sharpening photos with the smart sharpen filter
Refining and masking smart filter effects
Saving images for editing and sharing
Sharpen (0:10); Save (2:50); Photoshop with Lightroom and mobile apps (4:14)
Contributor